Hirschmann AUTA 3400 F 910 User manual

68°
84 cm
29,5 cm
160 cm
Einbauanleitung
Spezial-Versenkantenne AUTA 3400 F 910
Bestell-Nr. / Ord. code / N° de cde.
921 418-001
Installation instructions
Special retractable car antenna
Instructions de montage
Antenne spéciale escamotable
Zum Einbau in:
For installation in:
Pour montage sur:
VW Vento
VW Golf III
9.91 →

2
;;
;;
;;
;
;;
;
M006/1
A171
➔
Fig. 5
Fig. 6
Fig. 1
Fig. 3 Fig. 7
Fig. 2
A172
Fig. 4
;;
;;
;;
;;
M013/2
A185
Ø 19 mm

3
Vorbereitungen
Der Einbau der Versenkantenne erfolgt am linken
vorderen Kotflügel.
Masseband am Minuspol der Batterie
abklemmen.
Bei Fahrzeugen mit vorhandener Einbau-
bohrung Abdeckung entfernen.
Bei Fahrzeugen ohne Antennenloch beilie-
gende Bohrschablone am linken Kotflügel
anlegen, Antennenloch anzeichnen und
maßhaltig einarbeiten.
Linksseitige Abdeckung zwischen Motorraum
und Windschutzscheibe entfernen. Dazu
Scheibenwischerarme, 5 Klipse und
Dichtleiste abnehmen (Fig. 1).
Radkastenverkleidung (Innenkotflügel) nach
Lösen der Schrauben entfernen (Fig. 2).
Im Innenraum linke Verkleidung unterhalb der
Instrumententafel entfernen.
Radiogerät ausbauen. Bei codierten Geräten
sicherstellen, daß der Code bekannt ist. Falls
kein Radiogerät eingebaut ist, das Ablagefach
am Autoradio-Einbauort ausrasten und ent-
fernen.
Antenneneinbau
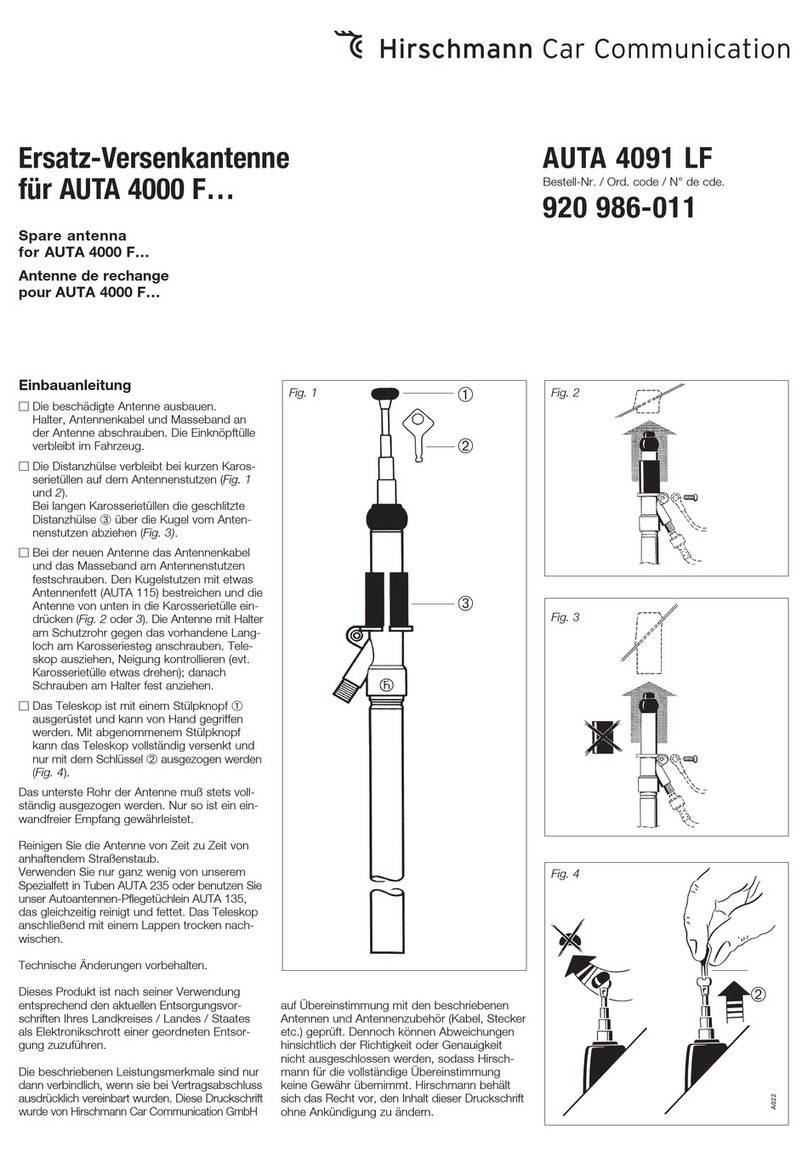
Die Einknöpftülle in die Karosseriebohrung
einsetzen (Fig. 3).
Den Halter mit Tülle auf das Antennen-
schutzrohr aufschieben (Fig. 5).
Die Antenne von unten in die Einknöpftülle
eindrücken (Fig. 3 und 4).
Das Masseband durch den oberen Spalt in
Richtung Motorraum hochziehen und mit der
M8-Mutter am Massepunkt anschließen
(Fig. 3 und 4).
Zur Befestigung des Halters den vorhandenen
Stehbolzen im unteren Bereich des Kotflügels
verwenden.
Vorher das Schutzwachs entfernen. Dann mit
der beiliegenden Kunststoffmutter den Halter
anschrauben (Fig. 5).
Die Antenne ausziehen, die Stellung des
Teleskops kontrollieren, evtl. korrigieren und
danach die Kunststoffmutter am Halter fest
anziehen.
Kabelführung
Das Antennenkabel wird durch das Wasser–
ablaufloch vom Radhaus in den
Zwischenraum geführt.
Die Verlegung in den Innenraum zum Radio-
einbauort erfolgt aus dem Zwischenraum
durch das linksseitig hinter dem
Scheibenwischergestänge vorhandene Loch
(Fig. 7).
Vorhandenen Blindstopfen entfernen, das
Antennenkabel einziehen und mit der aufge-
zogenen Kabeltülle in der Querwand arretieren
(Fig. 6 und 7).
Abschließend Autoradio anschließen und
Funktion der Antenne prüfen.
Die zum Einbau entfernten Teile wieder ein-
bauen.
Batterie wieder anklemmen.
Benutzungshinweise
Das Teleskop, besonders das unterste Rohr,
immer vollständig ausziehen, letzteres bis über
die Rastung.
Am Teleskop anhaftenden Schmutz vor dem
Einschieben mit einem Lappen abwischen.
GB
Preparations
The retractable antenna is to be installed into
the left front fender.
Disconnect the earthing strap from battery-
minus.
Remove the dummy plug from the installtion
hole.
For cars without antenna installation hole
apply the drilling template enclosed to the left
fender, mark the installation hole and drill
exactly.
Remove left cover between engine compart-
ment and windshield. To do so, take
off wiperarms, 5 clips and weather strip before
(fig. 1).
Remove the wheelhouse lining (inside fender)
after loosening the screws (fig. 2).
Remove inside the left-side lining below the
dashboard.
Dismount the car radio. For coded devices
please ensure that the code is known. If no
radio is installed, disengage the deposit com-
partment at the radio installation place and
remove.
Antenna installation
Insert the snap-in sleeve into the car body
hole (fig. 3).
Take the bracket with the sleeve and slide-on
to the antenna protective tube (fig. 5).
Press the antenna from below into the snap-
in sleeve (fig. 3 and 4).
Pass the ground strap through the upper gab
in the direction of the motor compartment
and connect to the earthing point using the
M8 nut (fig. 3 and 4).
For fastening the bracket, use the existing
stay bolt on the lower fender part.
First remove the protective wax. Then fix
bracket with plastic nut enclosed (fig. 5).
Pull out antenna, check position of telescope,
correct if necessary; then tighten the plastic
nut at the bracket.
Passing cable
Antenna cable is to be passed through water
drain holes in the wheel box up to interme-
diate space.
Pass the cable to inside from the intermedia-
te space through the provided hole at the left
side, behind the wiper linkage (fig. 7).
Remove the dummy plug, pass the antenna
cable and fix it by pressing applied grommet
into bulkhead hole (fig. 6 and 7)
Finally connect the radio and check the
antenna operation.
Replace the parts being removed for install-
ation.
Reconnect battery.
User instructions
Extend the telescope always completely, espe-
cially the lowest tube up to the notch position.
Before retracting, clean the telescope of adhe-
ring dirt using a cloth.
Préparations
L'antenne télescopique est installée sur l'aile
avant gauche.
Débrancher la bande de mise à la masse au
pôle négatif de la batterie démarreur.
Eloigner le revêtement au perçage existant.
Sur des voitures sans trou d'antenne, mettre
le gabarit de perçage aur l'aile avant gauche,
marquer le trou d'antenne et percer à dimen-
sions exactes.
Enlever recouvrement gauche entre compar-
timent-moteur et pare-brise. Démonter bras
d'essuie-glace, 5 pinces et bourrelet caout-
chouc d'étanchéité avant (fig. 1).
Desserrer les vis et enlever le revêtement du
couvre-roue (aile intérieur) (fig. 2).
A l'intérieur de la voiture enlever le revête-
ment gauche au-dessous du tableau de
bord.
Démonter la radio. Si l'appareil est codé,
assurez-vous que vous connaissez le code.
Si aucune radio n'est installée, décliqueter et
enlever le vide-poche à l'endroit de montage
de l'autoradio.
Installation de l'antenne
Placer la manchette dans le perçage de la
carrosserie (fig. 3).
Pousser le support avec manchon sur le tube
protecteur de l'antenne (fig. 5).
Presser l'antenne dans la manchette de des-
sous (fig. 3 et 4).
Lever la bande de mise à la masse à travers
la fente supérieure en direction du comparti-
ment au moteur et raccorder au point masse
à l'aide de l'écrou M8 (fig. 3 et 4).
Pour fixer le support, utiliser le goujon fileté
existant dans la zône inférieur de l'aile.
Enlever auparavant la cire protectrice. Ensuite
visser le support avec l'écrou en matière
plastique ci-joint (fig. 5).
Sortir l'antenne, contrôler la position du téles-
cope et corriger éventuellement, puis serrer
fortement l'écrou en plastique au support.
Conduite de câble
Le câble d'antenne sera conduit par le trou
d'écoulement d'eau dans le couvre-roue vers
l'espace intermédiaire.
Poser ce câble à l'intérieur en partant
l'espace intermédiaire à travers du trou à
gauche, derrière la tringlerie d'essuie glace
(fig. 7).
Eloigner le joint existant. Arrêter le câble
d'antenne avec passe-fil tiré dans la paroi
transversale (fig. 6 et 7).
Pour finir brancher l'autoradio et vérifier la
fonction de l'antenne.
Remonter les revêtements enlevés pour l'in-
stallation.
Rebrancher la batterie.
Avis d'usage
Toujours sortir le télescope entier, surtout le
tube le plus bas. Celui-ci jusqu'au cran d'arrêt.
Avant d'escamoter le télescope, veuillez en tor-
cher la poussière adhérente avec un chiffon.
FD

024 871-001-10-0504-N
Printed in Europe .Imprimé en Europe
Technische Änderungen vorbehalten
Dieses Produkt ist nach seiner Verwendung ent-
sprechend den aktuellen
Entsorgungsvorschriften Ihres Landkreises /
Landes / Staates als Elektronikschrott einer
geordneten Entsorgung zuzuführen.
Die beschriebenen Leistungsmerkmale sind nur
dann verbindlich, wenn sie bei Vertragsabschluss
ausdrücklich vereinbart wurden. Diese Druckschrift
wurde von Hirschmann Car Communication GmbH
auf Übereinstimmung mit den beschriebenen
Antennen und Antennenzubehör (Kabel, Stecker
etc.) geprüft. Dennoch können Abweichungen
hinsichtlich der Richtigkeit oder Genauigkeit
nicht ausgeschlossen werden, sodass
Hirschmann für die vollständige Übereinstim-
mung keine Gewähr übernimmt. Hirschmann
behält sich das Recht vor, den Inhalt dieser
Druckschrift ohne Ankündigung zu ändern.
Right of modification reserved
After its use, this product has to be processed
as electronique scrap to a proper disposal
according to the prevailing waste disposal regu-
lations of your community / district / country /
state.
The performance features described here are
binding only if they have been expressly guaran-
teed in the contract. This publication has been
created by Hirschmann Car Communication GmbH
according to the best of our knowledge.
Hirschmann reserves the right to change the
contents of this manual without prior notice.
Hirschmann can give no guarantee in respect of
the correctness or accuracy of the details in this
publication.
Sous réserve de modifications techniques
Ce produit doit être éliminé en tant que déchet
électronique conformément au réglement actuel
sur l'élimination des déchets de votre départe-
ment / région / pays.
La société Hirschmann Car Communication GmbH
ne se porte garante de la véracité des informations
techniques que si elles ont été spécifiées de
manière expresse à la signature du contrat.
Le contenu de ce document a été minutieuse-
ment contrôlé afin de s’assurer qu’il corresponde
bien aux antennes et accessoires (câbles,
connecteurs) décrits. Toutefois, Hirschmann ne
peut en aucun cas être tenu responsable de
l’exactitude de ces informations. Hirschmann se
réserve le droit de modifier sans préavis le con-
tenu de ce document.
GB FD
Hirschmann Car Communication GmbH
Stuttgarter Strasse 45 - 51
D-72654 Neckartenzlingen
Tel +49-7127-14-1873
Fax +49-7127-14-1428
E-mail: [email protected]
Other Hirschmann Automobile Accessories manuals
Hirschmann
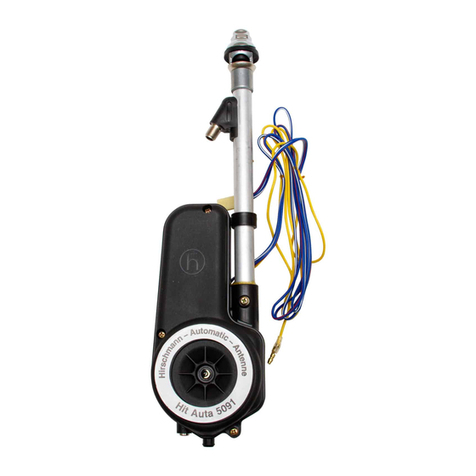
Hirschmann HIT AUTA 5091 User manual
Hirschmann
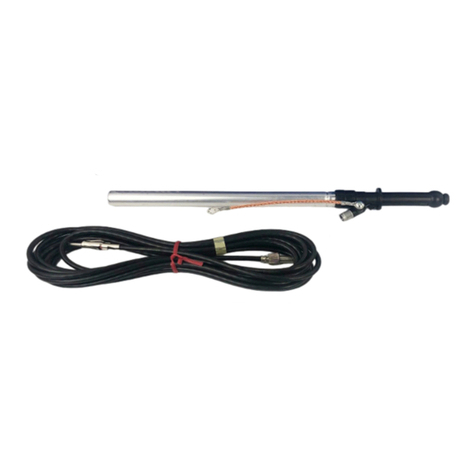
Hirschmann AUTA 4000 F 420 L User manual
Hirschmann
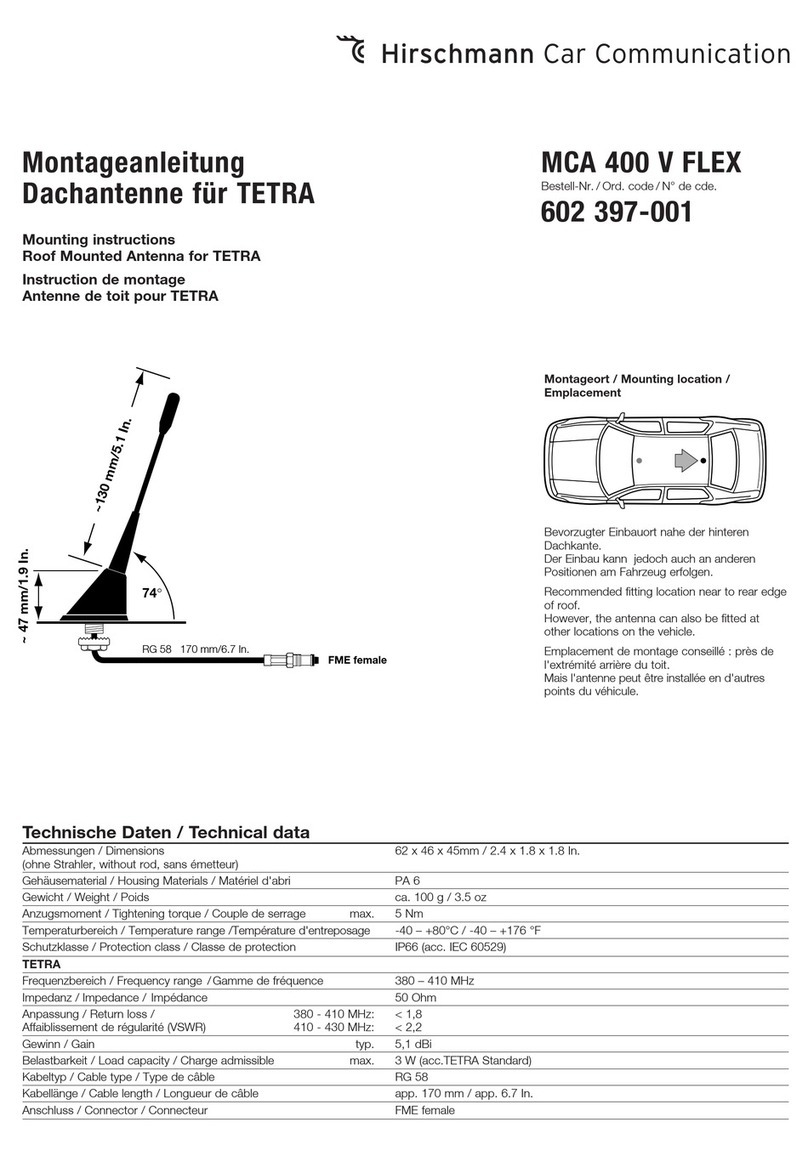
Hirschmann MCA 400 V FLEX User manual
Hirschmann
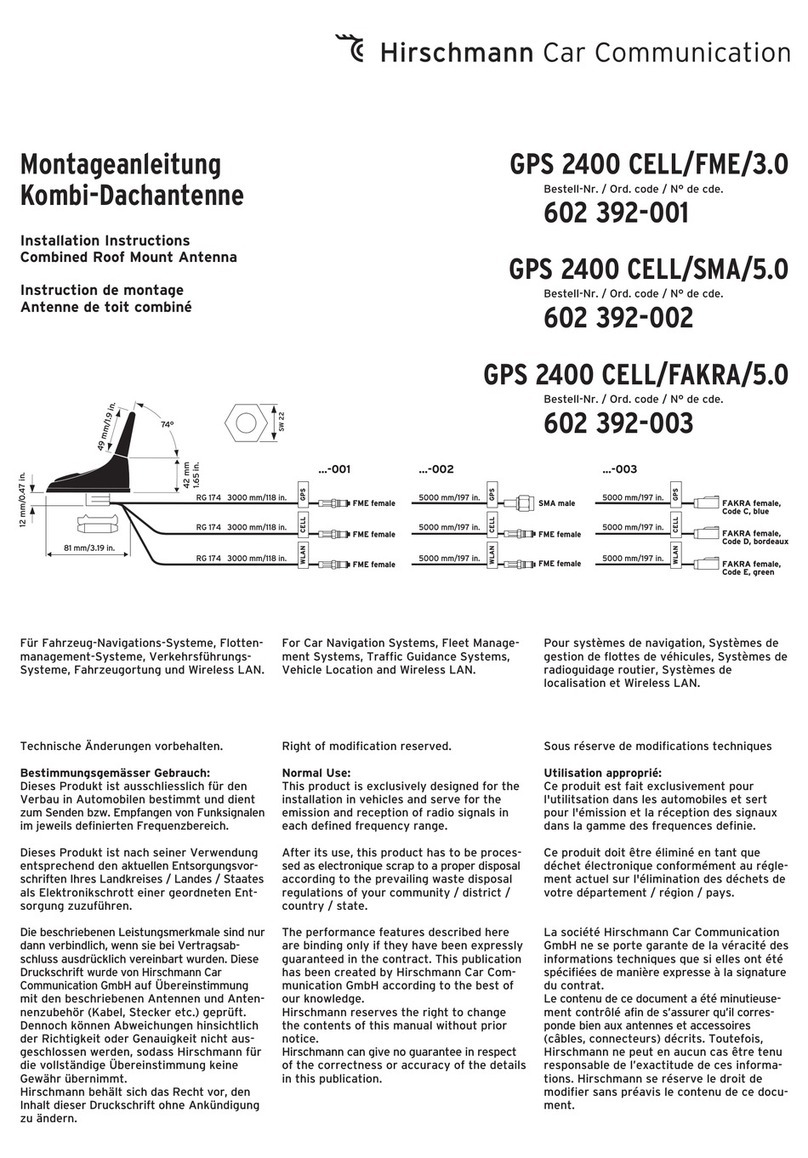
Hirschmann GPS 2400 CELL/FME/3.0 User manual
Hirschmann
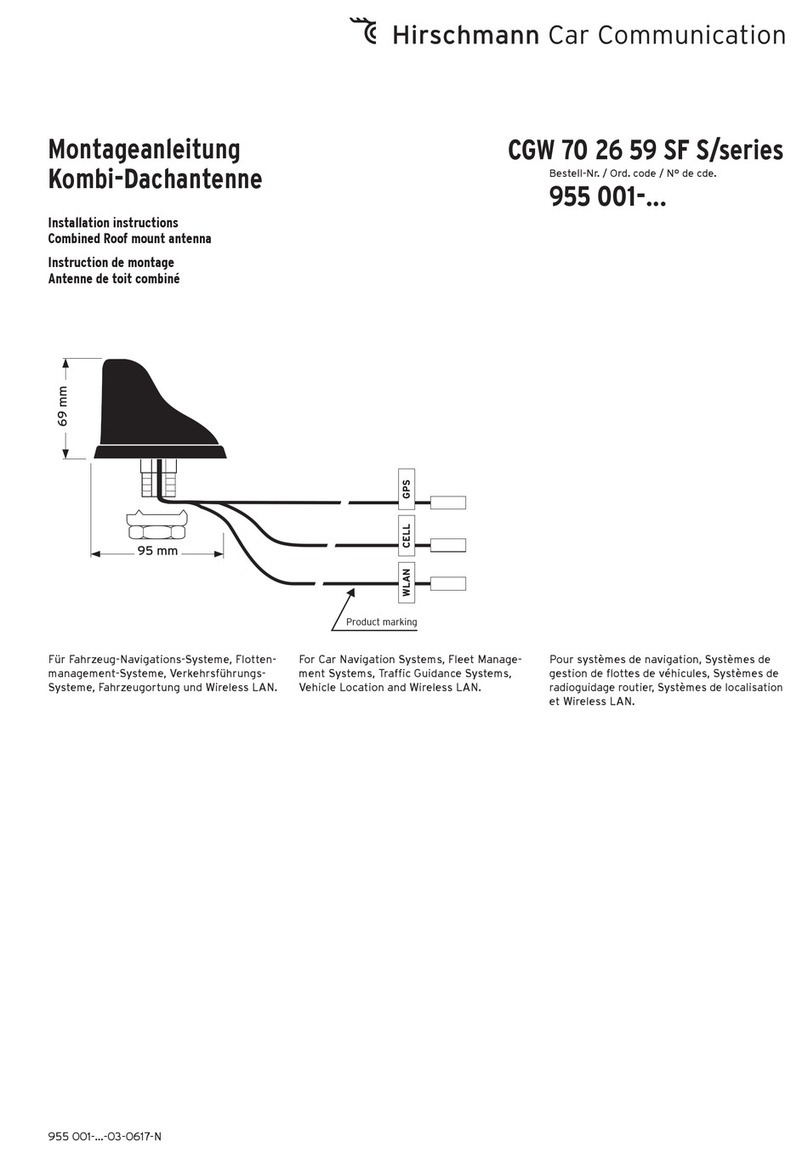
Hirschmann CGW 70 26 59 SF Series User manual
Hirschmann
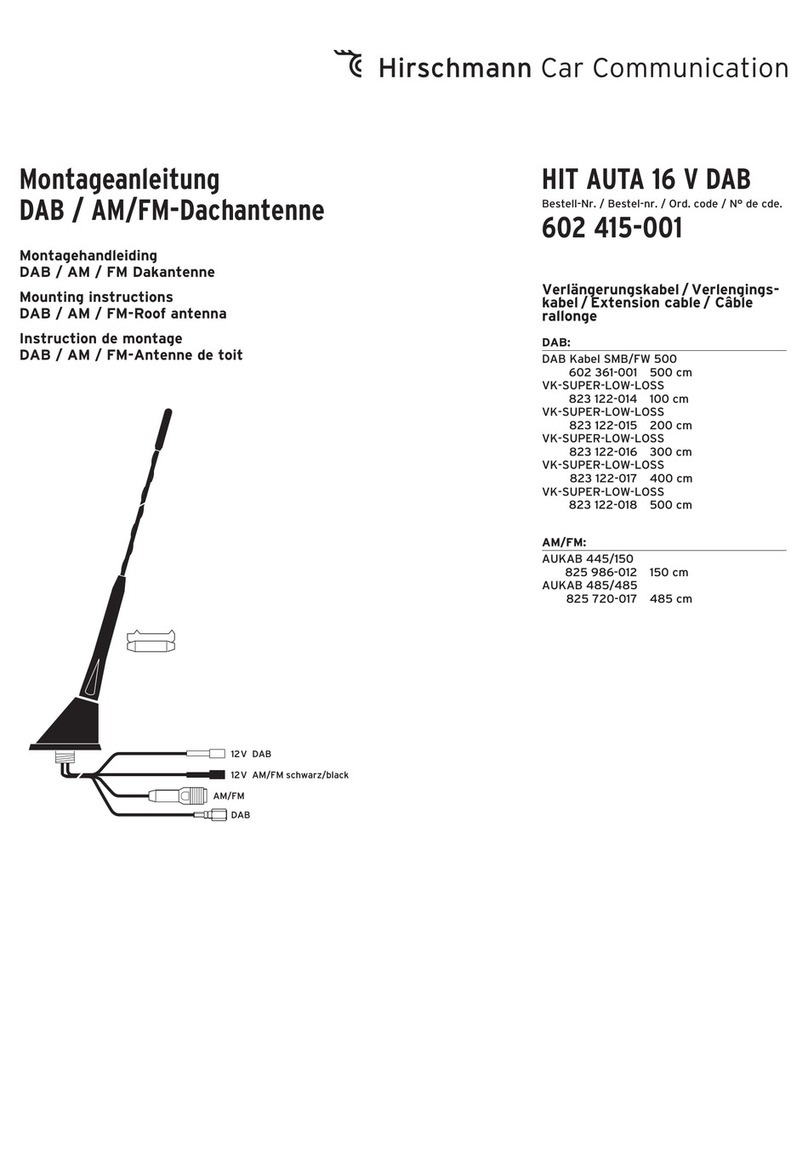
Hirschmann HIT AUTA 16 V DAB User manual
Hirschmann
Hirschmann AUTA 4000 F Series User manual
