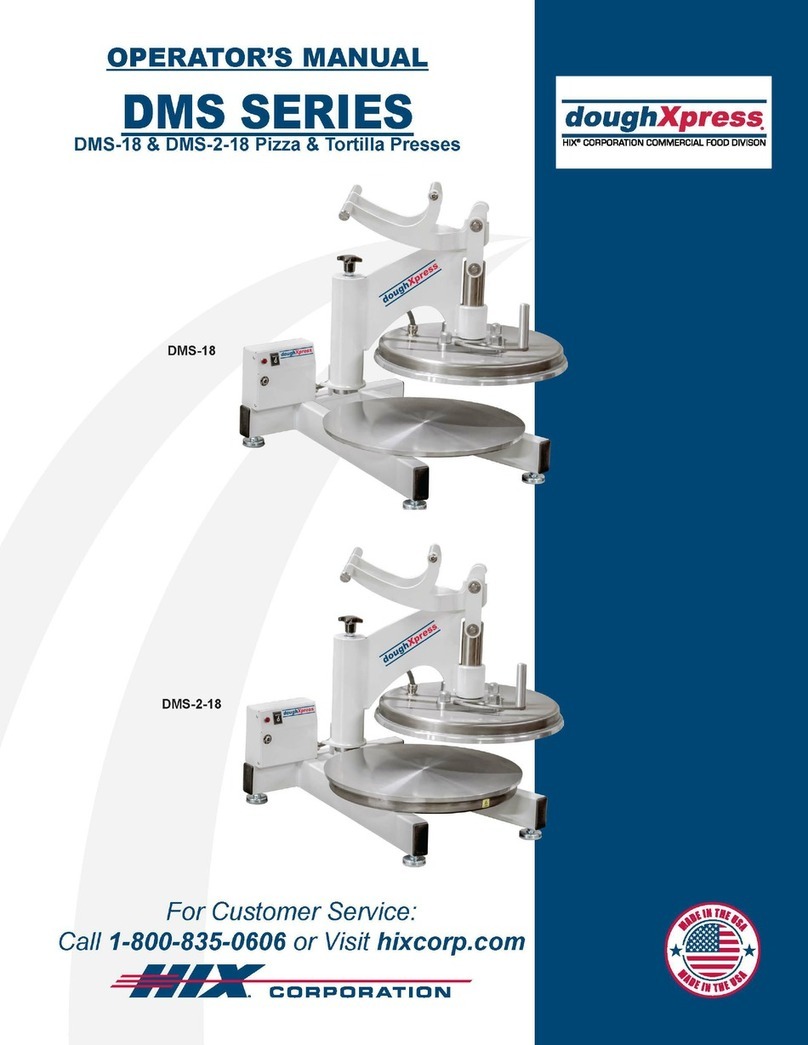
Hix doughXpress DXDD User manual

®
doughXpress
70272 RV B 090517
Receiving and Shipping 2
Operation 3-4
Cleaning / Maintenance 5
Parts Identication 6
Warranty 8
DXDD
OWNER’S MANUAL
CONTENTS
BEFORE warranty repair you MUST get Prior Authorization:
Manual Dough Docking Press
For Customer Service, Call 1-800-835-0606 ext. 205
or Visit www.doughXpress.com
DXDD with 14”
docking platen
shown

2
RECEIVING & INSTALLATION
Please read this manual in its entirety before operating your press.
UNPACKING
Remember to save all packing materials - including box, liner and board.
You may need these for shipping your machine or if a repair is necessary
in the future.
INSPECTION
Inspect your machine for hidden shipping damage. Contact the delivery
company immediately, should you nd damage.
PLATEN SURFACE
Slight surface imperfections are a normal part of the aluminum casting
process for the platens on your press. These are not considered a defect
and do not affect the functionality of the machine in any way.
SHIPPING OR RETURNS
NOTE: Save all of your shipping/packing materials.
DO NOT RISK COSTLY SHIPPING DAMAGE!
SHIP ONLY IN ORIGINAL BOX.
1. Fasten machine to plywood shipping base with bolts provided.
2. Make sure handle is pressed down so that the upper platen will not
swing around during shipment.
3. Place in original box, and put side liner and top liner in place. Fold
in aps and seal the box.
(Additional bottom boards, box and liners may be obtained from your supplier
for a nominal cost.)
INSTALLATION
1. Lift press from box and place on cart or other sturdy surface.
2. If press is to be placed on counter top stick black plastic foot pad on
the bottom of the legs.
3. Place four set screws of the desired docking platen through the bottom
holes on the platen mount plate.
4. Place one at washer and wing nut on each set screw and tighten
with ngers.
CAUTION: Over tightening nuts can cause stripping on the set screws and/
or make future removal and assembly of the docking platen(s)
difcult.
NOTE: Upon receiving your new equipment, some debris or residue may
be present on the aluminum platen(s). Clean the platens per the
instructions provided prior to rst use.

3
OPERATION
PRESSURE
1. The pressure control knob, located at the top / rear of the machine,
should be set so that the teeth of the docking platen just touch the
lower platen.
WARNING: Make all adjustments while press is open. Adjusting the
thickness while under pressure will result in damage to the
press.
2. Pressure is reduced by turning knob (with machine open) counter-
clockwise and increased by turning it clockwise.
NOTE: Adjustments may be required from one product to another and will
vary to achieve the desired result.
CAUTION: Excessive pressure can cause structural damage, voiding the
machine warranty!
3. To set the nished product thickness, turn the dial on the top of the
machine as indicated.
THINNER
THICKER

4
OPERATION
DOCKING PRODUCT
Your doughXpress DXDD docking press is designed for easy use and will
reliably dock your dough.
Your DXDD docking press is designed to dock dough in diameters from 8”
up to 18” in steps of 2”.
1. Make sure the size of dough that will be docked matches that of the
docking platen. Interchange the docking platen if necessary.
2. Move the magnetic stoppers to the appropriate notch for docking the
size of dough you wish. [See Figure 1]
NOTE: When docking an 18” dough, no stoppers will be used. Simply line
up the try with the lower platen.
3. Place the pressed dough on a baking tray.
4. Slide the baking tray on to the lower platen of the DXDD up to the
stoppers to assure dough and tray are perfectly centered under the
docking platen.
5. Make sure the docking platen is swung above dough. Docking arm
will reach a stop when it is directly above the lower platen. Using the
handle, lower the docking platen until the teeth of the docking platen
sufciently press the dough.
NOTE: Minimal pressure is needed to effectively dock dough. Pressing too
hard can break the teeth or damage the press in other ways and
void the warranty.
6. Lift the handle to the locked position and swing docking platen away
from lower platen.
16”
14”
12”
10”
8” Fig 1

5
CLEANING / MAINTENANCE
CLEANING THE PLATENS
1. Swing the upper platen away for easier access.
2. Use a soap or detergent and nonmetallic scrubbing sponge to remove
any excess material from the platens.
WARNING: Do not use abrasives such as steel wool scrubbies, kitchen
cleansers, griddle cleaner, or griddle bricks or any other kind
of abrasive material. This will damage the coating.
CLEANING XYLAN COATED PLATENS
You may clean the Xylan coated platens with a mild soap and warm water.
Use a soft cloth or sponge. Do not use steel wool, scrubbies, kitchen
cleansers, or other abrasives. None abrasive oven cleaners are acceptable.
CLEANING OUTSIDE SURFACES OF MACHINE
Use a mild soap and warm water with a soft cloth or sponge. Do not use
steel wool, kitchen cleansers, or other abrasives.
LUBRICATION
Your press requires lubrication every 15,000 cycles or every 6 months.
Lubricate weekly in a heavy use production environment. Use NSF/NLG12
rated food grade grease (such as Bel-Ray No-Tox #2 or equivalent). A
general purpose food grade machine oil spray is also acceptable such as
CRC03055 lubricant (available from retailers such as Amazon). Lubricate
all moving or hinged points.

6
PARTS IDENTIFICATION

7
PARTS IDENTIFICATION
ITEM QTY PART NUMBER DESCRIPTION
1 1 14571 NUT HX 3/8-16 ZPS
2 8 24732 WASHER-0.344 x 0.6875 x 0.0625
3 1 35122 DECAL PANTHER PRESS PRESSURE
4 1 35181 TOGGLE CLAMP SWINGMAN METRIC
5 4 62685 SCREW SET 5/16-18x1.000 SS
6 1 62898 KNOB PHENOLIC SWINGMAN
7 2 63320 WASHER THRUST 00500x00875
8 1 63584 O-SWG15 PLATEN MNT PLATE
9 1 63622 BEARING, THRUST 1/2x7/8
10 4 68055 BOLT 5/16-18 x 1
11 4 68594 NUT, 5/16-18 NYLON INSERT LOCK
12 1 70175 DDM-8 DOUGH DOCKER MOLD
13 1 70175 DDM-10 DOUGH DOCKER MOLD
14 1 70177 DDM-12 DOUGH DOCKER MOLD
15 1 70178 DDM-14 DOUGH DOCKER MOLD
16 1 70178 DDM-16 DOUGH DOCKER MOLD
17 1 70180 DDM-18 DOUGH DOCKER MOLD
18 1 7050002 M-UNIV BASE PLATE ASSEMBLY
19 2 7051004 M-DD STOP PIN
20 4 7051500 M-DD SPACER 1/2”
21 4 84335 PLUG TUBE 1.50 SQ BLK PE
22 8 84806 NUT WING 5/16-18 ZPS
23 3 87056 NUT HEX JAM 1/2-13 NC ZP
24 4 87692 SCREW, SET 5/16-18x1.750 CPT
25 1 9141010 M-SMAN15 ELEVATION SCREW
26 2 9141500 M-TXM-15 CP LOWER PLATEN
27 1 9151002 M-UNIV FRAME WELDMENT
28 1 9151750 M-PIVOT ARM WELDMENT
29 1 9152500 M-BOLT ANTI ROTATION
30 1 70263 NUT HX M12x1.75 ZPS

8
WARRANTY
1201 E. 27th Terrace • Pittsburg, KS 66762 • U.S.A.
(620) 231-8568 • Fax: (620) 231-1598
E-Mail: [email protected] • Website: www.doughxpress.com
NOTICE
Our system will automatically register the equipment on the date it was shipped. If the
equipment was not purchased directly from HIX, but through a distributor (either domestic
or foreign), please keep a copy of their sales invoice showing the serial number and date it
was sold/shipped to you with this warranty. In this case, we will use the distributor’s invoice
date as the beginning warranty date. STAPLE A COPY OF YOUR RECEIPT TO THIS
WARRANTY and keep in a safe place to provide verication of your warranty should a
problem occur. Thank you.
Please ll in the following information and attach a copy of your receipt for your records.
Date Purchased: _______________________ From:_____________________________
Model #: ______________________________ Serial #:___________________________
This warranty applies to equipment manufactured by the HIX Corporation (HIX), Pitts-
burg, Kansas, U.S.A. HIX warrants to the original purchaser its Dough, Tortilla and Poultry
Presses against defects in workmanship and material, except for wear and tear for a period
of “One Year” from the date of purchase. All dough press carts, compressors, and accesso-
ries are warranted for 90 days from the date of purchase.
In the event of a defect, HIX, at its option, will repair, replace or substitute the defective
item at no cost during this period subject to the limitations of insurance and shipping costs
stated below.
This warranty does not cover normal wear and tear, damages due to accident, misuse/
abuse, alterations or damage due to neglect or lack of proper lubrication or maintenance.
HIX shall not be responsible for repairs or alterations made by any person without the prior
written authorization by HIX. This warranty is the sole and exclusive warranty of HIX and
no person, agent, distributor, or dealer of HIX is authorized to change, amend or modify the
terms set forth herein, in whole or in part.
In the case of a problem with the equipment identied herein, HIX Corporation should
be contacted during regular business hours to discuss the problem and verify an existing
warranty. HIX personnel will assist the customer to correct any problems which can be
corrected through operation or maintenance instructions, simple mechanical adjustments,
or replacement of parts. In the event the problem cannot be corrected by phone, and upon
the issuance of a return authorization by HIX, the equipment shall be returned to HIX or
an authorized service representative. All insurance and shipment/freight costs are solely
the responsibility of the customer, and not that of HIX, and HIX shall not be responsible for
improper handling or damage in transit. HIX customer service personnel may be contacted
for complete return authorization and reconditioning information.
This expressed warranty is given in lieu of any and all other warranties, whether ex-
pressed or implied, including but not limited to those of merchantability and tness for a
particular purpose, and constitutes the only warranty made by HIX Corporation.
In no event shall HIX’s liability for breach of warranty extend beyond the obligation to
repair or replace the nonconforming goods. HIX shall not be liable for any other damages,
either incidental or consequential, or the action as brought in contract, negligence or other-
wise.
This warranty gives you specic legal rights and you may also have other rights which
vary from state to state.
BEFORE warranty repair you MUST get
Prior Authorization: Call 1-800-835-0606
Warranty will be voided otherwise.
©2010 HIX Corp.
Table of contents
Other Hix Commercial Food Equipment manuals
Popular Commercial Food Equipment manuals by other brands

Bartscher
Bartscher Deli-Cool PRO 2/1 GN instruction manual

Skymsen
Skymsen RQC instruction manual

Expondo
Expondo Royal Catering RCMC-400W user manual

Fri-Jado
Fri-Jado MDD Series Service manual

Rühle
Rühle SR 3 BiTurbo Translation of the original instructions

Cres Cor
Cres Cor H135SUA6A Operating and maintenance instructions

TeknoStamap
TeknoStamap ECO SMART 6514 Use and maintenance manual

Sammic
Sammic PP-6 user manual

Server
Server TWIN FS manual

Electrolux
Electrolux LIBERO POINT Installation and operating manual

Blizzard
Blizzard BZ-HDC1 Operation instructions

Structural Concepts
Structural Concepts SB5735 Series Installation & operating manual