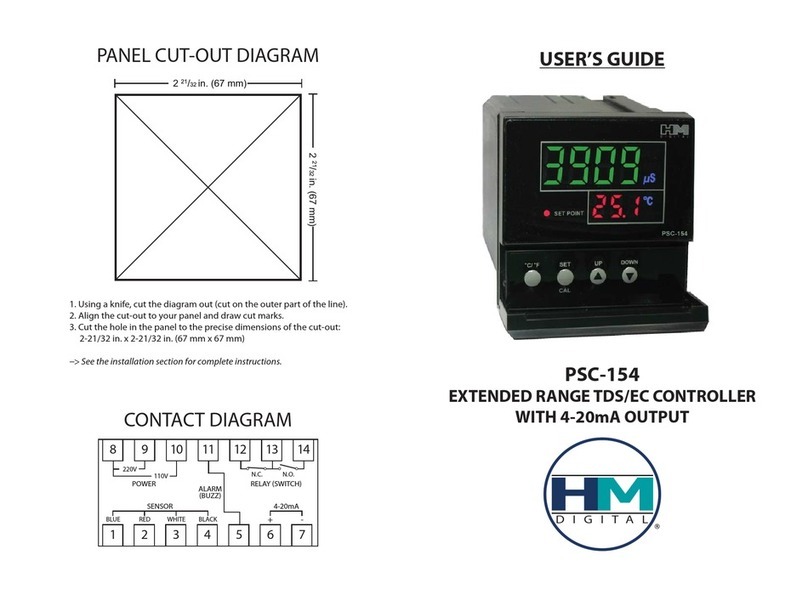
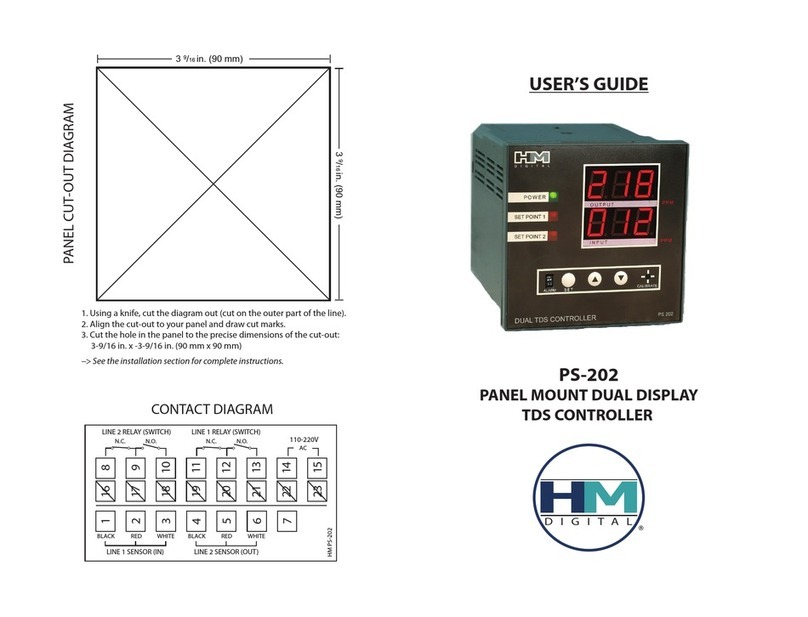
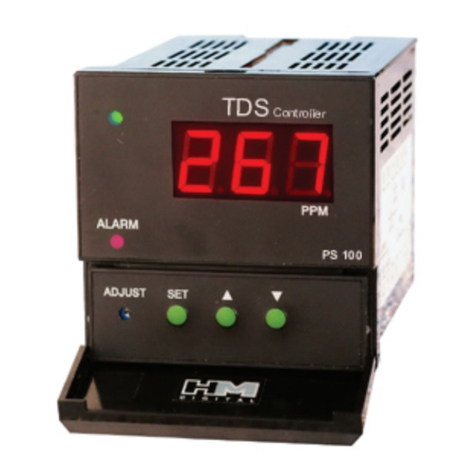
HM Digital CIC-152 User manual

USER’S GUIDE
PANEL CUT-OUT DIAGRAM
M
H
D I G I T A L
®
CIC-152
DUAL CONTROL DOSING/INJECTION
TDS/EC CONTROLLER
1. Using a knife, cut the diagram out (cut on the outer part of the line).
2. Align the cut-out to your panel and draw cut marks.
3. Cut the hole in the panel to the precise dimensions of the cut-out:
2-5/8 in. x 2-5/8 in. (66.5 mm x 66.5 mm)
--> See the installation section for complete instructions.
CONTACT DIAGRAM
2 5/8 in. (66.5 mm)
2 5/8 in. (66.5 mm)
8 9 10 11 12 13 14
1 2 3 4 5 6 7
220V
110V N.C. N.O.
BLUE BLACKRED WHITE
SENSOR
POWER RELAY (SWITCH) #2
N.C. N.O.
RELAY (SWITCH) #1

2 7
Thank you for purchasing HM Digital’s CIC-152. The CIC-152 is a TDS/EC controller that monitors and controls levels
of Total Dissolved Solids (TDS) or Electrical Conductivity (EC) in water. The controller has two programmable control
points (maximum limit (CP2) and minimum level (CP1)) to help maintain the TDS/EC within a designated range. If
the TDS/EC level is within the range, the controller will display a green light. Each control point can be used to
control a distinct device, or both can be used to control a single device. If the TDS/EC level descends to Control
Point 1 (CP1), the controller will activate a yellow warning light, and switch the dry contact position of Relay 1 from
the normal position (to operate a valve, pump, etc). Once the TDS/EC ascends over CP1, the light will revert to green
and switch the contacts of Relay 1 back to the normal position (normally open or closed). If the TDS/EC level rises to
Control Point 2 (CP2), the controller will activate a red warning light, and switch the dry contact position of Relay 2
from the normal position (to operate a valve, pump, etc). Once the TDS/EC level drops below CP2, the light will
revert to green and switch the contacts of Relay 2 back to the normal position (normally open or closed).
CONTACT INFO
BOX CONTENTS
SPECIFICATIONS
If you have any problems or questions regarding your controller, please contact HM Digital, Inc.
5819 Uplander Way www.tdsmeter.com
Culver City, CA 90230, U.S.A. 1-800-383-2777
1. Controller 3. Sensor cable (grey) 5. Mounting brackets
2. Sensor 4. Power cord (black) 6. U.S. plug adapter
EC Range: 0-9999 µS (µS/cm)
TDS Range: Model CIC-152 (NaCl): 0 - 4995 ppm (mg/L); Model CIC-152-4 (442TM): 0 - 8500 ppm
Temperature Range: 1-80oC; 33-176oF
Resolution: 0-999: 0.1 µS/ppm; 1000-9999: 1 µS/ppm
Accuracy: ±2% (of the reading); Thermometer: ±1oC, ±1.8oF
Conversion Factor: Model CIC-152: NaCl (avg. 0.5); Model CIC-152-4: 442TM (avg. 0.4 - 0.7)
Temperature Compensation: Automatic (ATC) (1-60oC)
Calibration: Digital by push button (manual ne-tuning in high ranges)
Control Points: Dual, controlled by on-screen up/down buttons (set points can be any point within
the range, but max (CP2) and min (CP1) cannot cross each other).
Control Point Relays: Dual, isolated, 2A, Max. 220V, resistive load 100,000 strokes
Relay Control: The unit will open or close a circuit via dry contacts when the ppm/µS level reaches
or surpasses each minimum or maximum control setting (simple switch). Each relay control can be
used to control a separate device.
Relay Coil Voltage (internal): 5V each (the connected devices need their own power source)
Alarms: Two (AP1 and AP2). Optional steady beep (set by user). Independent of control points.
Probe: ½” NPTF bushing
Cable Length: 3 meter (9.8 ft) shielded cable
Display: Bright tri-color L.E.D.
Power Supply: 110V/220V, ±10% Vac; 50/60Hz
Enclosure: Front and back with ABS
Environment: -10 to 50oC (4 to 122oF); RH max 95% non-condensing
Dimensions: 7.2 x 7.2 x 11.1 cm (2.8 x 2.8 x 4.4 in.)
THIS SPACE INTENTIONALLY LEFT BLANK
“442” is a registered trademark of the Myron L Company.
ATTACHING THE MOUNTING BRACKETS
1. Slide the controller through the hole in the panel.
2. From the rear of the controller, slide the metal square support frame over the controller, so that it is
pressed against the interior of the panel.
3. If not assembled, on the top of the controller, place one long bracket with the ridge side facing up.
Insert the short bracket into the slots on the controller, so that it ts snugly against the long bracket.
4. Slide the long bracket towards the controller face, so that the front end is pressed against the support
frame (or the panel, if not using the support frame).
5. Secure a screw from the hole in the long bracket through the hole in the short bracket. Tighten, but
do not overtighten.
6. Do the same for the bracket on the bottom of the controller. Tighten both brackets equally.
SIDE VIEW (of the top bracket)
TOP VIEW
User’s Guide Abbreviations
CP1: Control Point 1 (lower level set point)
CP2: Control Point 2 (upper limit set point)
R1: Relay 1 (Relay for CP1 - contacts 5, 6, 7)
R2: Relay 2 (Relay for CP2 - contacts 12, 13, 14)
AL1: Alarm 1 (lower alarm)
AL2: Alarm 2 (upper alarm)

6
INSTALLATION INSTRUCTIONS
USAGE INSTRUCTIONS
1. Remove the contents from the box.
2. Insert the controller into the panel. A square hole must be cut into the panel with dimensions
of 2-5/8 in. x 2-5/8 in. (66.5 mm x 66.5 mm). Page 8 includes a cut-out diagram.
3. Mount the controller to the panel according to the directions on page 7.
4. View the contact diagram on the side of the controller on page 8.
5. Do NOT connect to a power source yet! Connect the black power cord to the contacts #8 & #10 (110 V) or
#8 & #9 (220V). It does not matter which color wire is connected to the contacts. Screw in tight with a
Phillips head screwdriver. (Note – If in the U.S. (or a country that uses Type A or B plugs/sockets), connect
the included plug adapter to the plug).
6. Connect a device (valve, pump, etc.) to be controlled by the upper limit (CP2) with a relay cord (not
included) to contacts #13 and #14 for a normally open position OR to contacts #12 and #13 for a normally
closed position.
7. Connect a device (pump, valve, etc.) to be controlled by the lower level (CP1) with a relay cord (not
included) to contacts #6 and #7 for a normally open position OR to contacts #5 and #6 for normally closed.
8. OPTION: Both control points (CP1 and CP2) can operate the same device. To do this, double up on the
contacts of the device and connect a set of wires to each set of contacts on the CIC-152.
9. Connect the gray sensor cable by attaching the blue wire to contact #1, the red to #2, the white to #3 and
the black to #4.
10. Align the pins of the sensor to the cable and attach. Screw the tightening ring closed.
11. Insert the sensor electrode into a female ½”NPTF threaded tting. The sensor can be in still or owing
water. If using with owing water, ensure the sensor pins are orientated so that the ow of water is
perpendicular to the pair of pins. (If looking through a T-tting with the sensor in the T, you should be
able to see both pins side-by-side.) Attach to your water source.
12. Plug the power cord into an electrical outlet. The controller does not have a power switch and will
automatically power on when the power is connected.
WARRANTY
ONE YEAR LIMITED WARRANTY
The CIC-152, including both the controller and sensor, is warranted by HM Digital, Inc.
("the Company") to the purchaser against defective materials and workmanship for
one (1) year from the date of purchase.
What is covered: Repair parts and labor, or replacement at the Company's option.
Transportation charges for repaired of new product to be returned to the purchaser.
What is not covered: Transportation charges for the defective product to be sent to
the Company. Any consequential damages, incidental damages, or incidental
expenses, including damages to property. This includes damages from abuse or
improper maintenance such as tampering, wear and tear, water damage, or any other
physical damage. The Company's products are not waterproof and should not be fully
submerged in water. Products with any evidence of such damage will not be repaired
or replaced. See additional note below.
How to obtain warranty performance: Attach to the product your name, address,
description of problem, phone number, and proof of date of purchase, package and
return to:
HM Digital, Inc.
ATTN: Returns
5819 Uplander Way
Culver City, CA 90230
U.S.A.
Implied Warranties: Any implied warranties, including implied warranties of
merchantability and tness for a particular purpose, are limited in duration to ve
years from date of purchase. Some states do not allow limitations on how long an
implied warranty lasts, so the above limitation may not apply to you. To the extent any
provision of this warranty is prohibited by federal and state law and cannot be
preempted, it shall not be applicable. This warranty gives you specic legal rights, and
you may also have other rights, which vary from state to state.
NOTE: Warranties are product-specic. Third-party products and products deemed by
HM Digital as "accessories" are not covered under warranty. Third-party products and
accessories include, but are not limited to, batteries, fuses, mounting brackets, plug
adaptors and ttings.
IMPORTANT: Double-check your contacts prior to connecting the controller to a
power source. Incorrect connections could result in short circuit.
1. The controller will turn on when the power cord is plugged into an electrical outlet.
2. Open the cover on the front of the controller by gently pulling down.
3. To change the temperature mode, quickly press the‘oC/oF’button. This will toggle the temperature
between Fahrenheit and Celsius.
4. To change the measurement between TDS and EC, press and hold the MODE button. This will toggle
between ppm and µS.
5. To turn o the controller, unplug it from the electrical outlet.
3
See page 7 for abbreviations used in this guide.
When the TDS/EC level is at or below CP1, contacts #5, 6, 7 will switch from the normal position.
èThe yellow light will illuminate when the TDS/EC level is below CP1.
When the TDS/EC level is at or above CP2, contacts #12, 13, 14 wil switch from the normal position.
èThe red light will illuminate when the TDS/EC level is above CP2.
When the TDS/EC level is between CP1 and CP2, both sets of contacts will remain in the normal position.
èThe green light will illuminate when the TDS/EC level is between CP1 and CP2.
Using the Control Set Points
Please recycle this product or dispose of properly.

If your sensor has been damaged, you can purchase a new one (model SP-1-PSC) without the need to
purchase a new controller.
Contact your authorized HM Digital distributor for a replacement sensor. If you cannot locate an HM
Sensor Replacement
TROUBLESHOOTING
The controller will not power on.
Incorrect readings.
The relay controls do not work.
The display shows ERR.
1. Check to ensure the connections are correct (double-check
110V vs. 220V).
2. Check to ensure the power cable is plugged in.
1. Try to recalibrate the controller. Note that the calibration
should be done with a tting on (if using a tting).
2. Note the instructions for upper level calibration.
3. Check for interference caused by other machinery or
electronics (near the controller, cables or sensor).
1. Double-check the connections for the relays.
2. Make sure that the set point is properly set for CP1 and CP2.
1. The TDS/EC level is out of range.
2. The sensor is not connected.
3. The sensor is dirty or damaged.
Problem Potential Solution(s)
If troubleshooting does not solve the problem, please contact HM Digital for assistance. If you feel that the
controller is defective, please refer to the warranty (page 6) and return it for repair or replacement.
Setting the Control Points and Alarm Points
Lower Level Control Point 1 (CP1)
1. To set the control points (to activate a device via the relay), press the SET button once. The
temperature reading will switch to a ashing “CP1”and the measurement will switch to the
current control point. CP1 will switch the contacts #5, 6, 7 from the normal position when the
TDS level drops to the CP1 setting or below.
2. Press the UP or DOWN buttons until the desired minimum TDS level set point is reached. Pressing once
will advance the reading by a single digit. Holding down the button will advance the reading quickly.
3. Press the SET button again. This will save CP1 to memory and advance to CP2.
Upper Limit Control Point 2 (CP2)
4. After CP1 is set,“CP2”will ash and the current control point will be displayed.
5. Press the UP or DOWN buttons until the desired maximum TDS level set point is reached. Note that CP2
cannot be below CP1 and vice-versa.
6. Press the SET button again. This will save CP2 to memory and advance to AL1.
Lower Alarm 1 (AL1)
7. After CP2 is set,“AL1” will ash and the current lower alarm will be displayed.
8. Press the UP or DOWN buttons until the desired lower alarm set point is reached. To DEACTIVATE the
alarm, press the ALARM ON/OFF button. “OFF” will ash on the display.
9. Press the SET button again. This will save AL1 to memory and advance to AL2.
Upper Alarm 2 (AL2)
10. After AL1 is set,“AL2” will ash and the current upper alarm will be displayed.
11. Adjust AL2 with the arrow buttons. To DEACTIVATE the alarm, press the ALARM ON/OFF button.
12. Press the SET button again. This will save AL2 to memory and revert to measurement mode.
To clean the sensor electrodes, use rubbing alcohol and a cotton swab. Lightly clean the electrodes. Rinse
with DI, RO or distilled water. Air dry. Never touch the electrode pins, as skin oils will aect the reading.
Cleaning
Calibration
1. HM Digital factory calibrates the controller to a 1413 µS KCl solution (700 ppm NaCl). If you wish to
recalibrate, press and hold the CAL button. The temperature reading will switch to a ashing“CAL.”
2. Insert the sensor (with the tting on) into a calibration solution with a known value.
3. Press the UP or DOWN buttons to adjust the reading until it matches the value of the calibration solution.
4. Once the display matches the calibration solution, press and hold the CAL button again to set it.
HIGH RANGE CALIBRATION: In high ranges, the calibration display will advance or decrease by approxi-
mately 1% of the reading with each push of the UP or DOWN button. For ne tuning, adjust the display
as close as possible to the desired level. Then, with a small screwdriver, adjust the trimmer pot on the top
of the controller clockwise or counter-clockwise. This will allow for pinpoint calibration.
CALIBRATION ICONS
Maximum range reached: --|
Minimum range reached: |--
Middle range reached: CAL (not ashing)
HELPFUL TIP:
When the TDS is over CP1, R1 is in the normal position.
When the TDS is below CP2, R2 is in the normal position.
Example of use: The TDS (wavy line) starts above CP2, descends below CP2, below CP1 and back up (and down).
125 ppm
155 ppm
115 ppm
165 ppm AL2 IS ON AT 165 AND ABOVE
AL1 IS ON AT 115 AND BELOW
R2 closed, R1 closed
R1 opens
AP2
AP1
CP2
CP1
R2 opens
R2 closes
R2 opens
R2 closes
R1 closes
R1 opens
R1 closes
NOTE: In a real life situation, once theTDS reaches the “green” zone, theTDS will remain there due to the activation of the relays.
CP1: 125
CP2: 155
AP1: 115
AP2: 165
RELAY 1 (R1): N.C.
RELAY 2 (R2): N.O.
Using the Alarms
When the TDS/EC level is at or below AL1, the alarm will sound.
When the TDS/EC level is at or above AL2, the alarm will sound.
The alarms are independent of the control points.
To turn o an alarm, this most be done in set mode (see below).
Other HM Digital Controllers manuals
Popular Controllers manuals by other brands
Lutron Electronics
Lutron Electronics Hi-lume Premier manual
cyber Switching
cyber Switching EV-Master 7700 Series user manual
Westinghouse
Westinghouse 77886 Installation & operating instructions
K-Circle
K-Circle Base Module instruction manual
Asco
Asco 643 Series Installation and maintenance instructions
Simplex
Simplex TrueAlert 4009 Series Operation reference
