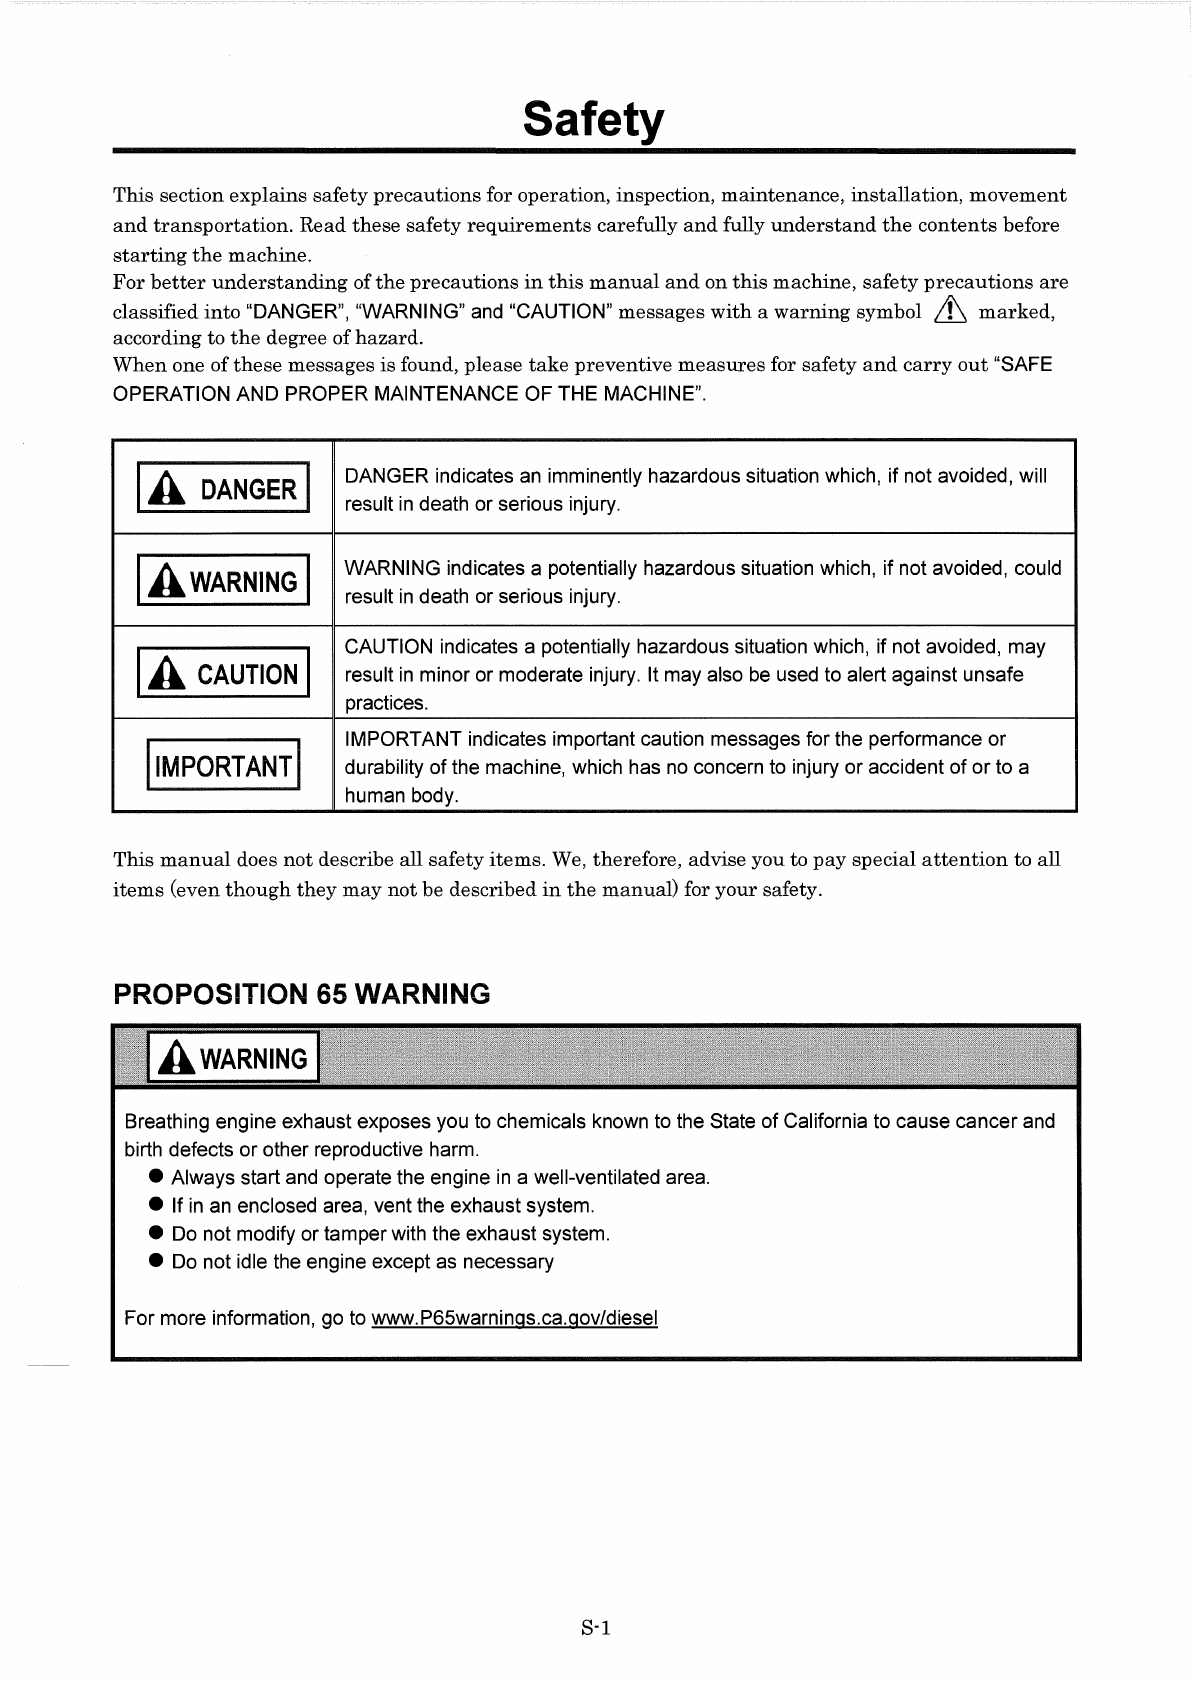
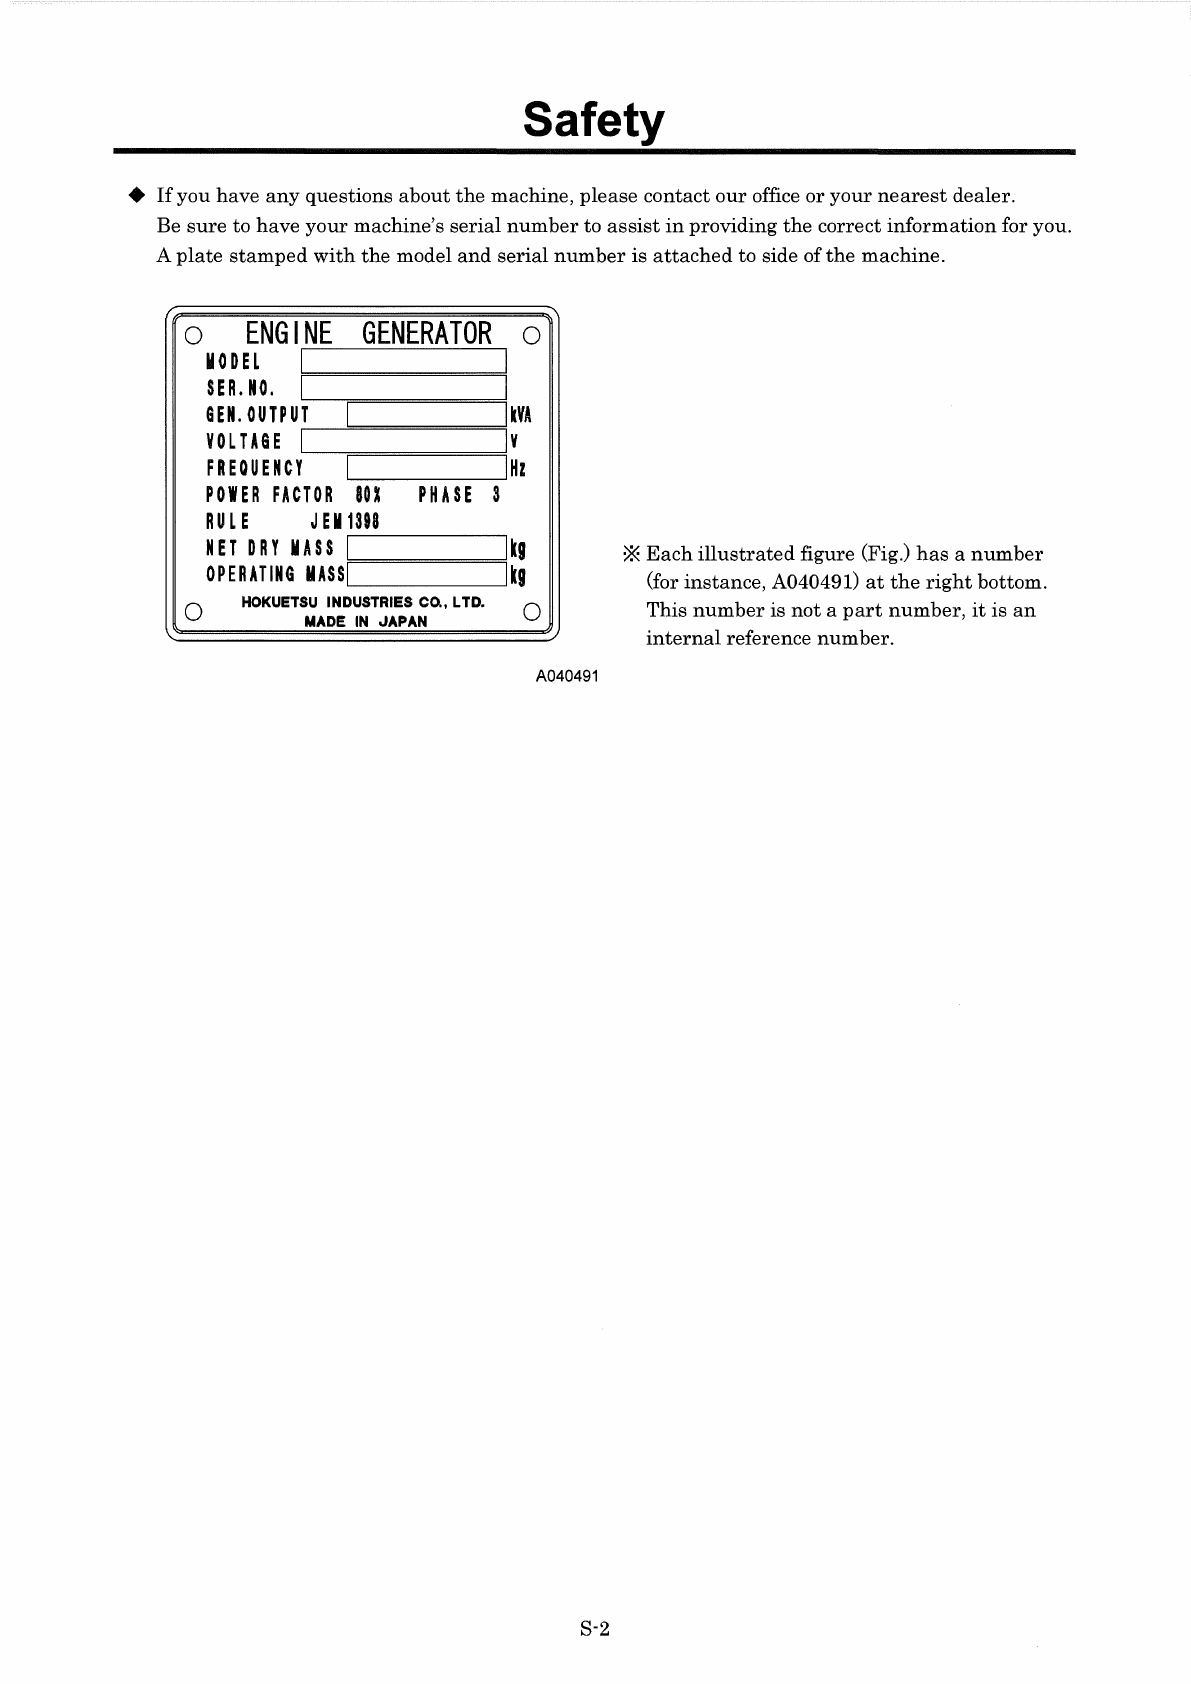
Hokuetsu AIRMAN SDG45S-8E2 User manual

AIRMAN
INSTRUCTION
MANUAL
ENGINE
GENERATOR
j SDG45S-
8E2
j .
[ENVIRONMENTAL
CONTAINMENT
BASE
TANK
TYPE]
Please
be
sure
to
read
this
manual
before
using
this
machine.
HOKUETSU
INDUSTRIES
CO.,
LTD.

Preface
Thank
you
for
choosing
"Al
RMAN"
♦
Keep
this
manual
at
hand
and
refer
to
it
as
necessary.
♦
If
this
manual
is
missing
or damaged,
order
a
new
copy from
our
office or
your
nearest
dealer.
Make
sure
that
the
manual
is
included
with
the
machine
when
it
is
handed
over to
another
user.
♦
The
contents
of
this
manual
may
differ from
the
machine
because ofdesign changes.
If
anything
is
unclear,
please
contact
our
office
or
your
nearest
dealer
for clarification.
♦
Refer to
the
Engine
Operation
Manual
for
engine
handling,
maintenance,
and
safety
information.

Table
of
Contents
1. Major Components
-----------------------------------------------------------~---
1.
1 Internal Components
2. Transportation and Installation
2.1
Transporting Machine
2.2 Conditions
of
Installation
2.3 Grounding
2.4 Selecting Cable
2.5 Fuel Pipe Selector Valve
1-1
1-1
2-1
2-1
2-2
2-4
2-7
2-8
3. Operation --------------------------------------------------------------------------------------------- 3-1
3.1
Control Panel
-------------------------
3.2 Connecting Loads
------------------------
3.3 Engine Oil • Coolant · Fuel
3.4 Before Starting the Unit
----------------------
3.5 Operating Procedure
3.6 Emergency Stop
-------------------------
4. Failure and Troubleshooting ---------------~-------------------------------------------
4.1
Protection devices
4.2 Troubleshooting
3-1
3-3
3-7
3-9
3-15
3-22
4-1
4-1
4-3
5. Periodic Inspection
-----------------------------------------------------------------------
5-1
5.1
Important Items at Periodic Inspection and Maintenance
------------
5-1
5.2 Maintenance Schedule
----------------------
5-2
5.3 Replacement Parts Schedule
--------------------
5-3
5.4 Maintenance Items
------------------------
6. Storage and DisposaI -------------------------------------------------------------------
6.
1 Preparation for Long-term Storage
6.2 Disposal of Product
------------------------
7. Specifications -------------------------------------------------------------------------
7.
1 Specifications
7.2 Exterior drawing
7.3 Generator Wiring Diagram
7.4 Engine Wiring Diagram
7.5 Piping Diagram
5-4
6-1
6-1
6-1
7-1
7-1
7-2
7-4
7-5
7-7

Safety
This
section
explains
safety
precautions
for
operation,
inspection,
maintenance,
installation,
movement
and
transportation.
Read
these
safety
requirements
carefully
and
fully
understand
the
contents
before
starting
the
machine.
For
better
understanding
of
the
precautions
in
this
manual
and
on
this
machine,
safety
precautions
are
classified
into
"DANGER", "WARNING"
and
"CAUTION"
messages
with
a
warning
symbol &
marked,
according to
the
degree
of
hazard.
When
one
of
these
messages
is
found,
please
take
preventive
measures
for
safety
and
carry
out
"SAFE
OPERATION AND PROPER MAINTENANCE
OF
THE MACHINE".
IA
DANGER
I DANGER indicates
an
imminently hazardous situation which, if not avoided, will
result
in
death or serious injury.
IA
WARNING
I WARNING indicates a potentially hazardous situation which, if not avoided, could
result
in
death or serious injury.
IA
CAUTION
I CAUTION indicates a potentially hazardous situation which, if not avoided, may
result
in
minor or moderate injury. It may also
be
used to alert against unsafe
practices.
I
IMPORTANT
I IMPORTANT indicates important caution messages for the performance or
durability of the machine, which has
no
concern to injury or accident of or to a
human body.
This
manual
does
not
describe all
safety
items.
We,
therefore,
advise
you
to
pay
special
attention
to
all
items
(even
though
they
may
not
be
described
in
the
manual)
for
your
safety.
PROPOSITION 65 WARNING
WARNING
Breathing engine exhaust exposes you to chemicals known to the State of California to cause cancer and
birth defects or other reproductive harm.
• Always start and operate the engine
in
a well-ventilated area.
• If
in
an
enclosed area, vent the exhaust system.
• Do not modify or tamper with the exhaust system.
• Do not idle the engine except as necessary
For more information, go to www.P65warnings.ca.gov/diesel
S-1

Safety
♦
If
you
have
any
questions
about
the
machine,
please
contact
our
office
or
your
nearest
dealer.
Be
sure
to
have
your
machine's
serial
number
to
assist
in
providing
the
correct
information
for you.
A
plate
stamped
with
the
model
and
serial
number
is
attached
to
side of
the
machine.
o
ENGINE
GENERATOR
0
MODEL
I
F===========l
SER.
NO.
I
'-------;==========l
GEN.OUTPUT
I
k~
~-==========:
VOLTAGE
I Y
'------;::=========:
FREQUENCY
I
Hz
PO
WE
R
FA
CT
OR
BOX
PHASE
3
RULE
JEM1398
~-------,
NET DRYM
AS
S
kg
0
PER
AT
ING
IIAS
S
._____
___
___,
kg
00 HOKUETSU INDUSTRIES CO., LTD.
MADE
IN
JAPAN
A040491
S-2
*
Each
illustrated
figure (Fig.)
has
a
number
(for
instance,
A040491)
at
the
right
bottom.
This
number
is
not
a
part
number,
it
is
an
internal
reference
number.

Safety
[Safety Warning Labels]
Following
labels
are
attached
to
the
machine.
Always
keep
these
labels
clean
.
If
they
are
damaged
or missing,
immediately
place
an
order
with
your
nearest
dealer
for
replacement.
Part
numbers
are
indicated
on
the
lower
right
corner
of
the
label.
Adhere
a
new
one to
the
original
location.
1
LIFTING BAIL
39176 69300
2
ACAUTION
rL
PREVENT
BURNING
ACCIDENT
Do
not
open
radiator
cap
while
it
is
still
hot.
39176
69600
5
3
ACAUTION
rL
PREVENT
BURNING
ACCIDENT
When
work
is
required
near
hot
parts ,
wait
for
the
parts
to
coo
I
down
fu
11
y
before
starting
work.
3917669500
4
® I
Ji)
DIESEL
FUEL
I
EPA
REGULA
TIDN
ULTRA
LOW
SULFOR
FUEL
ONLY.
DIESEL
A
TRES
FAIBLE
TENEUR
EN
SOUFRE
FLAMMABLES
UNIQUEM
ENT,
39178
22031
6 7
rn
A
WARNING
A
DANGER
&. WARNING
Breathing diesel engine exhaust exposes you
to
chemicals
known
to
the
State
ofCalifornia
to
cause
cancer and birth defects
or
other reproductive harm.
Do
rot
tcu:h
live
electrical
ports.
Always
wear
dry
insulotirg
gloves.
Do
not
operate
the
unit
\n
the
roin,Clf'OU1d
stcming
water
or
wren
wet.
Maintain
oil electrical
cords
and
conections
in§.ooer
ccnditior.
[AJw~§_gf.ounalfii
.9en!rol_or
fo
eprtflieJor§~OlLffii
391?6
62900
DO
NOT
OPEN
PANEL
WHILE
UNIT
IS
RUNNING
· ~~~1iT!t!ba:r:~~ operate the engine
in
a well-
If
in an enclosed area,
vent
the exhaust
to
the
outside.
•
Do
not modify ortamper
with
the
exhaust
system.
• Do not idle the engine except
as
necessary.
HIGH
VOLTAGE
391766240{ For more information go
www.
P65warnings.ca.gov/diesel
8
&DANGER
Using
a
generator
indoors
CAN
KILL
YOU
IN
MINUTES,
Generator
exhaust
contains
carbon
monoxide.This
is
a
poison
you
cannot
see
or
smell.
Jil
~~_y.
NEVER
use
inside
a
home
Only
use
OUTSIDE
and
or
ga~ge,EVEN
IF
doors
far
away
from
windows,
ana
windows
are
open,
doors,and
vents.
Avoid
other
generator
hazards.
READ
MANUAL
BEFORE
USE.
39176
09310
12
9
A
WARNING
BEWARE
OF
EXHAUST
GASES
When
you
operate
machine
INDOORS
or
in
TUNNEL,
provide
good
ventilation.
Poor
ventilation
can
cause
fatal
accident.
39176
73300
13
AWARNING
DANGEREXPLOSIVE GASES
fit.'::-
!:ft:,o;:.a~:;'t:.i:teC:~~!,/~x~~
A:~
or
adjust
PQ1t
connections
without
pruper
Instruction
and
training.
~tJ
~~
~\,
BEWARE
OF
ENTANGLEMENT
Keep
your
hands
AWAY
from
fan
during
opration.
Entanglement
in
the
fan
can
cause
serious
injury.
39176
73500
KEEP
VENT
CAPS TIGHTAND LEVEL
POISON CAUSES SEVERE BURNS
ConUlns
1dluric
acid.
Avoid
contact
with
tkln,
eyes
or
clolhlng.
In
event
ol
accident
flush
with
water
and
cal
I
phYlician
~.
KEEP
OUT
OF
REACH
OF
CHILDREN
39176
50000
S-3
10
A
CAUTION
DO
NOT
SWITCH
WHILE
UN
IT
IS
RUNN
I
NG
39178
50820
39178 67840
11
A
WARNING
;/JJ.
BEWARE
OF
ENTANGLEMENT
Keep
your
hands
AWAY
from
moving
parts
such
as
V-belts,
pilleys
etc
..
Entanglement
in
them
can
cause
serious
injury.
39176
73800

Safety
• The locations of the safety warning labels are as follows.
1 2
Battery
B
11 12 10 3
A
D D
'lo
Fuel
Tank
0~4
~
VIEW A A200207
S-4

W013
TR0086
TR0304
M003
Safety
• Never touch the control panel during operation. Be aware that a voltage
of
several hundred volts
is
applied to the control panel.
• Be sure to stop the engine and turn control power switch OFF whenever
the control panel has to be checked or operated. Disconnect the
negative battery terminal during checking and maintenance.
• Read each instruction plate which is displayed
in
the manual or on the
machine carefully, understand its content and follow the indications
thereof.
• Do not modify the machine without prior approval. The safety may be
compromised, functions may be deteriorated, or machine life may be
shortened.
• Never use the machine for the other purposes than power supply.
Otherwise, serious accidents may occur.
• Keep hands away from rotating components during operation.
• When cleaning dust accumulated
in
devices such as filters, etc., with
compressed air, wear safety glasses, etc. to protect your eyes
S-5

A
CAUT
H990432
Safety
•
Be
sure to stop the engine and let the coolant water sufficiently cool
down before draining
it.
• If the drain valve is opened before the coolant water is cool enough, hot
scalding water could jet out, causing burns.
• When washing the machine, cover the control panel, generator and its electric parts to prevent them
from being exposed to splashing water and avoid possible decrease
in
electrical insulation or other
troubles
to
the machine.
• Dust, sand, and dirt accumulated inside the control panel could cause malfunction or issues with the
instrumentation. Clean them using compressed air.
A100285
• Waste liquid from the machine contains harmful material. Do not
discharge it onto the ground or into the river, lake or sea. Such material
will pollute the environment.
•
Be
sure to use a container to hold waste liquid from the machine.
•
Be
sure
to
follow the designated regulations when disposing of oil, fuel,
coolant (antifreeze), filter, battery or other harmful materials.
• The engine of this machine contains many electrical and electronic parts. Before welding, be sure
to disconnect all electronic control equipment (specifically the ECM).
Failure to do so could result
in
equipment malfunction due to excessive current.
S-6

1.
Major Components
1.1
Internal Components
1 2 3 4 5
8 7 6 A200205
No.
Description
Function
1
Intercooler
Device
that
cools
the
air
compressed
by
the
engine
supercharger.
2
Air
Filter
Filtering
dust
from
intake
air.
3
Engine
Device
that
drives
the
alternator.
4 Voltage
Selector
Switch
Switching
output
voltage.
5
Control
Panel
(Operation
Panel)
Controlling
device;
various
meters
and
controls.
6
Alternator
Device
that
generates
electricity
supplied
to
a
load.
7
Battery
Power
source
to
start
the
engine.
8
Fuel
Tank
Vessel
for
storing
fuel.
1-1

1.
Major Components
9 10
11
12
13
00
6 6 6 6 6
liliiiW -
17
16
15
14
A200206
No.
Description
Function
9
Terminal
Board
Outlet
ports
for AC
power.
10
DOC
(Diesel
Oxidation
Catalyst)
Catalyst
for
oxidizing
exhaust
gas.
11
Engine
Oil
Filler
Port Port
for
supplying
/
replenishing
engine
oil.
12
Reserve
tank
Tank
for
checking
&
replenishing
coolant
13
Radiator
Device
that
cools
the
engine
coolant.
14
Fuel
Pipe
Selector
Valve Device
to
switch
to
external
fuel
tank
supply.
15
Engine
Oil
Filter
Device
that
filters
engine
oil.
16
Fuel
air-
bleeding
electromagnetic
Device
that
automatically
bleeds
air
from
the
fuel
pump
lines.
17
Fuel
Filter
Device
that
filters
foreign
matter
&
particulate
mixed
in
fuel.
1-2

2.
Transportation and Installation
2.1
Transporting Machine
•
When
loading
and
unloading
machine,
be
sure
to
use
the
lifting
bail
provided
on
the
center
of
the
machine
top.
2.1.1 Lifting
A
A180553
AwARNING
<Procedure>
1.
Before
lifting
the
unit
up,
make
sure
to
check
the
lifting
bail
[A]
for
any
cracks
or
loosened
bolts.
2.
Connect
the
hook
of
the
crane
or
shackle
with
lifting
bail
fitted
at
the
top
center
of
the
unit,
and
make
sure
that
there
is no
person
standing
around
the
unit.
Then
perform
hoisting
operation.
•
Select
an
appropriate
crane
or
truck
by
referring
to
the
mass
and
dimensions
mentioned
in
"Specifications".
•
Only
a qualified
crane
operator
is
allowed
to
operate
a
crane.
• Never go underneath the unit when suspended because it is very dangerous.
• Do not lift the unit while it
is
running. Otherwise, a fatal or serious accident may occur.
2-1

2. Transportation and Installation
2.2 Conditions of Installation
1,
000mm
or
more
Exhausted gas
Private house
~
Ji
0
0
,
....
f
]~
s
0
0
0
,
....
f
SG0110
PC002
t;--Using
Blower
A050506-1
A050505
This
machine
should
be
installed
only
on
a dry,
level
surface
and
operated
in
an
appropriate
environment
as
below:
• Ambient temp: 5°F to 104°F (-15°C to 40°C)
• Humidity: Less than 85%
• Altitude: Lower than 1,000m above sea level.
*Using the machine outside the above conditions may
cause serious failure.
•
If
more
than
two
units
are
placed
parallel
in
operation,
keep
enough
distance
so
that
exhaust
air
from
the
one
does
not
affect
the
other
one.
• Keep
enough
space
around
the
unit
for
inspection
and
maintenance
access.
• Exhaust gas can cause death or serious injury upon
inhalation. Avoid using the machine
in
an insufficiently
ventilated building or a tunnel.
•
Do
not position the exhaust gas outlet
in
the direction
of a person or a house.
• If the unit
is
installed inside any tunnel, make sure to
provide fresh air and ventilate
it.
•
In
this case, make sure to extend the exhaust fume
pipe outdoors, and also make sure to prevent any leak
from any connection pipes.
• Never locate the unit with the exhaust muffler facing
any private house.
• As the exhaust gas from the engine is poisonous,
never direct it at people passing
by.
2-2

2. Transportation and Installation
Extended
exhaust
pipe
Exhaust
gas
ouUetport
___
_
cJ'l\-~
c==-=:'.;"I
-.::..:
Exhausted
gas
A
CAUTION
Safety Fence
V/,,,J V/,,,J
Air
Inlet
¢=:J
A090641-1
SG0103-1
A050507-1
• When installing indoors, both an intake port and
an
exhaust port must
be
used to improve air
ventilation.
• Make sure to secure enough space
in
front
of
air
suction port and to secure it after exhaust fume
outlet port so that the engine will not get
overheated.
• An exhaust pipe or the like should be provided at
the exhaust outlet port to send exhaust fumes
outdoors.
• The cooling air outlet port
of
radiator should have
access to the outdoors through a duct or the like
for air ventilation.
• The unit should be installed within
5°
degree
inclination.
• If installation site is not flat, put square bar under
the unit to install it horizontally.
• Avoid installing the unit
in
a damp place or a
place where water collects. Such an installation
could cause electric shock.
• When installing the unit at the seashore, make
sure that it
is
not exposed directly to sea water
because there
is
a risk
of
the change to the
insulation resistance
of
the generator assembly
or control panel inside. To request a model with
measures against salt damage, please consult
the nearest sales office.
• When installing the unit at a sandy place, make
sure that exhaust from the generator or radiator
does not blow the sand up
in
the air or into the
machine.
• To prevent unauthorized personnel on the job
site from using or interacting with
2-3
the machine, please take precautions such as
safety fencing around the unit.

2. Transportation and Installation
2.3 Grounding
2.3.1
Ground Terminal
6 o O 6
Grounding
method
A180816
• The
ground
terminal
[A]
on
the
AC
output
terminal
board
is connected to
ground
of
this
unit
and
to
the
ground
terminals
of
each
outlet.
Grounding
Terminal
[A]
Load
Switch
Load
Grounding
Rod
Grounding
Rod
A180554
2.3.2 Grounding System
AIRMAN's
generators
have
a
system
ground
that
connects
generator
frame
components
to
the
ground
terminals
in
the
AC
output
receptacles.
The
AC
neutral
wire (N) is connected to
the
system
ground.
2-4

2. Transportation and Installation
2.3.3 GFCI Receptacles
• All of
the
20
ampere
120 volt receptacles
on
the
generator
are
protected
by
a GFCI
(Ground-fault
circuit
interrupter)
for protection
against
the
hazards
of
ground
fault
currents.
An
example
of ground-fault
current
is
the
current
which
would flow
through
a
person
who is
using
an
appliance
with
faulty
insulation
and,
at
the
same
time, is
in
contact
with
an
electrical
ground
such
as
a
plumbing
fixture,
wet
floor,
or
earth.
•
The
ground
·fault
circuit
interrupter
will
not
protect
against
short
circuits
or
overloads.
The
circuit
breaker
in
the
control
panel
which
supplies
power
to
the
circuit
provides
that
protection.
•
The
ground-fault
circuit
interrupter
can
be
identified
by
the
TEST
and
RESET
buttons.
The
receptacles
on
the
GFCI
can
be
tested
with
the
TEST
and
RESET
buttons.
TEST
BUTTON: To
test,
depress
the
"TEST"
button.
(Power is
turned
oft)
RESET
BUTTON: To
restore
power,
depress
the
"RESET"
button.
•
Perform
this
test
monthly
or every 250
hours
operation,
whichever
comes first,
in
order
to
ensure
proper
operation
of
the
GFCI receptacle.
If
the
generator
is
stored
outdoors,
unprotected
from
the
weather,
test
the
GFCI receptacle
before
each
use. Record
your
test
on
the
GFCI
test
card
provided
on
the
control
panel.
Test
Button
0
Reset
Button
D
~
A040270
A
CAUTIO
• Using the generator
in
rain, snow or near water can lead to death from electric shock.
2-5

2.
Transportation and Installation
2.3.4 Connections
to
a Building's Electrical System
Connections for
standby
power
to a
building's
electrical
system
must
be
made
by
a
qualified
electrician.
The
connection
must
isolate
the
generator
power
from
utility
power
and
must
comply
with
all
applicable
laws
and
electrical
codes.
• Improper connections to a building's electrical system can allow electrical current from the generator
to backfeed into the utility lines. Such backfeed may electrocute utility company workers or others
who are
in
contact with the lines during a power outage. For more information please consult with the
utility company or a qualified electrician.
• Improper connections to a building's electrical system can allow electrical current from the utility
company to backfeed into the generator. When utility power
is
restored, the generator may explode,
burn, or cause a fire
in
the building's electrical system. For more information please consult with the
utility company or a qualified electrician.
2-6

2.
Transportation and Installation
2.4 Selecting Cable
•
Select
a cable
with
sufficient
diameter
by
considering
the
permissible
current
on
the
cable
and
the
distance
from
the
generator
to
the
load.
•
If
the
current
flowing to
the
load exceeds
the
permissible
current
of
the
cable,
resultant
overheating
may
melt
the
cable. Similarly,
if
the
cable is too
small
in
thickness
to
the
length,
the
input
voltage to
the
load will fall to
cause
the
load
input
power to drop,
as
a
result,
the
performance
of
the
machine
may
be
diminished.
Cable Thickness A (mm2) Working
Current
I
(A)
Load
Switch
A180885
• Simplified
formula
to
seek
voltage drop
or
cross-sectional
area
of
the
cable from cable
length
and
working
current.
Select
such
a cable
length
and
thickness
so
that
the
voltage drop will
remain
within
5%.
Output System Voltage
Drop
Cross-sectional area of
Cable
e:
Voltage drop
(V)
e': Voltage drop
between
30.8
XLXI
A=
30.SXLXI
outside
line
or
one
line
of
3
Phase,
3 Wire
e=
1,000XA
l,QQQX
e
each
phase
and
neutral
line.
17.SXLXI
17.SXLXI
A:
Cable
thickness
(mm
2)
3
Phase,
4 Wire
e'=
1,000XA
A=
l,000X
e'
L:
Cable
length
(m)
r:
Working
current
(A)
•
The
following
tables
show
the
relations
between
the
cable
length
and
the
cable
thickness
(nominal
cross-sectional
area)
suited
to
the
working
current.
(Based
on
the
condition
that
working voltage
is
200
V,
with
voltage drop of lOV.)
Single-Conductor Cable (Unit:
mm
2)
~
t 165ft (50m) 246ft (75m) 328ft (100m) 410ft (125m) 492ft (150m)
656ft
(200m)
50A 8 14 22 22 30 38
100A 22 30 38 50 50 60
150A 38 38 50 60 80 100
Three-Conductor Cable (Unit:
mm
2)
Length
165ft (50m) 246ft (75m) 328ft (100m) 410ft (125m) 492ft (150m)
656ft
(200m)
Current
50A 14 14 22 22 30 38
lO0A 38 38 38 50 50 60
150A 22x2 22x2
38X2
38X2
38X2
50X2
2-7

2.
Transportation and Installation
2.5 Fuel Pipe Selector Valve
2.5.1
Overview
This valve is
designed
to feed fuel directly from
an
external
fuel
tank
or
from
the
installed
fuel
tank
as
described below.
2.5.2 Operation method
<Procedures>
1.
Machine
is delivered from
the
factory
with
fuel line
piping
and
selector
valves
set
as
shown
in
the
following Fig.1.
When
operating
the
machine,
with
the
installed
fuel
tank,
run
the
machine
with
the
fuel
line
piping
and
the
handles
ofselector valves
as
set
from
the
factory.
2.
When
using
an
external
fuel
tank,
remove
the
plug
fitted
at
the
connections
to
the
external
tank
and
set
the
piping
as
shown
in
Fig.2.
And
then
turn
the
handles
of
the
selector valve
as
shown
in
Fig.2.
3.
When
removing
the
external
tank
piping
connection,
make
sure
to
return
the
handles
to
the
original
positions
shown
in
Fig.1
and
install
the
plugs.
2.5.3 Installation of External Fuel tank
and
piping method
<Procedures>
1.
Use oil
resistant
hoses
with
an
inside
diameter
of
8mm
to 10mm.
2.
Install
the
fuel
tank
so
that
the
fuel level of
the
tank
is
between
O
and
2.5m
high
from
the
machine
installation
level.
3.
To avoid
suction
of
water
and
sediment
together,
install
the
suction
pipe so
that
the
inlet
port
of
suction
pipe
may
be
kept
between
15mm
and
20mm
higher
than
the
bottom
line
of
the
tank.
Also
install
the
outlet
port
of
the
return
pipe inside
the
tank.
(See Fig.2 ·
A)
4.
When
refueling
the
tank,
take
caution
to
prevent
water
and
particulate
ingress.
When
using
the
internal
fuel
tank
Inlet
When
using
an
external
fuel
tank.
Selector
handle
Suction side
Outlet
==rs.~~~=-
~
Selector
handle
1-·-------------·--
!
Return
side
i
Outside
!
r--·---·
I'~
!
i
1 t
Inlet
,
L___
_
________
J
L
____
_
External
fuel
tank
s
11:J
C'-1
---~
~
~ ~
(External
fuel
connection port) 15 to
20mm
z
1--1
Fig 1
Fig
2
Generator
grounding
plan;E
A130861
2-8

2.
Transportation and Installation
A
CAUTIO
• Always watch the fuel supply conditions when supplying fuel from
an
external fuel tank. Make sure to
change the handles
of
the selector valves to the predetermined positions.
If you make a mistake
in
turning the handles, it can burst the fuel pipe and cause overflowing. It could
lead to a serious accident.
• Take great care not to use excessive force
on
the selector valve handle. It may cause damage or fuel
leakage.
2-9
Table of contents
Other Hokuetsu Portable Generator manuals