Brightness
Increase
Brightness
reduce
Fig 5
678
910 11
Sight operation
Zero setting
Maintenance and care
Limited warranty
Fig 4
Fig 6
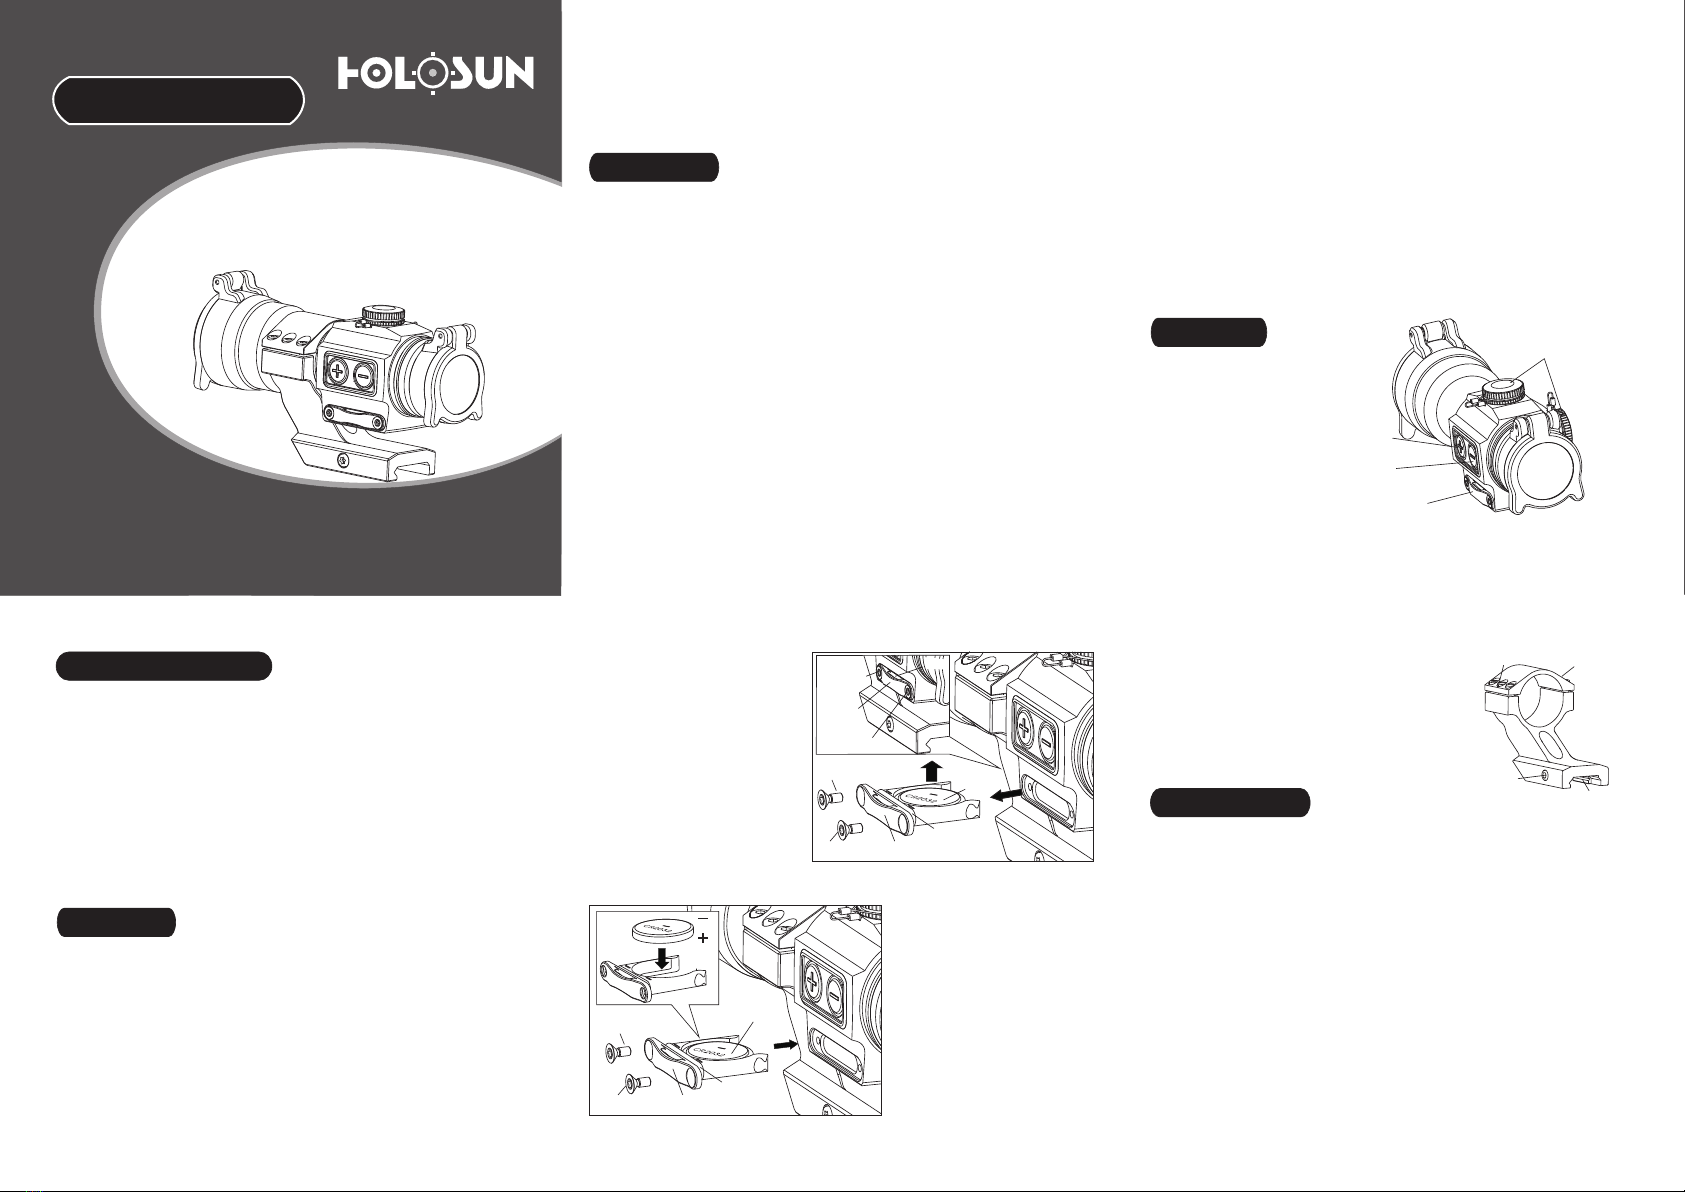
Protective
cap
Elevation
adjustment knob
Windage
adjustment
knob
slotted
screw
1. On top of sight is the elevation adjusting knob, windage
adjusting knob is on the right side (see Fig 6). The sight has
been adjusted for approximate zero in factory.
2. The built in screw driver tool on the protective cap can be
used for zeroing adjustment (see Fig 6). See label inside cap.
3. First open the protective cap (see Fig 6), position slot type
screwdriver on the slotted screw, then rotate the screw to
right or left for adjustment. Each left or right click is for one
adjustment equivalent to 0.5MOA value.
4. Adjust the Elevation turret counterclockwise to move the
point of impact UP. Adjust the Windage turret counter-
clockwise to move the point of impact to the RIGHT. Turning
either turret clockwise moves the point of impact in the
opposite direction.
5. Caution:
Don't try to over rotate the knobs. If you feel the knobs
cannot be rotated, this indicates you have reached the
adjustment limit, otherwise the device may be damaged. If
the required adjusting range is beyond the limits, consider
adding an extra spacer between the device and mounting
rail to allow for additional adjustment.
TUBE HS406A1
Red Dot sight
when powered on and off.
2. Motion sensor
1)The motion sensor is always enabled
when the sight is on or in sleep mode.
2) If no motion is detected for 10 min,
the sight will save the current
brightness and then turn off the dot.
Any motion will turn on the dot to the last saved setting.
3. Auto sleep mode
The default sleep timer setting is 10 min, but can be adjusted
1) Press and hold the “+” button for 10 seconds to enter time
adjustment mode. There are 4 options: 10 min, 1h, 12h or
the sleep mode is disabled.
2) Press and release either “+” or “-” button to set the time. The LED
will blink (1=10 min, 2=1h, 3=12h, or 4=disable sleep mode).
3) Press the “+” and “-” buttons simultaneously to save the
time setting and power off the sight.
4.Low battery Warning
If the battery voltage drops below 2.2Vdc,the dot will cycle on for
3 seconds and off for 0.3 seconds.
.
The operating panel is on the top of sight. (see Fig 5)
1. Operation
1) Switch on: Press and release either brightness button(”+”or”-”)
to turn on the sight.
2) Brightness adjustment: There are 12 brightness settings. The
default brightness is on the 7th level. Press the "-"or "+" button
until the red dot has a sufficient intensity to contrast against
the target. One quick press and release changes brightness.
3) Power off: Press the "+" and "-" buttons simultaneously will
turn the power and motion sensor off.
Note: The sight will remember the last saved brightness setting
compatible rail, please contact a qualified gunsmith.
2) Insert included Torx wrench into
the clamp socket, then rotate to
loosen the cross bolt (as shown
in Fig 3). Slide the sight into the
weapon rail to an appropriate
position, and finally tighten the
clamp screw.
This device is a precision instrument that deserves
reasonably cautious care. The following tips are provided to
ensure long lasting use of the sight.
SUMMARY
We provide a limited lifetime warranty from the date of purchase
on parts and workmanship to the original purchaser. At our sole
discretion, we will repair or replace product found to be defective
The optical system, including the objective lens and
lens are multi-coated optical glass. When cleaning the lenses,
blow away the dust on surface , wet the lens with lens cleaner or
clean water, wiping the fingerprint or other oils with lens tissue,
soft cotton or microfiber cloth. No special maintenance is needed
for the housing surface. Avoid touching the glass surface with dry
cloth or tissue paper. Do not use organic solvents such as alcohol
or acetone. Do not try to dismantle the device as the internal
parts are specially cleaned and sealed and with an anti-fog
treatment. Any such attempt will void the warranty.
If repair is needed, you can call our customer service center,
visit our website, or send an email to us.
eyepiece under normal use and service without charge excluding any
delivery costs, which will be born by purchaser.
We will not be liable for incidental, consequential, or
special damages arising out of or in any connection with the
use or performance of this product. This warranty is void if
the product has been misused, modified, neglected, or
disassembled prior to its return.
Please refer to http://www.holosun.com for current and
complete warranty information.
Holosun Technologies Inc.
www.holosun.com
Phone: 909-594-2888
Email: info@holosun.com
Customer Service
v2.1.1