4. To set the fourth alarm, press the M button (y). If you press S button
(n), it will turn off the meter. To change the hour, press S button. To
enter the hour and move on to change the minutes, press M button. To
change the minutes, press S button and press M button to turn off the
meter. (Fig.8)
Note: When the alarm is ringing, press S or M button to turn off or alarm
will turn off automatically after 30 sec.
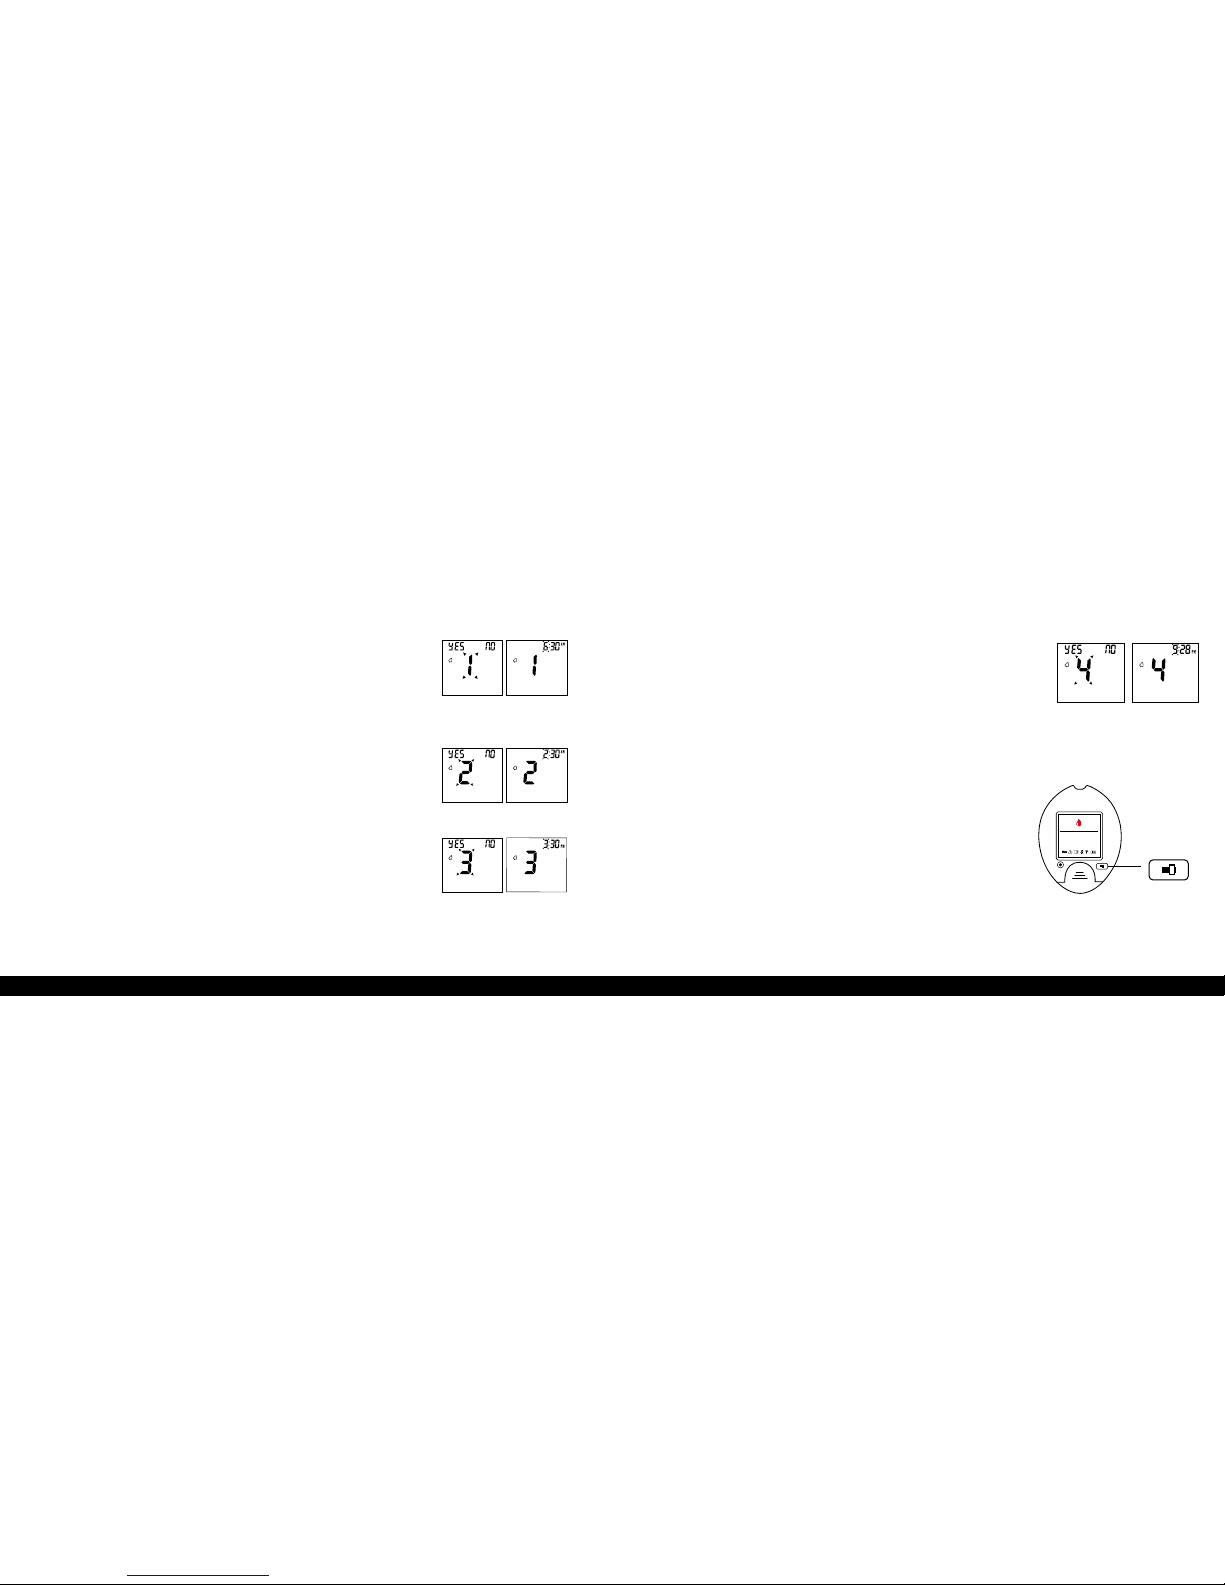
(Fig.7)
(Fig.8)
Unit selection
Select unit, mg/dL or mmol/l on the back of the meter.
Note: The mg/dL is the standard unit in the United States. Meters
used in the United States must be set to read in mg/dL.
mmol/l mg/dL
RESET
mmol/l mg/dL
13
Easy
Step
Blood Glucose Monitor
Model: T502-73802
Home Aide Diagnostics, lnc
Tel.: (800) 915-0116
www.homeaide.us
Made in Taiwan
1. Press S button for 4 sec to enter this mode. To set the rst alarm,
press the M button (y). If you press S button (n), it will turn off the me-
ter. To change the hour, press S button. To enter the hour and move
on to change the minutes, press M button. To change the minutes,
press S button. To enter the minutes and move on to choose the sec-
ond alarm setting, press the M button. (Fig.5)
2. To set the second alarm, press the M button (y). If you press S button
(n), it will turn off the meter. To change the hour, press S button. To
enter the hour and move on to change the minutes, press M button. To
change the minutes, press S button. To enter the minutes and move
on to choose the third alarm setting, press the M button. (Fig.6)
3. To set the third alarm, press the M button (y). If you press S button (n),
it will turn off the meter. To change the hour, press S button. To enter
the hour and move on to change the minutes, press M button. To
change the minutes, press S button. To enter the minutes and move
on to choose the fourth alarm setting, press the M button. (Fig.7)
(Fig.5)
Setting up alarm
(Fig.6)
12