6 7
To prevent injury to the user or other people and property damage, the following instructions must be followed when using
the Air Conditioner. Incorrect operation due to ignoring of instructions may cause harm or damage.
1. Read all instructions. Use this product only as described in this manual.
2. Keep all packaging material (cardboard, plastic, etc...) out of the reach of children.
3.
4.
5. Always ensure effective grounding.
6. Unplug the unit if any strange sounds, smell, or smoke comes from it.
7.
8. Ventilate room before operating the air conditioner if there is a gas leakage from another appliance.
9. Do not operate or stop the unit by inserting or pulling out the power plug.
10. Do not operate with wet hands or in a damp environment.
11. Do not allow water or other liquid to run into electric parts.
12. Do not use the socket if it is loose or damaged.
13. Do not use the power cord close to heated appliances.
14. Do not disassemble or modify unit.
15.
1-800-898-3002 in order to avoid a hazard.
16.
17. Do not modify power cord length or share the outlet with other appliances.
18. Do not open the unit during operation.
19.
20.
21. Do not use a strong detergent, such as wax or thinner, but instead use a soft cloth. Appearance may be deteriorated
due to change of product color or scratching of its surface.
22. Use caution when unpacking and installing. Sharp edges could cause injury.
23. Stop operation and close the window in storm or hurricane. Operation with windows opened may cause dampening of
indoor areas and the soaking of household furniture.
24.
25. Do not place obstacles around air-inlets or inside of air-outlets.
26.
27. Do not clean the air conditioner with water. Water may enter the unit and degrade the insulation.
28. When the unit is to be cleaned, switch it off, and turn off the circuit breaker. Do not clean unit when power is on.
29. Hold the plug by the head of the power plug when removing. Do not pull / yank on the cord.
30. Do not place heavy objects on the power cord and ensure that the cord is not compressed.
31. If water enters the unit, turn the unit off at the power outlet and switch off the circuit breaker. Isolate supply by taking
32. Ventilate the room well when used at the same time with a stove, etc. An oxygen shortage may occur.
33. Do not use for special purposes. Do not use this air conditioner to preserve precision devices, food, pets, plants, and
art objects. It may cause deterioration of quality, etc.
34. Ensure that the installation bracket of the outdoor appliance is not damaged due to prolonged exposure. If bracket is
damaged, there is concern of damage due to falling of unit.
35. Turn off the main power switch when not in use for a long time.
36. Do not drink water drained from air conditioner. It contains contaminants and could make you sick.
SAVE THESE INSTRUCTIONS
For Household Use Only
IMPORTANT SAFETY INSTRUCTIONS
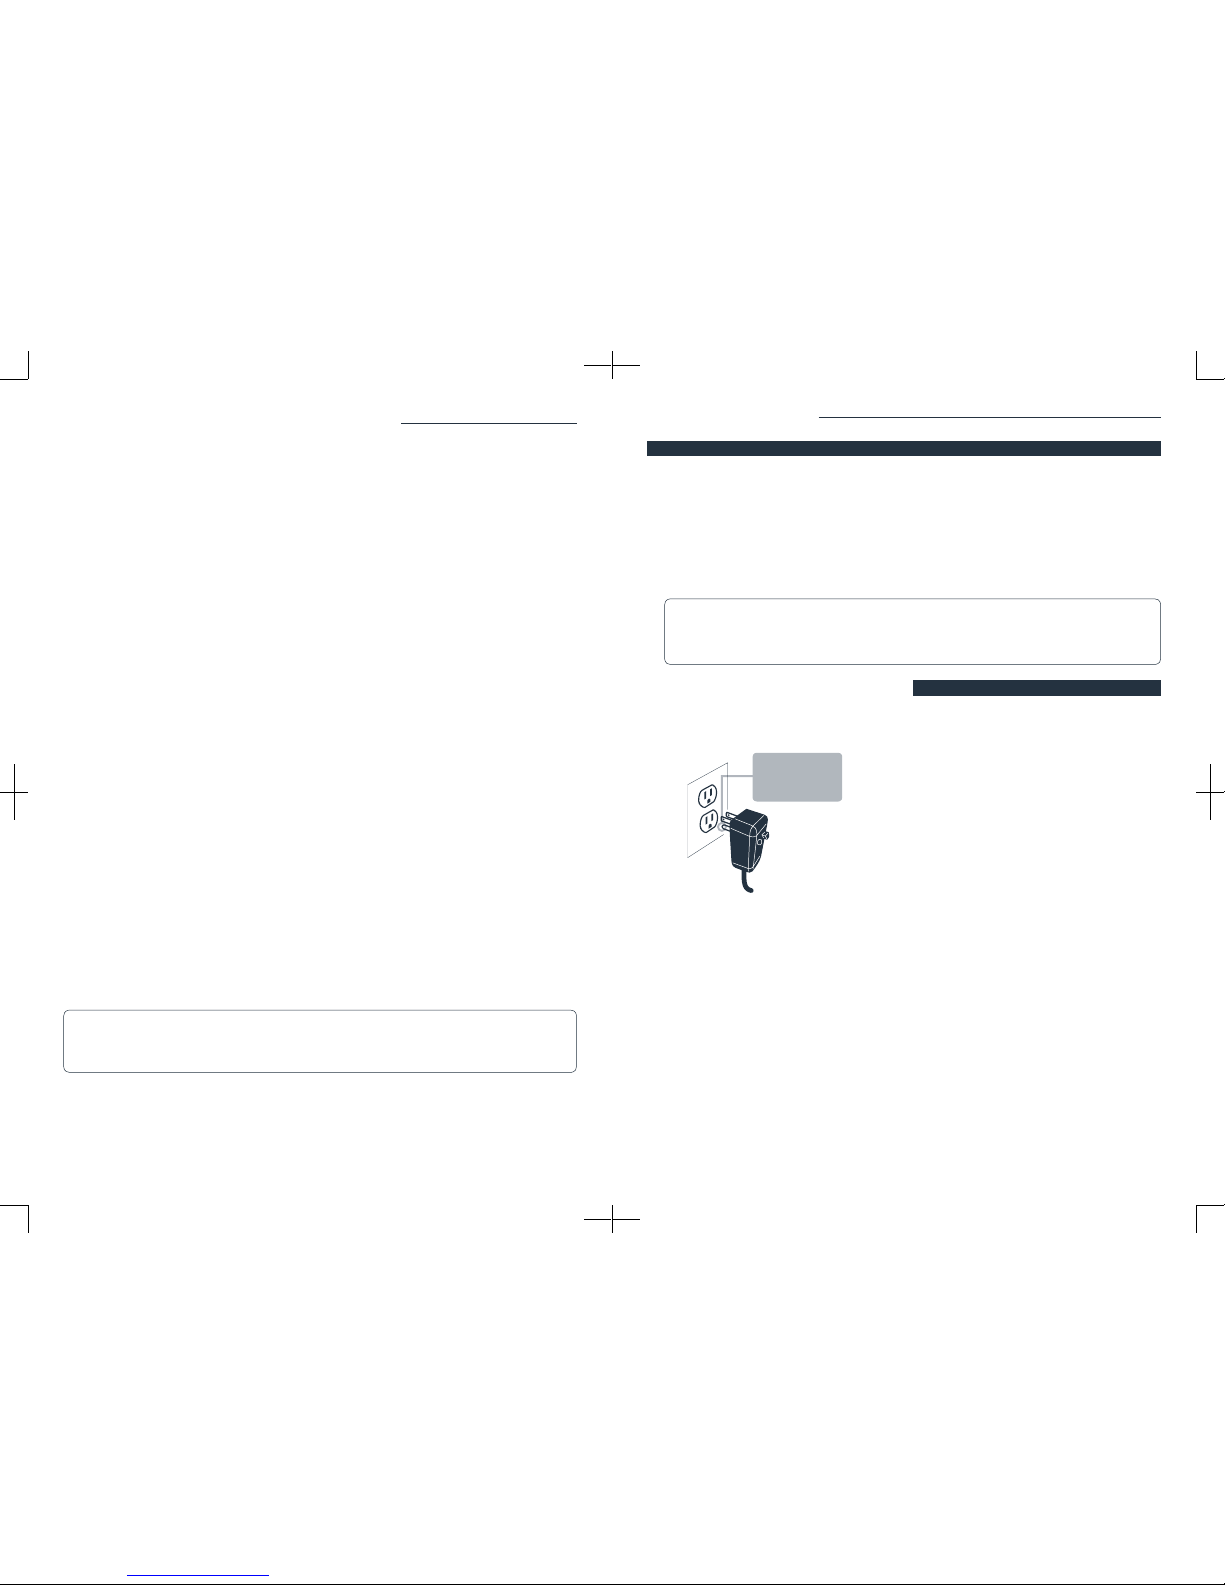
WARNING:
not use an extension cord or an adapter plug. Do not
remove any prong from the power cord.
(Applicable to the unit adopts current
detection device only )
The power supply cord contains a current device that
senses damage to the power cord. To test your power
supply cord, do the following:
1. Plug in the Air Conditioner.
2. The power supply cord will have TWO buttons on the
plug head. Press the TEST button, you will notice a
click as the RESET button pops out.
3. Press the RESET button, again you will notice a click as
the button engages.
4. The power supply cord is now supplying electricity to
the unit.
OPERATION OF CURRENT DEVICE
- This appliance is not intended for use by persons (including children) with reduced physical, sensory or mental
capabilities or lack of experience and knowledge. Unless they are being supervised by a person responsible for their
safety, they should not use the appliance.
- Children should be supervised to ensure that they do not play with the appliance.
- The appliance shall be installed in accordance with national wiring regulations.
- Do not operate your air conditioner in a wet room, such as a bathroom or laundry room.
- The appliance with an electric heater shall have at least 2 feet of space to the combustible materials.
Important Safety Instructions
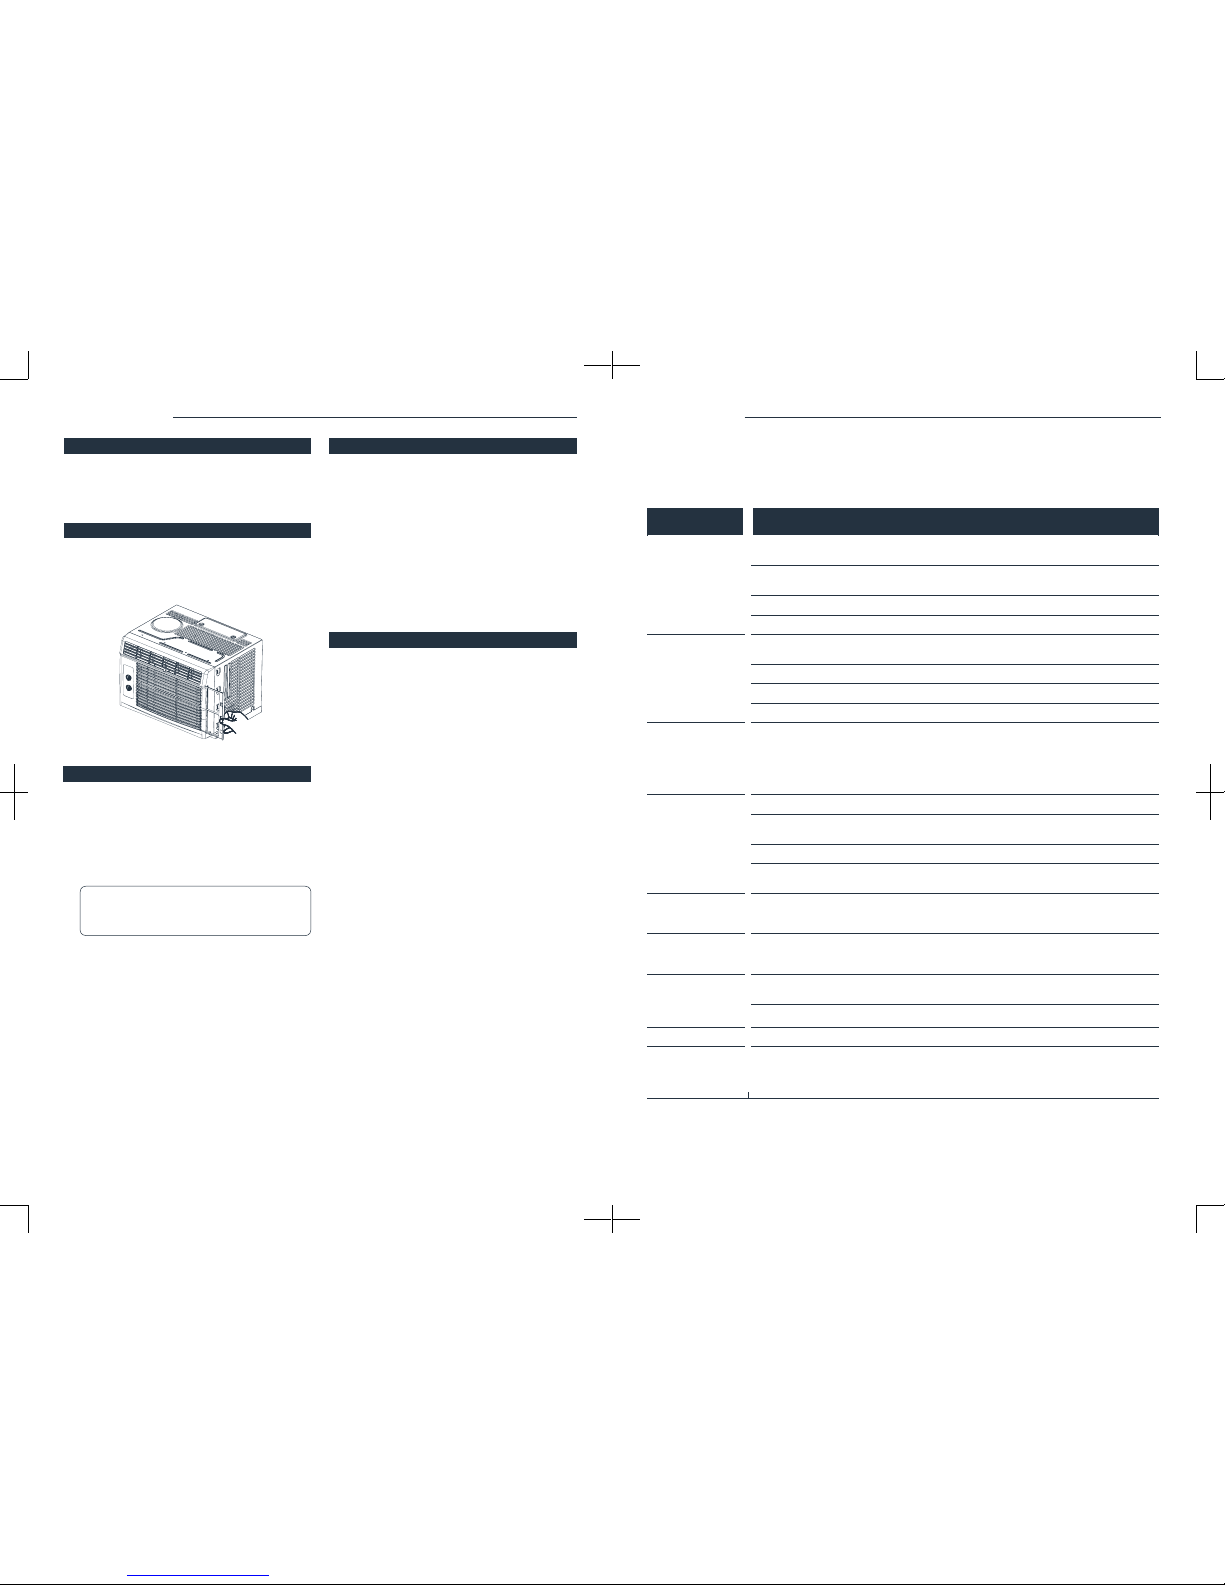
CAUTION
Power supply
cord with 3-prong
grounding plug and
current detection
device
Do Not, under any
circumstances, cut,
remove, or bypass the
grounding prong.
Grounding type wall
receptacle
Note: The power supply cord with this air conditioner contains a current detection device designed to reduce the
cord is damaged, it cannot be repaired—it must be replaced with a cord from hOme. Please contact customer
service at 1-800-898-3002.