Home HME030340N User manual

Window AC
HME030340N
Thank you for selecting our quality appliance. Please be sure to read this user manual
carefully before using. Any question, please contact the professional service for help.

Important Satety Instructions
Electrical Requirements
Operating Instructions
Cleaning and Maintenance
Troubleshooting
Warranty
Manufacturing Info
Warning
Contact Us
6-9
10-11
12-22
23
24
25
25
25
25
TABLE OF CONTENTS
BEFORE FIRST USE:
To prevent any internal damage, it is very important to keep
refrigeration units (like this one) upright throughout their journey.
Please leave it standing upright and outside the box for 24 HOURS
before plugging it in.
In the event this product malfunctions or customer believes
it is defective, the customer should contact Customer Service
and retain the defective product pending further instructions.
Defective product should be clearly marked or stored where it
cannot be used again by mistake. Failure to retain the product
may impede hOme™’s ability to correct any legitimate problem
and may limit the extent to which hOme™may provide recourse.

on bringing home your new appliance!
Congratulations
Don’t forget to register your product at homelabs.com/reg
for updates, coupons, and other relevant information.
Although greatly appreciated, product registration is not
required to activate any warranty.

6 7
Important Safety Instructions
INTRODUCTION TO REFRIGERANTS R32
The refrigerants used for air conditioners are environmentally friendly hydrocarbons R32. This
kind of erant is combustible and odorless. Moreover, it can burn and explode under certain
condition. However, there will be no risk of burning and explosion if you comply with the
following table to install your air conditioner in a room with an appropriate area and use it
correctly.
Compared with ordinary refrigerants, Refrigerant R32 is environmentally friendly and do not
destroy the ozone sphere and that its value of greenhouse effect is also very low.
Room area requests for air conditioner with Refrigerant R32
Refrigerant Capacity(Btu) Room Area
R32
≤9K Above 4m2
≤12K Above 4m2
≤18K Above 15m2
≤24K Above 25m2
WARNING
• Please read the manual before installation, using, maintenance.
• Do not use means to accelerate the defrosting process or to clean, other than those
recommended by the manufacturer.
• Do not pierce or burn the appliance.
• The appliance shall be stored in a room without continuously operating sources (for
example: open ames, an operating ignition gas appliance or an operating electric heater.)
• Please contact the nearest after-sale service center when maintenance is necessary. At the
time of maintenance, the maintenance personnel must strictly comply with the Operation
Manual provided by the corresponding manufacturer and any non-professional is prohibited
to maintain the air conditioner.
• The handling, installation, storage, servicing and disposal must comply with the provisions of
gas-related national laws and regulations, and also national wiring regulation.
• It is necessary to clear away the refrigerant in the system when maintaining or scrapping an
air conditioner. Be aware that refrigerants may not contain an odor.
• This appliance is not intended for use by persons (including children) with reduced physical,
sensory or mental capabilities, or supervision or instruction concerning use of the appliance
by a person responsible for their safety. Children should be supervised to ensure that they
do not play with the appliance.
Unit operation limits: Outdoor side 61~109°F, 80% RH; indoor side 61~89°F, 80% RH.
Important Safety Instructions
INSTALLATION & ASSEMBLY INSTRUCTIONS
Important Considerations
• Before installing the appliance, you must read the manual carefully to get the
safety information and notes.
• When lling the combustible refrigerant, any of your rude operations may cause
serious injury or injuries to human body or bodies and object or objects.
• A leak test must be done after the installation is completed.
• It is a must to do the safety inspection before maintaining or repairing an air
conditioner using combustible refrigerant in order to ensure that the re risk is
reduced to minimum.
• It is necessary to operate the machine under a controlled procedure in order
to ensure that any risk arising from the combustible gas or vapor during the
operation is reduced to minimum.
• For the 8K electrical model, the max. Amount is 10.58ozs (300g).
Introduction to Refrigerants R32
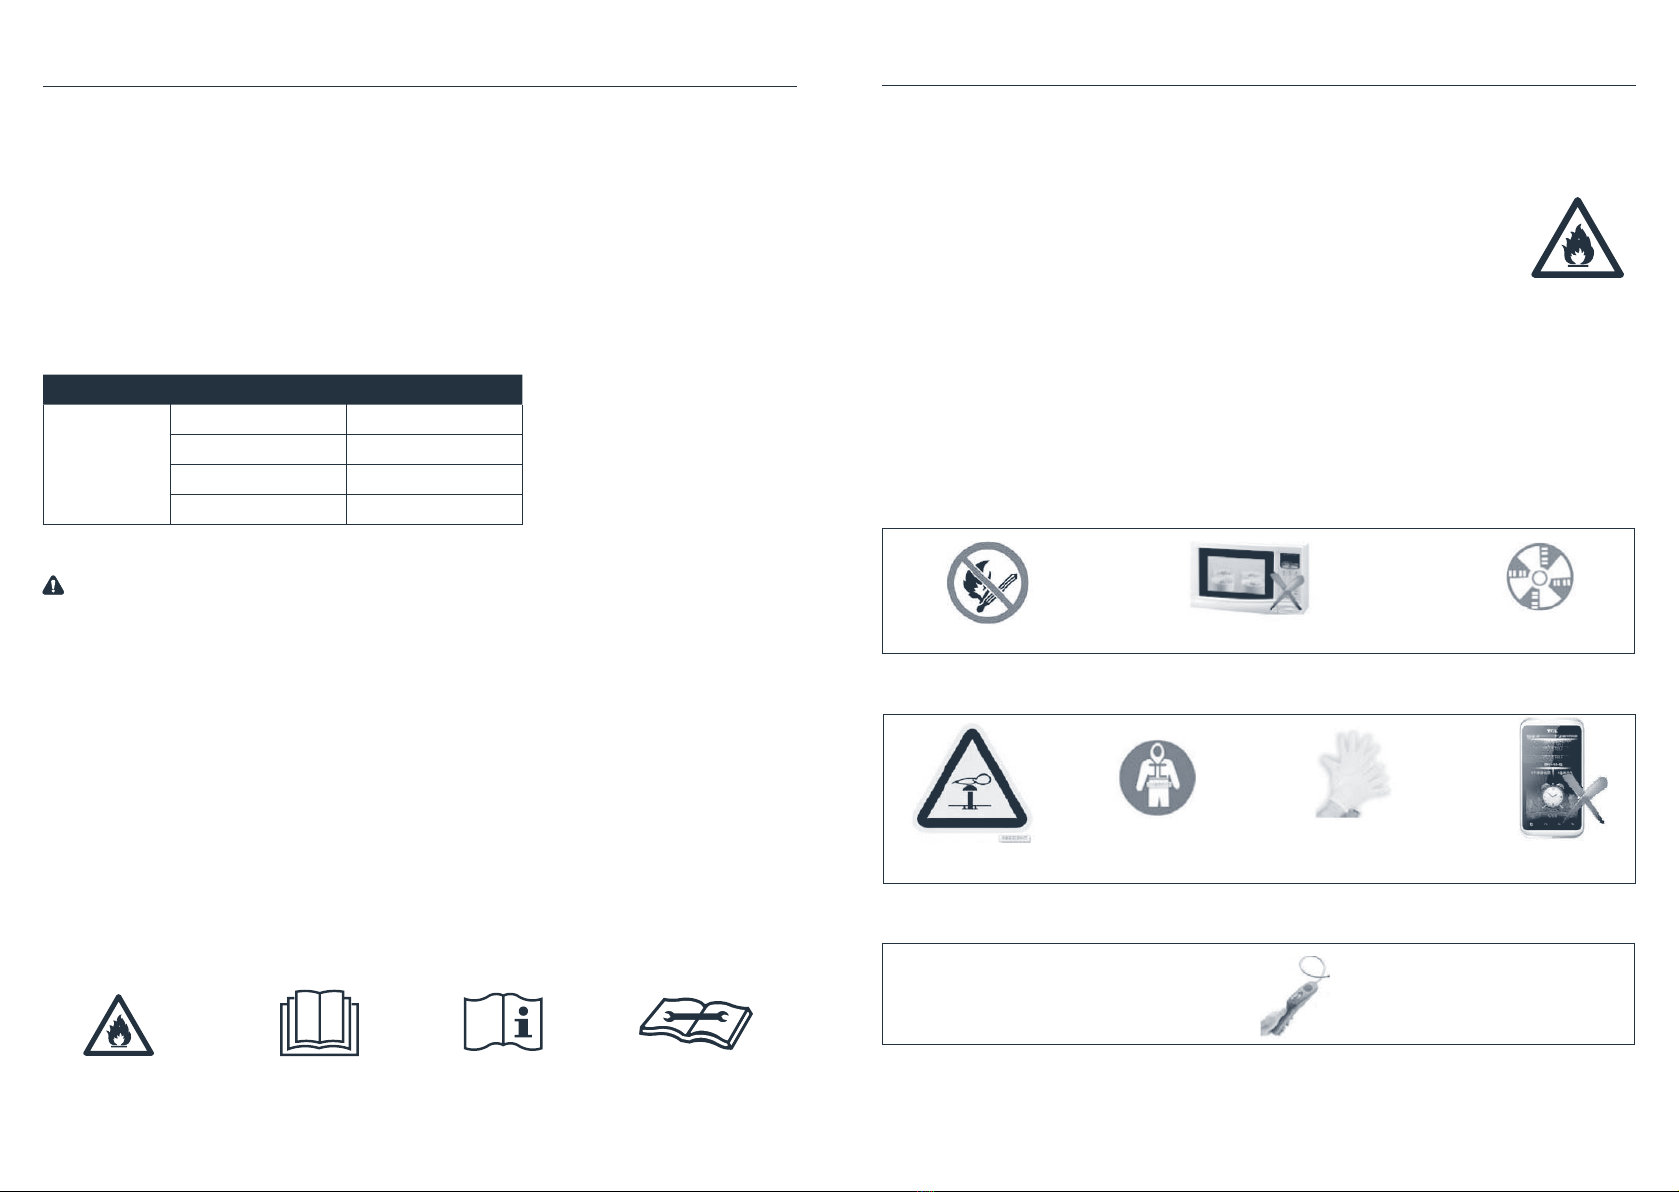
1. Site Safety
Open Flames Prohibited Ventilation Necessary
2. Operation Safety
Mind Static Electricity Must Wear Protective Clothing and anti-static gloves Don’t use mobile phone
3. Installation Safety
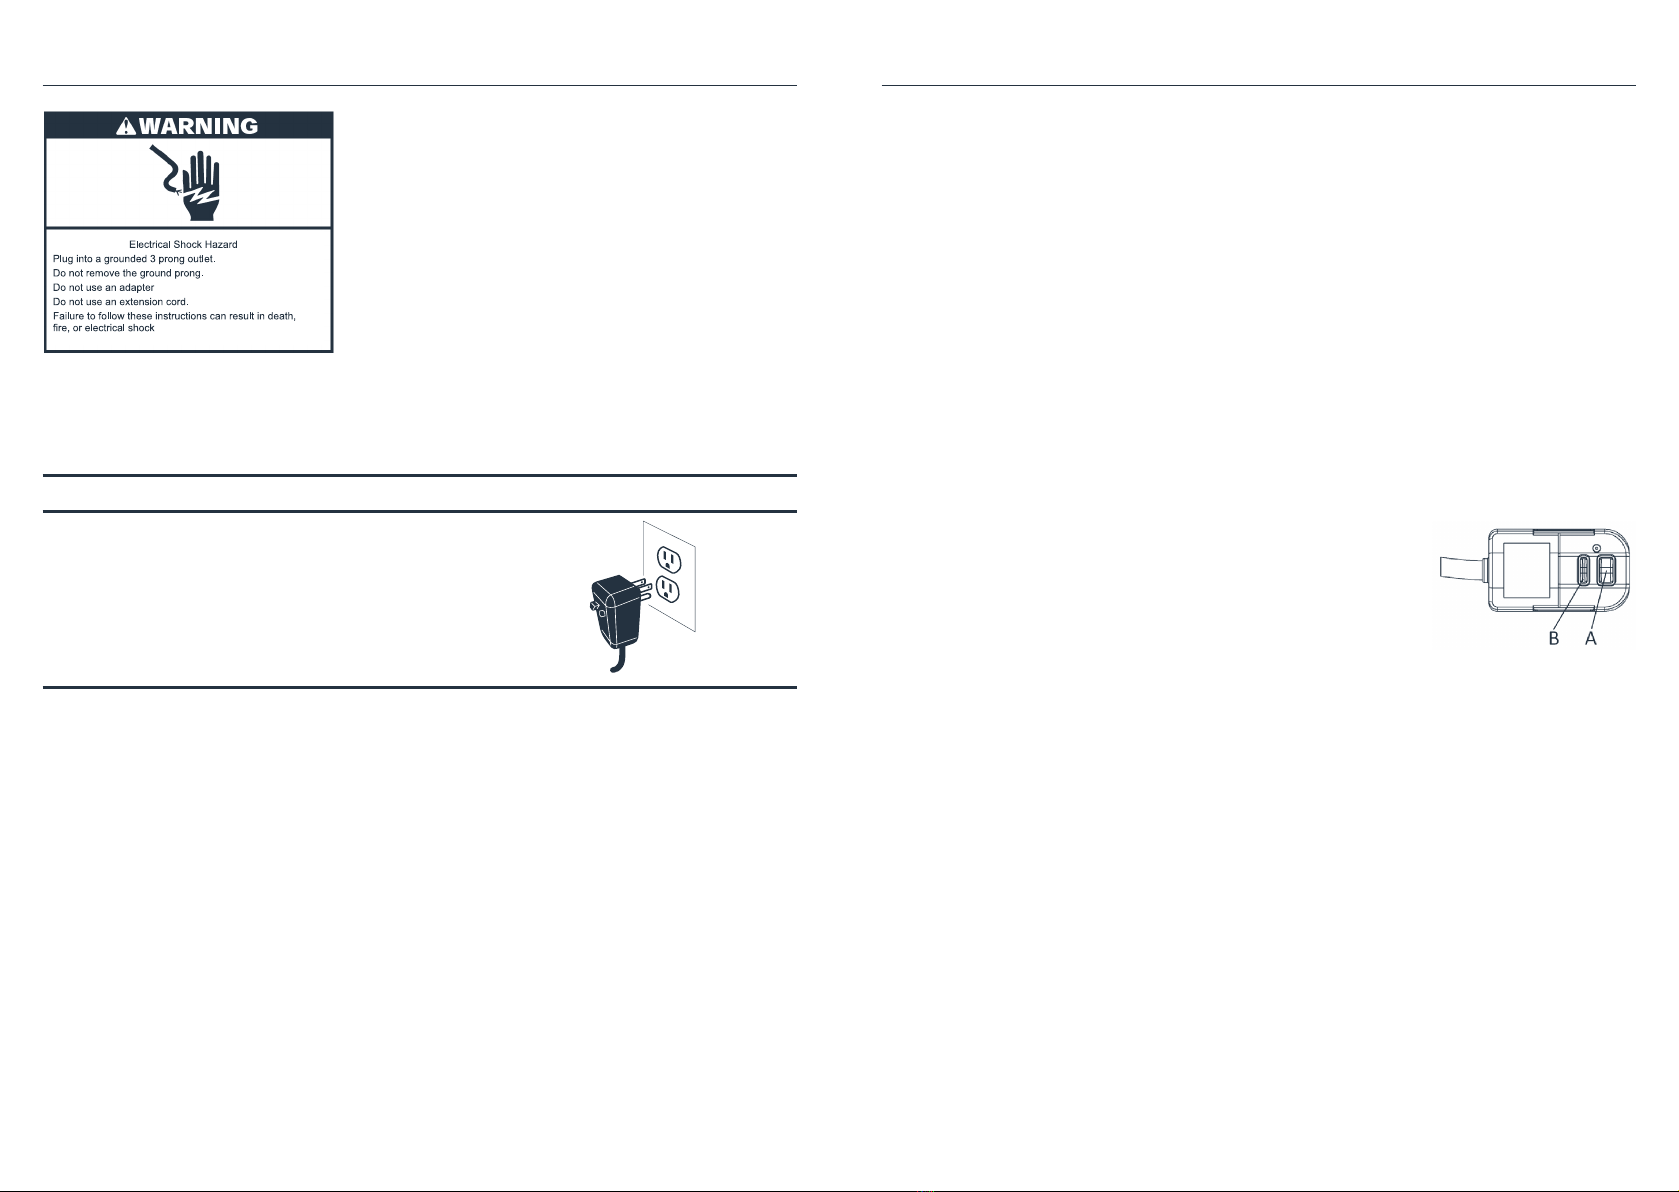
• Refrigerant Leak Detector
• Appropriate Installation Location
The left picture is the schematic
diagram of a refrigerant leak detector.

89
Before installing and using your air conditioner, please read this owners manual carefully. Store
this manual in a safe place for future reference. Your safety and the safety of others is very
important to us. Please pay attention to all safety messages outlined in this owners manual.
WARNING
To reduce the risk of re, electrical shock or injury when using your air conditioner, follow the
following basic precautions.
• Plug into a grounded 3 prong outlet.
• Do not remove the ground prong.
• Do not use a plug adapter.
• Do not use an extension cord.
• Unplug the air conditioner before servicing.
• Use two or more people to move and install the air conditioner.
• This is a safety alert symbol.
• This symbol alerts you to potential hazards that can harm you or others or even cause
death.
• All safety messages will directly follow the safety alert symbol and/or the words “DANGER”
or “WARNING”.
• Failure to immediately follow these instructions may cause serious injury or even death.
• All Safety messages alert you of potential hazards, how to reduce the chance of injury, and
what can happen if instructions are not followed correctly.
SAVE THESE INSTRUCTIONS
For Household Use Only
WARNING
Important Safety Instructions
Please note that:
1. The installation site should be in a well-ventilated condition.
2. The sites for installing and maintaining an air conditioner using Refrigerant R32 should be free from
open re or welding, smoking, drying oven or any other heat source higher than 548 which easily
produces open re.
3. When installing an air conditioner, it is necessary to take appropriate anti-static measures such as
wear anti-static clothing and/or gloves.
4. It is necessary to choose the site convenient for installation or maintenance wherein the air inlets
and outlets of the indoor and outdoor units should be not surrounded by obstacles or close to any
heat source or combustible and/or explosive environment.
5. If the indoor unit suffers refrigerant leak during the installation, all the personnel should go out till
the refrigerant leaks completely for 15 minutes. If the product is damaged, it is a must to carry such
damaged product back to the maintenance station and it is prohibited to weld the refrigerant pipe
or conduct other operations on the user’s site.
6. It is necessary to choose the place where the inlet and outlet air of the indoor unit is even.
7. It is necessary to avoid the places where there are other electrical products, power switch plugs
and sockets, kitchen cabinet, bed, sofa and other valuables right under the lines on two sides of the
indoor unit, and also prevent mechanical damage from occurring.

10 11
LCDI POWER CORD AND PLUG
This air conditioner is equipped with an LCDI (Leakage Current Detection and Interruption) power cord that
is required by UL. This power supply cord contains state-of-the-art electronics that sense leakage current.
If the cord is damaged and leakage occurs, power will be disconnected from the unit.
The test and reset buttons on the LCDI Plug are used to check if the plug is functioning properly. To test
the plug:
1. Plug power cord into a grounded 3 prong outlet.
2. Press RESET (on some units a green light will turn on).
3. Press the TEST Button, The circuit should trip and cut all power to the air conditioner (on some
units a green light may turn off).
4. Press the RESET button for use. You will hear a click and the unit is ready for use.
NOTES:
• The RESET button must be engaged for proper use.
• The power supply cord must be replaced if it fails to trip when the
TEST button is pressed and the unit fails to reset.
• Do not use the power supply cord as an ON/OFF switch. The power
supply cord is designed as a protection device.
• A damaged power supply cord must be replaced with a new power
supply cord.
• The power supply cord contains new user serviceable parts. Opening
the tamper-resistant case voids all warranty and performance claims.
NOTES:
The power cord and plug may differ from the one shown above.
Electrical Requirements
A. Reset button
B. Test button
The electrical ratings for your air conditioner are listed on the model and serial number label located on
the front left side of the unit (when facing the front).
Specic electrical requirements are listed in the chart below. Follow the requirements below for the type
of plug on the power supply cord.
Wiring Requirements Power Supply Cord
• 115vol (103min - 127max)
• (8K) 0-8 amps
(10K-12K) 0-12 amps
• (8K) 10-amp time-delay fuse or circuit breaker
(10K-12K) 15-amp time-delay fuse or circuit breaker
• Use on single outlet circuit only
Recommended Ground Method
For your personal safety, this air conditioner must be grounded. This air conditioner is equipped with a
3prong power supply cord with a grounded plug. To minimize the possibility of electrical shock, the cord
must be plugged into a 3 prong outlet and grounded in accordance with all local codes and ordinances.
If a 3 prong outlet is not available, it is the customer’s responsibility to have a properly grounded 3 prong
outlet installed by a qualied electrician.
It is the customer’s responsibility:
• To contact a qualied electrician
• To assure that the electrical installation is adequate and in conformance with the National
Electrical Code, ANSI/NFPA 70 - latest edition, and all local codes and ordinances.
Copies of the standards listed may be obtained from:
• National Fire Protection Association
• One Batterymarch Park
• Quincy, Massachusetts 02269
Electrical Requirements

12 13
Operating Instructions
Some assembly is required for your new air conditioner. Please read and follow these instructions carefully.
1. This air conditioner is designed to be installed in a standard double-hung window with a window
width between 23” and 36”.
2. The air conditioner can be installed without the accordion panels to t in a narrow window opening.
See the window dimensions.
3. The Lower Sash (the lower part of the window that moves up and down) must allow for 14.5” of
vertical clearance when open.
4. All supporting parts must be secured to rm wood, masonry, or metal.
5. The electrical outlet must be within reach of the power cord.
NOTE:
Save the product
packaging and
installation
instructions for
future reference.
Store the air
conditioner in
the product box
when not in use
for an extended
period of time
IMAGE PART QUANTITY
Window Air Conditioner 1
Remote Control 1
Top Mounting Rail
(With sponge)
1
Lock Frame 2
Filler Panels
(With “Left” & “Right” remark
on the front face)
2
Sash Lock
(Two holes)
1
Window Sash Seal
(Sponge)
1
3/8” Screws 4
1/2” Screws 3
3/4” Screws 4
Foam Top Window Gasket
(Thin sponge for backup using)
1
Insulation strip (Sponge)
(Only for E-star model)
2
Battery 2
Operating Instructions

14 15
Operating Instructions
The top rail must be assembled prior to installing the air
conditioner in the window.
Tools Needed: Phillips Screw Driver
Top Rail Hardware QTY
3/8”
Screw
4
Top
Rail
1
1. Remove the air conditioner from the box and place on a
hard at surface.
2. Remove top rail from the bottom of the packaging
material as shown in FIG. A.
3. Align the hole in the top rail with those in the top of the
unit as shown in FIG. B.
4. Secure the top rail to the unit with the 3/8” screws as
shown in FIG. C.
CAUTION:
When handling the unit, be careful to avoid cuts from the sharp
metal edges and aluminum ns on the front and rear coils.
MOUNTING HARDWARE
3/4” Screws
1/2” Screws
Lock Frame
Sash Lock
4
3
2
1
TOOLS NEEDED:
• Phillips Screw Driver
• Drill (If pilot holes are needed)
CAUTION:
When handling the unit, be careful to avoid cuts from the sharp
metal edges and aluminum ns on the front and rear coils.
NOTE:
For safety reasons, all 4 screws must
be used to attach the top rail.
Some assembly is required for your new air conditioner. Please read and follow these instructions carefully
1. This air conditioner is designed to be installed in a standard double-hung window with a window
width between 26” and 36”.
2. The air conditioner can be installed without the accordion panels to t in a narrow window opening.
See the window dimensions.
3. The Lower Sash (the lower part of the window that moves up and down) must allow for 16” of
vertical clearance when open.
4. All supporting parts must be secured to rm wood, masonry, or metal.
5. The electrical outlet must be within reach of the power cord.
Operating Instructions
NOTE:
Save the product
packaging and
installation
instructions for
future reference.
Store the air
conditioner in
the product box
when not in use
for an extended
period of time

16 17
Operating Instructions
3. Carefully place the window air conditioner
into the window where it is to be installed
(it is recommended to handle by 2 people).
Close the window securely. The AC unit should
be slightly tilted to the outside area to allow
water to drain out from the unit.
Window
Frame
Window sill
Top Mounting Rail
Bottom Rail
1/4”
4. Fasten the air conditioner to the window
frame, using the included ½” screws. Fasten
both of the panel extenders (Left and Right).
You may have to drill a pilot hole in the
window frame to fasten these screws to the
window sash.
Attach the lock frame between the panel
extender and the window sill and fasten them
together with the included ¾” locking screw.
Repeat for each side.
(2) 3/4” Screws
(3) 1/2” Screws
5. Attach the sash lock between the top of the
sliding window and window frame, using 1 of
the included ¾” screws to secure the window
closed.
Sash Lock
3/4” Screw
Window sill
Lock frame
Filler panel
Sash Seal
6. To prevent outside air from entering the room,
insert the foam top window gasket, cut to the
width of the window.
7. Plug the unit into the electrical outlet as
specied above in the electrical requirements.
Move the control to the COOL mode.
Operating Instructions
HOW TO INSTALL
NOTE:
Top Rail and Sliding Panels at each side are offset
to provide the proper pitch to the rear of (5/16”).
This is necessary for proper condensed water
utilization and drainage. If you are not using the
Side Panels for any reason, this pitch to the rear
must be maintained.
1. Use the (4) 3/8” screws to fasten the top
mounting rail to the unit.
Top Mounting Rail (4) 3/8” Screws
2. Fasten the accordion styled window panel
expander pieces to the unit. They are marked
“Right” and “Left”.
Pull the leading edge to its maximum width.
Then slide the panel expanders into the
grooved notches (slide downward) on the
sides of the unit, and make sure they are
inserted into the metal rails tightly.
Top Mounting Rail
Filler panel Filler panel
Bottom Rail

18 19
Operating Instructions
USING YOUR AIR CONDITIONER
Electronic Control Panel & Remote Control
NOTE:
This display always shows the room temperature in Fan Mode except when setting the Set temperature or
the Timer.
FILTER
SPEED
SLEEP
ECO
TIMER
MODE
POWER
AUTO
SPEED
AUTO
MODE
HIGH
MED
LOW
COOL
DRY
FAN
POWER
1
2
3
456789
Normal Operating Sounds
• You may hear some noise caused by water hitting the condenser, on rainy days, or when the humidity
is high. This feature helps remove moisture and improve efciency.
• You may hear the thermostat click when the compressor cycles on and off.
• Water will collect in the base pan during rainy days or days of high humidity. Water may overow and
drip from the outside part of the unit.
• The fan may run even when the compressor is not on.
1. Digital Display: When the timer is not in use, the operation mode and the set temperature will be
displayed. Time will be displayed under the timer setting.
2. and Use these buttons on the control panel and remote to increase or decrease the
Set Temperature or Timer. Temperature range: 61°F~88°F or 16°C ~31°C.
3. Turn the air conditioner on or off.
Operating Instructions
Add wood as shown in gure below, or remove storm window before air conditioner is installed.
FIG. 14
If storm window frame must remain, make sure the drain holes or slots are not caulked or painted shut.
Accumulated rain water or condensation must be drained out.
REMOVING AC FROM WINDOW
• Turn AC off, and disconnect power cord.
• Remove sash seal from between windows and unscrew safety lock.
• Remove screws installed through frame and frame lock.
• Close (slide) side panels into frame.
• Keeping a rm grip on air conditioner, raise sash and carefully “rock” air conditioner backward to
drain any condensed water in the base of unit. Be careful not to spill any remaining water while
lifting unit from window. Store parts WITH air conditioner.
AIR CONDITIONER USE
Operating your air conditioner properly helps you to obtain the best possible results.
This section explains proper air conditioner operation.
IMPORTANT:
• If you turn off the air conditioner, wait at least 3 minutes before turning it back on. This prevents the
air conditioner from blowing a fuse or tripping a circuit breaker.
• Do not try to operate your air conditioner in the cooling mode when outside temperature is below
65°F (18°C). The inside evaporator coil will freeze up, and the air conditioner will not operate properly.
NOTE:
In the event of a power failure, your air conditioner will operate at the previous settings when the power is
restored.

20 21
Operating Instructions
4. Press the mode button to cycle through the various modes: Cool, Dry, Fan and Auto.
Cool Mode: The cooling function allows the air conditioner to cool the room and at the same
time reduces air humidity. Press the MODE button to activate the cooling function. To optimize
the function of the air conditioner, adjust the temperature and the speed by pressing the button
indicated.
Dry Mode: This function reduces the humidity of the air to make the room more comfortable. Press
the MODE button to set the DRY mode. An automatic function of alternating cooling cycles and air
fan is activated. Dry mode only can be controlled on control panel.
Fan Mode: The conditioner works in only ventilation. Press MODE button to set the FAN mode. With
pressing SPEED button the speed changes in the following sequence: Hi, Med and Lo in FAN mode.
The remote control also stories the speed that was set in the previous mode of operation.
Auto Mode: In AUTO mode the unit automatically chooses the mode of operation (COOL, DRY or
FAN). In this mode the temperature will be set according to the room temperature (measured by the
temperature sensor which is incorporated in the indoor unit.).
5. Use these buttons on the control panel and remote to set the Timer.
Timer Off: The timed stop is programmed by pressing TIMER button. Set the timer by pressing the
button “ ” or “ ” until your desired time is reached. Then press TIMER button again to conrm.
Timer On: When the unit is off, press TIMER button once. Set the temperature by pressing the
button “ ” or “ ”. Press TIMER button a second time, set the time by pressing the button
“” or “ ”. Press TIMER button a third time to conrm the setting.
Note: It can be set to automatically turn off or on in 0.5-24 hours. Each press of the “ ” “ ”
buttons will increase or decrease the timer in 0.5 hour increment below 10hours and 1 hour
increment for 10 hours or above. The SET light will turn on while setting.
To cancel the Timer function, press the TIMER button again.
6. When the unit is in ECO mode, the light will turn on. In ECO mode, the unit will turn off
once the room is cooled to the set temperature. The fan will also be off at this point. The unit will
turn back on when the room temperature rises above the set temperature. Before the compressor
starts, the fan motor will turn on and off repeatedly to provide comfortable feeling and save energy.
7. Press the SLEEP button, all of the display lights will turn off after a while, leaving only
the Sleep light on. In SLEEP mode, the air conditioner will automatically adjust the temperature and
fan speed to make the room more comfortable during night. The set temperature will automatically
raise every 30-60 minutes, and at most change six times until the set temperature is 81°F or 82°F.
Set fan speed to low before turning on the SLEEP mode.
8. Press the SPEED button for various fan speed options. You can choose Hi, Med, Lo or
Auto speed in COOL mode and choose Hi, Med, Lo in FAN mode.
9. When the Filter Check light is off, it is not necessary to press the Filter Check button.
When the Filter Check light is on, turn off the light by pressing the Filter Check button. After the
working time of fan motor reaches 500 total hours, the Filter Check light will turn on to remind the
user to clean the lter.
10. Directional Louvers: To direct the airow, use the horizontal wheel to control the horizontal
direction, and the air deectors to control the vertical direction.
Operating Instructions
REMOTE CONTROL
AAA
NOTE: Do not mix old and new
batteries or different types of
AAA batteries.

22 23
Operating Instructions
1. POWER: Turn the air conditioner on or off.
2. COOL: Press the COOL button to enter COOL mode.
3. and :Use these buttons on the control panel and remote to increase or decrease the Set
Temperature or Timer. Temperature range: 61°F-88°F or 16°C-31°C.
4. SLEEP: Press the SLEEP button, all of the display lights will turn off after a while with only the Sleep
light on. In SLEEP mode, the air conditioner will automatically adjust the temperature and fan speed
to make the room comfortable while you sleep. The set temperature will automatically rise every
30-60 minutes and at most change six times until the set temperature reaches 81°F or 82°F.
5. TIMER:
Timer Off: When the unit is on, press TIMER button to set timer off. Set the timer by pressing the
button “ ” or “ ” until your desired time is reached. Press TIMER button again to conrm.
Timer On: When the unit is off, press TIMER button once and set the temperature by pressing “ ”
or “ ”. Press TIMER button a second time, set the timer by pressing the button “ ” or “ ”.
Press TIMER button a third time to conrm the setting.
NOTE: It can be set to automatically turn off or on in 0.5-24 hours. Each press of the “ ” “ ”
buttons will increase or decrease the timer in 0.5 hour increment below 10hours and 1 hour
increment for 10 hours or above. The SET light will turn on while setting. To cancel the set function,
press the TIMER button again.
6. AUTO MODE: In AUTO mode the unit automatically chooses the mode of operation (COOL, DRY or
FAN). In this mode the temperature will be set automatically according to the room temperature
(tested by the temperature sensor which is incorporated in the indoor unit.).
7. SPEED: Press the SPEED button for various fan speed options. You can choose Hi, Med, Lo or auto
speed in COOL mode and choose Hi, Med, Lo in FAN mode.
8. DISPLAY: Press the DISPLAY button to switch off/on all lights or LED display.
9. ECO: When the unit is in ECO mode, the light will turn on. In ECO mode, the unit will turn off once
the room is cooled to the set temperature. The unit will turn back on when the room temperature
rises above the set temperature. Before the compressor starts, the fan motor will turn on and off
repeatedly to provide comfortable feeling and save energy.
10. FAN ONLY: Press the FAN ONLY button if you need Fan Only mode.
Cleaning and Maintenance
Clean your air conditioner to keep it looking new and to minimize dust build-up.
AIR FILTER CLEANING
The air lter should be checked at least once every month
to see if it needs cleaning. Trapped particles and dust can
build up in the lter and may decrease airow as well as
cause the cooling coils to accumulate frost. To clean the air
lter:
1. Remove the lter by pulling down on the indents of the
lter door on the front of the unit.
2. Wash the lter using liquid dish soap and warm water.
Rinse the lter thoroughly. Gently shake the lter to
remove excess water.
3. Let the lter dry completely before placing it into the
air conditioner.
4. If you do not wish to wash the lter, you may vacuum
the lter to remove the dust and other particles.
WEAR AND TEAR
To minimize wear and tear on the air conditioner, always wait at least 3 minutes before changing modes.
This will help prevent the compressor from overheating and the circuit breaker from tripping.
CABINET CLEANING
To clean the air conditioner cabinet:
• Unplug the air conditioner to prevent shock or a re hazard. The cabinet and front panel of the air
conditioner may be dusted with an oil free cloth or washed with a cloth dampened in a solution of
warm water and mild liquid soap. Rinse thoroughly with a damp cloth and wipe dry.
• Never use harsh cleaners, wax or polish on the cabinet front.
• Be sure to wring excess water from the cloth before wiping around the controls. Excess water in or
around the controls may cause damage to the air conditioner.
WINTER STORAGE
To store the air conditioner when it is not in use for an extended period of time, remove it carefully
from the window according to the installation instructions and cover it with plastic or place it in the
original box.
FIG. 15
A. Indents

24 25
Troubleshooting
PROBLEMS POSSIBLE CAUSES SOLUTIONS
The Air Conditioner
will not start
The air conditioner is
unplugged
• Make sure the air conditioner plug is pushed
completely into the outlet
The fuse is blown/circuit
breaker is tripped
• Check the house fuse/circuit breaker box and
replace the fuse or reset the breaker
Power failure • The unit will automatically restart when
power is restored
• There is a protective time delay (approx.
3 minutes) to prevent tripping of the
compressor overload. For this reason, the unit
may not start normal cooling for 3 minutes
after it is turned back on.
The current interrupter
device is tripped
• Press the RESET button located on the power
cord plug
• If the RESET button will not stay engaged,
discontinue use of the air conditioner and
contact a qualied service technician
The Air Conditioner
does not cool as it
should
Airow is restricted • Make sure there are no curtains, blinds, or
furniture blocking the front of the air conditioner
The temperature control may
not be set correctly
• Lower the set thermostat temperature
The air lter is dirty • Clean the lter. See the Cleaning and Care
Section of the manual
The room may be too warm • Please allow time for the room to cool down
after turning on the air conditioner
Cold air is escaping • Check for open furnace registers and cold air
returns
The cooling coils are frozen • See “Air Conditioner is freezing up” below
The Air Conditioner is
freezing up
Ice blocks the air ow and
stops the air conditioner
from cooling the room
• Set the MODE dial to HIGH FAN or HIGH
COOL and set the thermostat to a higher
temperature
The Remote Control is
not working
The batteries are inserted
incorrectly
The batteries may have run
out
• Check the position of the batteries
• Replace the batteries
Water is dripping
outside
Hot and Humid weather • This is normal
Water is dripping
inside the room
The air conditioner is not
correctly tilted outside
• For proper water drainage, make sure the air
conditioner is slightly tilted downward from
the front of the unit to the rear
Water collects in the
base pan
Moisture removed from the
air is draining into the base
pan
• This is normal for a short period in areas with
low humidity and normal for a longer period
in areas with high humidity
Digital Display reads
“E1”, “E2”
A sensor has failed • Contact customer service
hOme™offers a limited two-year warranty (“warranty period”) on all of our products purchased new
and unused from hOme Technologies, LLC or an authorized reseller, with an original proof of purchase
and where a defect has arisen, wholly or substantially, as a result of faulty manufacture, parts or
workmanship during the warranty period. The warranty does not apply where damage is caused by
other factors, including without limitation: (a) normal wear and tear; (b) abuse, mishandling, accident,
or failure to follow operating instructions; (c) exposure to liquid or inltration of foreign particles; (d)
servicing or modications of the product other than by hOme™ ; (e) commercial or non-household use.
The hOme™ warranty covers all costs related to restoring the proven defective product through repair or
replacement of any defective part and necessary labor so that it conforms to its original specications.
A replacement product may be provided instead of repairing a defective product. hOme™ ’s exclusive
obligation under this warranty is limited to such repair or replacement.
A receipt indicating the purchase date is required for any claim, so please keep all receipts in a safe
place. We recommend that you register your product on our website, homelabs.com/reg. Although
greatly appreciated, the product registration is not required to activate any warranty and product
registration does not eliminate the need for the original proof of purchase. The warranty becomes
void if attempts at repair are made by non-authorized third parties and/or if spare parts, other than
those provided by hOme™ , are used. You may also arrange for service after the warranty expires at an
additional cost.
These are our general terms for warranty service, but we always urge our customers to reach out to
us with any issue, regardless of warranty terms. If you have an issue with a hOme™ product, please
contact us at 1-800-898-3002, and we will do our best to resolve it for you.
This warranty gives you specic legal rights, and you may have other legal rights which vary from state
to state, country to country or province to province. The customer may assert any such rights at their
sole discretion.
HME030340N
Warranty
Manufacturing Info
This manual is to be used with all items with the model number
SKU# : HME030340N
Rated voltage/Frequency: 115V~ 60Hz 5.8A
Keep all plastic bags away from children.
Warning
Contact Us
homelabs.com/chat
Mon–Fri 10AM–5PM EST
Respond within twelve hours
CHAT W ITH US CALL U S EMAIL U S


© 2016 hOme Technologies, LLC
37 East 18 Street, 7th Floor
New York, NY 10003
For household
Use Only
1-800-898-3002
homelabs.com/help
All rights reserved, hOme®. Printed in China.
Table of contents
Other Home Air Conditioner manuals