manuals.online logo
Brands
  1. Home
  2. •
  3. Brands
  4. •
  5. homechoice
  6. •
  7. Baby Accessories
  8. •
  9. homechoice Mimi User manual

homechoice Mimi User manual

Mimi baby rocker
assembly instruction
Shop online – go to
homechoice.co.za
Please follow these guidelines for safe assembly:
Please make sure that you have all the parts and hardware items listed before you start
assembling your rocker. If you nd that something is missing, please do not assemble.
Contact our Customer Service on 0861 466 324.
homechoice will not be held liable for damages caused by improper assembly.
Care and maintenance
1. Plastic Components: Wipe with damp cloth.
2. Material Components: Gentle machine-wash.
3. To avoid aging and fading of product, do not place baby rocker in a place where it
will be in direct sunlight.
Quilt: 100% polyester - Keep away from direct heat and re
Toy: polyester bre - plastic stiener
Surface washable
Battery use
1. Battery replacement must be done by an adult or under adult supervision.
2. Never use Ni-Cd (nickel-cadmium) rechargeable batteries.
3. Make sure the batteries’ poles (-/+) reect the poles marked in the battery
compartment.
4. Do no short-circuit, change, disassemble, or heat batteries or discard them into re.
5. Do not use old and new batteries together as this will shorten the lifespan of the
batteries. Old batteries are also susceptible to leaking battery uid. When replacing the
batteries, make sure to replace all at the same time.
6. Please replace batteries when they are depleted.
7. If you plan to use the product for an extended period of time, please remove the
batteries.
Battery installation
Hint: We recommend using an alkaline
battery for longer battery life.
Use a screwdriver to remove the screw of
the battery cover.
Correctly insert 1 D (LR20) alkaline
battery into the battery compartment
and tighten the screw.
Warning
1. This product is not safe for unsupervised use.
2. Fall hazard: Adjust the harness to t snuggly as falling from the rocker can result in
serious head injuries.
3. Suocation hazard: Do not use on soft surfaces as the rocker could tip over and
potentially suocate the child.
4. Toy arm is not a carry handle, never use it to carry the rocker.
5. Do not carry the child around in the rocker.
6. Always place the rocker on the oor, never on an elevated surface.
7. Stop using the rocker when the child reaches 8kg or starts to sit up – whichever comes
rst.
8. This product is not intended for prolonged periods of sleep.
9. Never use baby rocker as car seat.
10. Keep the toy bar out of reach of children when it’s not rmly attached to the product.
11. Do not use this product if rocker is damaged or broken.
12. Do not modify or alter this product in any way. Keep small parts away from children.
13. This product contains small parts which are for adult assembly only.
14. Rocker should not be placed too close to other furniture or windows, blind cords, curtain
pulls or other strings.
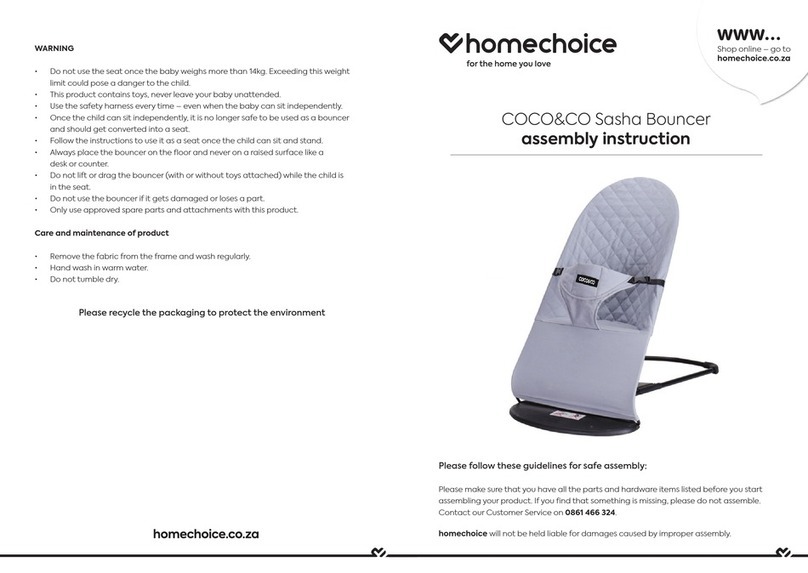
Part Names
1Pad 1
2Seat back tube 1
3Feet 2
4Retainers with lock nut 2
5Cross brace 1
6Vibrations unit 1
7Toy bar 1
8Kickstand 1
9Side rails 2
Important! Please remove all parts from the package and identify them before assembly.
Some parts may be packed in the pad.
Instruction
Parts Assembly
Seat back tube
Side rail sockets
• Position each side rail so that the button faces outward.
• While pressing the tabs on the ends of the seat back
tube, insert it into the sockets in each side rail, until the
tabs “snap” into place. Make sure you hear a “snap” on
each side.
• Pull the seat back tube up to be sure it is secure in the
side rail sockets.
• IMPORTANT! Before assembly and each use, inspect
this product for damaged hardware, loose joints, missing
parts or sharp edges. Do not use if any parts are missing
or broken.
• With the vibrations unit facing forward, t the notches
on the unit onto the side rails, as shown.
• Lift the top of the foot to t the peg into the hole in
the side rail.
• Hint: Each foot is designed to t the side rails one
way. If a foot does not seem to t, remove it and
assemble it to the other side rail.
• Repeat this procedure to assemble the other foot to
the other side rail.
Vibrations unit
Button
Press tabs
• Slide the socket on a foot onto the tapered end of a side
rail.
Foot Side rail
If you nd that something is missing, please do not assemble. Contact our Customer Service on 0861 466 324.
• Insert the ends of the kickstand into the socket in each
foot.
• Fit the upper pocket on the pad onto the seat back
tube.
• Press the fasteners on the back of the upper pocket on
the pad.
Assembly
Kickstand
Pad
• Seat Position
• Upright: While pressing the button on each side rail, lift
the seat back. Recline: While pressing the button on
each side rail, lower the seat back.
• Remove baby when lifting or lowering the seat.
Lift
Press button
Upright Recline
Press button
Lower
• Rotate the kickstand out.
• Push down on the seat bottom to be sure the kickstand
is in position.
• Insert and “snap” the toy bar plugs into each retainer
socket. Hint: The toy bar is removable. Press the ends of
the latches and lift the toy bar.
Assembly
Kickstand
• Fit the cross brace between the side rails, as shown.
• Hint: The cross brace is designed to t one way. If it
does not seem to t, tum it around and try again.
Cross brace
• Safety harness and restraint pad work together to x
your baby in the correct safety position and range.
• Adjust the belt to make the baby sit in a comfortable
seating position.
Restraint belt Restraint belt
Restraint pad

Other homechoice Baby Accessories manuals

homechoice Tilly Loo Training Potty User manual

homechoice

homechoice Tilly Loo Training Potty User manual

homechoice 023-28 User manual

homechoice

homechoice 023-28 User manual

homechoice Jolly User manual

homechoice

homechoice Jolly User manual

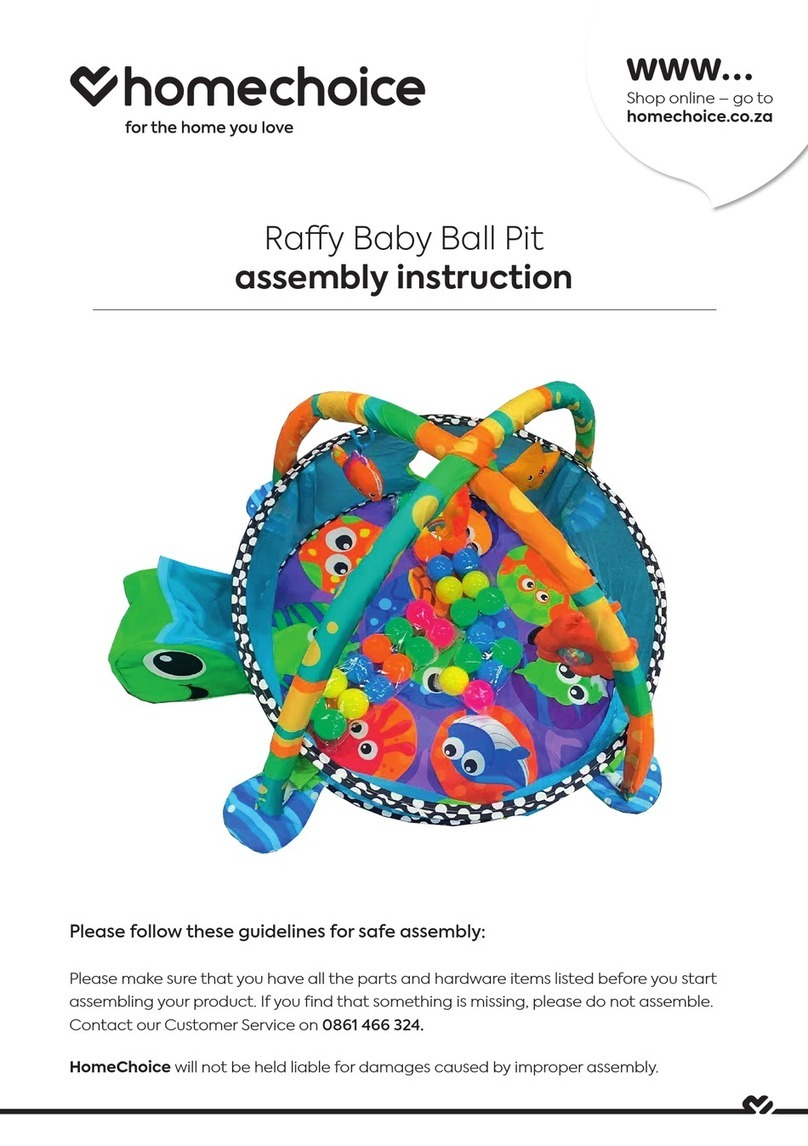
homechoice Raffy Baby Ball Pit User manual

homechoice

homechoice Raffy Baby Ball Pit User manual

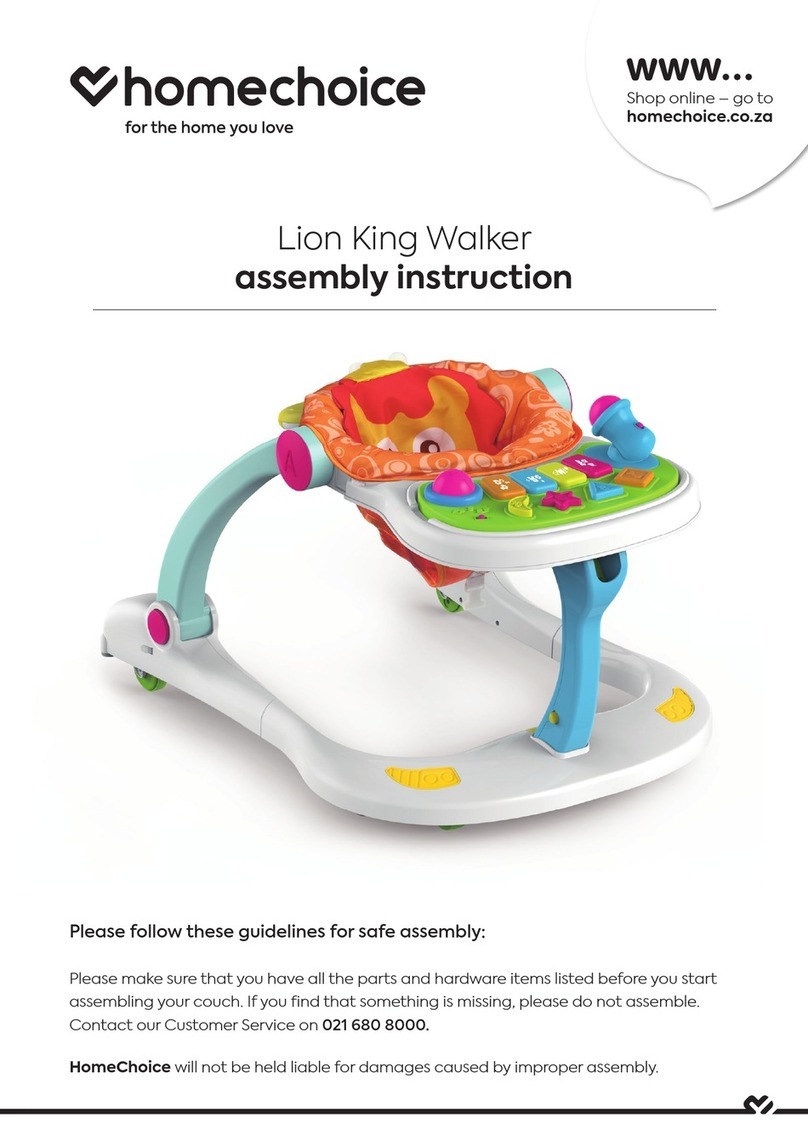
homechoice Lion King Walker User manual

homechoice

homechoice Lion King Walker User manual

homechoice 028-21 A User manual

homechoice

homechoice 028-21 A User manual

homechoice COCO&CO User manual

homechoice

homechoice COCO&CO User manual

homechoice Camber Baby Potty with music User manual

homechoice

homechoice Camber Baby Potty with music User manual

Popular Baby Accessories manuals by other brands

Delta Children 44201 instruction manual

Delta Children

Delta Children 44201 instruction manual

Munchkin SnackCatch & Sip manual

Munchkin

Munchkin SnackCatch & Sip manual

Summer 19526 owner's guide

Summer

Summer 19526 owner's guide

ingenuity Spring & Sprout manual

ingenuity

ingenuity Spring & Sprout manual

Fisher-Price Miracles & Milestones K4067 instruction sheet

Fisher-Price

Fisher-Price Miracles & Milestones K4067 instruction sheet

Fisher-Price V4357 manual

Fisher-Price

Fisher-Price V4357 manual

Bebe style PINK instructions

Bebe style

Bebe style PINK instructions

Fisher-Price DRF13 manual

Fisher-Price

Fisher-Price DRF13 manual

Bright Starts Ways to Play 12823-ESC manual

Bright Starts

Bright Starts Ways to Play 12823-ESC manual

Fisher-Price G4415 instructions

Fisher-Price

Fisher-Price G4415 instructions

Philips AVENT instructions

Philips

Philips AVENT instructions

AUSTLEN ENTOURAGE user manual

AUSTLEN

AUSTLEN ENTOURAGE user manual

Emmaljunga nxt90 instruction manual

Emmaljunga

Emmaljunga nxt90 instruction manual

asalvo TRIO GENIUS 16850 user guide

asalvo

asalvo TRIO GENIUS 16850 user guide

Fisher-Price W9466 user manual

Fisher-Price

Fisher-Price W9466 user manual

Radiant TH23F operating instructions

Radiant

Radiant TH23F operating instructions

BabyOno HORSES 793 quick start guide

BabyOno

BabyOno HORSES 793 quick start guide

Philips AVENT Avent SCF643 Specifications

Philips AVENT

Philips AVENT Avent SCF643 Specifications

manuals.online logo
manuals.online logoBrands
  • About & Mission
  • Contact us
  • Privacy Policy
  • Terms and Conditions

Copyright 2025 Manuals.Online. All Rights Reserved.