HOMEDEPOT Pinpointer User manual

S300
PINPOINTER
MANUAL
PETENT:201630302151.2
PINPOINTER MANUAL
Thank you for choosing our metal locator. The PINPOINTER is designed to
determine the position of the metal object accurately, which should be used

cooperating with the search coil metal detector. When the metal detector finds the
buried metal objects, it can only determines the roughly position, and you must dig a
large cave. In addition, small metal objects are often oxidized seriously and combined
with the sediment. It’s difficult to distinguish when excavating. At this moment, the
locater will help you find treasures and metal objects easily.
The locater adopts the advanced one-button design and it doesn’t need to adjust
when you use. It’s very simple and suitable for using in various complex
environments, including not only the situation that the soil is mineralized seriously
but also the sand that is saturated with salt water. The general environment of the
mining site is often complex and a lot of interferences, which will affect the accuracy
of the location. When the locater is turned on, it will balance the interference of the
surrounding environment automatically and improve the positioning accuracy. In the
process of using, it is found that the environment is changed or it is influenced by the
magnetic field, the sensitivity in the mineralized environment is reduced or self
excitation occurs. Just only press the balance button, it can enter a new balance to
maintain the effective detection sensitivity.
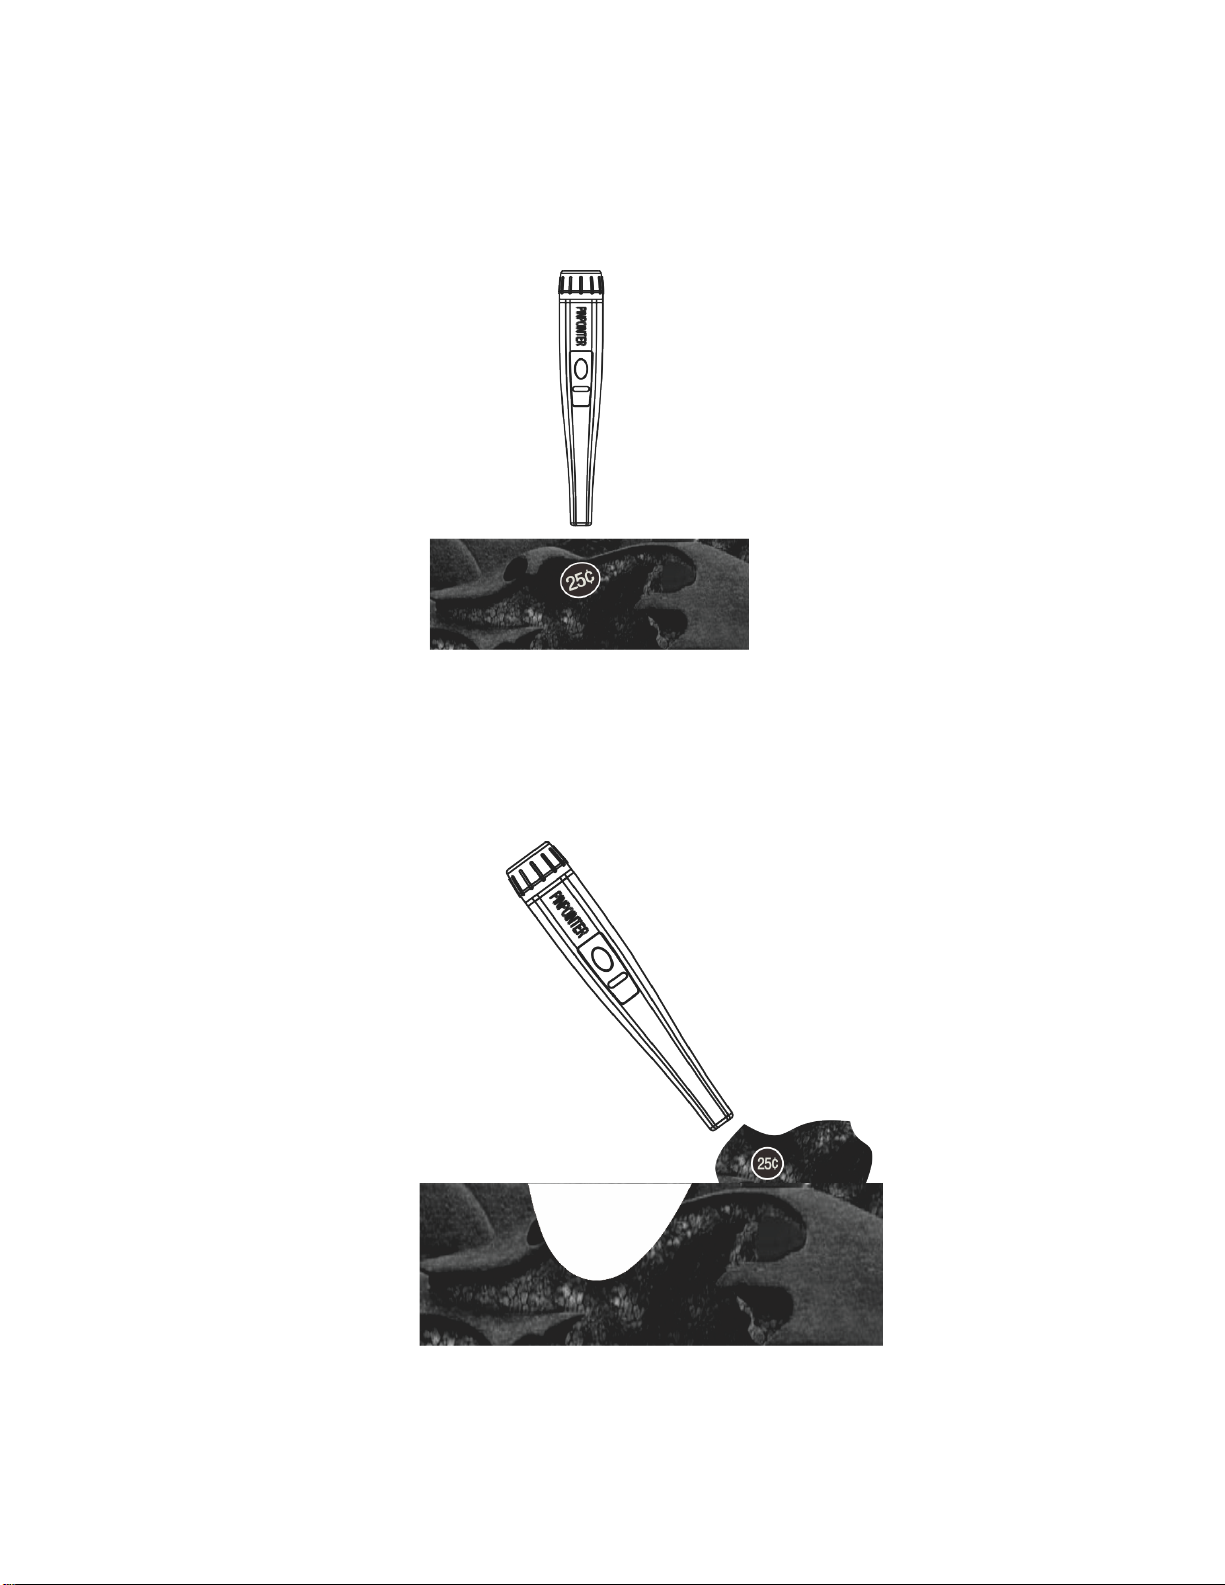
The locater has two kinds of alarm signals which are vibration and LED,
indicating the existence of metal objects. When the front probe approaches the metal
object, the unit will vibrate. At the same time, the LED will light up in the order of red,
green, blue and white. It will glow red light at first, the closer to the metal, the higher
the vibration frequency will be. White light will glow when the distance is the nearest.
The front of the locater is equipped with a white illumination LED, which can
provide illumination in the dark environment and underwater, to help you find metal
objects.
The locater has waterproof function. It can work under the water with the depth
of no more than 10 meters.
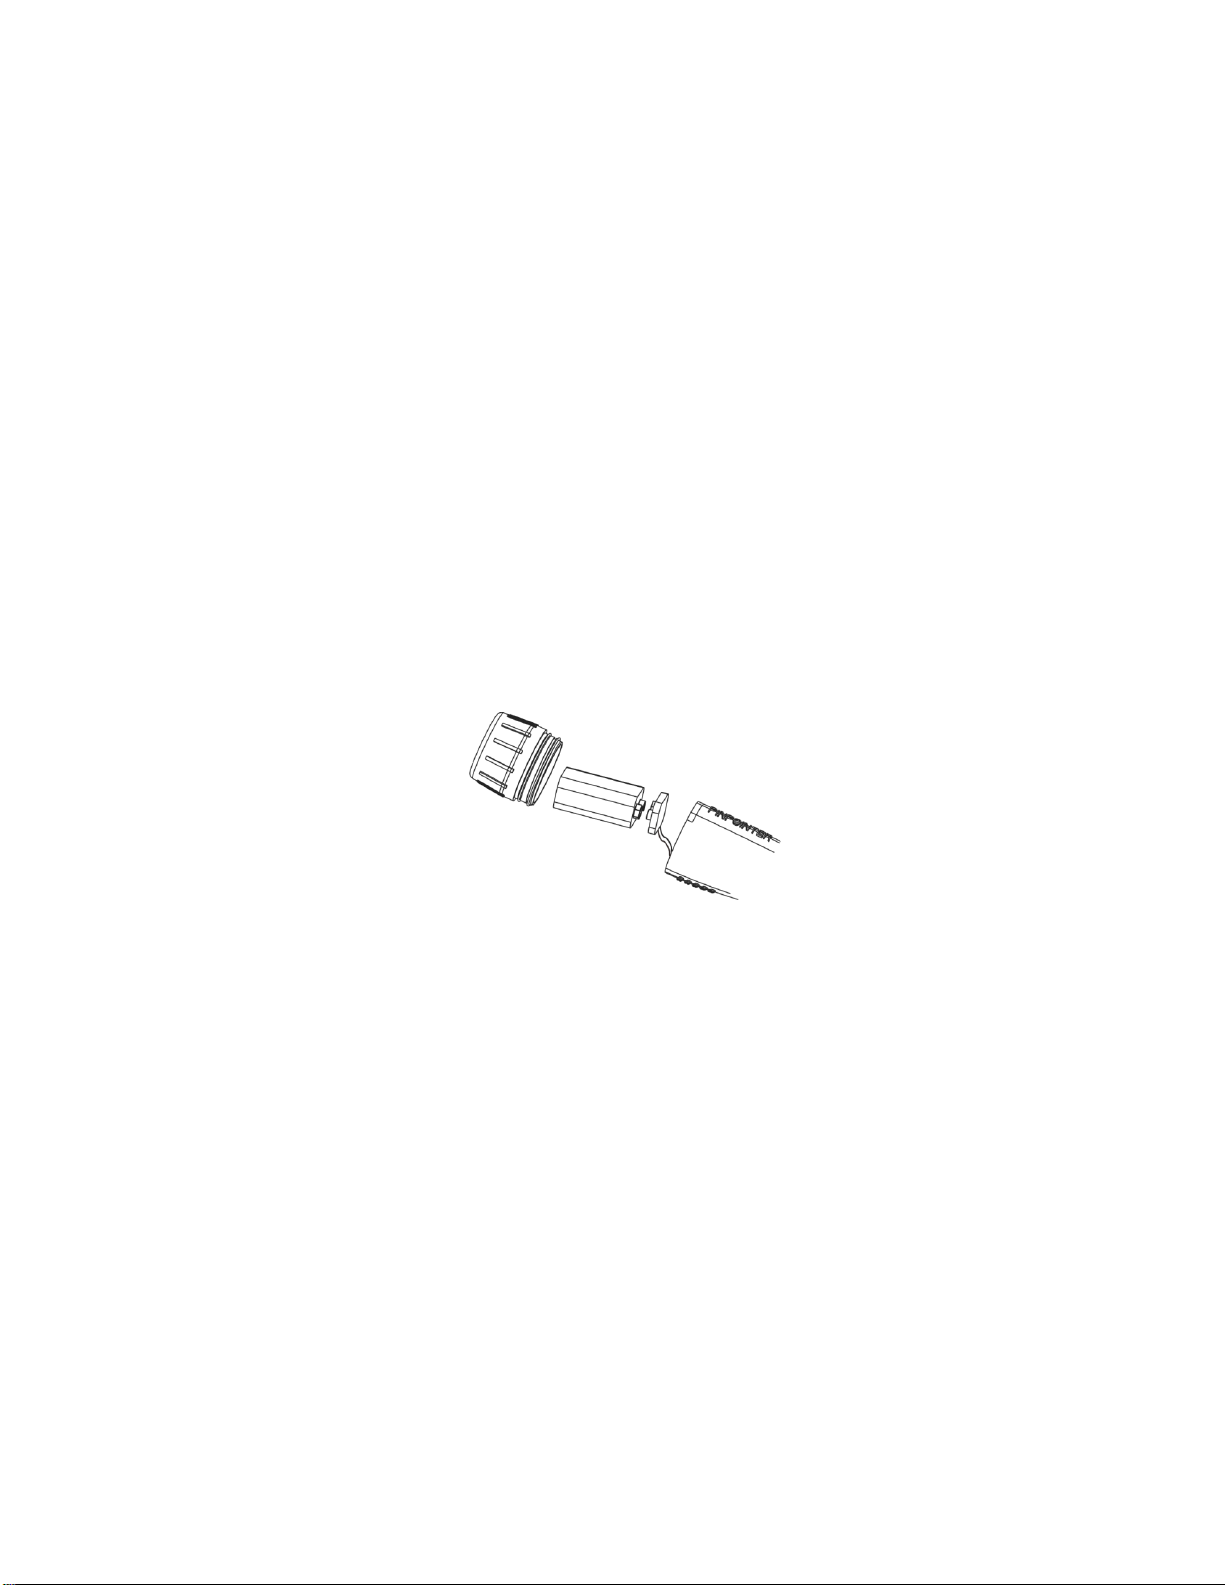
The locater uses a 9V alkaline battery. When the voltage is low, the LED will
flash together and send out a signal prompt of changing the battery.
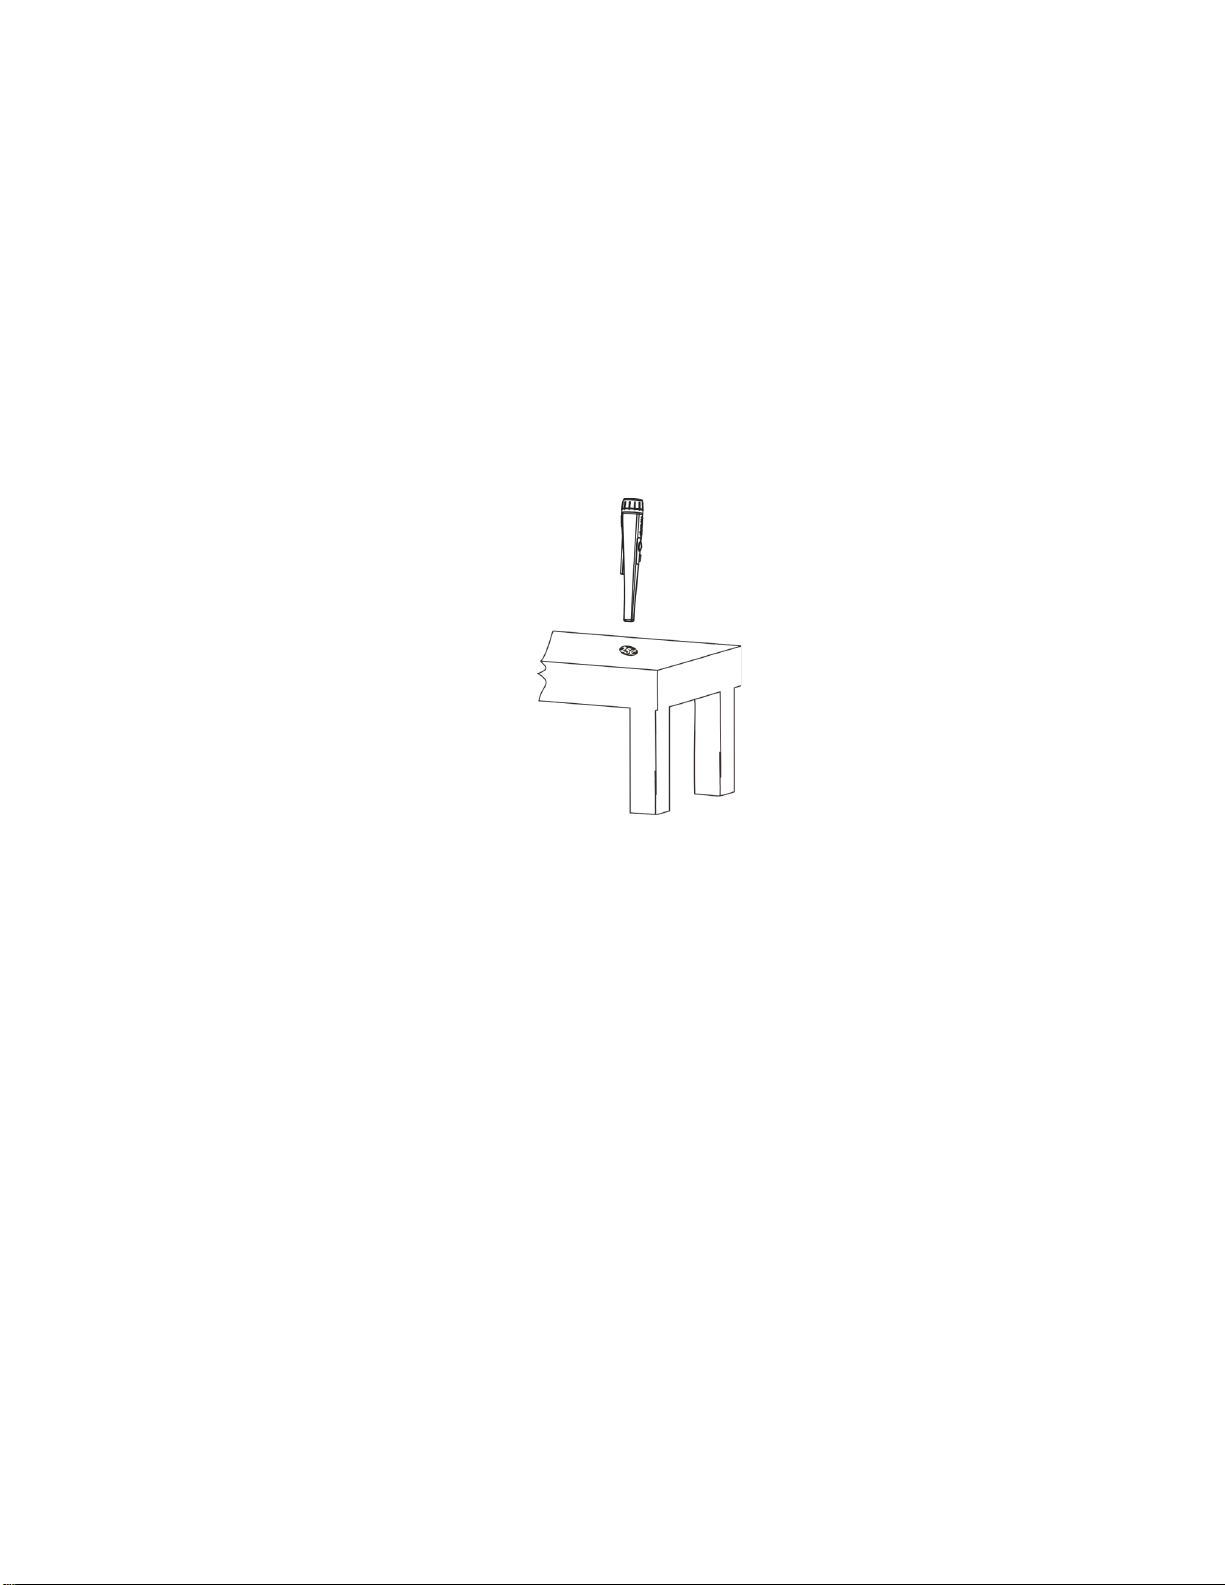
The locater is also an effective tool for DIY at home. You can search for and
locate metal pipes, wires, steel bars and control boxes in small spaces such as walls
and ceilings. It also can look for screws and metal pushpins at home, as well as lost
jewelry, etc.
Specification
Operation Frequency: about 12 KHz
Target Indication: LED and Vibration
Pinpoint Signal Strength: four colors LED (red/green/blue/white)
Waterproof Grade: IP68. The water depth is not more than 10 meters
One-button Operation
Automatic Shutdown
Power supply: 1x9V alkaline (not included)
Low Battery Indication: about 6.8V
Operating Temperature: 0-40℃
Size: Ø4.6cmx28cm

Net Weight: About 0.25kg
Function Introduction
Fig.1
Power Supply/ Balance Switch—used as on/off power supply, also as balance
button. First, press the power supply once lightly, the signal strength LED will flash 2
times, and the vibrator will vibrate 2 times for a short time. Then the white lighting
LED will light, which means the locater is connected and completes balance, it enters
the using state.
Press the power supply switch for about 3 seconds. The white lighting LED will
extinguish and the power supply will turn off.
The power switch also can use as the balance button. Whenever you press the
power supply once lightly, it will balance automatically.
LED signal strength indication and vibration alarm-- When metal is
detected, the vibration motor begins to vibrate, and the red signal strengthen LED
lights up. As the probe moves closer to the metal targets, the vibration frequency will
become higher .The signal strength LED will light up in the order of red, green, blue
and white .Until the white LED lights up, the motor vibration frequency is the highest.
Lighting LED-- After the locater is turned on, the white lighting LED is on,
indicating the detector is in the work and it can also be used as a flashlight.
Search Probe-- The built in antenna is for transmitting and receiving signals. The
front 2-3 cm, 360 ° is the higher sensitivity detection area.
Low voltage alarm--When the battery is low, the LED will flash continuously. It
means it is time to replace the 9V battery.

Battery and the battery cover— Rotate the battery cover counterclockwise,
open the battery cover, rotate clockwise to tighten the battery cover. Please pay
attention to use 9V alkaline battery. The lifetime of the alkaline battery is about 20
hours. When replacing batteries, make sure the battery buckle is in good contact, and
the O-type rubber ring is placed properly, the battery cover is tightened, in order to
prevent water leakage.
Leather cover and wristband—Insert the locater into the leather case. Put the
wristband on the battery cover.
Automatic Shutdown—5 minutes with no operation, it will shut down
automatically.
Battery
Please use 9v alkaline battery, fasten the battery buckle on the 9v battery, put it
into the battery box, and then screw the battery cover.
Fig 2
Note: The white LED flashes continuously, indicating that it is time to replace
batteries. Some batteries have stronger internal resistance. It can’t provide the motor
enough electric current. It will also appear the same situation. You need to replace
better batteries.
Caution:
If you want to dive, you must lock the battery cover.
Quick-Start
In order to master the use method of the locater, it’s recommended you read the
quick start carefully and practice indoors. After getting familiar with the basic
performance of the locater, you should explore treasures outdoors
1. Prepare metal samples

This locater is the non-motion metal detector. As long as you approach it, it will
react to all kinds of metals. You can use 25¢dollar coin as sample.
2. Take off the watch, ring and other metal accessories. Let the locater be far away
from the wall, the floor and other metal objects and also the electric light,
television, computer, mobile phone and other electrical appliances that will bring
electromagnetic interference.
3. Put the 25¢dollar on the plastic or wooden table. There mustn’t be any metals
under the table or around the coin, in order to avoid the influence of metal. Lay
the locater above the coin vertically.(See figure.3)
Fig.3
4. Turn on the power supply. The signal strength LED will flash two times, and the
vibrator will vibrate 2 times, the lighting LED will light and the locater will be
balanced automatically. Then it will be in the state of waiting.
Note: Because the impact of the magnetic field or the surrounding
electromagnetic field, the locater may self-excite or reduce the sensitivity when
changing the position or rotation direction. In this time, you should press the balance
button lightly to enter the new balance, so as to maintain the effective detection
sensitivity.
At first, balance it once. Then hold the detector, approach the nether coin slowly
(see Figure.4). When the distance is about 2.5cm to 3cm, the locater begins to react,
the motor begins to vibrate, and the red LED is on. As the locater approach the coin
continually, the motor frequency gets higher and the LED lights in the order of red,
green, blue and white. Until the white LED is shown, the frequency of the motor is
the highest.

Fig4
5. When the white LED just lights up and the motor frequency just reaches the highest,
keep the locater still. Press the balance button lightly, the locater will be rebalanced
again, and the sensitivity will be reduced. At this time, the LED won’t light up and the
motor won’t vibrate, indicating the detection range turns smaller.
6. Let the front head of the probe approach the coin once again, and the LED will
light again and the motor will vibrate, then the locater will position once again.
7. The automatic balance function is very important. In the air balance, it’s far away
from the metal and ground, the sensitivity is the highest. In the vicinity of the metal or
the complex detection environment, the locater will balance the influence of the
environment and narrow the detection range to achieve the accurate positioning.
8. The locater adopts an effective waterproof measure, which can also be operated by
immersing the locater in the water.
Field Operation
After getting familiar with the basic operation of the locater, you can carry out
field operations outdoors. Because the field exploration is relative complex, the soil
composition of the detection area, the composition, size, shape and degree of
oxidation of the underground metal will all affect the detection result. The content of
this chapter is only a general step of field detection, which requires the operator to
practice and accumulate experience repeatedly to achieve good results.
1. In general, the locater should be used cooperatively with the scanning metal
detector. The general metal detector needs to move and scan with higher sensitivity,
but the target location is often not accurate enough, which brings difficult to mine. At
this time, you can use the locater to determine the exact location of the target.
2. If the target is buried shallowly, you can try the following methods: turn on the
power supply of the locater in the air, balance it above the area where the target may
be buried, let the locater downward vertically and move it slowly on the ground (see
Figure.5). At the point where the target is buried, the locater will send out an alarm
signal. If the locater sends out alarm signals everywhere, when the locater approach
the ground. It indicates that the soil is serious mineralization. You should rebalance

and then position.
In the process of positioning, if you feel the alarm area is still too large, you can
try to rebalance at the position where the LED shows white light. Move it in a smaller
range so as to improve the accuracy and then start mining.
Fig.5
3. If the target is buried deep, beyond the detection range of the locator, you should
use the metal detector to scan again, after the location is determined, and then start the
excavation. First of all, use a locator instrument to scan the excavated objects, and
determine whether the objects have been in the excavated soil (see Figure.6).
Fig.6
When you scan the excavated soil, but the locator won’t send out the alarm
signal, you should scan in the excavated cave. Please scan the bottom and surround of

the cave using the front-end of the locater slowly, determine the position of the target
object, and then excavate again (see Figure.7).
Fig.7
Reminder: The site is complex. Once the locater alarms everywhere and appears
self-excitation, it should be balanced again. You should pay particular attention to the
change of the color of the LED and the vibration frequency, when determining. If the
frequency turns higher, the LED glows white light, which means the distance to the
target object is more nearer. In order to improve the positioning accuracy, you can
also detect in the cave after re-balancing.
4. Under the water, as long as the water depth is no more than 10 meters, you can
use it at ease. Of course, you need to check whether the O-type rubber ring on the
battery cover is properly placed, and the battery cover should be tightened
properly when replacing the battery.
5. As a non-motion metal detector, the locator can be used as a small detector in the
home. Of course, it can’t distinguish the category of metal, only to find out
whether there are metals. You can scan on the wall, ceiling and plaster for screws,
metal pipes, switch boxes and other metal objects, and locate them.
This manual suits for next models
1
Table of contents