OPERATING MANUAL &GUIDE TO METAL DETECTING
34 7
Assembly (continued)
Detecting Activities (continued)
Relic Hunting (continued)
Most relic hunting locations are in fields, forested areas and vacant
lots where digging holes will not damage turf grass, so having a
detector with good depth sensitivity is important. Some places are so
littered with iron that it is necessary to discriminate out iron in order to be
able to search, even though you may miss some potentially valuable
artifacts.
Before you go relic hunting, obtain permission from the property owner.
If you intend to hunt on public land, check first with the administrator to
make sure it's not illegal. Certain kinds of sites, on both public and
private land, are protected by law from relic hunting. If there is a metal
detecting club in your area, some of the members will probably know what
the laws are in that area and which sites are off limits.
Relic hunting is most rewarding if you have an avid interest in history.
In many cases, the value of a relic is not the object itself, but the
story it's a part of -- what historians call context and archeologists call
provenance. A few pieces of rusty metal can tell the story of life in a
specific place, or that of a specific family or person from hundreds of years
ago. They can capture our imagination and help to give context to our lives today.
The value and context of a find can be readily lost without proper documentation and storage.
Add finds to your collection with care. Take the trouble to understand the site you are
searching and keep track of where you find things. Describe exactly how and where items
were found. Consider including a sketch of the site with your finds. Organization techniques
might include storing together all finds from the same site. Alternatively, if you have an interest
in specific items, like buttons, make a button collection, and within that collection, document
the circumstances surrounding each button found. If your finds are mixed together, without
categorization or documentation, their context will be lost.
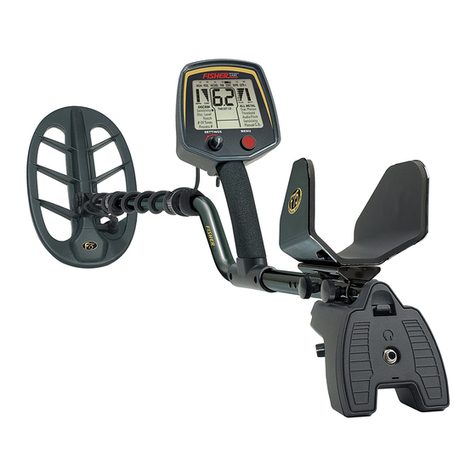
The ground balancing and DIRT bar graph features of the F70 can be used to map the soils of
a site. In this way you might determine which areas have been dug, backfilled, or subjected to
fire. This information in turn helps to reveal the history of the site.
To find promising sites to hunt, conduct research at your local library, look for clues in old
newspapers, and seek information on the Internet. Where did buildings used to be? Which
have since been torn down? Where did people gather for public events like dances and county
fairs? Where did train and stage lines run? Where were the swimming holes? In almost
every town there is a historical society and museum of local history. Most museums are
grateful for anything they can put on display, and when you dig something you cannot identify,
the curator can often identify it for you. If you work closely with the local historical society or
museum, landowners will be more willing to grant you permission to search their property.
Some of the most promising sites for relic hunting are places being cleared for development.
After the site is built on, whatever is in the ground will become inaccessible. The property owner
can often be persuaded that the site should be searched immediately while it is still searchable.
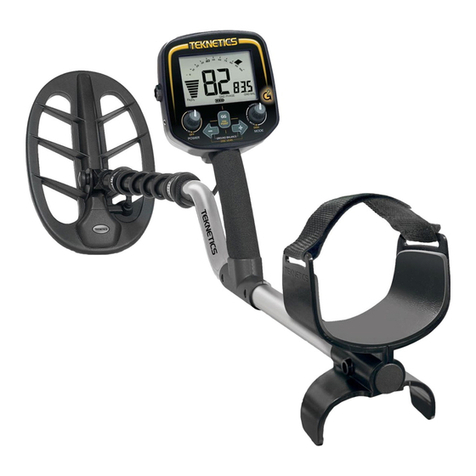
Assembly is easy and
requires no tools.
●
1
Position detector upright.
●
2
Rotate the LOCKING COLLAR fully in
a counter clockwise direction.
●
3
Insert your finger inside the tube and
make sure the INTERNAL CAM LOCK
is flush with the inside of the tube.
●
4
Insert the MIDDLE STEM into the S-
ROD.
●
5
Rotate the MIDDLE STEM until the SILVER BUTTON locates
in the hole.
●
6
Twist the LOCKING COLLAR fully in the clockwise direction
until it locks.
●
7
If your detector has 3 tubes and 2 Locking Collars, repeat this
process on the Lower Stem.
●
8
Position the Lower Stem with the Silver Button toward the back.
Using the Bolt, Single Rubber Washer, and Knurled Knob, attach
the Searchcoil to the Lower Stem.
●
9
Adjust the Lower Stem to a length that lets you maintain a
comfortable upright posture, with your arm relaxed at your side,
and the Searchcoil parallel to the ground in front of you.
●
10
Wind the Cable securely around the Stems.
A loose or moving Cable can cause false signals.
●
11
Connect Cable Plug to housing.
Do not twist the Cable or Plug. Turn Locking Ring only. Use
minimal finger pressure to start the threads. Do not cross-thread.
When the Locking Ring is fully engaged over the threaded
connector, give it a firm turn to make sure that it is very tight.
When the Locking Ring is fully engaged over the threaded
connector, it may not cover all of the threads.
●
12
Tighten both Locking Collars.
●
13
Secure the Cable with the 2 Velcro Straps provided, one on the
Lower Stem close to the Searchcoil, and one on the Upper Stem,
close to the housing. Leave just enough slack in the Cable, at the
Searchcoil end, to be able to rotate the Searchcoil a small amount
about the Bolt. After full assembly and upon first use in the field,
check this adjustment. It is very important to keep the Cable secure
against the Stem, especially at high Gain, as movement in the
Cable may cause false signals.
