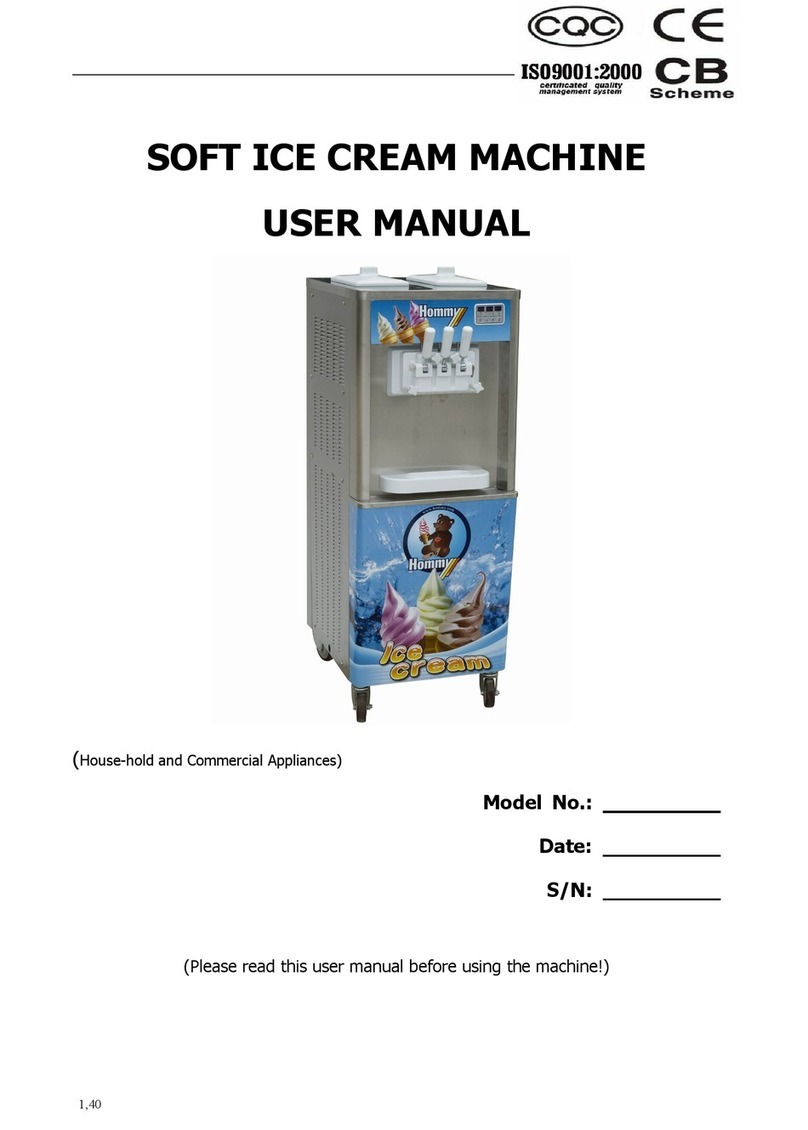
Hommy HM116T User manual

1
Model: ______________
Date: ______________
S/N: ______________
(Please read the manual carefully before operating the machine.)

2
Note: In order to protect the operator from injury, external power source of ice cream
machine must be connected to the earth leakage circuit-breaker. See the picture below.
When installed indoors, the
machine should be placed far
from sprinkler heads and
wetness, otherwise it will result in severe
shock .
Air-cooled machine
Please leave a space about 50cm at least
around the machine, this will make the air
flow through the condenser adequately. If
there is lack of space, refrigerating
capacity will be cut down, which may
cause the perpetual damage to the
compressor.
Electrical connections
To install the ice cream machine in accordance with the electrical specifications of the
rated power, current and voltage on the nameplate label .
Caution:
This machine must be accurately grounded!
Otherwise it will cause an electric shock and serious bodily injury!
When you look into the freezing cylinder, the stirring shaft
must rotate in a clockwise direction.

3
Note: The following steps should be carried out by professional repair technicians.
When phase reversal happens on power supply, two of the live wires”L1” and “L” should
be exchanged to install.
Important note: Violating the safety regulations may result in heavy
casualties. Failure to comply with this warning will damage the machine and
its components. Component damage will increase spending on the spare parts and
maintenance.
Safe operation
Do not operate the ice cream
machine before read the
instructions carefully. Failure to
follow this instruction will cause damage to
the machine or operator.
●Do not operate the ice cream
machine that is improperly
grounded .
●Do not repair the ice cream
machine before disconnect the mains,
otherwise it will cause an electric shock.
Please contact with local agent or find a
professional repair personnel when
necessary.
Failure to follow these instructions could
result in electrical shock or damage to the
machine, please consult the electrician for
the correct operation when you are
confused .
Please do not clean the
machine by the water faucet or
inside machine, otherwise it will
cause a severe shock.
The machine must be placed
on horizontal plane, otherwise
it may cause injury to persons
or damage to machine.

4
●Do not allow untrained
persons to operate the
machine.
●Before disconnect the power supply, do
not disassemble the throat block, the
agitating shaft or transmission shaft.
●Do not dive objects or fingers into the
throat block discharge outlet.
NOTE: Failure to follow these instructions
can lead to serious injury because of
dangerous moving parts.
Be careful when you
disassemble the agitating
shaft (disconnect the power
supply before the operation),
otherwise it may cause injury.
●Precaution before using the ice cream machine:
1. The machine is inevitably subject to shocks in the transportation and is used after
24 hours at best.
2. There are different adaptions of different models on environment temperature, and
it’s necessary to avoid the sun and be away from heat.
3. It is suggested that ice cream slurry should be kept at 25℃。
4. The machine should be placed in good ventilation and on horizontal plane.
5. The rotation direction of the agitating shaft should be in clockwise when you face to
the machine.
6. The air inlet of the machine (left / right / back board) must be maintained proper
ventilation.
7. It’s best to clear the dirt on the condenser once a month.
8. Notices for air-cooled machine:
Leaving a space about 50cm at least around the machine can make air move in.The
machine under part can not place anything, which can ensure cooling.
9. The machine can not work when it’s short of material in the hopper.
10. Please disconnect the power supply when the machine is not used for a long time.
●Notices for the power line:
a) Power socket must be equipped with ground wire, or the ground wire must be
connected the connector which is near the power line and on the back of the machine.
b) The cross-sectional area of power line must be larger than 4.0 square millimeters

5
when the voltage is between 220 volts and 240 volts, which can ensure steady stream
of electricity. According to the large starting current, the electric current should load
the power capacitance.
c) The cross-sectional area of power line must be larger than 2.5 square millimeters
when the machine is volts,which can ensure steady stream of electricity. According to
the large starting current, the electric current should load the power capacitance.
Note:
1. The current capacity of main power cord becomes low or overload, which will drop
voltage. Then the machine can not be used normally and even becomes damaged.
2. If the power cord need to be replaced, you have to find the professional
maintenance personnel to replace the power cord that meets the criteria.
Warm tips:
The machine is designed to work normally indoors with the normal
temperature(between 21℃and 28 ℃).
When the temperature is higher than or equal to 32 ℃, the production output may
reduce and the ice cream may be abnormal.

6
MACHINE STRUCTURE
Ref. No.
Description
Quantity
Ref. No.
Description
Quantity
1
Converter electricity box
1
19
Left rear corner post
1
2
Tap
1
20
Stirring shaft
1
3
Hopper lid
1
21
Long push rod
1
4
Mixer
1
22
Material collecting trough
1
5
Gravity pipe
1
23
Material collecting tray
1
6
Switch
1
24
Cone holder
1
7
Short push rod
1
25
Lid of material collecting tray
1
8
Advertising screen
1
26
Rubber feet
4
9
Coin accepter
1
27
Solenoid valve
2
10
Power box
1
28
Axial flow fan
1
11
Plate(cover the keyboard)
1
29
Compressor
1
12
Left side plate
1
30
Capacitance
1
13
Code scanner
1
31
Token box
1
14
Circuit board box
1
32
Right side plate
1
15
Reset switch
1
33
Gear motor
1
16
Throat block
1
34
Condenser
1
17
Stirring shaft core
1
35
Stirring motor
1
18
Locating sleeve
1

7
Overall dimensions(see the picture below)
Technical parameters
model
Dimension (mm)
Net weight (Kgs.)
HM116
769×403×1080
145
Electrical parameters
model
voltage
Rated current(MIN)
power
HM116
Single phase,
three-wine system,
220V/ 50Hz,
8A
1500W
Brush package + attachment
Clean the transmission shaft sleeve,
blanking stopper and blanking outlet.

8
Clean the throat block.
Clean the cylinder.
Clean the hopper and outlet of throat block.
Lube.
Installation sketch of top board
Ref. No.
Description
Quantity
1
Hopper lid
1
2
Air outlet
1
3
Mixer
1

9
4
Liquid-level sensor
1
5
Top board
1
6
Advertising screen
1
7
Gravity pipe
1
8
Tap
1
Gravity pipe instruction
After the hopper is cleaned, lube should be cover the sealing rings of expansion tube and
then the expansion tube is installed in the blanking hole of hopper. The air intake on
expansion tube is adjustable as needs: φ4, φ6, and φ8.
Note:
1)At the first production, the air intake must be closed as the cylinder is full of ice cream
slurry.When the production is finished, the air intake must be adjusted as you needs.(The
expansion rate is lower in turn as the blanking hole becomes larger. )
The ice cream slurry can not flow into cylinder when it’s too thick, which make the machine
work abnormally.
Ref. No.
Description
Quantity
1
Inner pipe
1
2
Sealing ringφ16*φ2
2
3
Outer pipe
1
4
Sealing ringφ22*φ2
2

10
Module’s disassembly and installation
The structure diagram and installation of stainless steel stirring shaft
Ref. No.
Description
Quantity
1
Throat block
1
2
Shaft core
1
3
Locating sleeve
1
4
Sheath A for front scrapper
1
5
Stainless steel stirring shaft
1
6
Plastic scrapper
2
7
Sheath B for front scrapper
1
When you install the stirring shaft, two orifices of plastic scrapper should be positioned to the
locks and pressed in. (Note: the sharp side of the plastic scrapper must be outward.)
It can not be installed if sheath A and sheath B can not be exchanged. And the locating
sleeve should be installed into the shaft core.
Installation of throat block
Table of contents
Other Hommy Ice Cream Maker manuals
Popular Ice Cream Maker manuals by other brands

Montiss
Montiss KIM5405MB user manual

ICETEAM 1927
ICETEAM 1927 COMPACTA VARIO US Instruction handbook

Coldelite
Coldelite EPS 60 XP Instruction handbook

Coldelite
Coldelite COMPACTA Series Instruction handbook

Italian Gelato
Italian Gelato ICETEAM 1927 STARGEL 5 Instruction handbook

Italian Gelato
Italian Gelato CATTABRIGA MANTEMATIC K20S Instruction handbook


