manuals.online logo
Brands
  1. Home
  2. •
  3. Brands
  4. •
  5. Honeywell
  6. •
  7. Motherboard
  8. •
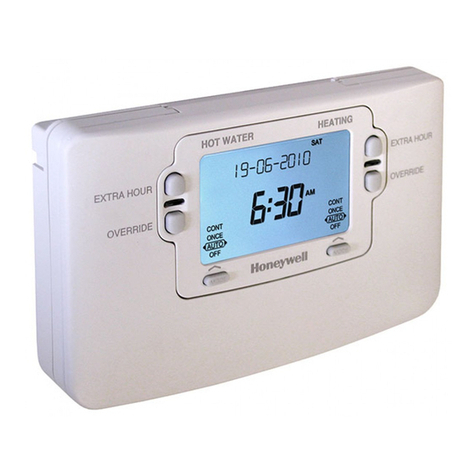
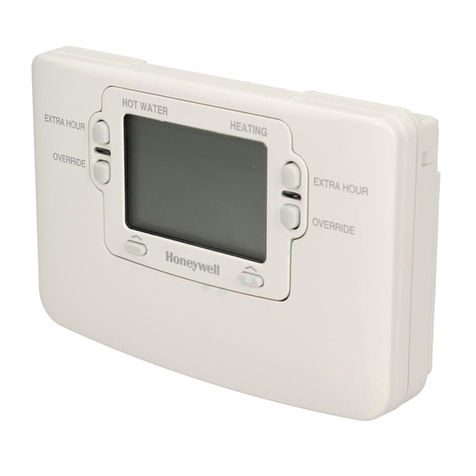
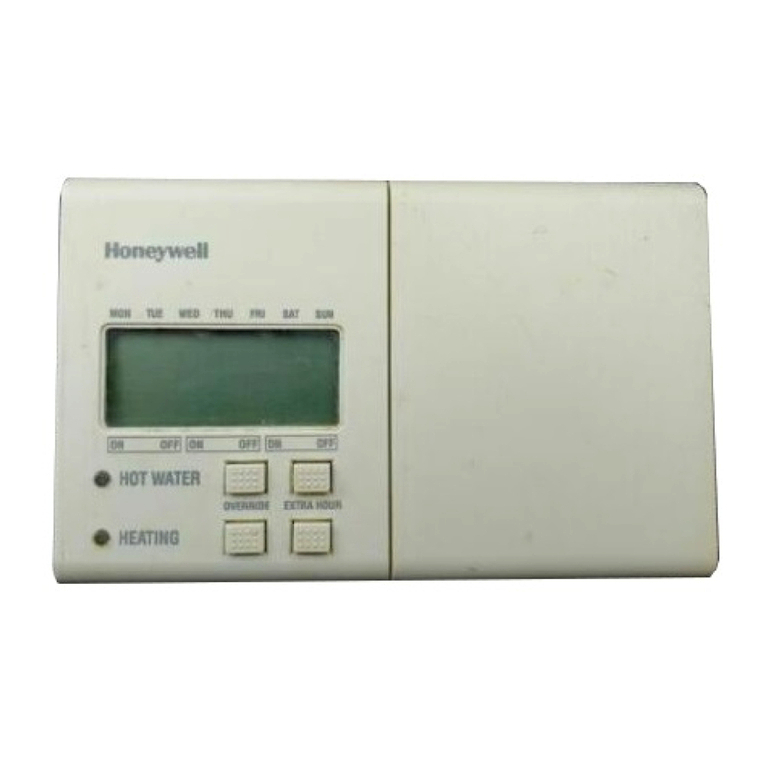
  9. Honeywell ST6400S User manual

Honeywell ST6400S User manual

USER GUIDE
TO BE LEFT
WITH USER
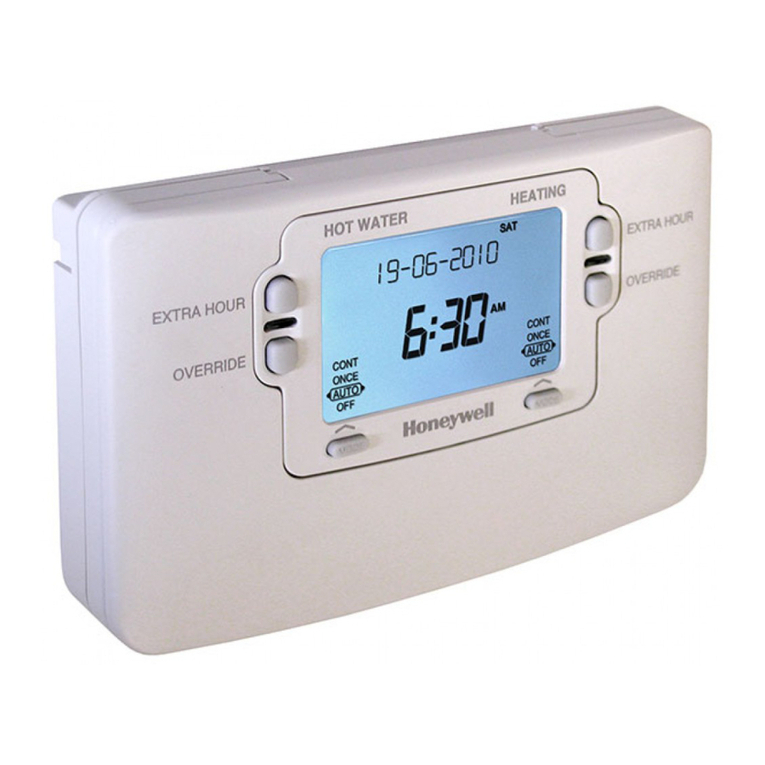
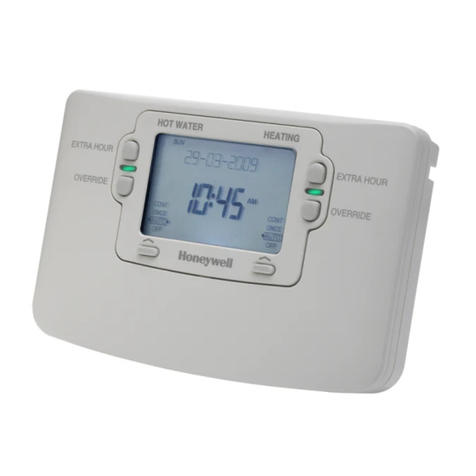
ST6400S Full Programmer
42009084-008 R1
INTRODUCTION
The ST6400S programmer controls your central
heating system. It will enable you to select the
times when heating and hot water are switched
ON and OFF.
FEATURES
• 24 hour heating programme.
• Separate 24 hour hot water programme.
• Two ON/OFF switching times per day.
• Built-in programme with typical ON/OFF
times for heating and hot water.
• Override buttons for heating and hot water.
• Extra hour buttons for heating and hot water.
• Built-in battery to prevent loss of programme
and time during power cuts.
• 12 hour am/pm or 24 hour clock format.
INSTALLER SET FEATURES
• Boiler Service Reminder.
• Automatic Summer/Winter 1 hour time
change, from BST to GMT.
The ST6400S and other Honeywell controls in your
central heating system will provide comfortable
temperatures in your home when you want them.
12 HOUR AM/PM or 24 HOUR CLOCK DISPLAY
Your programmer can operate on 12 hour am/pm or
24 hour clock formats. To change the format, ensure
the SETTING SLIDER is in the RUN PROGRAMME
position then press the + and
-
buttons together for
about 5 seconds. All the displayed times will be
automatically changed to the new format.
Repeating this procedure will change the clock
display back to the original format.
AUTOMATIC SUMMER/WINTER TIME CHANGE
If your programmer has been set to do so, it will
automatically change the clock from GMT to BST
overnight on the last Sunday of March and back
again in October. In March the clock will ‘spring’
forward by 1 hour, and in October it will ‘fall’ back
by 1 hour.
OPERATING YOUR PROGRAMMER
with Boiler Service Reminder / Shut-down Feature
For normal operation the SETTING SLIDER must be
in the RUN PROGRAMME position.
A red INDICATOR LAMP shows when the heating or
hot water is switched ON.
Two sliders are provided to select how the heating
and hot water are controlled.
The HEATING SLIDER has four positions:
OFF - The Heating will remain OFF.
AUTO - The heating will be switched ON and
OFF automatically according to the heating
programme.
ONCE - The heating will come ON at the rst
programmed ON time and go OFF at the last
programmed OFF time.
CONT. - The heating will remain ON
continuously.
The HOT WATER SLIDER operates in the same
manner as described above for the HEATING
SLIDER.
OVERRIDE
The OVERRIDE buttons switch the heating or hot
water ON or OFF without altering the programme.
When the indicator lamp is ON, pressing the
OVERRIDE button switches the heating or hot water
OFF until the next programmed ON time.
When the indicator lamp is OFF, pressing the
OVERRIDE button switches the heating or hot water
ON until the next programmed OFF time.
EXTRA HOUR
The EXTRA HOUR buttons switch the heating or hot
water ON for up to 3 extra hours without altering the
programme. Pressing either button once will give
one extra hour, and the words HEATING +1 HR or
HOT WATER +1 HR show on the display to conrm
the button has been pressed.
When the red indicator lamp is OFF, pressing the
EXTRA HOUR button switches the heating or hot
water ON for just one hour.
When the red indicator lamp is ON, pressing the
EXTRA HOUR button extends the programmed ON
period by one hour.
Further presses of the EXTRA HOUR buttons will
increase the extra hour period by one hour for each
button press, up to a maximum of 3 hours. The
display will change to show the number of extra
hours, for example HEATING +3 HR or HOT WATER
+2 HR.
To cancel the extra hours, keep pressing the EXTRA
HOUR button until the HEATING + (1,2 or 3) HR or
HOT WATER + (1,2 or 3) HR disappears from the
display.
POWER FAILURE
Your programmer has a built-in battery to ensure
correct operation after a mains supply power cut.
No action should be necessary following a power
cut of up to 4 days. Longer power cuts may require
you to re-programme.
BOILER SERVICE REMINDER
By Law, your gas boiler should be inspected once a
year to ensure it is operating safely. If the Programmer
has been set to do so, it will display a message on
the screen to remind you that a Boiler Service is due.
If the Service is overdue, the programmer may switch
off the heating system, to ensure your safety. If this
happens you must arrange an immediate Service
visit. Contact details should be listed below.
If your programmer screen
ashes this message every
few seconds, your Boiler
Service is due soon, and
you should arrange a service visit.
If your programmer screen
shows the words “SERVICE
DUE” then your boiler
service is OVERDUE and
you should arrange an immediate service visit.
If your programmer screen
shows the words “SERVICE
DUE” and “OFF” then your
boiler service is OVERDUE
and the boiler has been switched off to ensure your
safety - you should arrange an immediate service visit.
If set to do so, it may be
possible to obtain limited
use of the boiler by pressing
the heating EXTRA HOUR
button. Each button press will allow operation of the
boiler for 1 hour at a time, and the screen will display
the message “on:1H”, as shown above. However, you
should arrange an immediate service visit.
BOILER SERVICE CONTACT NUMBERS
Name Telephone
Contact 1
Contact 2
FAULT INDICATION
If your programmer screen
shows this message, the
product has detected an
internal fault, and must be
replaced, so you should arrange an immediate
service visit.
SERVICE DUE
SERVICE DUE
AM
SERVICE DUE
DAYS
SERVICE DUE
SETTING YOUR PROGRAMMER
SETTING THE CORRECT TIME
To set the correct time, open the ap on the front of
the programmer.
STEP 1
Move the SETTING
SLIDER to the SET
TIME position. The time
on the display will now
be ashing to indicate
it can be changed.
STEP 2
To change the time, press the + or
-
buttons until the
correct time is displayed.
Each press of the button will change the time by
one minute. Holding the button down for more than
a few seconds will change the time slowly at rst,
then quickly.
STEP 3
Moving the SETTING SLIDER to the next position
completes setting the time.
SETTING THE HOT WATER PROGRAMME
The hot water programme has two ON/OFF
switching times per day. Each time can be set
between 3.00 am and 2.50 am (on the next day) to
allow you to programme the hot water to stay on past
midnight, if required.
STEP 4
Move the SETTING SLIDER to the SET HOT
WATER position. The words HOT WATER will now
be visible on the display and the rst ON time will
now be ashing.
STEP 5
Use the + and
-
buttons to set the rst ON time.
Each press of the button will change the time by
10 minutes.
STEP 6
Press the NEXT ON/OFF button once to display
the rst OFF time. Set this time using the + and
-
buttons.
STEP 7
By pressing the NEXT ON/OFF and + or
-
buttons
the remaining ON/OFF times can be set.
*NOTE*
1.
When pressing the + button, the next ON or OFF
marker may start to ash. If this happens the next
programme time will have been changed. Press
the NEXT ON/OFF button to check and adjust this
programme time if necessary.
2. When pressing the
-
button, the previous ON or
OFF marker may start to ash. If this happens
the previous programme time will have been
changed. Follow the procedure in “REVIEWING
PROGRAMME TIMES” to check and adjust this
time if necessary.
Moving the SETTING SLIDER to the next position
completes setting the hot water programme.
3.00am
4.00am
5.00am
6.00am
7.00am
8.00am
9.00am
10.00am
11.00am
12.00am
1.00pm
2.00pm
3.00pm
4.00pm
5.00pm
6.00pm
7.00pm
8.00pm
9.00pm
10.00pm
11.00pm
12.00pm
1.00am
2.00am
3.00am
HOT WATER
HEATING
BUILT-IN PROGRAMME
3.00am
4.00am
5.00am
6.00am
7.00am
8.00am
9.00am
10.00am
11.00am
12.00am
1.00pm
2.00pm
3.00pm
4.00pm
5.00pm
6.00pm
7.00pm
8.00pm
9.00pm
10.00pm
11.00pm
12.00pm
1.00am
2.00am
3.00am
HOT WATER
HEATING
PERSONAL PROGRAMME
AM
IF DISPLAY REMAINS BLANK AFTER SWITCH ON – SWITCH OFF FOR A FEW SECONDS
AND THEN SWITCH BACK ON AGAIN
AM
+ AND
-
BUTTONS
LCD
DISPLAY
ON/OFF
MARKER
HOT WATER
INDICATOR
LAMP
OVERRIDE
BUTTONS
HEATING
INDICATOR
LAMP EXTRA HOUR
BUTTONS
HEATING
SLIDER
SETTING
SLIDER
HOT WATER
SLIDER
NEXT ON/OFF
BUTTON
BOILER SERVICE
REMINDER
SETTING THE HEATING PROGRAMME
The heating programme has two ON/OFF switching
times per day. Each time can be set between 3.00
am and 2.50 am (on the next day) to allow you to
programme the heating to stay on after midnight if
required.
STEP 8
Move the SETTING SLIDER to the SET HEATING
position. The word HEATING will now be visible on
the display and the rst ON time will be ashing.
STEP 9
The required heating programme can now be set by
following the same procedure as “SETTING THE HOT
WATER PROGRAMME” in steps 5 to 7.
STEP 10
Move the SETTING SLIDER to the next position to
complete setting the programme.
REVIEWING PROGRAMME TIMES
To review your hot water programme move the
SETTING SLIDER to the SET HOT WATER
position.
To review your heating programme move the
SETTING SLIDER to the SET HEATING position.
To review the programme times press the NEXT
ON/OFF button repeatedly. Any of these times can
be adjusted by using the + and
-
buttons.

Other Honeywell Motherboard manuals

Honeywell N4300 Series User manual

Honeywell

Honeywell N4300 Series User manual

Honeywell ST6400A User manual

Honeywell

Honeywell ST6400A User manual

Honeywell Gamewell FCI ILI-MB-E3 Technical manual

Honeywell

Honeywell Gamewell FCI ILI-MB-E3 Technical manual

Honeywell 7720P Installation manual

Honeywell

Honeywell 7720P Installation manual

Honeywell SEK001 User manual

Honeywell

Honeywell SEK001 User manual

Honeywell GENT S4-INTERFACE-PROG User manual

Honeywell

Honeywell GENT S4-INTERFACE-PROG User manual

Honeywell ST699 User manual

Honeywell

Honeywell ST699 User manual

Honeywell IDENT-KEY 3 Instruction manual

Honeywell

Honeywell IDENT-KEY 3 Instruction manual

Honeywell ST6400A User manual

Honeywell

Honeywell ST6400A User manual

Honeywell ST9400S Operating instructions

Honeywell

Honeywell ST9400S Operating instructions

Honeywell SEK002 User manual

Honeywell

Honeywell SEK002 User manual

Honeywell ST699 User manual

Honeywell

Honeywell ST699 User manual

Honeywell GENT S4-BASE-PROGRAM Installation manual

Honeywell

Honeywell GENT S4-BASE-PROGRAM Installation manual

Honeywell ST9500C User manual

Honeywell

Honeywell ST9500C User manual

Honeywell ST9400A User manual

Honeywell

Honeywell ST9400A User manual

Honeywell T5820XL Installation and maintenance instructions

Honeywell

Honeywell T5820XL Installation and maintenance instructions

Honeywell ST799 User manual

Honeywell

Honeywell ST799 User manual

Honeywell ST9400C User manual

Honeywell

Honeywell ST9400C User manual

Honeywell ST9400S User manual

Honeywell

Honeywell ST9400S User manual

Honeywell DCP551 Mark ll User manual

Honeywell

Honeywell DCP551 Mark ll User manual

Popular Motherboard manuals by other brands

Asus TUF Gaming B660-PLUS WIFI D4 manual

Asus

Asus TUF Gaming B660-PLUS WIFI D4 manual

Supero SUPER S2DM3 user manual

Supero

Supero SUPER S2DM3 user manual

GIGAIPC iTXL-6100B User’s Manual 1st Ed

GIGAIPC

GIGAIPC iTXL-6100B User’s Manual 1st Ed

GOWIN DK START GW1NZ-LV1FN32C6I5 user guide

GOWIN

GOWIN DK START GW1NZ-LV1FN32C6I5 user guide

American Megatrends MegaPlex II Compatibility Report

American Megatrends

American Megatrends MegaPlex II Compatibility Report

Micrel SY88212L quick start guide

Micrel

Micrel SY88212L quick start guide

Quectel LG69T AA user guide

Quectel

Quectel LG69T AA user guide

Maxim MAX3296 instruction manual

Maxim

Maxim MAX3296 instruction manual

Texas LMK04906B operating instructions

Texas

Texas LMK04906B operating instructions

Pine Technology TL-BX31 user guide

Pine Technology

Pine Technology TL-BX31 user guide

GATEWORKS GW2348-4 operating manual

GATEWORKS

GATEWORKS GW2348-4 operating manual

Commell LS-378 user manual

Commell

Commell LS-378 user manual

ICP ROCKY-3702EV user manual

ICP

ICP ROCKY-3702EV user manual

Foxconn H67A Series manual

Foxconn

Foxconn H67A Series manual

Silicon Laboratories Si3460 user guide

Silicon Laboratories

Silicon Laboratories Si3460 user guide

Foxconn A6VMX Series user manual

Foxconn

Foxconn A6VMX Series user manual

Renesas ISL91127IRN-EVZ user manual

Renesas

Renesas ISL91127IRN-EVZ user manual

Biostar Z690GTA manual

Biostar

Biostar Z690GTA manual

manuals.online logo
manuals.online logoBrands
  • About & Mission
  • Contact us
  • Privacy Policy
  • Terms and Conditions

Copyright 2025 Manuals.Online. All Rights Reserved.