manuals.online logo
Brands
  1. Home
  2. •
  3. Brands
  4. •
  5. Horizon Fitness
  6. •
  7. Laboratory Equipment
  8. •
  9. Horizon Fitness FCSU-023 User manual

Horizon Fitness FCSU-023 User manual

PEM Reversible Fuel Cell
Product Ref No. : (FCSU-023)
Specifications:
- High performance reversible PEM fuel cell
- Dimensions (w x h x d): 54mm x 54mm x 17mm
- Total Weight: 69.7grams
- Color: Blue or Transparent
Electrolyzer function:
When applying an electrical current (solar or D.C power), the
reversible fuel cell acts as an electrolyzer that produces hydrogen
and oxygen from water.
- Input Voltage: 1.8V ~ 3V (D. C.)
- Input Current: 0.7A
- Hydrogen production rate: 7ml per minute at 1A
- Oxygen production rate: 3.5ml per minute at 1A
PEM Reversible Fuel Cell- User Directions
Preparation of the Electrolyzer and Solar/Battery Powered Hydrogen Production
What is included:
• PEM Reversible Fuel Cell
• Tubing
• Pins
• 2 x banana cables/ Connecting Leads
• Syringe
What you need:
• Battery pack or solar panel
• Distilled water
• Water/Gas Containers
H2H2
1. Place the Electrolyzer onto a flat surface. Cut 2 x 4cm length pieces of rubber tube and insert a black pin into the end of one
tube. Place the tube with the black pin into the top pin on the hydrogen side (with black terminal). Place the other tube firmly
onto the top input nozzle on the oxygen side (see A).
2. Fill the syringe with DISTILED water. On the red (oxygen) side of the electrolyzer, connect the syringe to the uncapped tube.
Fill the electrolyzer until water begins to flow out of the tube. Place a red plug into the short tube located on the Oxygen side
of electrolyzer. Let settle for 3 min (see B).
3. Place the outer water/gas containers onto a flat surface. Fill with distilled water up to the "0" line.
4. Place inner containers into outer cylinders minding that the gaps are not blocked by inner plastic rims. Make sure the water
is still level to the“0” line. If not, remove some water with the syringe so that water level is at “0” line. Cut out two 20cm lengths
of tubing.
5. Connect the tubes to the top nozzles on the inner containers.If the tubing is connected to the inner cylinders lastly there will
be no air trapped inside the inner containers.
6. Connect the other end of one of the tubes to the bottom end of the black hydrogen side of the electrolyzer. Connect the end
of the other tube to the bottom end of the red oxygen side of the electrolyzer (see C).
7. Connect the electrolyzer to the solar panel using the corresponding cables and expose to direct sunlight (see D).You can also
use a Horizon battery pack and two AA batteries to connect to the elecrolyzer as well. (Important: make sure connections are
correct or permanent damage can occur. )
AB
CD
8. If the solar panel is placed in sufficiently strong sunlight, or battery pack is switched to the “On”position the system will now
start to produce oxygen and hydrogen in the respective cylinders.When bubbles begin to surface in the hydrogen cylinder the
cycle is complete. Disconnect the solar panel or battery pack from the electrolyzer.
Procedure for repeated gas production: Disconnect the small plugs from the tubes connected to the nozzles on the reversible
fuel cell.This will allow water into the inner cylinders to replace the gasses and reset water levels to “0” line. Re-insert the plugs
into the tubes and repeat electrolysis again.
* The attached gold leads included with the PEM Electrolyzer and PEM fuel cells may be inserted into red/black terminals of the
fuel cells if attaching other devices such as solar panels and small wind turbines using crocodile clip type leads/ cables. These
may be also used to attach various loads to PEM fuel cells. We alternately provide 1 set of red/black 2mm banana plug
leads/cables with each PEM electrolyzer and fuel cell that are designed to connect to Horizon solar panels and educational wind
turbines.
Fuel Cell Function:
When applying a load, the reversible fuel cell is able to generate electricity from the hydrogen and oxygen gasses.
- Output Voltage (Parallel/Series): 0.6V(D.C)
- Output Current (Parallel/Series):360mA
- Power: 210mW
Before applying a load you must perform electrolysis and capture sufficient hydrogen and oxygen gasses as in the previous steps.
Note: In order to obtain pure hydrogen in the containers,you should unplug the black pin on the hydrogen side of the fuel cell to
release the hydrogen from the inner container of balloon/syringe. Re insert the black pin into the tube and repeat electrolysis
process.This should be done the first time so as to purge impure gasses remaining in the containers that could negatively impact
the performance of the fuel cell.
BUILDING AN APPLICATION FOR THE PEM FUEL CELL
Several different types of devices can be commonly powered by the fuel cell such as small motors, LED lights, small water pumps,
and other small electric devices requiring small amounts of power. Use your imagination in engineering new devices and
applications using the fuel cell as its power system.
USING FUEL CELLS TO CONVERT HYDROGEN TO ELECTRICITY
Preparation of the Fuel Cell System
Using a PEM Reversible Fuel Cell to Power a Load
1. Place the reversible fuel cell in a secure positionor onto a flat surface.
2. Connect the PEM reversible fuel cell to the motor or load you wish to power using the red and black connecting leads. Make
sure to connect the black wire with the black terminals and red wirewith the red terminals.
3.You should see the load begin to operate and use the electricity produced by the fuel cell.The load should begin to consume
the hydrogen/oxygen fuels stored in the cylinders if there are sufficient levels of gasses available. If not, try gently squeezing the
tubing to allow some of the gas to move into the fuel cell from the hydrogen storage container. As the load uses electricity the
fuel cell will consume hydrogen from the cylinder and you will see the water level reflect the changes in amount of gases
consumed.
Important:
• It is highly recommended to place the PEM Reversible Fuel Cell inside an air-tight plastic bag, such as a “Ziploc Bag.” This will
protect it when you are not using the kit.
• The positive and negative poles of the PEM Reversible Fuel Cell must be correctly connected to the power supply or damage
may result.
• The membranes in the PEM Reversible Fuel Cell are to be used only when they are hydrated. Inject water only into the positive
(oxygen) sideof fuel cell and allow to soak for 3 minutes. The membranes will be damaged if connected to a solar panel or power
supply when dry.
• It is highly recommended to use 3 W solar panel with 1A current or 2 new AA alkaline batteries with 1.5V as a power supply.
Note:
You can purchase the components used in the operation online
at:http://www.horizonfuelcell.com/store.htm

Other Horizon Fitness Laboratory Equipment manuals

Horizon Fitness Hydrofill Pro User manual

Horizon Fitness

Horizon Fitness Hydrofill Pro User manual

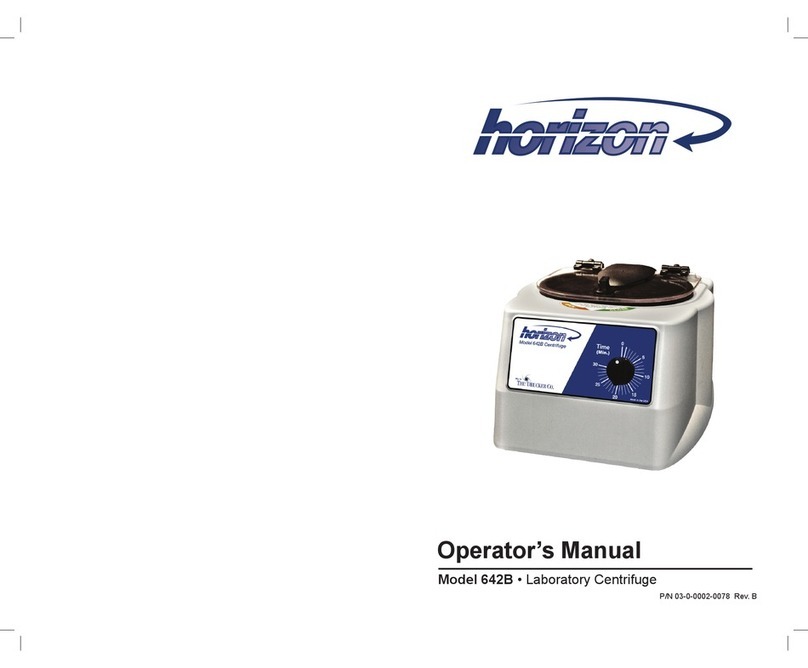
Horizon Fitness 642B User manual

Horizon Fitness

Horizon Fitness 642B User manual

Horizon Fitness FCJJ-37 User manual

Horizon Fitness

Horizon Fitness FCJJ-37 User manual

Horizon Fitness Ci User manual

Horizon Fitness

Horizon Fitness Ci User manual

Horizon Fitness 853VES User manual

Horizon Fitness

Horizon Fitness 853VES User manual

Horizon Fitness 642E User manual

Horizon Fitness

Horizon Fitness 642E User manual

Horizon Fitness G1 User manual

Horizon Fitness

Horizon Fitness G1 User manual

Horizon Fitness FCJJ-34 User manual

Horizon Fitness

Horizon Fitness FCJJ-34 User manual

Horizon Fitness 755VES User manual

Horizon Fitness

Horizon Fitness 755VES User manual

Popular Laboratory Equipment manuals by other brands

Julabo SW23 operating manual

Julabo

Julabo SW23 operating manual

Carestream INDUSTREX M43ic user guide

Carestream

Carestream INDUSTREX M43ic user guide

BNC 685 Series user manual

BNC

BNC 685 Series user manual

Fortex Etching Station 1 manual

Fortex

Fortex Etching Station 1 manual

Esco MAW-4D user manual

Esco

Esco MAW-4D user manual

Mecmesin Vortex operating instructions

Mecmesin

Mecmesin Vortex operating instructions

Sigma 3-16P operating manual

Sigma

Sigma 3-16P operating manual

Amplyus miniPCR mini16 user guide

Amplyus

Amplyus miniPCR mini16 user guide

Oxford Instruments ANDOR ZL41 Cell user guide

Oxford Instruments

Oxford Instruments ANDOR ZL41 Cell user guide

Asylum Research cypher user guide

Asylum Research

Asylum Research cypher user guide

3M Attest 490M Operator's manual

3M

3M Attest 490M Operator's manual

Omicron NG LEED Technical reference manual

Omicron

Omicron NG LEED Technical reference manual

Thermo Scientific Locator Jr user manual

Thermo Scientific

Thermo Scientific Locator Jr user manual

DIGISYSTEM DSC-302SMD instruction manual

DIGISYSTEM

DIGISYSTEM DSC-302SMD instruction manual

Scilogex MS-H-Pro-T user manual

Scilogex

Scilogex MS-H-Pro-T user manual

IKA LR-2.ST operating instructions

IKA

IKA LR-2.ST operating instructions

Lumencor SPECTRA instruction manual

Lumencor

Lumencor SPECTRA instruction manual

BIO UV MP030 EL Installation and maintenance manual

BIO UV

BIO UV MP030 EL Installation and maintenance manual

manuals.online logo
manuals.online logoBrands
  • About & Mission
  • Contact us
  • Privacy Policy
  • Terms and Conditions

Copyright 2025 Manuals.Online. All Rights Reserved.