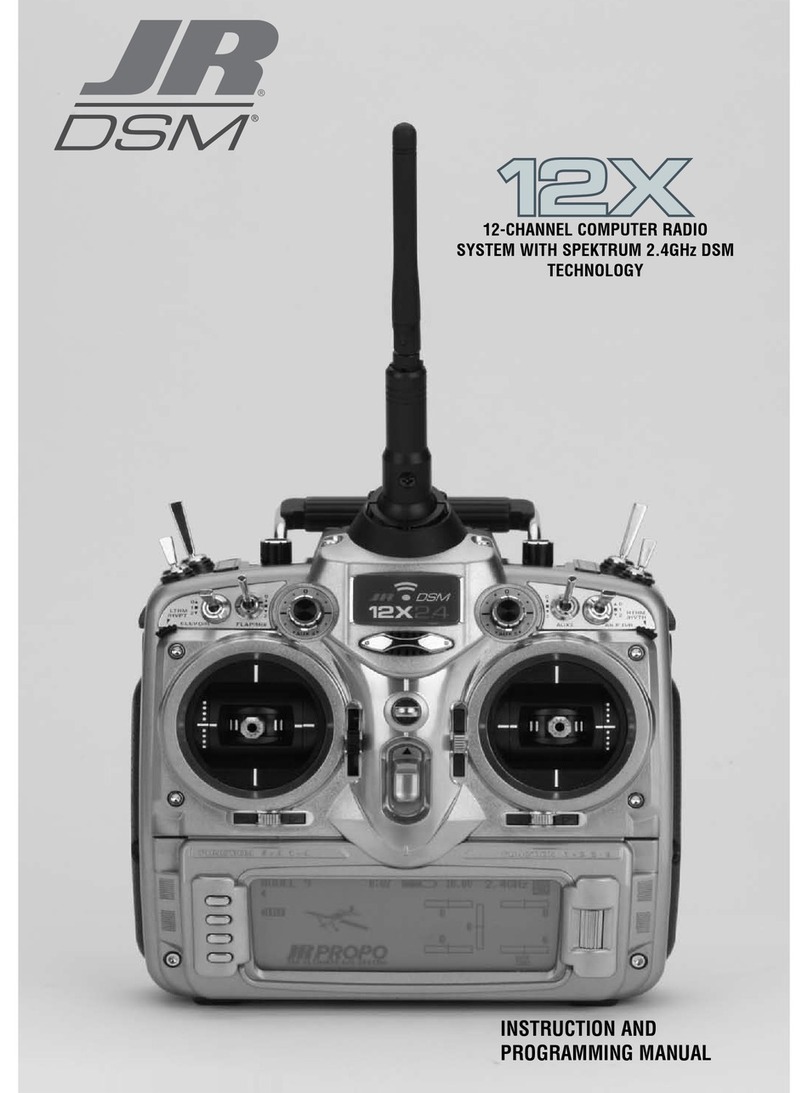
Set your Dual Rates and Expo as you desire. Press the DOWN key to get to D/R and EXP, and
press the select key once to adjust the expo, and twice to adjust the dual rates. Press the select key to
select the channel to be adjusted, and press the increase or decrease keys to adjust the values. Always
use a positive value for expo, as a negative value will make the control response more sensitive around
center and could cause you to over control the plane and crash. 30 percent expo on aileron, and 25% on
elevator and rudder is recommended to start with. Set your dual rates around 70% to start with, and
change to your tastes.
Set the sub trims as required leveling the control surfaces. Press the UP key until you get to the
SUB TRIM screen. Press the select key to select the channel to be adjusted, and press the increase or
decrease keys to adjust the values. Do try to keep these as close to zero as possible. Using too much
sub trim can result in running out of travel on the servos, and the possibility of over-driving the servos.
Set the travel adjustments such that you get the control movements required. Consult your Ultra
Stick manual for the required control surface travels. You may need to use 1” long servo arms to
achieve the maximum travels listed in the manual. Try to use as high a travel adjustment value possible
to achieve the throws so that you use as much of the servos travel as possible. Press the UP key until
you get to the TRAVEL ADJ screen. Press the select key to select the channel to be adjusted, and press
the increase or decrease keys to adjust the values.
To start setting up the advanced features of the Ultra Stick, we need to center the arms on each
servo to the exact center position with the arm perpendicular to the servo itself. Do this with each of the
gimbals in the center, the trims centered, and the switch selected for the gear channel and flap channel
set away from you or the up position if using the dual rate switches. The throttle servo you will set the
arm as needed for you installation when setting up the throttle.
Mixing Elevator to Flap
Press the UP key until the screen says MX1. Press the + key until the first channel says elevator,
then press the select key so that the arrow points at the second channel, then press the + key until the
second channel says gear. Now press the select key three times, and press the increase or decrease key
and select the switch position that you would like to have this active. It is best to use a different switch
than was set for the gear and flaps in the system mode switch selection from earlier. Now press the
select key 4 times to take you back to the rate set up. Set the switch you selected so that the screen says
ON in the upper left hand corner. Now press the increase key while holding up elevator until you get to
about 35 percent. If the flaps go up, reverse the value from +35 to –35. Now push down elevator, and
press the increase key to 35. If the flaps go down, reverse the value from +35 to –35. This will give you
flaps mixed to the elevator for tight loops, etc.
Setting up Crow and Mixing Flap to Elevator
Press the up key until you come to a screen saying FLAP SYSTEM. Here you can adjust the
amount and direction of the ailerons in crow by adjusting the percentage with the increase or decrease
key with the arrow pointing at FLAP. For the elevator compensation with crow, press the select key one
time. Now activate crow by whatever switch combination you have chosen, and press the increase or
decrease keys as necessary to get the down elevator compensation mentioned in the manual. To adjust
the amount of flap movement, go to the travel adjust function, and adjust the gear channel travel as
needed.
