manuals.online logo
Brands
  1. Home
  2. •
  3. Brands
  4. •
  5. Horstmann
  6. •
  7. Motherboard
  8. •
  9. Horstmann C11 User manual

Horstmann C11 User manual

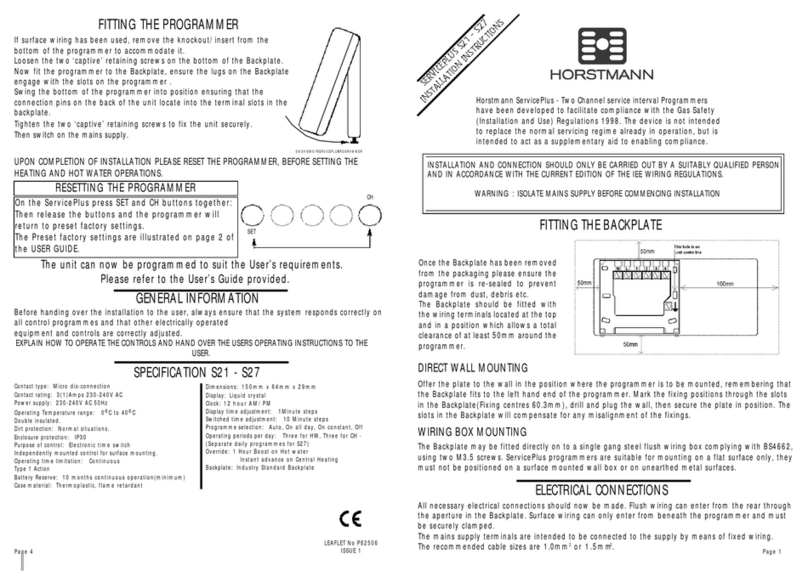
FITTING THE BACKPLATE
Once the Backplate has been
removed from the packaging please
ensure the programmer is re-sealed
to prevent damage from dust, debris
etc.
The Backplate should be fitted with
the wiring terminals located at the
top and in a position which allows a
total clearance of at least 50mm
around the programmer.
DIRECT WALL MOUNTING
Offer the plate to the wall in the position where the programmer is to be mounted, remembering that
the Backplate fits to the left hand end of the programmer. Mark the fixing positions through the slots
in the Backplate(Fixing centres 60.3mm), drill and plug the wall, then secure the plate in position. The
slots in the Backplate will compensate for any misalignment of the fixings.
WIRING BOX MOUNTING
The Backplate may be fitted directly on to a single gang steel flush wiring box complying with BS4662,
using two M3.5 screws. CentaurPlus programmers are suitable for mounting on a flat surface only, they
must not be positioned on a surface mounted wall box or on unearthed metal surfaces.
ELECTRICAL CONNECTIONS
All necessary electrical connections should now be made. Flush wiring can enter from the rear through
the aperture in the Backplate. Surface wiring can only enter from beneath the programmer and must
be securely clamped.
The mains supply terminals are intended to be connected to the supply by means of fixed wiring.
The recommended cable sizes are 1.0mm
2
or 1.5mm
2
.PAGE 1PAGE 4LEAFLET No P60490
ISSUE 4
GENERAL INFORMATION
Before handing over the installation to the user, always ensure that the system responds correctly on
all control programmes and that other electrically operated
equipment and controls are correctly adjusted.
EXPLAIN HOW TO OPERATE THE CONTROLS AND HAND OVER THE USERS OPERATING INSTRUCTIONS TO THE
USER.
FITTING THE PROGRAMMER
The unit can now be programmed to suit the User’s requirements.
Please refer to the User’s Guide provided.
Contact type: Micro dis-connection (Voltage Free)
Contact rating:3(1)Amps 230-240V AC
Power supply: 230-240V AC 50Hz
Operating Temperature range:0
o
C to 40
o
C
Double insulated.
Dirt protection: Normal situations.
Enclosure protection:IP30
Purpose of control:Electronic time switch
Independently mounted control for surface mounting.
Operating time limitation: Continuous
Type 1 Action
Battery Reserve:10 months continuous operation(minimum)
Case material:Thermoplastic, flame retardant
Dimensions:150mm x 84mm x 29mm
Display: Liquid crystal
Clock:12 hour AM/PM
Display time adjustment:1 Minute steps
Switched time adjustment: 10 Minute steps
Programme selection:Auto, On all day, On constant, Off, Holiday
Operating periods per day: Three
(Separate daily programmes for C17)
Override:1 Hour Boost
Instant advance
Backplate: Industry Standard Backplate
SPECIFICATION C11 - C17
If surface wiring has been used, remove the knockout/insert from the
bottom of the programmer to accommodate it.
Loosen the two ‘captive’ retaining screws on the bottom of the
Backplate. Now fit the programmer to the Backplate, ensure the lugs
on the Backplate engage with the slots on the programmer .
Swing the bottom of the programmer into position ensuring that the
connection pins on the back of the unit locate into the terminal slots
in the backplate.
Tighten the two ‘captive’ retaining screws to fix the unit securely.
Then switch on the mains supply.
UPON COMPLETION OF INSTALLATION PLEASE RESET THE PROGRAMMER.- DETAILED BELOW
ENDVIEWOFCENTAURPLUSPROGRAMMER
On the CentaurPlus press SET and SELECT buttons together:
Then release the buttons and the programmer will return
to preset factory settings.
The preset factory settings are illustrated on page 2 of the
USER GUIDE.SET
SELECT
INSTALLATION AND CONNECTION SHOULD ONLY BE CARRIED OUT BY A SUITABLY QUALIFIED PERSON
AND IN ACCORDANCE WITH THE CURRENT EDITION OF THE IEE WIRING REGULATIONS.
WARNING:ISOLATE MAINS SUPPLY BEFORE COMMENCING INSTALLATION
Horstmann Controls Limited
Bristol
BS4 1UP
t:0117 9788 773 - f:0117 9788 701
Email: [email protected]k
Website: www.horstmann.co.uk
RESETTING THE PROGRAMMER
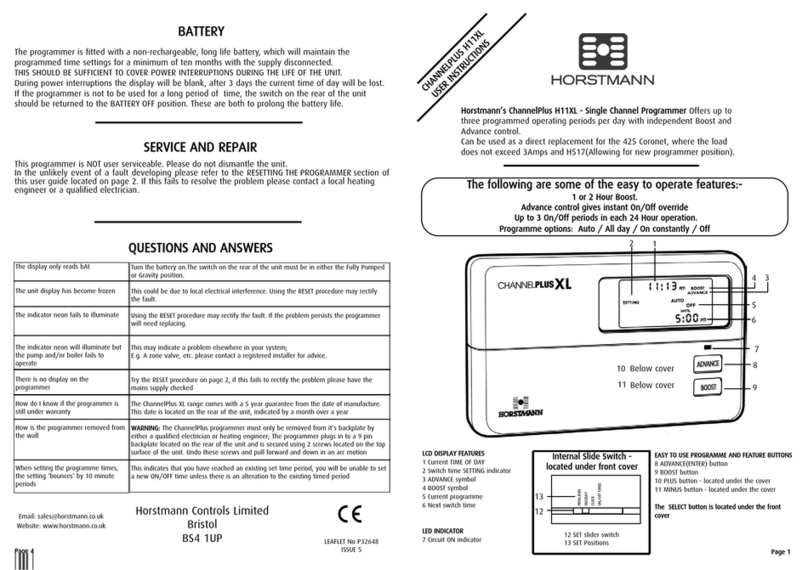
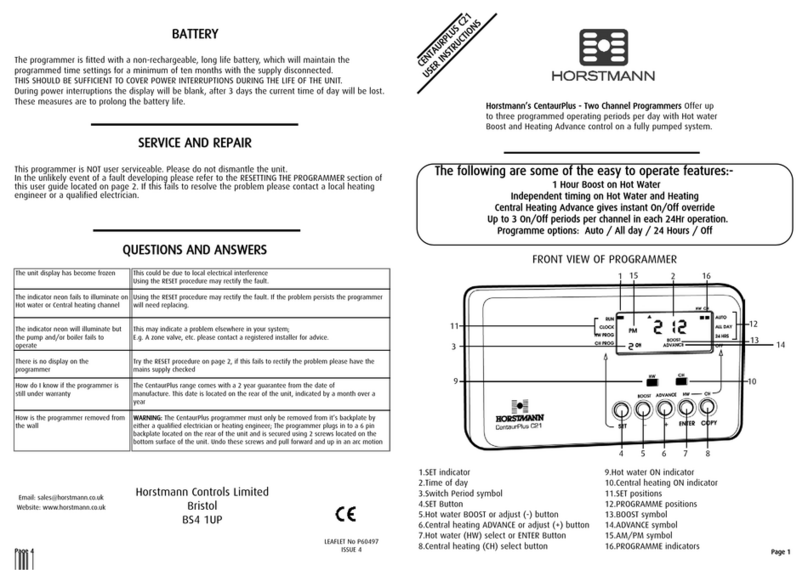
Horstmann’s CentaurPlus - Single Channel Programmers Offer up
to three programmed operating periods per day with Boost and
Advance control.
PAGE 2
ELECTRICAL CONNECTIONS
COMMISSIONING THE PROGRAMMER
PAGE 3
CentaurPlus programmers are double insulated and do not require an Earth connection but an Earth
connection block is provided on the Backplate for terminating any cable Earth conductors. Earth
continuity must be maintained and all bare Earth conductors must be sleeved. Ensure that no
conductors are left protruding outside the central space enclosed by the Backplate.
Your CentaurPlus has Voltage
Free contacts.
A link L - 2 is required for
mains Voltage applications.
REAR VIEW OF CENTAURPLUS PROGRAMMER
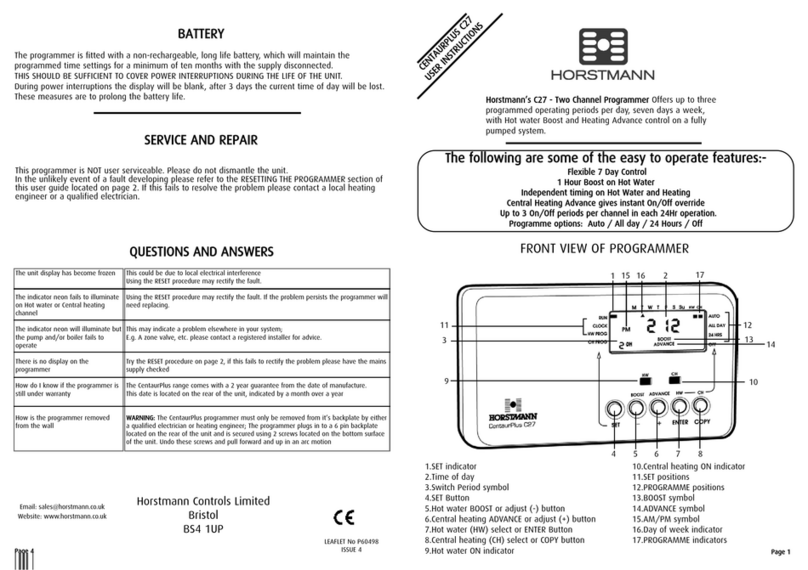
1 - RATINGS LABEL
2 - BATTERY
3 - CONNECTOR PINS
4 - PRODUCTION DATE LABEL
BATTERY RESERVE
Ensure all dust and debris has been cleared away from the work area before removing the
programmer from its packaging. All CentaurPlus controls are fitted with battery reserve which will
maintains programmed times in the event of a mains power failure.
The Battery must be commissioned prior to fitting the control to the Backplate. This is achieved by the
means of a COMMISSIONING STRIP situated on the back of the unit. Pull out the battery commissioning
strip at the back of the programmer and re-insert the Battery, the reserve is now activated.
When the programmer is running on battery reserve the clock display will disappear. This is to prolong
the life of the battery.
NEW INSTALLATIONS
INTERNAL WIRING DIAGRAM C11 - C17
1. Typical combination boiler installation with RoomStat
4. Typical combination boiler installation3.Gravity primary with pumped Heating via
RoomStat and CylinderStat
2.Fully Pumped System with RoomStat and two port
spring return valve (with auxiliary switch) on
Heating circuit
Example circuit diagrams for some typical installations are shown below. These diagrams are
schematic and should be used as a guide only.
Please ensure that all installations comply with the current IEE regulations.
For reasons of space and clarity not every system has been included and the diagrams have been
simplified, for instance some Earth connections have been omitted.
Other control components shown in the diagrams i.e. Valves, RoomStats etc are general
representations only. However the wiring detail can be applied to the corresponding models of most
manufactures e.g. Horstmann, Honeywell, Danfoss Randall, ACL Drayton etc.
Cylinder and Room Thermostat Key:
C = Common CALL = Call for heat or break on rise SAT = Satisfied on rise N = Neutral

This manual suits for next models

1

Other Horstmann Motherboard manuals

Horstmann channelplus H37 XL series 2 User manual

Horstmann

Horstmann channelplus H37 XL series 2 User manual

Horstmann Channel Plus H27XL Installation instructions

Horstmann

Horstmann Channel Plus H27XL Installation instructions

Horstmann 425 Coronet User manual

Horstmann

Horstmann 425 Coronet User manual

Horstmann Channel Plus H11 XL User manual

Horstmann

Horstmann Channel Plus H11 XL User manual

Horstmann CentaurPlus C27 User manual

Horstmann

Horstmann CentaurPlus C27 User manual

Horstmann Channel Plus H27ZXL Installation instructions

Horstmann

Horstmann Channel Plus H27ZXL Installation instructions

Horstmann ChannelPlus H27XL User manual

Horstmann

Horstmann ChannelPlus H27XL User manual

Horstmann CentaurPlus C21 User manual

Horstmann

Horstmann CentaurPlus C21 User manual

Horstmann ChannelPlus H37XL Series 2 User manual

Horstmann

Horstmann ChannelPlus H37XL Series 2 User manual

Horstmann ChannelPlus H11XL User manual

Horstmann

Horstmann ChannelPlus H11XL User manual

Horstmann CentaurPlus C27 User manual

Horstmann

Horstmann CentaurPlus C27 User manual

Horstmann ChannelPlus H37XL Series 2 User manual

Horstmann

Horstmann ChannelPlus H37XL Series 2 User manual

Horstmann ServicePlus S21 User manual

Horstmann

Horstmann ServicePlus S21 User manual

Popular Motherboard manuals by other brands

Supero SUPER X5DA8 user manual

Supero

Supero SUPER X5DA8 user manual

SOYO SY-KT333 DRAGON Plus user manual

SOYO

SOYO SY-KT333 DRAGON Plus user manual

FuzzDog AstroTone manual

FuzzDog

FuzzDog AstroTone manual

TYAN Tempest i5400PW user guide

TYAN

TYAN Tempest i5400PW user guide

Asus K8V-MX user guide

Asus

Asus K8V-MX user guide

FIC FS39T manual

FIC

FIC FS39T manual

MSI G31M3 Series Hardware user manual

MSI

MSI G31M3 Series Hardware user manual

Advantech AIMB-231 user manual

Advantech

Advantech AIMB-231 user manual

Gigabyte GA-A55-S3P user manual

Gigabyte

Gigabyte GA-A55-S3P user manual

IEI Technology iQ7-BT user manual

IEI Technology

IEI Technology iQ7-BT user manual

Fujitsu Siemens Computers D1382 Technical manual

Fujitsu Siemens Computers

Fujitsu Siemens Computers D1382 Technical manual

IWILL dca200 manual

IWILL

IWILL dca200 manual

Analog Devices AD8333-EVALZ manual

Analog Devices

Analog Devices AD8333-EVALZ manual

IEI Technology NANO-BT Series user manual

IEI Technology

IEI Technology NANO-BT Series user manual

Asus P2L-M user manual

Asus

Asus P2L-M user manual

ON Semiconductor DVK-AXM0F243-915-1-GEVK user manual

ON Semiconductor

ON Semiconductor DVK-AXM0F243-915-1-GEVK user manual

Biostar TA890FXE - BIOS manual

Biostar

Biostar TA890FXE - BIOS manual

ASROCK P65iCafe user manual

ASROCK

ASROCK P65iCafe user manual

manuals.online logo
manuals.online logoBrands
  • About & Mission
  • Contact us
  • Privacy Policy
  • Terms and Conditions

Copyright 2025 Manuals.Online. All Rights Reserved.