manuals.online logo
Brands
  1. Home
  2. •
  3. Brands
  4. •
  5. Horstmann
  6. •
  7. Motherboard
  8. •
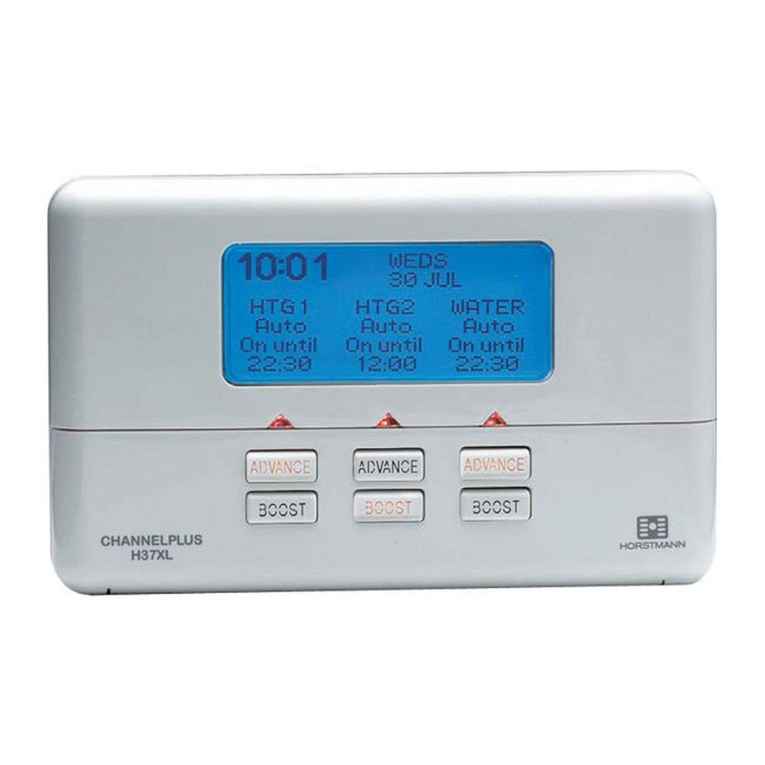
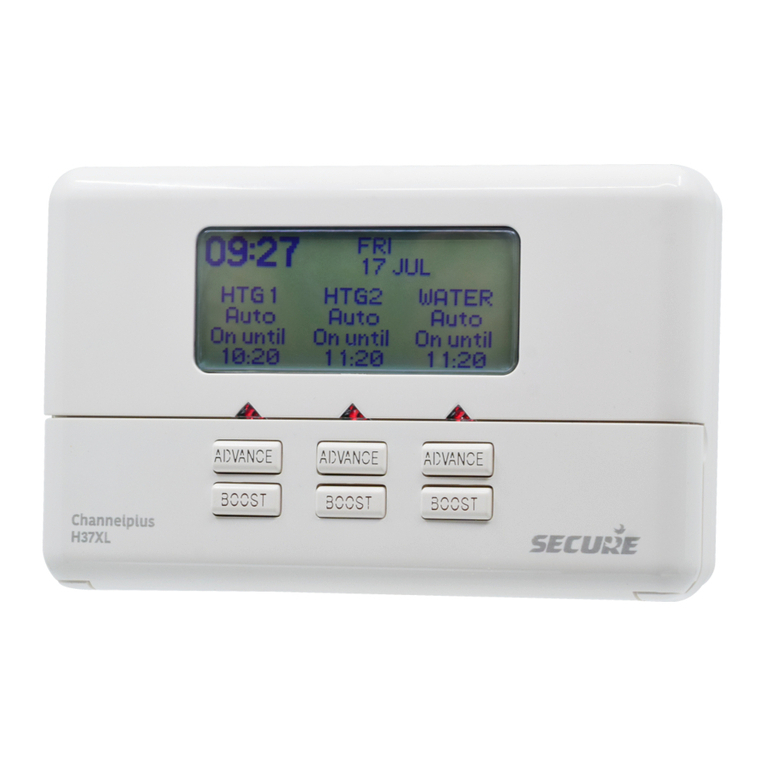
  9. Horstmann Channel Plus H27ZXL Installation instructions

Horstmann Channel Plus H27ZXL Installation instructions

BATTERY
SERVICE AND REPAIR
This programmer is NOT user serviceable. Please do not dismantle the unit.
In the unlikely event of a fault developing please refer to the RESETTINGTHEPROGRAMMERsection of
this user guide located on page 2. If this fails to resolve the problem please contact a local heating
engineer or a qualified electrician.
QUESTIONSANDANSWERS
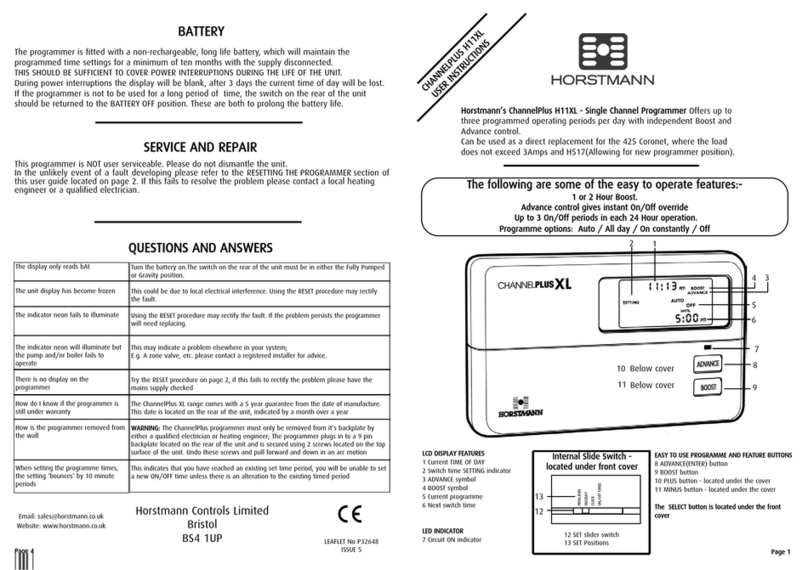
The display only reads bAt
The unit display has become frozen
The indicator neon fails to illuminate on
Zone 1 or Zone 2
The indicator neon will illuminate but the
Zone fails to operate
There is no display on the
programmer
How do I know if the programmer is still
under warranty
How is the programmer removed from
the wall
When setting the programme times, the
setting ‘bounces’ by 10 minute periods
Turn the battery on.The switch on the rear of the unit must be in either the Fully
Pumped or Gravity position.
This could be due to local electrical interference
Using the RESET procedure may rectify the fault.
Using the RESET procedure may rectify the fault. If the problem persists the programmer
will need replacing.
This may indicate a problem elsewhere in your system;
E.g. A zone valve, etc. please contact a registered installer for advice.
Try the RESET procedure on page 2, if this fails to rectify the problem please have the
mains supply checked
The ChannelPlus XL range comes with a 5 year guarantee from the date of manufacture.
This date is located on the rear of the unit, indicated by a month over a year
WARNING: The ChannelPlus programmer must only be removed from it’s backplate by
either a qualified electrician or heating engineer; The programmer plugs in to a 9 pin
backplate located on the rear of the unit and is secured using 2 screws located on the
top surface of the unit. Undo these screws and pull forward and down in an arc motion
This indicates that you have reached an existing set time period, you will be unable to
set a new ON/OFF time unless there is an alteration to the existing timed period
LEAFLET No P32635
ISSUE 3
Page 4
The following are some of the easy to operate features:-
Flexible 7 Day Control
1 or 2 Hour Boost on each channel
Independent timing on Zone 1 and Zone 2
Advance control gives instant On/Off override
Up to 3 On/Off periods per channel in each 24 Hr operation.
Programme options: Auto / All day / On constantly / Off
FULLY PUMPED OR GRAVITY SYSTEM
The installer will have set the programmer to suit the installed system. If this is a Fully pumped
system this will allow independent control of Zone 1 and Zone 2, however on a Gravity system Zone 1
and zone 2 are linked so that it is not possible to use Zone 2 independently. This will allow only one
common time setting for both Zone 1 and Zone 2.
The programmer is fitted with a non-rechargeable, long life battery, which will maintain the
programmed time settings for a minimum of ten months with the supply disconnected.
THIS SHOULD BE SUFFICIENT TO COVER POWER INTERRUPTIONS DURING THE LIFE OF THE UNIT.
During power interruptions the display will be blank, after 3 days the current time of day will be lost.
If the programmer is not to be used for a long period of time, the switch on the rear of the unit
should be returned to the BATTERYOFF position. These are both to prolong the battery life.
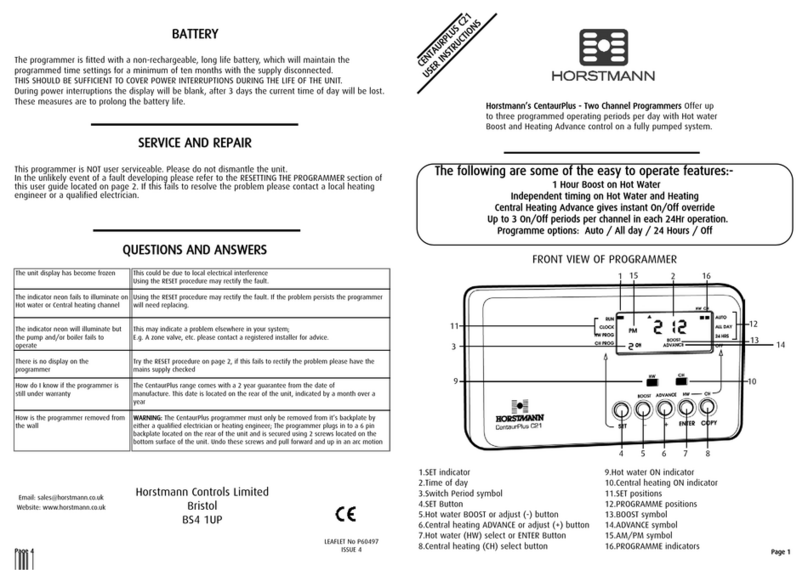
Horstmann’s ChannelPlus H27ZXL - Two Channel Programmer Offers up to
three programmed operating periods per day, seven days a week, with
independent Boost and Advance control on Fully Pumped Systems.
16 SET slider switch
17 SET Positions
Internal Slide Switch -
located under front cover
17
16
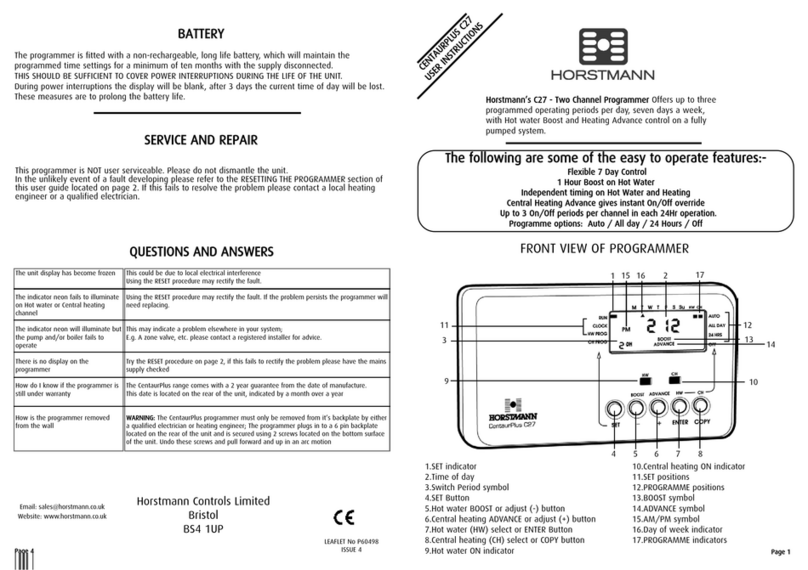
LCD DISPLAYFEATURES
1 Current TIME OF DAY
2 Day of Week Indicator
3 Switch time SETTING indicator
4 ADVANCE symbol
5 BOOST symbol
6 Current Zone 1 programme
7 Current Zone 2 programme
8 Next Zone 2 switch time
9 Next Zone 1 switch time
LED INDICATOR
10 Zone 2 ON indicator
11 Zone 1 ONindicator
EASY TOUSE PROGRAMMEANDFEATUREBUTTONS
12 Zone 2 ADVANCE(ENTER) button
13 Zone 1 ADVANCE (PLUS) button
14 Zone 2 BOOST(COPY) button
15 Zone 1 BOOST (MINUS)button
Both the Zone 1 and Zone 2 SELECT buttons are
located under the front cover
1
54
3 2
8
7
9
10
12
11
14
13
15
Page 1
6
Horstmann Controls Limited
Bristol
BS4 1UP
Email: [email protected]k
Website: www.horstmann.co.uk
The simple instructions below are designed to help with the programming of the unit. All the following
instructions require the front flap to be lowered. Please replace the flap when
normal operation is required.
Electronic equipment can in some circumstances be affected by electrical interference. If the
programmer’s display becomes frozen or scrambled; or if you wish to revert back to the default time
settings please use the following procedure.
FRONT COVER
SETTING DAY AND TIME OF DAY
Should you encounter any problems, please refer to the
Question and Answer section located on page 4.
The normal working position for the SET switch is in the PROG.RUN position. In order to remind the user
of this, the flap is unable to be closed with the switch in any other position.
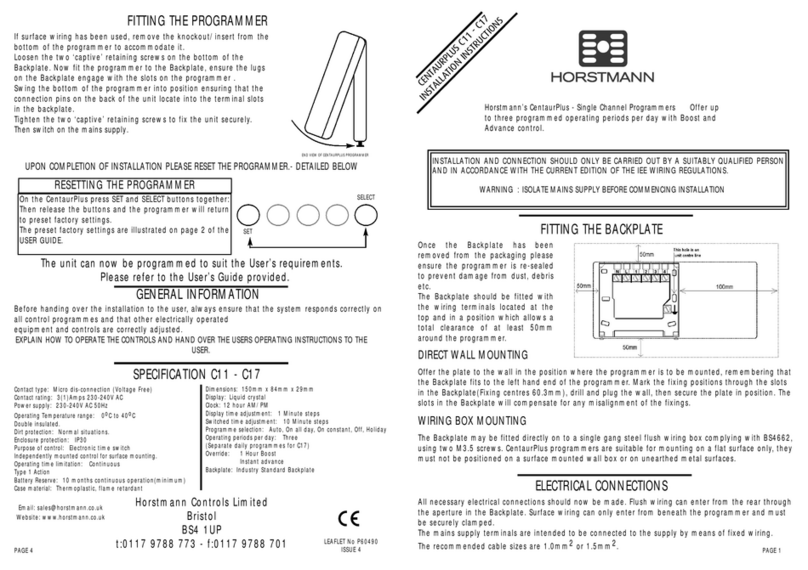
RESETTING THE PROGRAMMER
Press SELECT once.
Programme goes from
AUTO to ALL DAY
Press SELECT again.
Programme goes from
ALL DAY to ON
Press SELECT again.
Programme goes from
ON to OFF
Press SELECT again.
Programme goes from
OFFto AUTO
Zone will operate from
first ON until last OFF
period
Zone will be
continuously ONZone will be
continuously OFFProgrammer will return
to normal ON and OFF
times
BOOST FUNCTION- 1 or 2 hour temporary override
Press BOOST button
once for 1 hour of
Zone 1 or Zone 2
Press BOOST button
twice for 2 hours of
Zone 1 or Zone 2
At any time during a BOOST
period press BOOST again to
return to normal programming
ADVANCE FUNCTION- Brings forward next on or off operation
Press ADVANCE button once
to move to the next
ON/OFF time
To cancel the advance press the ADVANCE
button again. This will return the unit to
its normal programme
HOLIDAY FUNCTION - Allows system to be programmed for up to 32 days
Move SET switch to the
HOLIDAY positionUse the PLUS button to enter the
required number of nights
(MAX OF32NIGHTS)
Return SET switch to the
PROG.RUN position
Whilst the HOLIDAY FUNCTION is in operation the system will remain OFF, the display will show the
number of nights remaining. The HOLIDAY setting is an instant function and cannot be set in advance.
The HOLIDAY FUNCTION can be cancelled at any time by pressing any of the SELECT buttons. Normal
programme functions will resume at the first ON period after the pre-set number of nights has expired.
INFORMATION AND ADVICE
Programming ON/OFF times
If a Zone 1 or Zone 2 period is not required it can be cancelled by setting the ON and OFF
settings to the same time. Example ON 10:00am OFF 10:00am
Your programmer will prevent you from accidentally overlapping ON and OFF times.
Example: If the 2nd ON time is set at 12:00pm and then you try and set the 1st OFF at 12:30 pm the
OFF setting will ‘bounce’ by a 10 minute period until the 2nd ON time has been adjusted.
08
SETTING
ADVANCE
SELECT
Lower the front flap of the unit. On Zone 2 press the ADVANCE and
SELECT buttons together then release the buttons and the programmer
will return to the preset factory settings.
Page 2
BOOST
Page 3
Move the SET
switch to the CLOCK
position.
Use PLUS and
MINUS buttons to
adjust time
Return SET switch to
PROG.RUN position
Use PLUS and
MINUS buttons to
adjust dayPress
ENTER
Move SET switch to
Zone 1 or Zone 2
position
Repeat this
process for 2nd
and 3rd settings
Return SET
switch to PROG.RUN
position.
Press
ENTER
Press
ENTER
Press
ENTER
SETTING THE ON AND OFF TIMES
The SET slide switch must be in the PROG.RUN position for the following instructions.
The following actions work independently on either Zone 1 or Zone 2.
SPECIAL FEATURES
SETTINGSET
TUE
MON12:OOPM1:45PM
SETTING1ST
ONOFF
6:30AM8:30AM
SUN
Use PLUS
and MINUS
buttons to
adjust day
Use PLUS and
MINUS
buttons to adjust
the 1st ON time.
Use the PLUS
and MINUS
buttons to adjust
the 1st OFF time.
Programme the
remaining days.
If you require this
programme on any other
day of the week use the
PLUS and MINUS buttons to
select day and press COPY
ALL DAY
ON UNTIL
8:30
PMONOFF
SUN10:00AMSUNSUN
SUN
AUTO
ON UNTIL
10:30
AM
AUTO
ON UNTIL
10:30
AM
AUTO
ON UNTIL
10:30
AM
AUTO
ON UNTIL
10:30
AM
AUTO
ON UNTIL
10:30
AM
BOOST 1 2
AUTO
ON UNTIL
11:30
AM
AUTO
ON UNTIL
11:30
AM
SUN
10:00AM10:00AM10:00AM
10:00AM
MON-FRI
SAT/SUN
1st ON 1st OFF 2nd ON 2nd OFF 3rd ON 3rd OFF
6:30AM8:30AM12:00PM12:00 PM4:30 PM10:30PM
7:30AM10:30 AM12:00 PM12:00PM5:00 PM11:00 PM
DEFAULT TIME SETTINGS
The default factory settings
are shown, however if you
wish to change these
proceed as instructed below.
On the ChannelPlus display - Boost 1 is Hot water extension 1 or 2 hour and Boost 2 is Heating extension 1 or 2 hours

Other Horstmann Motherboard manuals

Horstmann ChannelPlus H27XL User manual

Horstmann

Horstmann ChannelPlus H27XL User manual

Horstmann ChannelPlus H37XL Series 2 User manual

Horstmann

Horstmann ChannelPlus H37XL Series 2 User manual

Horstmann 425 Coronet User manual

Horstmann

Horstmann 425 Coronet User manual

Horstmann Channel Plus H27XL Installation instructions

Horstmann

Horstmann Channel Plus H27XL Installation instructions

Horstmann ChannelPlus H11XL User manual

Horstmann

Horstmann ChannelPlus H11XL User manual

Horstmann CentaurPlus C27 User manual

Horstmann

Horstmann CentaurPlus C27 User manual

Horstmann C11 User manual

Horstmann

Horstmann C11 User manual

Horstmann Channel Plus H11 XL User manual

Horstmann

Horstmann Channel Plus H11 XL User manual

Horstmann ChannelPlus H37XL Series 2 User manual

Horstmann

Horstmann ChannelPlus H37XL Series 2 User manual

Horstmann ServicePlus S21 User manual

Horstmann

Horstmann ServicePlus S21 User manual

Horstmann CentaurPlus C21 User manual

Horstmann

Horstmann CentaurPlus C21 User manual

Horstmann CentaurPlus C27 User manual

Horstmann

Horstmann CentaurPlus C27 User manual

Horstmann channelplus H37 XL series 2 User manual

Horstmann

Horstmann channelplus H37 XL series 2 User manual

Popular Motherboard manuals by other brands

DFI CA33-SC user manual

DFI

DFI CA33-SC user manual

Maduino A7 user manual

Maduino

Maduino A7 user manual

AOpen MK73LE Online manual

AOpen

AOpen MK73LE Online manual

Gigabyte GA-8N-SLI Royal Configuration guide

Gigabyte

Gigabyte GA-8N-SLI Royal Configuration guide

AMS JetCis 130 user guide

AMS

AMS JetCis 130 user guide

OLIMEX PIC-P40-USB user manual

OLIMEX

OLIMEX PIC-P40-USB user manual

LimePulse USB Cable Checker instruction manual

LimePulse

LimePulse USB Cable Checker instruction manual

Lattice Semiconductor mVision AR0234 quick start

Lattice Semiconductor

Lattice Semiconductor mVision AR0234 quick start

Advantech AIMB-554 user manual

Advantech

Advantech AIMB-554 user manual

Embest SBC-EC9100 user manual

Embest

Embest SBC-EC9100 user manual

ON Semiconductor AP0101AT user manual

ON Semiconductor

ON Semiconductor AP0101AT user manual

Gigabyte GA-785GMT-USB3 user manual

Gigabyte

Gigabyte GA-785GMT-USB3 user manual

mikroElektronika TouchKey click manual

mikroElektronika

mikroElektronika TouchKey click manual

Intel DH67CF specification

Intel

Intel DH67CF specification

4xem BBPCHOME user manual

4xem

4xem BBPCHOME user manual

Advantech PCI-6886F-M0A1 user manual

Advantech

Advantech PCI-6886F-M0A1 user manual

ASROCK Q1900B-ITX Instruction

ASROCK

ASROCK Q1900B-ITX Instruction

Intel S5520HCR Configuration guide

Intel

Intel S5520HCR Configuration guide

manuals.online logo
manuals.online logoBrands
  • About & Mission
  • Contact us
  • Privacy Policy
  • Terms and Conditions

Copyright 2025 Manuals.Online. All Rights Reserved.