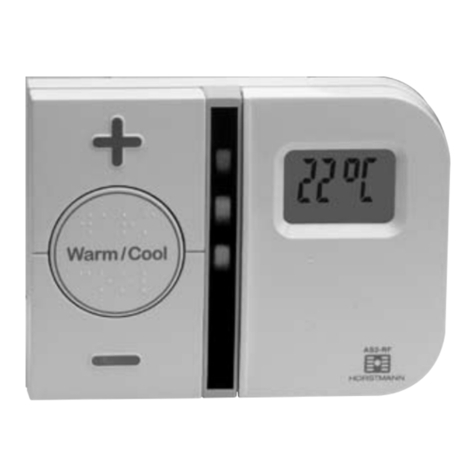
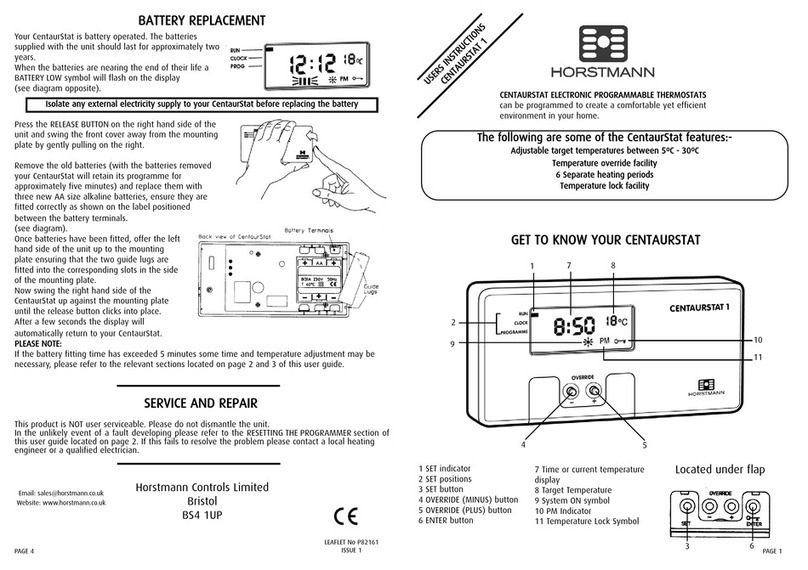
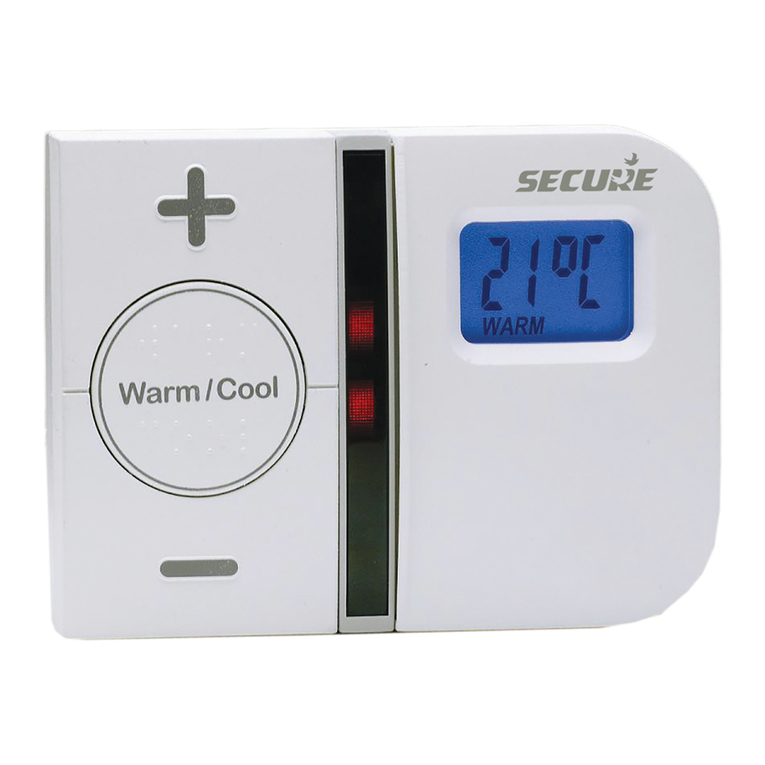
Horstmann AS Thermoplus AS1 User manual
Other Horstmann Thermostat manuals
Horstmann
Horstmann C-Stat 11-B User manual
Horstmann
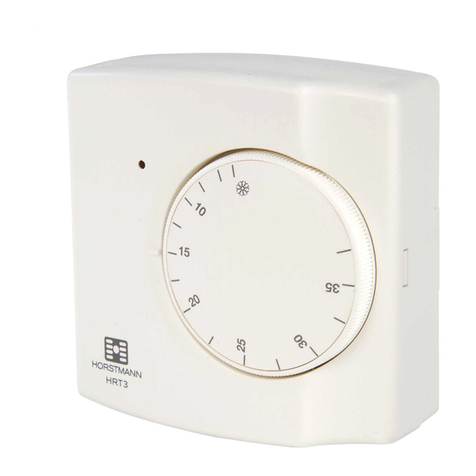
Horstmann HRT3 User manual
Horstmann
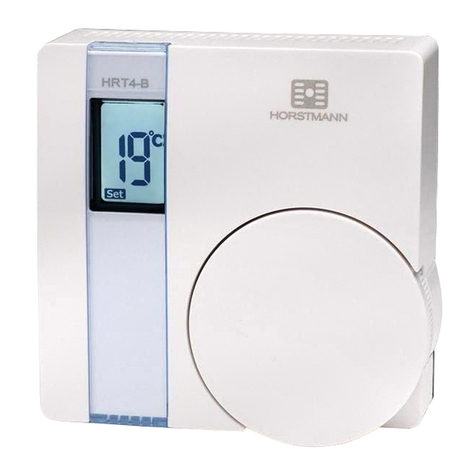
Horstmann HRT4-B Operating instructions
Horstmann
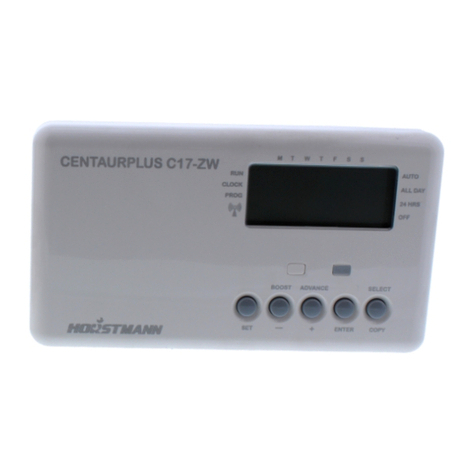
Horstmann CentaurPlus C17-ZW Operation instructions
Horstmann
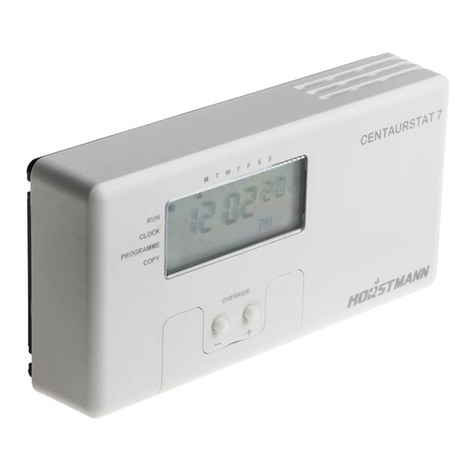
Horstmann CentaurStat 7 User manual

Horstmann
Horstmann HRT4-ZW User manual
Horstmann
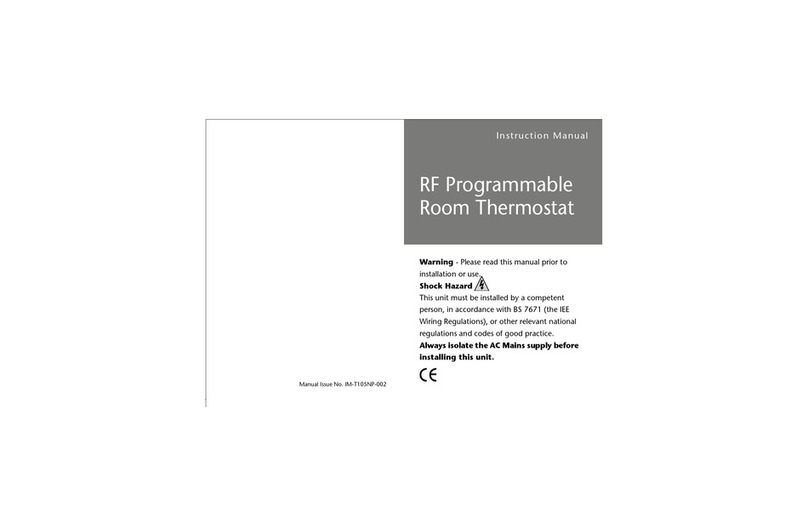
Horstmann T105NP User manual
Horstmann
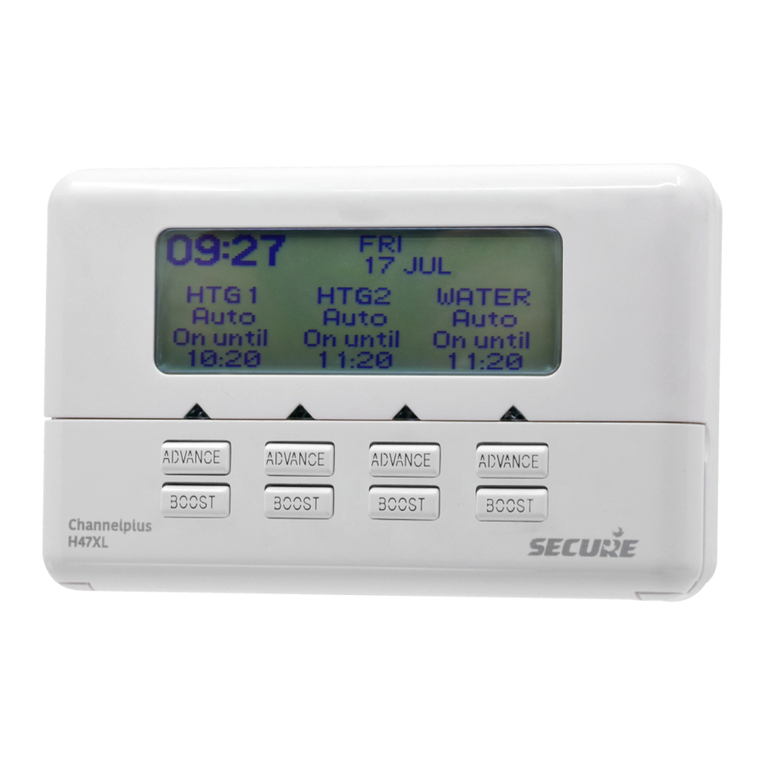
Horstmann ChannelPlus H47XL Series 2 Operation instructions
Horstmann
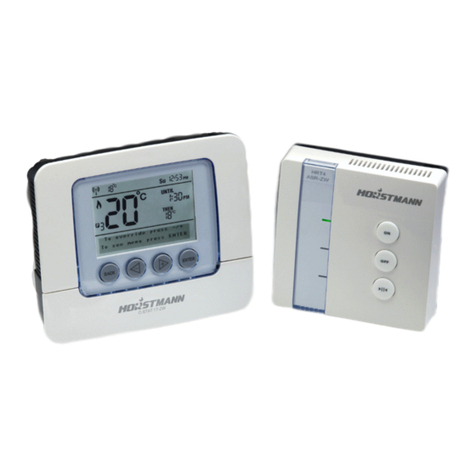
Horstmann HRT4-A Operating instructions
Horstmann
Horstmann C-Stat 11-ZW User manual
Horstmann
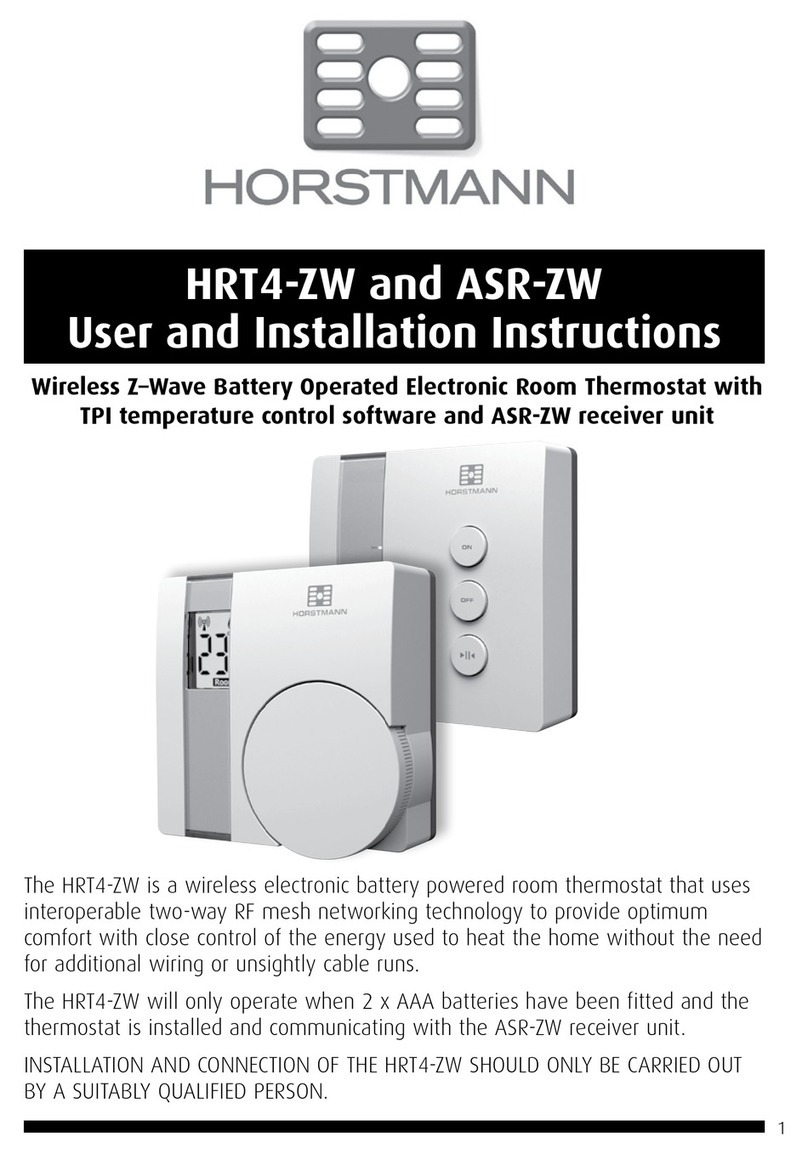
Horstmann HRT4-ZW Operating instructions
Horstmann
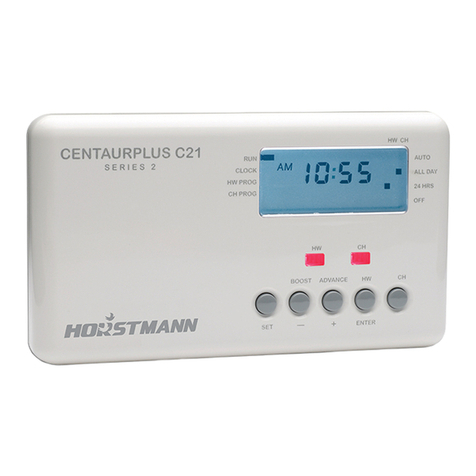
Horstmann CentaurPlus C21 User manual
Horstmann
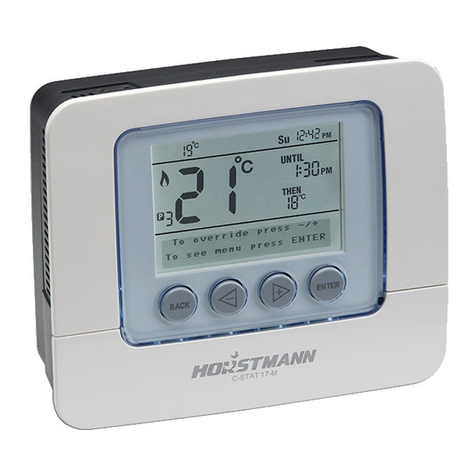
Horstmann C-Stat 11-M User manual

Horstmann
Horstmann CentaurPlus C21 Operation instructions

Horstmann
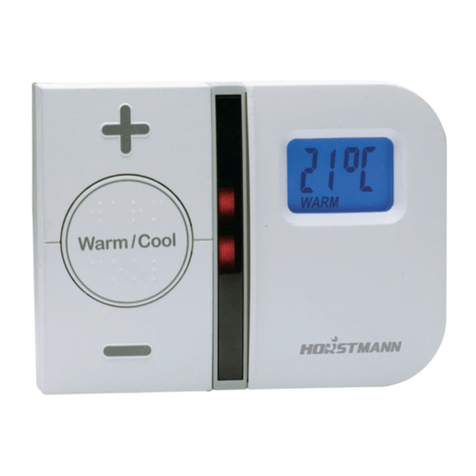
Horstmann HCT 2 User manual
Horstmann
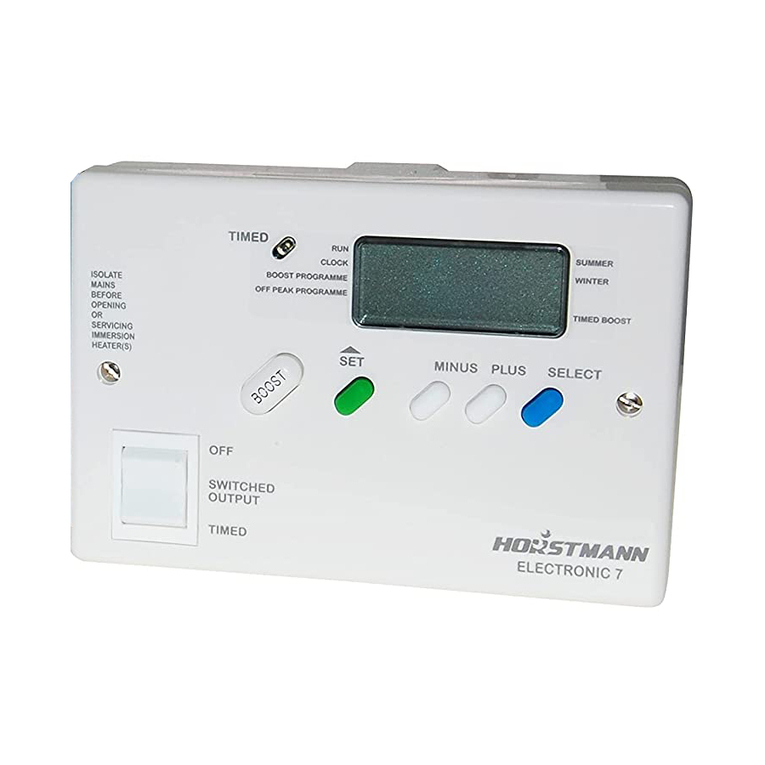
Horstmann Thermostat User manual
Horstmann
Horstmann CentaurStat 7 User manual

Horstmann
Horstmann CentaurStat 7 User manual
Horstmann
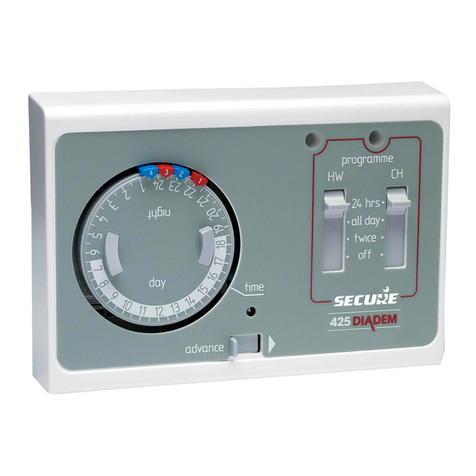
Horstmann 425 Tiara Operation instructions
Horstmann
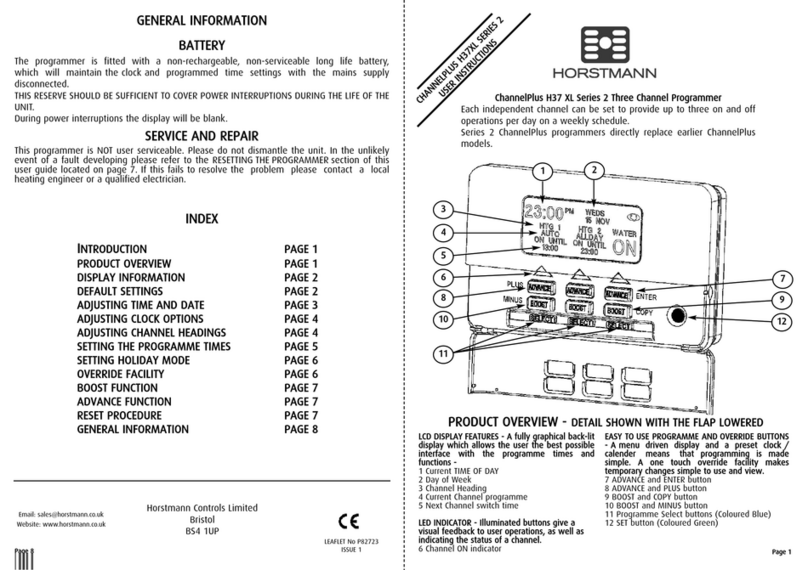
Horstmann channelplus H37 XL series 2 User manual
Popular Thermostat manuals by other brands

Charmeg
Charmeg MP-R user manual

dixell
dixell WING XW40LS Installing and operating instructions

Network Thermostat
Network Thermostat NetX X7C-WIFI Installation and programming manual

Radio Thermostat
Radio Thermostat CT80 Operation guide

HAI
HAI Omnistat RC-120 installation manual

Lennox
Lennox iComfort E30 Installation and setup guide

Lux Products
Lux Products PSD011Ba Installation and operating instructions

Computherm
Computherm Q20 operating instructions

Heatmiser
Heatmiser neoStat user manual

Mars
Mars HEAT CONTROLLER IR Wireless Thermostat user manual

LUX
LUX LP0511D user manual

Saswell
Saswell SAS920XWHB-7-S-RF User manual and warranty card
