Receiver Indicator Light – Function and Response
Power on
Normal operation - Good battery
Training tone
In pairing position
Pairing Complete
Charging Complete
Receiver Collar Function Green LED Response
Flashes once
1 flash every 5 seconds
On length of TONE button press
Flashes once every second
within 16 seconds
Receiver Collar Function
Power off
Normal operation - Low battery
Vibration/Shock
Charging
Red LED Response
On for 3 seconds
Flashes rapidlly
On length of VIBRA/SHOCK button press
On length of charging within 2-3 hours
Flashes rapidly for five times
On length of the charger connected
Step
7
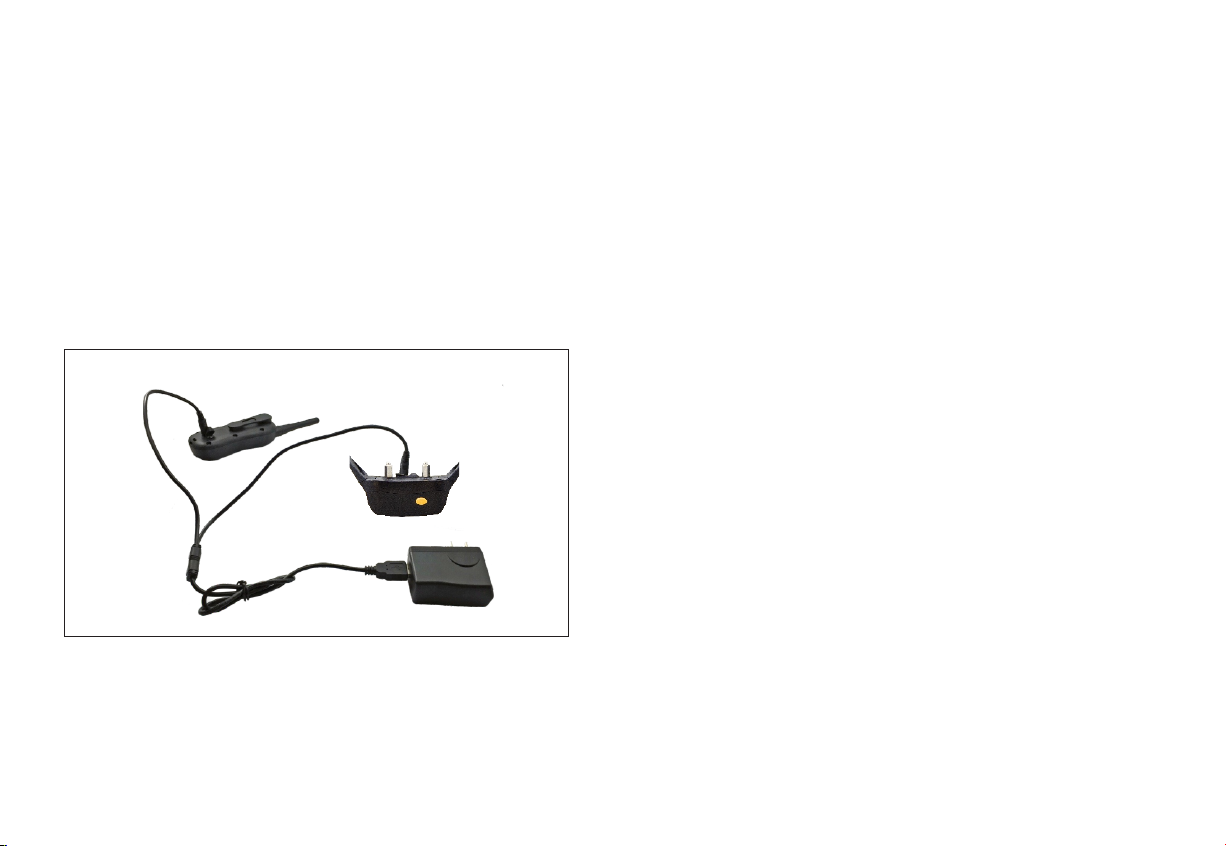
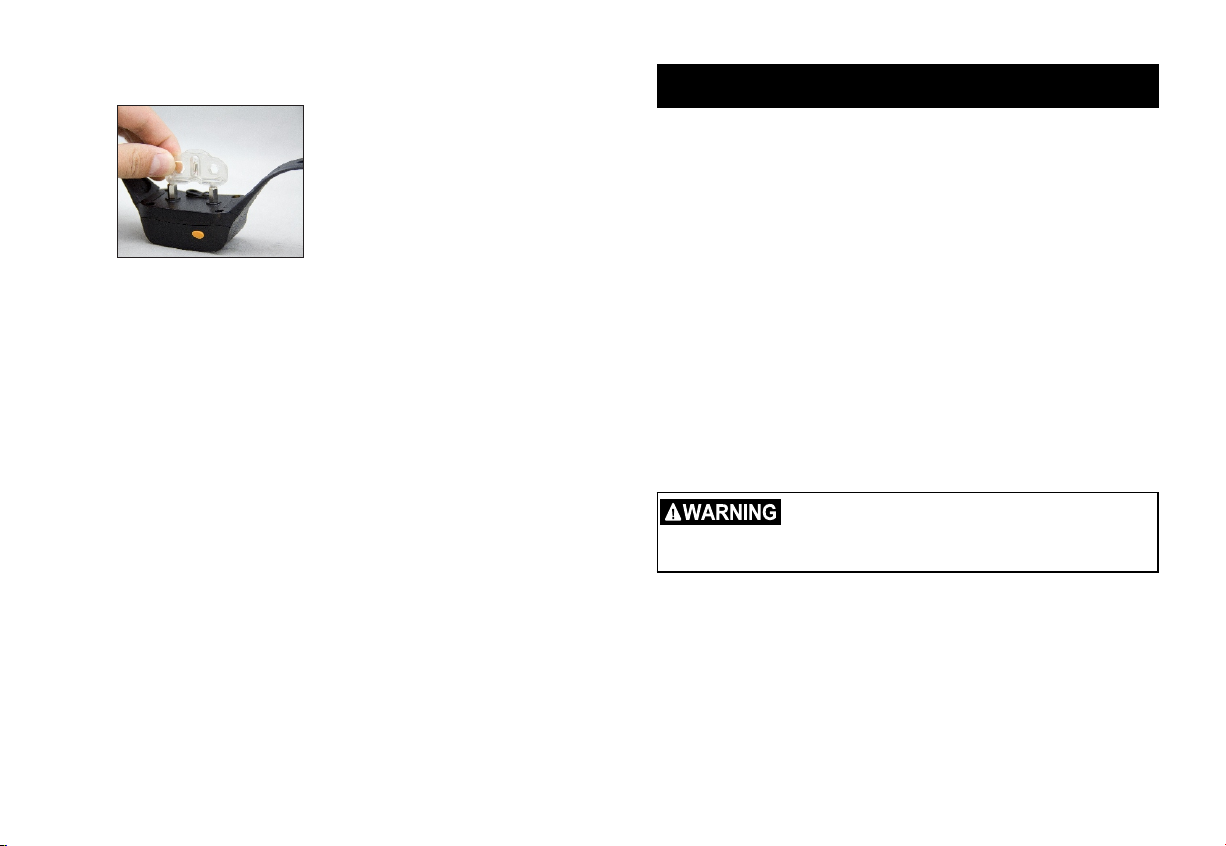
Charging the battery
The unit uses Lithium-Polymer batteries.
1. Charge the unit before using the unit for the first time.
2. Do not charge the batteries near any flammable substances.
3. Fully charge the batteries if the unit is to be stored without use for a
period of 3 months or more.
Recharge the unit if:
The indicator light on the collar is emitting a red color and flashes rapidly.
The 3 bar indicator on the Transmitter LCD shows just 1 bar.
The indicator light on the Transmitter or Receiver will not come on.
The indicator light on the Transmitter or Receiver comes on momentarily
when any of the Mode Buttons is pushed.
Battery Charging Procedure
NOTE: The unit has a partial charge when it leaves our facility, upon
receipt of the collar, be sure to give it a 4-hour initial charge before the
first use.
14 15
Step
6
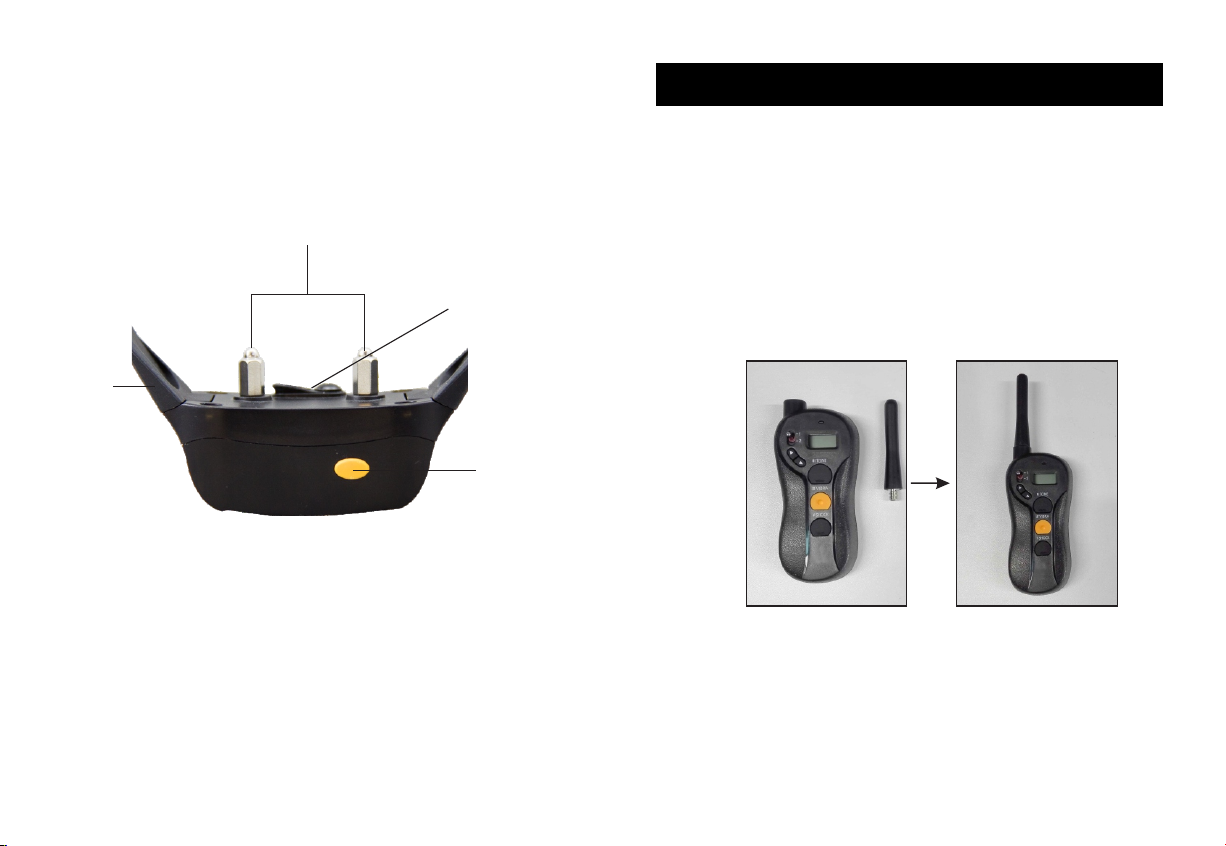
The LCD & LED indicator
Indicates Vibration/Shock levels ranging from 1-16, and
appears in the middle part.
Indicates the active dog receiver and appear in the left part.
Indicates battery’s power level.
Note: The battery indicator will flash every second to indicate
low battery.
Transmitter LED Indicator Light – Function and Response
Button Button Function Transmitter Indicator Light
Response
TO NE
(Black w/ Bar) Delivers audible tone to collar Red LED on for length of
button press
VIBRA
(Orange w/ Dot)
Delivers vibration to collar
base on current level shown
on Digital Display (vibration
will time-out for 5 seconds if
pressed continuously for 10
seconds and will reset after
timeout period)
Red LED on for length of
button press
SHOCK
(Black w/ Bar)
Delivers shock to collar base
on current level shown on
Digital Display (shock will
time-out for 5 seconds if
pressed continuously for 10
seconds and will reset after
timeout period)
Red LED on for length of
button press
TONE and VIBRA
Buttons held
simultaneously
Transmits Pairing
command to Receiver
Collar
Red LED on for length of
button press