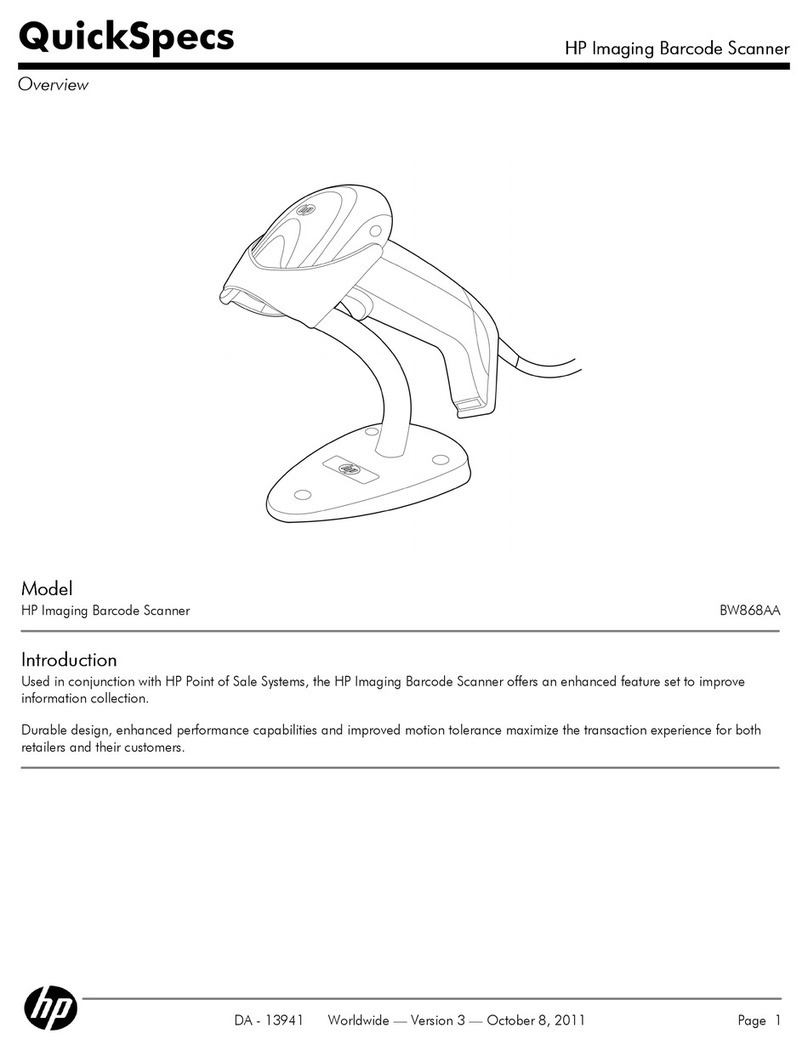
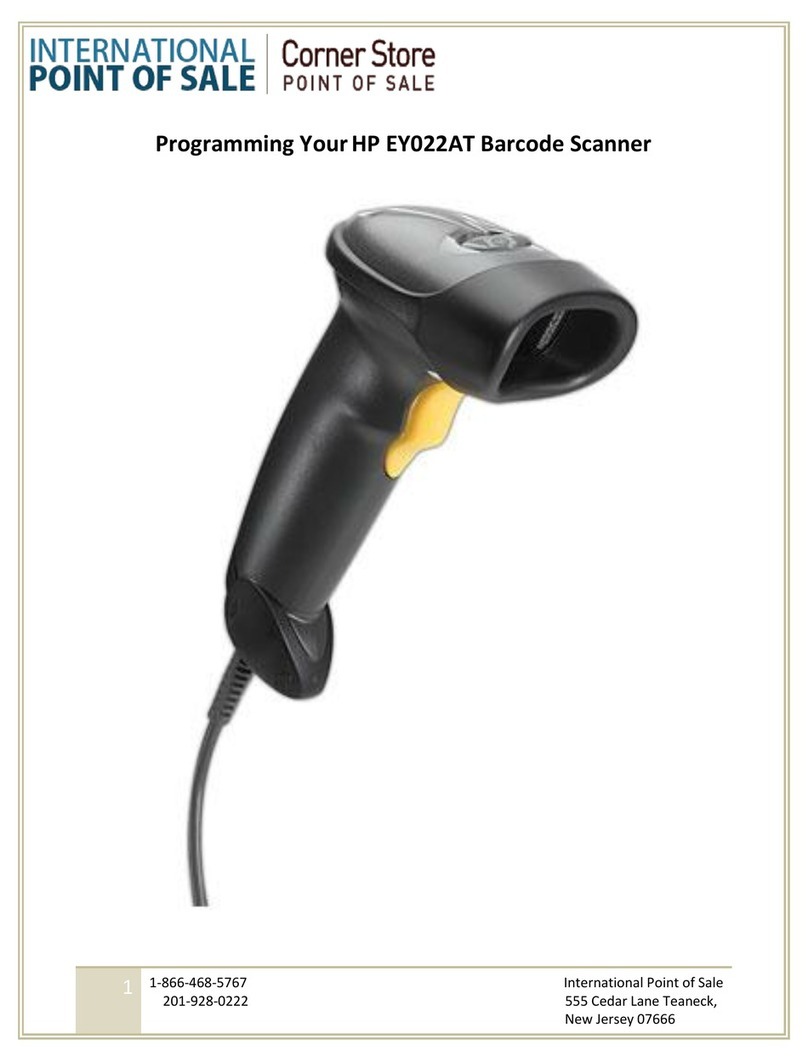
HP Wireless Barcode Scanner User manual

HP Wireless Barcode Scanner
User Guide

© 2013 Hewlett-Packard Development
Company, L.P.
Microsoft and Windows are either
trademarks or registered trademarks of
Microsoft Corporation in the United States
and/or other countries.
The only warranties for HP products and
services are set forth in the express
warranty statements accompanying such
products and services. Nothing herein
should be construed as constituting an
additional warranty. HP shall not be liable
for technical or editorial errors or omissions
contained herein.
This document contains proprietary
information that is protected by copyright.
No part of this document may be
photocopied, reproduced, or translated to
another language without the prior written
consent of Hewlett-Packard Company.
First Edition (July 2013)
Document Part Number: 740541-001

About This Guide
This guide provides information on setting up and using the HP Wireless Barcode Scanner.
WARNING! Text set off in this manner indicates that failure to follow directions could result in bodily
harm or loss of life.
CAUTION: Text set off in this manner indicates that failure to follow directions could result in
damage to equipment or loss of information.
NOTE: Text set off in this manner provides important supplemental information.
iii

iv About This Guide

Table of contents
1 Quick Setup ..................................................................................................................................................... 1
OPOS Driver ........................................................................................................................................ 1
Carriage Return .................................................................................................................................... 2
Tab ....................................................................................................................................................... 3
Volume ................................................................................................................................................. 4
2 Product Features ............................................................................................................................................ 6
HP Wireless Barcode Scanner ............................................................................................................. 6
3 Safety and Maintenance ................................................................................................................................. 7
Ergonomic Recommendations ............................................................................................................. 7
Cleaning ............................................................................................................................................... 8
4 Setting Up and Using the Scanner ................................................................................................................ 9
Positioning the Base Station ................................................................................................................ 9
Changing the Base Station Position .................................................................................... 9
Connecting the Base Station .............................................................................................................. 11
Using the Base .................................................................................................................. 13
Base LEDs ........................................................................................................ 13
Charging the Batteries ........................................................................................................................ 13
Battery Safety .................................................................................................................... 14
Replacing the Batteries ...................................................................................................... 16
Using the Scanner .............................................................................................................................. 17
Linking the Reader ............................................................................................................................. 18
Link RF Devices to Base ................................................................................................... 18
Link Scanner to Bluetooth Adapter .................................................................................... 18
Power Off ........................................................................................................................................... 19
Selecting the Interface Type ............................................................................................................... 19
USB-COM .......................................................................................................................... 19
USB Keyboard Interface .................................................................................................... 19
Country Mode .................................................................................................................... 20
5 Programming the Scanner ........................................................................................................................... 21
Using Programming Bar Codes .......................................................................................................... 21
Configure Other Settings .................................................................................................................... 21
Resetting Standard Product Defaults ................................................................................................. 21
v

Reading Parameters .......................................................................................................................... 22
Aiming System ................................................................................................................... 22
Good Read Green Spot Duration ...................................................................................... 22
6 Operating Modes ........................................................................................................................................... 23
Scan Mode ......................................................................................................................................... 23
Multiple Label Reading ....................................................................................................................... 24
Stand Operation ................................................................................................................................. 24
Appendix A Technical Support ....................................................................................................................... 26
Online Technical Support ................................................................................................................... 26
Preparing to Call Technical Support ................................................................................................... 26
Appendix B Technical Specifications ............................................................................................................ 27
LED and Beeper Indications ............................................................................................................... 30
Error Codes ........................................................................................................................................ 31
Appendix C Agency Regulatory Notices ....................................................................................................... 32
Federal Communications Commission Notice ................................................................................... 32
Modifications ...................................................................................................................... 32
Cables ................................................................................................................................ 32
Declaration of Conformity for Products Marked with the FCC Logo (United States Only) ................. 32
Canadian Notice ................................................................................................................................. 33
Avis Canadien .................................................................................................................................... 33
European Union Regulatory Notice .................................................................................................... 34
Mexico Notice ..................................................................................................................................... 34
Laser Compliance .............................................................................................................................. 34
Product Environmental Notices .......................................................................................................... 35
Materials Disposal ............................................................................................................. 35
Disposal of Waste Equipment by Users in Private Household in the European Union ..... 35
HP Recycling Program ...................................................................................................... 35
Chemical Substances ........................................................................................................ 35
vi

1QuickSetup
Use the bar codes in this chapter to perform quick setup procedures for common tasks. Scan the
following bar code to set the scanner back to the HP defaults.
Figure 1-1 Set All Defaults
NOTE: Scanning the “Set All Defaults” bar code does not change the interface type.
Scan the following bar code (USB HID Keyboard Emulation) in order to put the HP Wireless Barcode
Scanner into the default mode of the scanner.
Figure 1-2 USB HID Keyboard Emulation
When the scanner is changed between HID and USB-COM mode, allow the Windows operating
system a little time to reload the drivers for the scanner.
OPOS Driver
The HP Wireless Barcode Scanner by default is shipped in the human interface device (HID)
keyboard emulation mode. In order to use the barcode scanner with OLE for Retail POS (OPOS)
drivers the scanner must be put into USB COM (OPOS) mode.
For your convenience the bar code to put the HP Wireless Barcode Scanner into USB COM (OPOS)
mode or into HID keyboard emulation are located in this document. Refer to the HP Wireless Barcode
Scanner Programming Reference Guide (PRG) for complete list of barcodes. The document can be
found on the HP Point of Sale System Software and Documentation CD that comes with the scanner
or the softpaq that is located on the HP support web site.
Scan the following bar code (USB COM OPOS) in order to put the HP Wireless Barcode Scanner into
the mode to be used with the OPOS drivers.
Figure 1-3 USB COM (OPOS)
OPOS Driver 1

Carriage Return
Scan the following bar code to set the scanner back to the factory defaults.
Figure 1-4 Set All Defaults
NOTE: Scanning the “Set All Defaults” bar code does not change the interface type.
If a carriage return is required after each scanned bar code, scan the following bar codes in order:
Figure 1-5 Enter Programming Mode
Figure 1-6 Set Global Suffix
Figure 1-7 0
Figure 1-8 D
Figure 1-9 Exit Global Suffix Mode
2 Chapter 1 Quick Setup

Figure 1-10 Exit Programming Mode
Tab
Scan the following bar code to set the scanner back to the factory defaults.
Figure 1-11 Set All Defaults
NOTE: Scanning the “Set All Defaults” bar code does not change the interface type.
If a tab is required after each scanned bar code, scan the following bar codes in order:
Figure 1-12 Enter Programming Mode
Figure 1-13 Set Global Suffix
Figure 1-14 0
Figure 1-15 9
Tab 3

Figure 1-16 Exit Global Suffix Mode
Figure 1-17 Exit Programming Mode
Volume
Scan the following bar code to set the scanner back to the factory defaults.
Figure 1-18 Set All Defaults
Scan the following barcode to set the volume of the good read beep on the HP Wireless Barcode
Scanner:
Figure 1-19 Enter Programming Mode
Scan one of the four barcodes to set the volume to the desired setting:
Figure 1-20 Off
Figure 1-21 Low
4 Chapter 1 Quick Setup

Figure 1-22 Medium
Figure 1-23 High
Scan the following barcode to exit the programming mode.
Figure 1-24 Exit Programming Mode
Volume 5

2 Product Features
HP Wireless Barcode Scanner
With rich feature sets and extensive model options, the HP Wireless Barcode Scanner represents the
premium level of data collection equipment for general purpose applications. The HP scanner has
enhanced optics with improved motion tolerance, allowing codes placed on fast-moving objects to be
easily and quickly captured, creating the ideal scanner for tasks requiring high throughput like those
found in retail and light industrial environments. The scanner includes the following features:
●Omni-Directional Operation: To read a symbol or capture an image, simply aim the scanner
and pull the trigger. The HP Wireless Barcode Scanner is a powerful omni-directional scanner,
so the orientation of the symbol is not important. The “Green Spot” for good-read feedback helps
to improve productivity in noisy environments or in situations where silence is required. When
using the product with the cradle at a 45° position, the aiming pattern can work as an aiming
system to aid in positioning the bar code for quick and intuitive reading.
●1D and 2D Symbol Decoding: Reliably decodes all standard 1D (linear) and 2D bar codes,
including:
◦GS1 DataBar™ linear codes
◦Postal Codes (China Post)
◦Stacked Codes (such as GS1 DataBar Expanded Stacked, GS1 DataBar Stacked, GS1
DataBar, Stacked Omnidirectional)
The data stream — acquired from decoding a symbol — is rapidly sent to the host. The scanner
is immediately available to read another symbol.
●Imaging: The scanner can also function as a camera by capturing entire images or image
portions of labels, signatures, and other items.
6 Chapter 2 Product Features

3 Safety and Maintenance
Ergonomic Recommendations
WARNING! In order to avoid or minimize the potential risk of ergonomic injury follow the
recommendations below. Consult with your local Health & Safety Manager to ensure that you are
adhering to your company’s safety programs to prevent employee injury.
●Reduce or eliminate repetitive motion
●Maintain a natural position
●Reduce or eliminate excessive force
●Keep objects that are used frequently within easy reach
●Perform tasks at correct heights
●Reduce or eliminate vibration
●Reduce or eliminate direct pressure
●Provide adjustable workstations
●Provide adequate clearance
●Provide a suitable working environment
●Improve work procedures
Ergonomic Recommendations 7

Cleaning
Exterior surfaces and scan windows exposed to spills, smudges or debris require periodic cleaning to
ensure best performance during scanning operations. Contacts on the scanner and the base should
also be cleaned as needed to ensure a good connection.
Figure 3-1 Cleaning
Use a soft, dry cloth to clean the product. If the product is very soiled, clean it with a soft cloth
moistened with a diluted non-aggressive cleaning solution or diluted ethyl alcohol.
CAUTION: Do not use abrasive or aggressive cleansing agents or abrasive pads to clean scan
windows, contacts, or plastics.
Do not spray or pour liquids directly onto the unit.
8 Chapter 3 Safety and Maintenance

4 Setting Up and Using the Scanner
Follow the steps below to connect and get the scanner up and communicating with its host.
1. Configure the Base Station starting on this page.
2. Charge the Batteries (refer to Charging the Batteries on page 13).
3. Link to the Base Station (refer to Linking the Reader on page 18).
4. Select the Interface Type (refer to Selecting the Interface Type on page 19).
5. Configure the scanner as described in Programming the Scanner on page 21 (optional,
depends on settings needed).
Positioning the Base Station
The base station/charger may be set up in desk application to hold the reader in two different
positions, either a horizontal or standing position, in order to provide the most comfortable use
depending on needs.
Figure 4-1 Positioning the Base Station
Changing the Base Station Position
The base station is configured by installing one of two sets of mechanical parts that come with the
cordless kit. The default mounts provide three options: vertical (wall) mounting, standing (45°), or
horizontal mounting with a higher mechanical retention of the scanner. Use the other mounts only for
horizontal mounting, with lower retention of the scanner. The different parts may be interchanged to
customize retention preferences.
Positioning the Base Station 9

NOTE: A tool such as a rigid pen or a flat screwdriver can be used to change the mounts. Do not
allow it to touch the contacts.
1. Insert the appropriate parts for the desired base station position, as shown below. You can insert
parts for a standing, horizontal, or vertical position (1) or you can insert parts for a horizontal only
position (2).
Figure 4-2 Inserting Parts for Positioning the Base Station
2. Using your thumbs, push open the plastic tabs (1) on the bottom of the base to free the wing
holders.
Figure 4-3 Freeing the Wing Holders
CAUTION: To ensure best contact and performance, do not intermix the parts of the two
different mount sets.
10 Chapter 4 Setting Up and Using the Scanner

3. The stand can now be repositioned in either horizontal (1) or standing (2) position.
Figure 4-4 Repositioning the Stand
Connecting the Base Station
You can connect the Base Station to a terminal, PC, or other host device. Turn off the host before
connection and consult the manual for that equipment (if necessary) before proceeding. Connect the
interface cable before applying power to the Base Station.
NOTE: The scanner can also be powered by the terminal. When powered by the terminal, the
battery charger is automatically set as slow charge.
For some specific interfaces or hosts or lengths of cable, the use of an external power supply may be
recommended for full recharging capability (refer to Technical Specifications on page 27 for more
details).
Base Station Connection: Fully insert the Interface (I/F) Cable (1) connector into the port on the
underside of the Base Station (2).
Host Connection: Connect the Interface (I/F) Cable (1) to a USB port on the host.
Connecting the Base Station 11

Figure 4-5 Connecting the Base Station
NOTE: The scanner can be set up to require a PIN code when connecting to the host. If you are
adding new equipment to a system that uses a custom security PIN, please see the HP Wireless
Barcode Scanner Programming Reference Guide (PRG) for information before proceeding.
Disconnecting the Cable: To detach the cable, insert a paper clip or similar object into the hole on
the base (1).
Figure 4-6 Disconnecting the Cable
12 Chapter 4 Setting Up and Using the Scanner

Using the Base
Base LEDs
LEDs on the Base provide information about the Base as well as battery charging status, as shown
below.
Figure 4-7 Base LEDs
No. Icon LED STATUS
1Power on / Data Yellow On = Base is powered.
Yellow Blinking = Base receives data and commands from the Host or
the Reader.
2Charging Red On = the Battery is charging.
2Charge completed Green On = the Battery is completely charged.
2Charging + Charge
completed
Red and Green Blinking together = the Reader is not correctly placed
onto the Base.
The button (3) can be used to force device connection via the HP Scanner Configuration Software
tool, to force a Bluetooth disconnect, and for paging the scanner when it is activated. Refer to the HP
Wireless Barcode Scanner Programming Reference Guide (PRG) for a more detailed explanation.
Charging the Batteries
NOTE: Battery replacement should be done only by a trained technician.
To charge the battery, simply insert the scanner into the base. When the scanner is fully seated in the
cradle, it will sound a “chirp” to indicate that the cradle has detected the scanner connection.
The LEDs on the base (as shown in Base LEDs on page 13) will indicate the status of the battery.
NOTE: Before using the Battery, read “Battery Safety” in the following section. HP recommends
annual replacement of rechargeable battery packs to ensure maximum performance.
Charging the Batteries 13

Battery Safety
To install, charge, and/or perform any other action on the battery, follow the instructions in this
manual.
WARNING! Do not discharge the battery using any device except for the scanner. When the battery
is used in devices other than the designated product, it may damage the battery or reduce its life
expectancy. If the device causes an abnormal current to flow, it may cause the battery to become hot,
explode, or ignite and cause serious injury.
Lithium-ion battery packs may get hot, explode or ignite and cause serious injury if exposed to
abusive conditions. Be sure to follow the safety warnings listed in this guide.
WARNING! Do not place the battery pack in fire or heat.
Do not connect the positive terminal and negative terminal of the battery pack to each other with any
metal object (such as wire).
Do not carry or store the battery pack together with metal objects.
Do not pierce the battery pack with nails, strike it with a hammer, step on it or otherwise subject it to
strong impacts or shocks.
Do not solder directly onto the battery pack.
Do not expose the battery pack to liquids, or allow the battery to get wet.
Do not apply voltages to the battery pack contacts.
WARNING! In the event the battery pack leaks and the fluid gets into your eye, do not rub the eye.
Rinse well with water and immediately seek medical care. If left untreated, the battery fluid could
cause damage to the eye.
CAUTION: Always charge the battery at 32° – 104° F (0° – 40° C) temperature range.
Use only the authorized power supplies, battery pack, chargers, and docks supplied by your HP
reseller. The use of any other power supplies can damage the device and void your warranty.
Do not disassemble or modify the battery. The battery contains safety and protection devices, which,
if damaged, may cause the battery to generate heat, explode, or ignite.
CAUTION: Do not place the battery in or near fire, on stoves or other high temperature locations.
Do not place the battery in direct sunlight, or use or store the battery inside cars in hot weather. Doing
so may cause the battery to generate heat, explode, or ignite. Using the battery in this manner may
also result in a loss of performance and a shortened life expectancy.
CAUTION: Do not place the battery in microwave ovens, high-pressure containers, or on induction
cookware.
Immediately discontinue use of the battery if, while using, charging, or storing the battery, the battery
emits an unusual smell, feels hot, changes color or shape, or appears abnormal in any other way.
Do not replace the battery pack when the device is turned on.
Do not remove or damage the battery pack’s label.
Do not use the battery pack if it is damaged in any part.
Battery pack usage by children should be supervised.
As with other battery types, Lithium-Ion (LI) batteries will lose capacity over time. Capacity
deterioration is noticeable after one year of service whether the battery is in use or not. It is difficult to
precisely predict the finite life of a LI battery, but cell manufacturers rate them at 500 charge cycles. In
14 Chapter 4 Setting Up and Using the Scanner
Other manuals for Wireless Barcode Scanner
1
Table of contents
Other HP Barcode Reader manuals

HP
HP BW868AA User instructions

HP
HP 9200C - Digital Sender User manual

HP
HP BW868AA User manual

HP
HP 9100C Digital Sender User manual

HP
HP Engage One 2D User manual

HP
HP 82153A User manual

HP
HP Wireless Barcode Scanner User manual

HP
HP Linear Barcode Scanner II User manual

HP
HP EY022AT User manual

HP
HP 4430 User manual