manuals.online logo
Brands
  1. Home
  2. •
  3. Brands
  4. •
  5. HP
  6. •
  7. Monitor
  8. •
  9. HP Engage 16ts Assembly instructions

HP Engage 16ts Assembly instructions

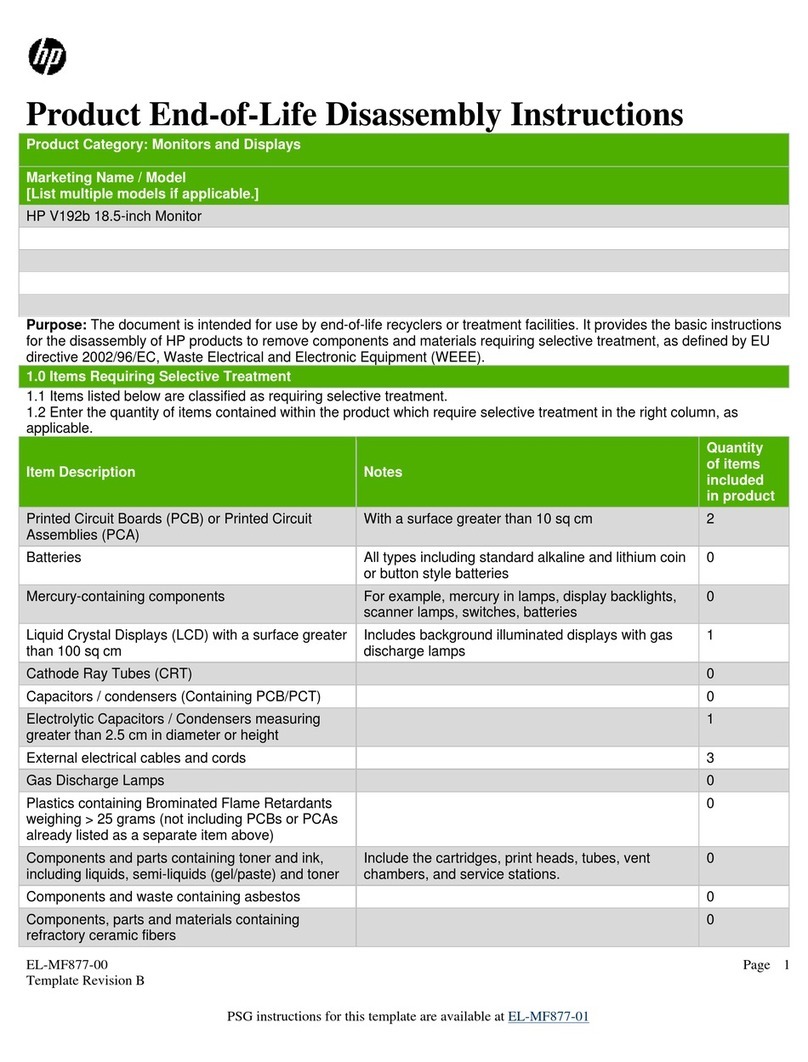
Product End-of-Life Disassembly Instructions
Product Category: Monitors & Display
Marketing Name / Model
[List multiple models if applicable.]
HP Engage 16ts
HSD-0087-Q
Purpose: The document is intended for use by end-of-life recyclers or treatment facilities. It provides the basic instructions for
the disassembly of HPI products to remove components and materials requiring selective treatment, as defined by EU directive
2012/19/EC, Waste Electrical and Electronic Equipment (WEEE).
NOTE: Recyclers should sort plastic materials into resin streams for recycling based on the ISO 11469 plastic marking code on
the plastic part. For any questions on plastic marking, please contact HP’s Sustainability Contact.
1.0 Items Requiring Selective Treatment
1.1 Items listed below are classified as requiring selective treatment.
1.2 Enter the quantity of items contained within the product which require selective treatment in the right column, as
applicable.
Item Description
Notes
Quantity of
items
included in
product
Printed Circuit Boards (PCB) or Printed Circuit
Assemblies (PCA)
With a surface greater than 10 sq cm
Main board*1, Keypad board*1, LED board*1, MSR
transfer board*1, Extension board*1, Bento trandfer
board*1
Batteries, excluding Li-Ion batteries.
All types including standard alkaline, coin or button
style batteries
0
Li-Ion batteries. Include all Li-Ion batteries if more
than one is provided with the product (such as a
detachable notebook keyboard battery, RTC coin cell,
etc.)
Battery(ies) are attached to the product by (check all
that apply with an “x” inside the “[ ]”):
[ ] screws
[ ] snaps
[ ] adhesive
[ ] other. Explain
NOTE: Add detailed removal procedures including
required tools in the sections 3.1 and 3.2.
0
Mercury-containing components
For example, mercury in lamps, display backlights,
scanner lamps, switches, batteries
0
Liquid Crystal Displays (LCD) with a surface greater
than 100 sq cm
Includes background illuminated displays with gas
discharge lamps Panel*1
1
Cathode Ray Tubes (CRT)
0
Capacitors / condensers (Containing PCB/PCT)
0
Electrolytic Capacitors / Condensers measuring
greater than 2.5 cm in diameter or height
C1 in adapter
2
External electrical cables and cords
DP cable*2, USB3.1 type-C gen1 cable*2, USB3.1
A/C gen1 cable*2, Micro USB cable*1, Power
cord*1, Adapter *2
All are inside monitor carton box
Gas Discharge Lamps
0
Plastics containing Brominated Flame Retardants
weighing > 25 grams (not including PCBs or PCAs
already listed as a separate item above)
0
Item Description
Notes
Quantity of
items
included in
product
Components and parts containing toner and ink,
including liquids, semi-liquids (gel/paste) and toner
Include the cartridges, print heads, tubes, vent
chambers, and service stations.
0
Components and waste containing asbestos
0
Components, parts and materials containing
refractory ceramic fibers
0
Components, parts and materials containing
radioactive substances
0
2.0 Tools Required
List the type and size of the tools that would typically be used to disassemble the product to a point where components and
materials requiring selective treatment can be removed.
Tool Description
Tool Size (if
applicable)
Screw driver
2
Hexagon Screw Driver
1
Flathead screwdriver
1
3.0 Product Disassembly Process
3.1 List the basic steps that should typically be followed to remove components and materials requiring selective treatment
including the required steps to remove the external enclosure:
1. Press quick release button to separate head and stand.
2. Use screwdriver to loosen the two screws and disassemble the rear cover.
3. Use flathead screwdriver to stick up rear cover bottom and stick up upper-left, upper-right corner with hands, and then
open the rear cover.
4. Remove conductive tape and unplug 2 cable.
5. Remove the conductive and insulating tape and the screw on the hinge.
6. Unplug lamp wire, eDP cable from connector, and take out ambient light board.
7. Unplug ambient light wire from the connector and loosen 4 screws on PCBs.
8. Remove all the gaskets, thermal pad, mylar, spacer on shielding. Remove all cable on PCBs.
9. Loosen 16 screws on middle frame to remove the deco and panel.
10. Loosen 4 screws on rear cover to remove the ctrl board and audio board, disassemble the RC lens.
11. Remove 2 LOGO on the rear cover.
12. Remove the lens on the deco.
13. Remove the screws form column, and separate plastic part.
14. Remove cable clip.
15. Remove the screw from hook, and remove hook.
16. Remove the screw from BKT, and remove life module, and disassemble lift module.
17. Remove the rubber from base.
3.2 Optional Graphic. If the disassembly process is complex, insert a graphic illustration below to identify the items contained
in the product that require selective treatment (with descriptions and arrows identifying locations).
1. Use tool to release screws on monitor, then separate the Stand from monitor head
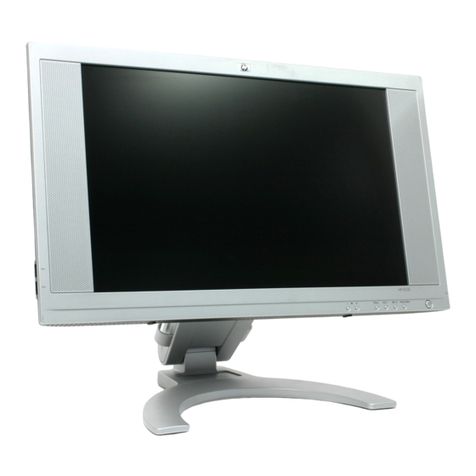
2. Use tool to release screws on monitor, then use tool to separate rear cover from monitor head through tear down slot.
3. Disassemble the lamp wire, LVDS FFC*2 and ctrl-BD FFC from connector, separate Assy- chassis from monitor head by hand
4.Disassemble the lamp wire from panel, and disassemble ctrl-BD and LED BD from MF by hand.
5. Use tool to release screws*9 on MF, then separate the MF from panel.
6. Use tool to release screws*7 on the power board and interface board, then disassemble power-BD and interface-BD from the chassis
by hand.
7. Disassemble the LVDS*4 by hand.
8. Separate foot rubbers by hands or tools.
9. Release the screws from the base bracket, then disassemble the base plastic cover, swivel ring , and base bracket.
10. Use tool to release screws and separate VESA from column.
11. Use tool to separate vesa cover and vesa bracket.
12. Use tool to release screws and separate pivot cover.
13. Use tool to release screws and separate tilt cover.
14. Use tool to separate column front cover and engine cover.
15. Use tool to release screws and separate column rear cover.

This manual suits for next models

1

Other HP Monitor manuals

HP Z27xs G3 User manual

HP

HP Z27xs G3 User manual

HP ProDisplay P17A LED Backlit User manual

HP

HP ProDisplay P17A LED Backlit User manual

HP ZR2330w User manual

HP

HP ZR2330w User manual

HP FP17 User manual

HP

HP FP17 User manual

HP KD911A4 User instructions

HP

HP KD911A4 User instructions

HP V206hz User manual

HP

HP V206hz User manual

HP D5259A - Pavilion M70 - 17" CRT Display User manual

HP

HP D5259A - Pavilion M70 - 17" CRT Display User manual

HP V203p Installation instructions

HP

HP V203p Installation instructions

HP L200hx User manual

HP

HP L200hx User manual

HP L200x User manual

HP

HP L200x User manual

HP Pavilion 27q Installation instructions

HP

HP Pavilion 27q Installation instructions

HP P204 Installation instructions

HP

HP P204 Installation instructions

HP HC240 Healthcare Installation instructions

HP

HP HC240 Healthcare Installation instructions

HP Pavilion MX704 User manual

HP

HP Pavilion MX704 User manual

HP LD4730 User manual

HP

HP LD4730 User manual

HP P27v G4 Manual

HP

HP P27v G4 Manual

HP L1740 User manual

HP

HP L1740 User manual

HP L200hx Installation instructions

HP

HP L200hx Installation instructions

HP 1706 User manual

HP

HP 1706 User manual

HP V273 User manual

HP

HP V273 User manual

HP Z27xs G3 Manual

HP

HP Z27xs G3 Manual

HP L2245wg User manual

HP

HP L2245wg User manual

HP X27qc Manual

HP

HP X27qc Manual

HP 2509p User manual

HP

HP 2509p User manual

Popular Monitor manuals by other brands

LG IPS226V owner's manual

LG

LG IPS226V owner's manual

Asus PA32U Series user guide

Asus

Asus PA32U Series user guide

Elecrow CrowView user manual

Elecrow

Elecrow CrowView user manual

Diamond View DV17NF user manual

Diamond View

Diamond View DV17NF user manual

Mottura Xmode 99688 manual

Mottura

Mottura Xmode 99688 manual

Philips 166V3LSB/00 user manual

Philips

Philips 166V3LSB/00 user manual

Acer G205HV user manual

Acer

Acer G205HV user manual

Lenovo G27qc-30 user guide

Lenovo

Lenovo G27qc-30 user guide

American Dynamics Tyco HS-CM217 Specification sheet

American Dynamics

American Dynamics Tyco HS-CM217 Specification sheet

Marshall Amplification V-R241-4K user manual

Marshall Amplification

Marshall Amplification V-R241-4K user manual

Acer KG271P user guide

Acer

Acer KG271P user guide

Planar SD2620W user guide

Planar

Planar SD2620W user guide

Atari Sanyo 14" Maintenance and service manual

Atari

Atari Sanyo 14" Maintenance and service manual

Sony Multiscan SDM-N50PS operating instructions

Sony

Sony Multiscan SDM-N50PS operating instructions

ViewSonic VG800B - 18" LCD Monitor user guide

ViewSonic

ViewSonic VG800B - 18" LCD Monitor user guide

Prowise ProLine+ Faq

Prowise

Prowise ProLine+ Faq

LG 32UR550 quick start guide

LG

LG 32UR550 quick start guide

Asus VH236H - 23" LCD Monitor Service manual

Asus

Asus VH236H - 23" LCD Monitor Service manual

manuals.online logo
manuals.online logoBrands
  • About & Mission
  • Contact us
  • Privacy Policy
  • Terms and Conditions

Copyright 2025 Manuals.Online. All Rights Reserved.