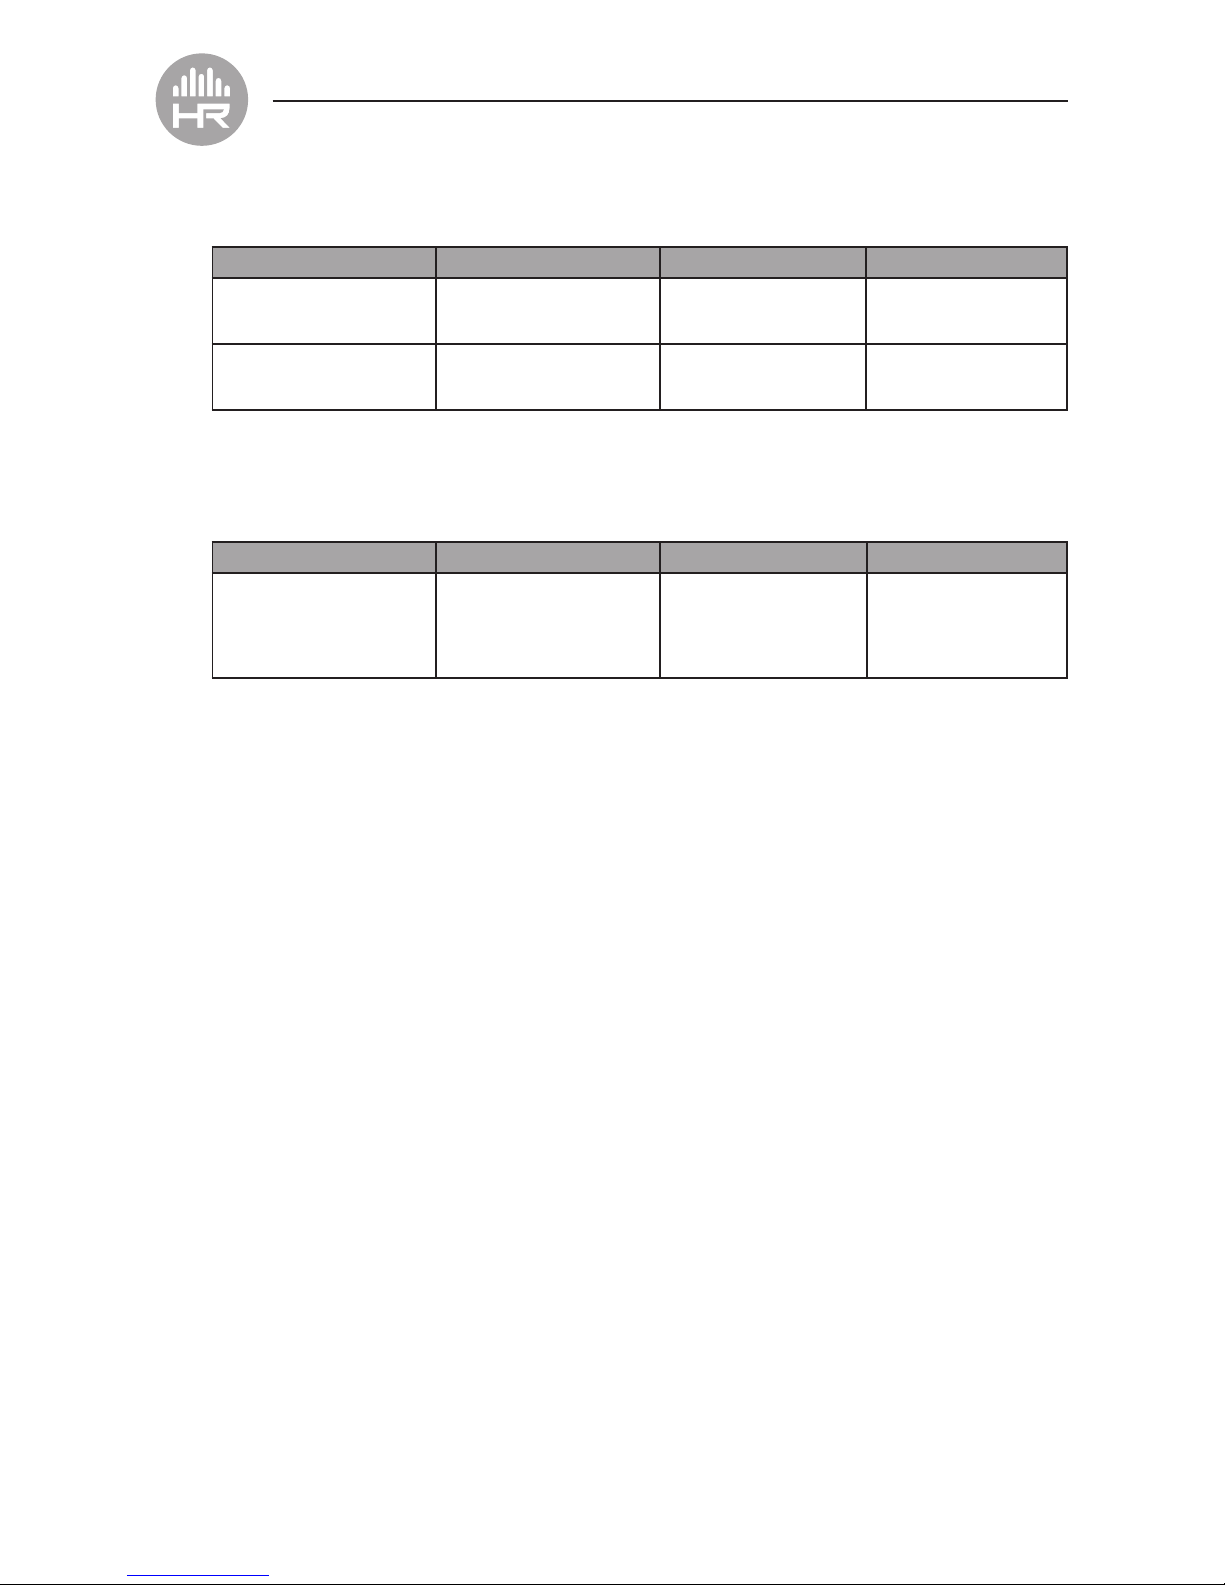
HR Harmony User manual

Bluetooth®3.0
Headphones
OWNER’S MANUAL
8018807/8820

1
CONTENTS
FUNCTIONS ................................................2
BEFORE USING .............................................3
1. Overview .............................................3
2. Charging the Headset ...................................3
HOW TO USE ...............................................4
1. Switching On/Off Headset ................................4
2. Pairing the Headset to Bluetooth Devices ....................4
3. Re-connecting to a Bluetooth Device .......................5
4. Making Calls with the Headset ............................5
5. Playing Music..........................................5
6. LED .................................................6
7. Low Power Indication Tone ...............................6
CARE AND MAINTENANCE ...................................6
SPECIFICATIONS............................................7
FCC and WARANTY..........................................7
WHAT’S IN THE BOX :
Headphones
Micro USB Cable
Carrying Pouch
Owner’s Manual
The Bluetooth® word mark and logos are owned by the Bluetooth SIG, Inc.
All other trademarks and trade names are those of their respective owners.

2
Thank you for purchasing your Headrush Headphones. In order to
maximize your listening experience, please read the instructions below
carefully.
This Bluetooth stereo headset supports the following Bluetooth proles:
HSP —— Headset Prole
HFP —— Hands-free Prole
A2DP—— Advanced Audio Distribution Prole
AVRCP——Audio/Video Remote Control Prole
You can enjoy wireless music and hands-free talking by using your HEADRUSH Bluetooth
Headset.
FUNCTIONS
1. Pairing with any mobile phone with built-in Bluetooth devices (e.g. iPhone, HTC,
Samsung) and Tablet (such as iPad).
•Answer, end and reject call from the headset
•Redial last number.
•Voice dial.
•Listen to music wirelessly
•Fully remote control buttons on the headset for pause / play / last track / next track /
re-dial / voice call.
2. Automatically switch between your phone and music; you will not miss any incoming
calls while listening to music.
3. Automatically connect with the last paired device when the headset is turned on.
4. The battery indicator feature is available on iOS5 and 6 on iPhone, iPad. It will show the
battery status for the headset without installing any Apps.
5. Multilink technology allows you to connect to two devices at the same time. All you
need to do is simply repeat the pairing process for the second device and manually
reconnect from the rst device.
6. Voice prompt now comes with ve status alerts in English. Power on, power off, pairing,
pairing completed, incoming call. The voice notice comes directly through the headset
and tells what the current status is about.
Note: Even though the paired device and headset support the same Bluetooth
proles, the functions may be different due to the specication differences of the
paired devices.

3
BEFORE USING
1. OVERVIEW
1. The Headset expands for a comfortable t.
2. > Key : next track
3. < Key : last track
4. LED Indicator for different status
5. Multifunction button (MFB): Switch on/off the
headset, answer, stop call, voice dial, redial last
number, pause and play
6. + Key: volume up
7. – Key: volume down
2. CHARGING THE HEADSET
•First time charging:
Please be sure the battery has been charged
fully before use.
•When you hear the warning indicator tones of
“DU DU DU” and, at the same time, the
red light blinks twice.
Please charge the battery fully.
A. Charging the battery
with Micro USB cable
• Step 1:
Insert the USB charging cable into the
USB port which supports 5V power
(such as AC/DC USB adapter or PC USB port).
• Step 2:
Connect the charging cable to the charging port of the headset.
•When the red light is on, the headset is charging.
•When the blue light is on, the headset is fully charged.
•It takes approximately 3 hours to fully charge the headset.
Note: when you plug in the charger cable, please turn off the headphones.

4
HOW TO USE
1. SWITCHING ON / OFF HEADSET
Function Operation LED Indicator Voice Prompt
Switch on Press the MFB button for 3
seconds, and release it till
the blue LED is on
Blue LED blinks 3 times. Power On
Switch off Press the MFB button for 5
seconds, and release it till
the red LED is on
Red LED blinks 3 times Power Off
2. PAIRING THE HEADSET WITH BLUETOOTH DEVICES
A. How to enter pairing mode
Function Operation LED Indicator Voice Prompt
Enter pairing mode Make sure the headset is
off. Press and hold MFB
button for 6 seconds, and
release it until the red and
blue LEDS blink alternately
Red and blue LEDs blink
alternatively.
Pairing
B. Pairing the headset with a Bluetooth mobile phone
Please make sure your mobile phone has a Bluetooth function that can be used.
Note: Specic pairing procedures may vary with different mobile devices.
Please refer to your mobile device manual for further information. Steps as
follows:
• Please keep the headset and mobile phone in the range of 1 meter when pairing.
• Make the headset enter into pairing mode (LED is blinking red and blue)
• Start the Bluetooth function of the mobile device and search for new Bluetooth devices.
Select “8018807-20” in the Bluetooth device list.
• When you are prompted, enter password or PIN No: “0000”, and press the “Yes” key or
“conrmed”. ( depending on the Bluetooth device’ settings )
• After successful pairing, select “8018807-20” in the Bluetooth device list, and press
“connect”.
• After pairing is successfully completed, the blue LED of the headset will keep blinking.
Notes:
• If the pairing is not successful, switch off the headset, and then pair again.
• After pairing is successful, paired devices will remember each other. Unless pairing
information is deleted because of new pairing, it will not be necessary to pair again the
next time you use the device. If you want to pair the headset with other devices, please
pair it with the new device according to steps 1~6 mentioned above.
• Multilink technology allows simultaneous connection to two different devices. Simply
repeat the pairing process on both devices.
• If a driver is not found, a Windows update may be necessary. Please visit the Microsoft
website to obtain your update.
3. RE-CONNECTING TO A BLUETOOTH DEVICE

5
• Automatic connecting
Every time the headset is switched on, it will connect to the last connected
device automatically. The source Bluetooth device must be turned on.
• Manual connecting to last connected HFP device
When the headset is in standby mode and doesn’t connect to any HFP devices,
quickly press the MFB button once. It will connect to last connected source device
automatically.
Notes:
• Before connecting to a Bluetooth device, please turn on the Bluetooth device’s function.
• On some Bluetooth phones, you have to allow automatic connecting in the mobile
phone’s settings. Please refer to your mobile phone’s manual for further information.
4. MAKING CALLS WITH THE HEADSET
Function Status of Headset Operation
Voice dial Standby mode Press and hold MFB button for 1 second, release it till
hearing indication sound ,then speak the number you want
to call.
Redial last number Standby mode Quickly press the MFB button twice
Volume up Conversation mode Quickly press the + key
Volume down Conversation mode Quickly press the - key
Answer calling Ringing Quickly press the MFB
Reject calling Ringing Press and hold MFB button for 1 second, and release until
you hear indication sound
• Not all the mobile phones support all the functions listed above. Please refer to the
instructions of your mobile phone.
• Some functions and indicator tones may vary with different mobile phones.
• When the volume is adjusted to max or min, you will hear an indicator tone.
• For some mobile phones, when you press the key to accept a call, the conversation
will be sent to the mobile phone. You can switch the call to the headset by using the
conversation switch button or answer the call on your mobile phone.
Please refer to the instructions of your mobile phone for further information.
5. PLAYING MUSIC
When the headset connects with the mobile phone or Bluetooth transmitter, you can
enjoy music wirelessly through the headset.
Function Status of Headset Operation
Pause Playing music Quickly press the MFB
Play Pausing Quickly press the MFB
Next track Playing music Quickly press the > key
Last track Playing music Quickly press the < key
Volume up Playing music Quickly press the + key
Volume down Playing music Quickly press the - key

6
Notes:
• On some mobile phones, while playing music, the music will transmit to the speaker of
the mobile phone. Select “transmit the sound through Bluetooth” in the “settings”
of music play interface, and then choose “8018807-20” in the device list, the music will
be transmitted to the headset. Please refer to the instructions of your mobile phone for
further information.
• When the volume of headset is adjusted to max. or min, you will hear a “DU DU DU”
indication tone.
• To remotely control the function of last track/next track/pause, your mobile phone or
Bluetooth transmitter must support AVRCP. Please refer to the instructions of your
mobile phone or Bluetooth transmitter for further information.
6. LED
1. Battery Charging mode
Function Status of Headset
Red LED is on Charging
Blue LED is on Charging complete
2. Operation Mode
LED Indicator Status of Headset
Red and blue LEDs blink alternately Pairing mode
Blue LED quickly blinks twice every 1 seconds. Not connected to a device
Blue and Red LED quickly blinks three times every 2 seconds Set up HFP and A2DP connection
Red LED blinks twice every 20 seconds Low power
7. LOW POWER INDICATION TONE
“DU” tones every 20 seconds
CARE AND MAINTENANCE
Please read the following suggestions carefully.
• Keep dry and away from damp places, to prevent damage to the interior circuits of
the product.
• Keep away from sunlight or hot areas. High temperature will shorten the life of this
electronic device, destroy the battery, or distort certain plastic parts.
• Exposure to cold may damage the internal circuit board.
• Do not drop or bang on hard surfaces. It may damage interior circuits.
• Do not use chemicals or detergents to clean the product.
• Do not scrape the surface with sharp objects.
• Consult a qualied professional in the event a repair is required.

7
SPECIFICATIONS
Driver Size: 40 mm
Impedance: 32 Ω
Sensitivity: 84dB
Frequency: 20 ~ 20KHz
Bluetooth Specication:
ISSC V3.0+EDR,
Support: HSP,HFP,A2DP,AVRCP
Operating Range: 10 m
Working Time: 10 hours
Standby Time: 250 hours
Battery: 320 mAH Li battery
Charging Time: Approximately 3 hours,
Charge via Micro USB
cable
Input: DC 5V/160mA
Product Size: 170*175*70MM
FCC
The FCC Wants You to Know
This equipment has been tested and found to comply with the
limits for a Class B digital device, pursuant to Part 15 of the FCC
Rules. These limits are designed to provide reasonable protection
against harmful interference in a residential installation.
This equipment generates, uses and can radiate radio
frequency energy and, if not installed and used in accordance
with the instructions, may cause harmful interference to radio
communications. However, there is no guarantee that interference
will not occur in a particular installation.
If this equipment does cause harmful interference to radio or
television reception, which can be determined by turning the
equipment off and on, the user is encouraged to try to correct the
interference by one or more of the following measures:
• Reorient or relocate the receiving antenna.
• Increase the separation between the equipment and receiver.
• Connect the equipment into an outlet on a circuit different from
that to which the receiver is connected.
• Consult the dealer or an experienced radio/TV technician for
additional suggestions.
Any changes or modications not expressly approved by the
party responsible for compliance could void the user’s authority
to operate the equipment. Where shielded interface cables have
been provided with the product or specied additional components
or accessories elsewhere dened to be used with the installation
of the product, they must be used in order to ensure compliance
with FCC regulation.
Industry Canada Notice
This device complies with Industry Canada license-exempt RSS
standard(s).
Operation is subject to the following two conditions:
(1) this device may not cause interference, and
(2) this device must accept any interference, including interference
that may cause undesired operation of the device.
This digital apparatus does not exceed the Class B limits for
radio noise emissions from digital apparatus set out in the Radio
Interference Regulations of Industry Canada.
IC Number: 255A-80188
The Source warrants that this product will be free from defects in materials and workmanship for a period of one (1) year from the
date of purchase. Within this period, simply take the product and your proof of purchase to any The Source store or participating
dealer and the product will be replaced (where available) without charge. Any product which has been subject to misuse or
accidental damage is excluded from this warranty.
This warranty is only applicable to a product purchased through The Source company-owned stores or participating dealers in
Canada where the warranty is included with the product. While this warranty does not confer any legal rights other than those set
out above, you may have additional statutory rights which will vary under the laws of the various countries, states, provinces and
other governmental entities in which The Source operates. This warranty is subject to all statutory rights you may have in Canada.
Imported by:
The Source,
Barrie, Ontario, Canada, L4M 4W5
Manufactured in China
For product support please visit
www.thesource.ca
Please Recycle
THE SOURCE – WARRANTY
Table of contents