HT THT500 Series User manual

©Copyright HT ITALIA 2022 Release EN 1.00 - 17/05/2022
THT500x –THT600x
User manual

THT500x - THT600x
EN - 1
TABLE OF CONTENTS
1PRECAUTIONS AND SAFETY MEASURES ........................................................................... 2
1.1 During use........................................................................................................................................ 2
1.2 After use........................................................................................................................................... 2
2GENERAL DESCRIPTION ....................................................................................................... 3
3PREPARATION FOR USE ....................................................................................................... 4
3.1 Initial checks..................................................................................................................................... 4
3.2 Instrument power supply.................................................................................................................. 4
3.3 Storage............................................................................................................................................. 4
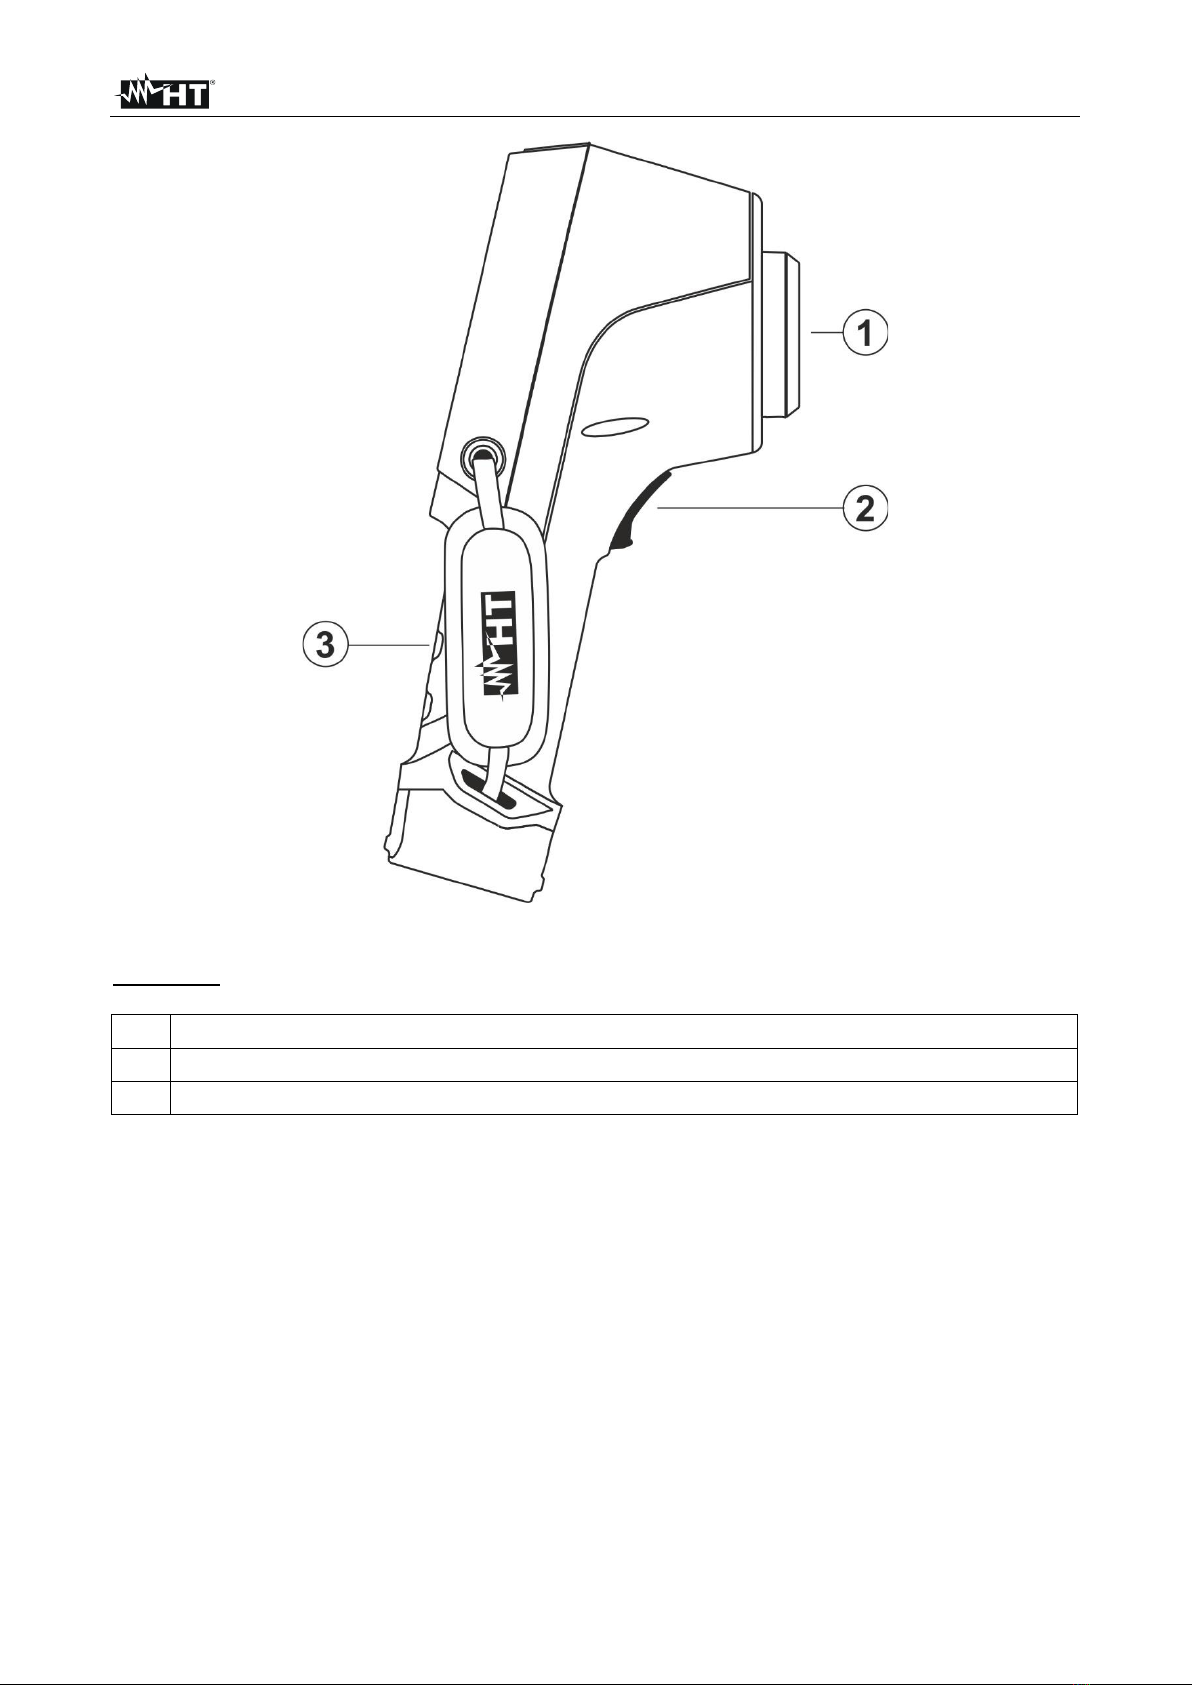
4NOMENCLATURE.................................................................................................................... 5
4.1 Description of the instrument ........................................................................................................... 5
4.2 Description of function keys............................................................................................................. 9
4.2.1 Switching on the instrument............................................................................................................... 9
4.2.2 Switching off the instrument............................................................................................................... 9
4.2.3 Key LASER...................................................................................................................................... 10
4.2.4 Key ............................................................................................................................................ 10
4.2.5 Key T (Trigger)................................................................................................................................. 10
4.2.6 Key MENU/OK................................................................................................................................. 10
4.2.7 Key ........................................................................................................................................ 10
5USING THE INSTRUMENT.................................................................................................... 11
5.1 Description of the main interface.................................................................................................... 11
5.2 Image focusing............................................................................................................................... 12
5.3 Main menu description................................................................................................................... 13
5.3.1 Settings Menu.................................................................................................................................. 14
5.3.1.1 Menu “Device Settings”............................................................................................................................... 14
5.3.1.2 Menu “Measure settings” ............................................................................................................................ 20
5.3.1.3 Menu “Reset” .............................................................................................................................................. 24
5.3.2 Measurement Menu......................................................................................................................... 26
5.3.3 Menu Image, Distance measurement and Zoom............................................................................. 29
5.3.4 Menu Palette and isotherm lines' functions ..................................................................................... 32
5.3.5 Menu Parameters ............................................................................................................................ 35
5.3.6 Alarm menu ..................................................................................................................................... 38
5.4 Adjusting the image temperature................................................................................................... 39
5.5 Saving IR images and videos......................................................................................................... 41
5.5.1 Image saving ................................................................................................................................... 41
5.5.2 Recording IR videos ........................................................................................................................ 42
5.5.3 Gallery menu ................................................................................................................................... 43
5.6 HDMI video output.......................................................................................................................... 43
5.7 Characteristics of the lens.............................................................................................................. 44
5.8 Use of the Screening mode............................................................................................................ 45
6USING THE THTLINK SOFTWARE ....................................................................................... 46
6.1 Minimum system requirements...................................................................................................... 46
6.2 Installing the THTLink software...................................................................................................... 46
6.3 Main characteristics of the THTLink software................................................................................ 46
7MAINTENANCE...................................................................................................................... 47
7.1 General information........................................................................................................................ 47
7.2 Recharging the internal battery...................................................................................................... 47
7.3 Cleaning the instrument................................................................................................................. 48
7.4 End of life ....................................................................................................................................... 48
7.5 Accessories.................................................................................................................................... 48
7.5.1 Accessories provided....................................................................................................................... 48
8TECHNICAL SPECIFICATIONS............................................................................................. 49
8.1 Environment................................................................................................................................... 50
8.1.1 Environmental conditions for use..................................................................................................... 50
9ASSISTANCE ......................................................................................................................... 51
9.1 Warranty conditions........................................................................................................................ 51
9.2 Assistance...................................................................................................................................... 51

THT500x - THT600x
EN - 2
1 PRECAUTIONS AND SAFETY MEASURES
In the whole manual, the word “instrument” generically indicates THT500, THT500H,
THT600, THT600L and THT600H models unless otherwise indicated. The instrument has
been designed in compliance with the directives relevant to electronic measuring
instruments. For your safety and to prevent damaging the instrument, please carefully
follow the procedures described in this manual and read all notes preceded by symbol
with the utmost attention. Before and after carrying out the measurements, carefully
observe the following instructions:
CAUTION
•Do not carry out any measurements in case gas, explosive materials or
flammables are present, or in humid or dusty environments
•Do not carry out any measurement in case you find anomalies in the
instrument such as deformation, breaks, substance leaks, absence of
display on the screen, etc
•Keep the instrument steady during any measuring operation
•Do not use the instrument in environments with temperatures
exceeding the operating and storage limits specified in § 8.1.1 in order
not to damage it
•Only the accessories provided together with the instrument will guarantee
safety standards. They must be used only if in good conditions and
replaced with identical models, when necessary
•Check that the battery is correctly inserted
•Check that the LCD display gives indications consistent with the function
selected
•Do not direct the instrument at very high intensity radiation sources
(e.g. the sun) in order to prevent damaging the IR sensor
•Prevent hits or strong vibrations in order to keep the instrument from
damage
•When bringing the instrument from a cold to a hot environment, leave it on
long enough for condensation water to evaporate
In this manual, and on the instrument, the following symbols are used:
Warning: observe the instructions given in this manual; improper use could
damage the instrument or its components.
This symbol on the display means that the instrument is able to emit a laser
pointer in Class 2. Do not direct the radiation towards the eyes in order to
prevent injury.
1.1 DURING USE
CAUTION
•Failure to comply with the caution notes and/or instructions may damage
the instrument or be a source of danger for the operator.
•Use the instrument only in the temperature ranges indicated in § 8.1.1.
1.2 AFTER USE
When measurement is complete, switch off the instrument. If you expect not to use the
instrument for a long period, remove the battery.

THT500x - THT600x
EN - 3
2 GENERAL DESCRIPTION
The instrument is a professional digital thermal camera capable of carrying out infrared
temperature measurements of objects and providing high-resolution images in an
extremely flexible way. It is also very easy to use and needs little maintenance.
The main characteristics of the instrument are:
•Infrared temperature ranging from -20°C to 650°C (THT500, THT600, THT600L)
•Infrared temperature ranging from -20°C to 1200°C (THT500H, THT600H)
•Built-in photo camera for a visible image
•PiP Fusion and Auto Fusion (AUF) function
•Cursor in a fixed central position
•Cursors for automatic detection of “hot” and “cold” spots of the image
•TFT colour display with capacitive touch-screen
•Alarm conditions on temperature measurement
•8 colour palettes available
•Electronic zoom x1-x32
•Advanced analyses (Spots, Lines, Areas, Isotherm lines)
•Automatic detection of hot/cold spots of the image
•“Screening” function for a quick measurement of surface temperature
•Storage of JPG images on external micro-SD card and in the internal memory
•IR sensor resolution: 384x288pxl (THT600, THT600L, THT600H)
•IR sensor resolution: 160x120pxl (THT500, THT500H)
•USB port for PC connection and image and video transfer
•Voice and text annotation on saved images
•IR MPEG4 video recording on micro SD card and in the internal memory
•HDMI video output
•Built-in laser pointer and illuminator
•Measurement of the distance from target with laser pointer
•Rechargeable Li-ION battery
•Analysis and creation of reports with the provided dedicated software
•WiFi interface to mobile devices through the APP HTProCamera
The applications of the digital thermal camera are:
•Predictive and preventive maintenance of electrical and mechanical appliances
•Monitoring of the temperature of working processes
•Maintenance and troubleshooting on forced ventilation ducts
•Domestic/industrial use in troubleshooting room insulation problems
•Applications in the construction field
•Safety problems

THT500x - THT600x
EN - 4
3 PREPARATION FOR USE
3.1 INITIAL CHECKS
Before shipping, the instrument has been checked from an electric as well as mechanical
point of view. All possible precautions have been taken so that it is delivered undamaged.
However, we recommend generally checking the instrument in order to detect possible
damage suffered during transport. In case anomalies are found, immediately contact the
forwarding agent. We also recommend checking that the packaging contains all
components indicated in § 7.5. In case of discrepancy, please contact the Dealer. In case
the instrument should be returned, please follow the instructions given in § 9.
3.2 INSTRUMENT POWER SUPPLY
The instrument is supplied by a 1x3.7V, 5200mAh rechargeable Li-ION battery and AC
mains power supply, which also provides for the recharge of the mentioned battery. Both
of these systems are provided together with the instrument. For battery recharge, please
refer to § 7.2.
3.3 STORAGE
In order to guarantee precise measurement, after a long storage time under extreme
environmental conditions, wait for the instrument to come back to normal operating
conditions (see § 8.1.1).

THT500x - THT600x
EN - 5
4 NOMENCLATURE
4.1 DESCRIPTION OF THE INSTRUMENT
Fig. 1: Description of the instrument's backside
CAPTION:
1
Audio/Microphone, USB, micro SD and HDMI
2
LCD touch-screen display
3
Function key (Image/video gallery)
4
Function key LASER
5
Function key (ON/OFF and Measuring Mode)
6
Pins for strap belt fixing
7
Function key MENU/OK and arrow keys ,,,
8
Rechargeable battery

THT500x - THT600x
EN - 6
Fig. 2: Description of the instruments front side
CAPTION:
1
Built-in white LED illuminator
2
Laser pointer
3
Laser pointer for distance measurement
4
Photo camera
5
IR sensor
6
Slot for inserting lens protection cap
7
Trigger key (T)
8
Slots for the passage of the strap belt fixing
9
Rechargeable battery

THT500x - THT600x
EN - 7
Fig. 3: Description of the lateral part of the instrument
CAPTION
1
Lens associated to IR sensor
2
Trigger key (T)
3
Strap belt

THT500x - THT600x
EN - 8
Fig. 4: Description of upper and lower parts of the instrument
CAPTION
1
Lens associated to IR sensor
2
Headphone/microphone input
3
HDMI video output
4
Slot for micro-SD card insertion
5
Micro USB port
6
Threaded hole (¼”) for tripod insertion

THT500x - THT600x
EN - 9
4.2 DESCRIPTION OF FUNCTION KEYS
The instrument has 8 function keys described further in this text and a trigger key “T” with
multiple functions.
4.2.1 Switching on the instrument
1. Press and hold key for 2s to switch on the instrument. After the initial splash
screen is displayed (see Fig. 5 –left side), the instrument needs for a certain heating
time (approx. 30s) in order to provide accurate temperature measurements and quality
images.
2. The instrument initially shows the visible image for a few seconds and the message “IR
calibration…” while it correctly calibrates the internal sensor (see Fig. 5 –middle).
3. After a few seconds, the IR image is shown on the display and the instrument is ready
for measurement (see Fig. 5 –right side).
Fig. 5: Sequence upon switching on the instrument
CAUTION
•The sound that accompanies the message “IR calibration…” is a
necessary condition for the instrument's internal calibration.
•Pressing the key allows switching on/off the instrument. The
instrument also has an Auto-Power-Off function with selectable time.
4.2.2 Switching off the instrument
1. Press and hold key for at least 4s to switch off the instrument. The following
screen appears on the display.
Fig. 6: Switching off the instrument
2. Touch the virtual button “OK” to switch off the instrument.
3. Touch the virtual button “Cancel” to cancel the operation and go back to normal
display.
4. By pressing and holding the key for at least 7s, the instrument is directly switched
off.

THT500x - THT600x
EN - 10
4.2.3 Key LASER
Press key LASER to switch on/off the instrument's laser pointer. The symbol “ ” is found
in the top part of the display. Press and hold key LASER to manually calibrate the
instrument. The “IR calibration…” message appears for an instant on the display
4.2.4 Key
Press key to enter the gallery of images/videos saved in the internal memory or on the
inserted micro SD card (see § 5.5.3).
4.2.5 Key T (Trigger)
Pressing the Tkey found on the front part of the instrument allows freezing the IR image
on the display and automatically opens the section for saving the image (see § 5.5.1).
Press the Tkey again to save the image on the display or touch the display to return to
normal viewing.
4.2.6 Key MENU/OK
Pressing the key MENU/OK allows displaying/hiding the instrument's main menu (see §
5.3). The operation is always possible also by touching the display.
4.2.7 Key
Long pressing key allows switching on/off the instrument (see § 4.2.1 and § 4.2.2).
With the instrument switched on, by pressing key several times, it is possible to
select the image temperature adjusting modes (see § 5.4).

THT500x - THT600x
EN - 11
5 USING THE INSTRUMENT
5.1 DESCRIPTION OF THE MAIN INTERFACE
The instrument shows the following interface on the display:
Fig. 7: Main instrument interface
CAPTION
1
Measuring unit of temperature (°C, °F, K)
2
Measuring unit of distance (m, Ft)
3
Set emissivity value
4
Active zoom indication
5
Number of detections statistically valid in Face Mode (see § 5.3.2)
6
Indication of laser pointer activation
7
Presence of micro SD card in the instrument
8
Active WiFi connection
9
Battery charge level
10
System time
11
Main instrument menu
12
Detection of the person's face and maximum measured temperature
13
Maximum temperature associated to the image on the display
14
Set color palette
15
Minimum temperature associated to the image on the display
16
Indication of the selected adjustment mode (Manual, Auto, HG)

THT500x - THT600x
EN - 12
5.2 IMAGE FOCUSING
Focusing the IR image found on the instrument display must be performed manually by
rotating the lens installed on the IR sensor (see Fig. 1 –Part 3). Keep the instrument
steady while performing this operation.
CAUTION
•Always focus the image before saving it, in order to perform correct
temperature measurements of the framed target.
•The IR image on the display may be out of focus after a few minutes or if
a new object is framed. In order to solve this problem, the instrument
performs its internal calibration and makes a sound which must be
considered as fully normal.
Fig. 8: Focusing the image on the display
The correct focusing of the image allo ws for the whole of the infrared energy irradiated
by the target to be directed at the pixels of the IR sensor. Without focusing, the thermal
image may be out of focus and the indicated radiometric data will be inaccurate.

THT500x - THT600x
EN - 13
5.3 MAIN MENU DESCRIPTION
By pressing the key MENU/OK or by simply touching the display, the instrument
shows/hides the following main menu on the display. Use the touch-screen or the arrow
keys to select menu items.
Fig. 9: Main instrument menu
The following options are available:
➢Menu Alarm →allows setting the alarm thresholds on the temperature
measurements associated with the items inserted onto the image (cursor, dots, lines
and areas).
➢Menu Parameters →defines the values of the correction parameters used for
temperature measurement.
➢Menu Measurement →allows inserting items (dots, lines, areas) onto the image
with the relevant associated temperature values.
➢Menu Image →allows selecting the display mode of the framed target as regards
thermal image, visible image and combinations thereof. In the same section it is also
possible to use the function for measuring the distance from target.
➢Menu Palette →allows selecting the available colour palettes and setting the
visible alarm conditions according to the measured temperature.
➢Menu Settings →allows setting system parameters, the type of measurement, the
values of the compensation parameters and the reset of the instrument.

THT500x - THT600x
EN - 14
5.3.1 Settings Menu
By touching the icon , the instrument enters the “Settings”menu, in which it is possible
to define the values of system parameters, the settings of measurements and the reset of
the instrument. The following screen appears on the display:
Fig. 10: Section Setting of the general menu
5.3.1.1 Menu “Device Settings”
In this section (see Fig. 11) it is possible to define the instrument's system parameters.
Touch the screen to activate/deactivate the desired options.
Fig. 11: Instrument settings
USB mode
1. Touch the item “USB mode”. The following screen appears on the instrument's display:
Fig. 12: USB mode

THT500x - THT600x
EN - 15
2. Touch the option “PC Connection” to make the instrument communicate with the PC.
3. Connect the instrument to the PC via the provided USB cable. The screen in Fig. 13 –
left side appears on the display:
Fig. 13: Connecting the instrument to the PC
4. Confirm with “OK” to activate the connection, or touch “Cancel” to go back to the main
menu. The screen in Fig. 13 –right side appears on the display, and the instrument
does not accept any command.
5. The instrument is detected by the PC like a “Removable disk” and it will be possible to
download the IR images/videos found in the internal memory or on the inserted micro
SD card.
6. Disconnect the USB cable from the instrument in order to restore normal operation.
7. Select option “PC Camera” to allow displaying on the PC in real time the image shown
on the display. Within “My Computer”, search for the “USB video device” which is
automatically recognized by the PC and allows showing the (IR or visible) image found
on the display in real time. Re-boot the instrument to make active the function
White LED illuminator
1. Touch the item “Flashlight” to activate/deactivate the instrument's built-in white LED
illuminator (see Fig. 2 –part 1) . The following screen appears on the display:
Fig. 14: Activation of the illuminator
2. Touch the icon “ ” to activate the illuminator, or icon “ ” to deactivate the
illuminator.

THT500x - THT600x
EN - 16
Display brightness
1. Touch the item “Brightness” to adjust display brightness. The following screen appears
on the display:
Fig. 15: Adjusting display brightness
2. Touch and drag the white bar to adjust brightness, observing the display as you do so.
Laser pointer activation
1. Touch the item “Laser” to activate/deactivate the laser pointer (see Fig. 2 –part 2). The
following screen appears on the display:
Fig. 16: Laser pointer activation
2. Touch the icon “ ” to activate the pointer, or icon “ ” to deactivate the pointer.

THT500x - THT600x
EN - 17
Activation of WiFi connection
1. Touch the item “WiFi” to enter the section for the activation/deactivation and
customization of the instrument's WiFi connection. The screen in Fig. 17 –right side
appears on the display.
CAUTION
WiFi connection only allows carrying out the instrument's connection to
mobile devices (Android/iOS) through the dedicated APP HTProCamera
Fig. 17: Activation of WiFi connection
2. Touch the icon “ ” to activate WiFi connection, or icon “ ” to deactivate WiFi
connection. The icon “ ” is shown on the display
3. Touch item “SSID” to define a custom identification ID of the WiFi connection (default
THT500). The screen in Fig. 18 –left side appears on the display.
Fig. 18: Definition of SSID and Password of the WiFi connection
4. Define the desired name of the SSID and touch the icon “ ” to confirm, or icon “X” to
quit without changes.
5. Touch item “Password” to define a custom Password for the WiFi connection (default
“12345678”). The screen in Fig. 18 –right side appears on the display.
6. Define the desired Password (max 8 digits) and touch the icon “ ” to confirm, or icon
“X” to quit without changes.

THT500x - THT600x
EN - 18
Date/Time setting
1. Touch the item “Date/Time” to set the system's Date/Time. The screen in Fig. 19 –right
side appears on the display:
Fig. 19: System date/time setting
2. Touch the arrows “ ” or “ ” to perform setting. Options “AM” and “PM” indicate the
time in a (0-12h) format, whole option “24Hr” indicates format (0-24h). Touch “Set
Date” to confirm, or “Cancel” to quit without changes.
Language setting
1. Touch the item “Language” to set the system's Language. The screen in Fig. 20 –right
side appears on the display:
Fig. 20: System language setting
2. Select the desired language by scrolling down the list with the arrow key “ ” and quit
the section by touching the arrow key “ ” to confirm setting.

THT500x - THT600x
EN - 19
Auto power off setting
1. Touch item “Auto Power Off” to set the instrument's auto power off time. The screen in
Fig. 21 –right side appears on the display:
Fig. 21: Auto power off setting
2. Select one of the options: “OFF” (deactivation), 5MIn, 10Min, 15Min or 30Min and
touch the arrow key “ ” to quit and confirm setting.
Information on the instrument
1. Touch the item “About” to display the information about the instrument ad regards:
model, serial number, internal Firmware version and available residual memory. The
screen in Fig. 22 –right side appears on the display:
Fig. 22: Information on the instrument
2. Touch the arrow key “ ” to quit and confirm.
This manual suits for next models
6
Table of contents
Other HT Thermal Camera manuals