HTC Vive Focus 3 User manual

User guide

Contents
Unboxing
VIVE Focus 3 features 5
What's inside the box? 6
Charging the headset 7
Charging the controllers 8
Setting up VIVE Focus 3 for individuals, teams, and small businesses 9
Setting up your headset for business and enterprise 10
Signing in with your HTC Account 11
Putting on the headset 11
Wearing the headset with glasses 13
Adjusting the IPD on the headset 13
Setting up your play area 15
Setting up multiple play areas 16
Downloading free titles on the headset 16
Getting titles from VIVE Business AppStore 17
Launching and closing a VR title 18
Getting the most out of your headset
About the VIVE Focus 3 headset 19
About the VIVE Focus 3 controllers 21
Pairing controllers 22
Hand tracking 23
Connecting to a Wi-Fi network 24
Inserting a storage card 24
Taking screenshots and screen recordings 25
Copying screenshots and screen recordings to your computer 25
Copying files between the headset and external storage 26
Casting your screen 27
Adding a VPN 27
Adjusting audio settings 28
Pairing Bluetooth devices 28
Setting up and using Kiosk mode 29
Installing system and firmware updates 29
Uninstalling content 29
About cleaning and disinfecting VIVE Focus 3 30
VIVE Manager
What is VIVE Manager? 32
What phones does VIVE Manager support, and how do I get it? 32
What languages does VIVE Manager support? 32
How do I install system updates from VIVE Manager? 33
How do I uninstall VIVE Manager from my Android phone? 34
How do I uninstall VIVE Manager from my iPhone? 34
Common solutions
How can I optimize tracking in my space? 35
My headset keeps forgetting my boundary. What can I do? 35
2 Contents

What can I do if I can't see my controllers in VR? 36
What do the controller buttons do? 36
What do the buttons on the headset do? 37
What do the LEDs on the battery mean? 37
How do I check the power level of my controllers? 38
What does the LED on the controllers mean? 38
How can I prevent blurriness or dizziness? 39
What do I do if my content crashes? 39
What do I do if my headset isn't responding? 39
Why do I see "Boundary lost" during room setup? 40
How do I prepare the headset before returning it for repair? 40
How do I reassemble the headset after repair? 42
Where can I find my screenshots and screen recordings? 43
How do I show my streaming video on the VIVE Video playlist? 44
Trademarks and copyrights
Index
3 Contents

About this guide
We use the following symbols to indicate useful and important information:
This is a note. It provides detailed information for setup, common questions, and what to do in
specific situations.
This is a tip. It will give you an alternative way to do a particular step or procedure that you may
find helpful.
This indicates important information that you need in order to accomplish a certain task or to
get a feature to work properly.
This is a warning. Take note to avoid potential problems or prevent damage to your hardware.
Information contained in this guide may have changed. For the most up-to-date information,
including the latest version of this guide, go to VIVE Support.
Before using the product, carefully review VIVE safety information and follow all product safety
and operating instructions on https://www.vive.com/legal/.
4 About this guide

Unboxing
VIVE Focus 3 features
All-in-One VR that goes all out for graphics quality
Visualize your creativity in crystal-clear brilliance. See it and feel it before putting ideas into
motion — no more costly and time-consuming do-overs.
§Always sharp: 5K resolution
§See more naturally: up to 120-degree wide field of view
§Smoothest visual: 90Hz refresh rate
Your viewing sweet spot
Ultra wide range of IPD (inter-pupillary distance) adjustment (57mm-72mm) provides viewing
comfort. Easily find your sweet spot with the dial design while wearing the headset.
To learn more about IPD, see Adjusting the IPD on the headset on page 13
Immersive audio and comfort - best of both worlds
§Open-back, dual-driver speakers deliver 3D spatial sound. The off-ear design eliminates
constant pressure on your ears, and also maintains an optimum level of environment
awareness.
§For total immersion, high-resolution 3.5mm audio jack support is available.
§Directional speaker design—with voice leakage reduction—helps keep conversations
private.
Check out Adjusting audio settings on page 28 for more information about audio features.
In and out of VR in seconds
Made for high-traffic showrooms and events. Easily take off and put on the headset thanks to the
patented quick adjustment button.
Suits a wide range of face shapes, vision types and even fits over glasses. No fuss. Just pure
comfort and convenience.
Check out Putting on the headset on page 11.
5 Unboxing

What's inside the box?
Your VIVE Focus 3 comes with the following items, which you'll use to experience immersive VR
environments:
Main component Accessories
VIVE Focus 3 §Headset
§Top strap (attached)
§Headset frame with cushions (attached)
§Back pad (attached)
§Battery
§Cleaning cloth
§AC adapter
§Warranty card
§Quick start guide
Controllers (x2) Splitter cable (charging only)
To learn more, see Charging the controllers on page 8.
6 Unboxing

Charging the headset
You can charge the headset with the AC adapter.
§Charge the headset by connecting the AC adapter to a power outlet, and then connecting
it to the headset. Charging the headset while in use is not recommended.
§You can charge the battery separately with the same adapter and port.
You can check the battery level by pressing the Power button on the back of the headset.
7 Unboxing

Charging the controllers
The controllers use rechargeable batteries. Charge them periodically with the splitter cable. Here
are some ways to charge the controllers:
§Charge the controllers by plugging them into the headset with the included splitter cable.
The headset must be turned on to charge the controllers.
§You can also charge the controllers with your own USB charger. The charger should have
an output of at least 10 watts.
8 Unboxing

Setting up VIVE Focus 3 for individuals, teams, and small
businesses
The best way to set up VIVE Focus 3 for individuals, teams, and small businesses is with VIVE
Manager. This app allows you to configure headset settings, run updates, as well as browse,
purchase, and manage VR titles. It's also easier to set up VIVE Focus 3 with VIVE Manager.
1. Download and install VIVE Manager on your phone. Get it from https://vive.com/setup/
focus3 or search VIVE Manager in your app store.
2. Sign in with your HTC Account, or create a new one.
3. Tap Set up new device.
The app will walk you through in setting up the following:
4. Tap Start.
If you haven't installed the battery and turned on the headset, follow the onscreen
instructions.
5. When the app shows the code for pairing your phone with the headset, put on the headset.
6. When you see the same code displayed on the headset, press the Headset button.
7. Take off your headset. In the app, continue with setting up Wi-Fi®and pairing the
controllers.
9 Unboxing

8. When you're done, put on the headset again.
9. Follow the instructions on the headset to adjust the volume, adjust the IPD, and set your
play area.
§If you have trouble pairing the headset, make sure it's powered on and near your phone.
§If VIVE Manager isn't available, you can set up your headset manually by pressing and
holding the Headset button from the Welcome screen.
Setting up your headset for business and enterprise
The best way to set up your headset for business and large organizations is with VIVE Business
Device Management System.
VIVE Business Device Management System is a web-based platform designed to help
businesses manage their VR devices and content. It allows businesses that use VR to manage
licensed and corporate specific VR content, set user roles and permissions, manage devices, and
more. On your computer's web browser, go to https://business.vive.com/dms/ to access VIVE
Business Device Management System.
There are two ways to install content when using batch configuration:
§Setting up one or more headsets with a microSD™card, and then assigning content later
using the web interface.
§Setting up one or more headsets with a microSD card, as well as installing content directly
from the microSD card.
Both ways use microSD cards to preload your headset configuration. microSD cards are sold
separately.
To get started:
1. Log in to VIVE Business Device Management System with your VIVE Business account.
2. Register your headset(s). If eligible, you can also activate the warranties and extended
service packages.
3. Upload and deploy corporate and licensed content to your team.
4. Invite users in your organization and set roles and permissions for them when using the
VIVE Business Device Management System.
5. Create a batch configuration package to quickly set up multiple all-in-one devices with the
same settings with a microSD card.
6. Manage content, settings, and users on devices already deployed.
To learn more, go to the VIVE Business Device Management System Support page.
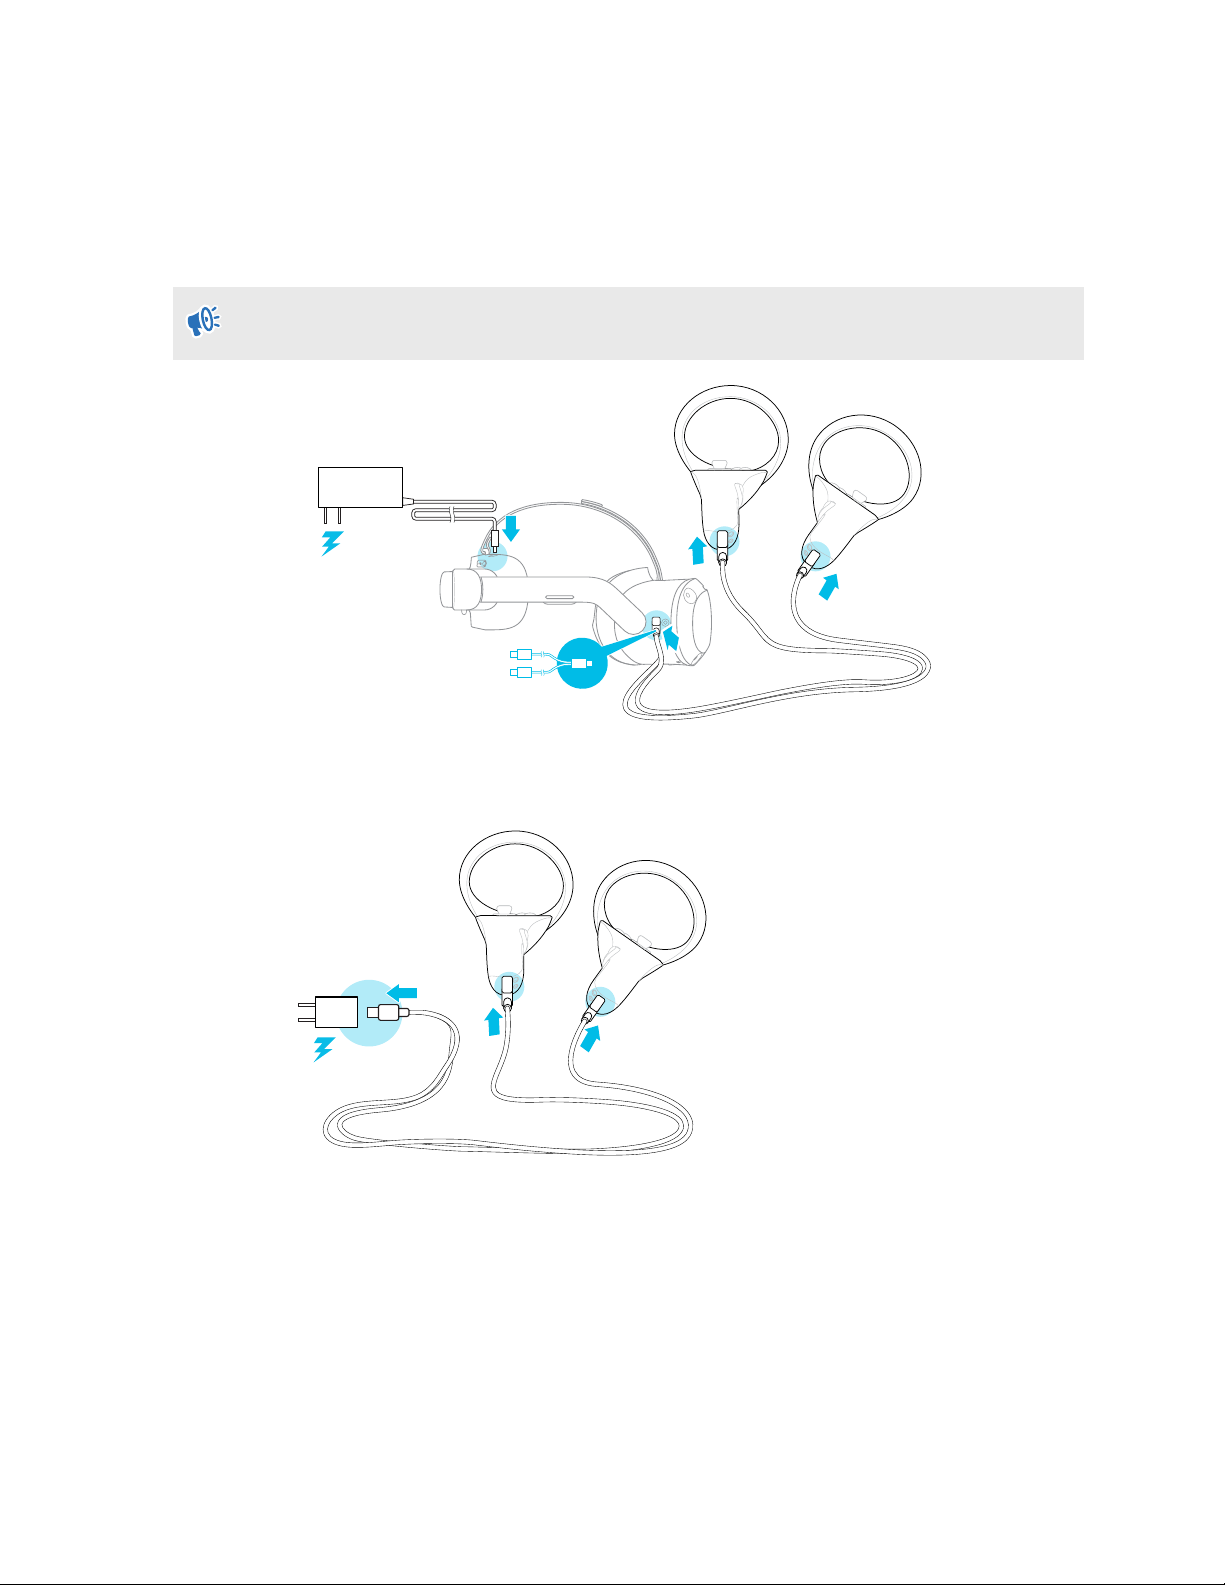
10 Unboxing

Signing in with your HTC Account
Sign in for the best experience and support. The best way to sign in is with VIVE Manager, but
you can also sign in while in VR. Here's how:
1. From the lobby, select Profile.
2. Type your user name and password, and then select Sign in.
Putting on the headset
Adjust your headset for the perfect fit. A good fit is important for both visual clarity and comfort.
Here's how:
1. Undo the velcro fastener on the top strap.
2. Press and hold the quick adjustment button, and then gently pull until fully extended.
11 Unboxing

3. Position the headset over your eyes. While holding the quick adjustment button, slide the
headset band until snug with the back of your head.
4. Turn the adjustment dial to fine-tune the fit.
5. Adjust the top strap until snug, and then attach the velcro fastener.
When you're ready to take off the headset, press the quick adjustment button to instantly
release the headset band.
12 Unboxing

Wearing the headset with glasses
Most glasses fit inside the headset. If you have wider glasses, the headset frame can flex to allow
your glasses to fit. Here's how:
1. While putting the headset on, gently press on either side of the headset frame to make
room for your glasses.
2. When taking off the headset, gently press the frame in the same way to release your
glasses.
§If you wear glasses, make sure that no part of your glasses touches the lenses, and that your
glasses fit comfortably within the headset.
§The maximum supported width for glasses is 150 mm (5.9 in).
Adjusting the IPD on the headset
Interpupillary distance (IPD) is the distance between the centers of your eyes.
If you don't know your IPD, see How can I find my IPD? on page 14. Use this measurement as a
guide to adjust the distance between the lenses of the headset so that you'll have a better viewing
experience.
To decrease the distance between the lenses, rotate the IPD dial clockwise. To increase, rotate
the IPD dial counterclockwise.
+- +-
As you adjust the IPD, you'll see a prompt indicating the current distance between the centers of
the lenses.
13 Unboxing

Why is accurate IPD important?
Accurate IPD settings help get a clear image and reduce eye strain.
The headset lenses focus images toward their optical center. This is sometimes called the "sweet
spot" in the VR industry. By adjusting the IPD knob, you can tune the sweet spot for the most
comfortable view. Misaligned IPD and improperly adjusted headsets are common causes of
blurry images, dizziness, and eye strain.
How can I find my IPD?
There are several ways to estimate your IPD.
The most accurate way to determine your IPD is to consult a professional optometrist or eye
doctor. You can also estimate your IPD by doing any of the following:
§Use a ruler and a mirror. See below for detailed instructions.
§Through experimentation. See below for detailed instructions.
§Using third-party apps or websites.
Third-party apps or websites may collect personal data. HTC cannot guarantee accuracy of
third-party apps or websites in measuring IPD.
Estimating your IPD in a mirror
You can estimate your IPD with a millimeter ruler and a mirror.
1. Stand directly in front of a mirror, and then hold the ruler up to your eyes. Make sure that
the ruler is level. If you're using a flexible ruler, make sure not to bend it.
2. Align the zero mark with the center of your pupil. You may need to close your other eye to
get a clear measure.
30 40 500 10 20 60
14 Unboxing

3. Check the millimeter mark on the other eye. You may need to close the first eye to get a
clear measure.
30 40 500 10 20 60
4. Make a note of your IPD measurement. You may want to recheck several times to make
sure your reading is accurate.
You can also ask a friend to help you measure instead of using a mirror. Make sure you're
looking straight ahead while they measure.
Estimating your IPD through experimentation
You can estimate IPD by trying different settings. This method is very convenient, but might be
less accurate.
1. While wearing the VR headset, focus on text or lines at the center of view. If no text is
present, open a screen in VR with text.
2. Adjust the IPD dial until the text is clear. Note the number for future use.
3. If the image in one eye is clearer than the other, adjust the headset position. Repeat until
images are clear for both eyes.
Setting up your play area
The play area is a virtual boundary to keep you safe in VR. Play areas should be kept clear of
objects, pets, and other people. If you don't have enough space for a room-scale play area (1.5 x
1.5 m), you can set a small, stationary boundary you can use seated or standing.
You will be guided through room setup the first time you put on VIVE Focus 3. You can run room
setup again at any time from the Settings menu.
1. Set the floor height by pushing down on the floor boundary.
2. Choose a room-scale or seated play area.
3. If you choose a room-scale play area, you can draw the boundaries and adjust objects. You
can reset and redraw the boundary at any time.
4. Set the forward facing direction. This is the direction where the menus will appear.
If you use your headset in a new place, you will be automatically prompted to create a new
boundary for your play area.
15 Unboxing

Setting up multiple play areas
With VIVE Focus 3, you're not just restricted to a single play area. It allows you to set up to 3 play
areas.
Follow the steps in Setting up your play area on page 15 to set up your first play area. Here's how
to set up more play areas:
1. Remove your headset, and then press the Power button to put the system in suspend
mode.
2. Move to the place where you want to set as your second play area.
3. Put the headset back on. It will resume the system automatically.
4. Follow the onscreen instructions to set up your second play area.
5. When done, repeat the above steps to set up your third play area.
There can only be one active play area at a time. Before you change to a different play area, make
sure to put the system in suspend mode first by pressing the Power button. Resume the system
by putting the headset back on or pressing the Power button.
Downloading free titles on the headset
There may be some free titles available for download on your headset.
1. To check if there are free titles, select Library from the lobby.
2. Select Not Installed.
3. Select a free title to download and install it.
4. To switch back to the installed titles in the Library, select Installed.
16 Unboxing

Getting titles from VIVE Business AppStore
VIVE Business AppStore offers a convenient way for individuals, teams, and small businesses to
access new titles and other content.
Before purchasing, you can browse through titles in VIVE Business AppStore from VIVE Manager
or your headset.
§To access VIVE Business AppStore from VIVE Manager, tap Overview in the app on your
phone.
§You can also access VIVE Business AppStore in VR by selecting Store from the lobby.
Using your web browser, go to the VIVE Business AppStore website to purchase titles.
17 Unboxing

Launching and closing a VR title
You can only open and use one VR title at a time. Close it before launching another title.
1. From the Lobby, select Library.
2. Scroll through the Library and select a VR title to open it.
3. To close the title, press the VIVE button on the right controller, and then select the Quit
icon.
18 Unboxing

Getting the most out of your
headset
About the VIVE Focus 3 headset
The VIVE Focus 3 headset is your window to the VR environment. The headset cameras track the
position of the headset and controllers.
Top view
1Headset
camera (4x)
23.5mm audio
jack
3USB Type-C®
port
4Face cushion
and frame
5Built-in
speaker
6Back pad
7Charging port
8Power button
9Battery LEDs
10 Adjustment
dial
11 Headset strap
12 Headset
button
13 Microphone
14 Headset LED
19 Getting the most out of your headset

Bottom view
1USB Type-C port
(remove cover)
2IPD dial
3Volume buttons
4Microphone
5Quick adjustment
button
The bottom USB Type-C port is for accessories only, and doesn't support computer
connectivity. If you need these devices, connect them to the port on the side of the headset
instead.
20 Getting the most out of your headset
Other manuals for Vive Focus 3
3
Table of contents
Other HTC Headset manuals
Popular Headset manuals by other brands

BlueParrott
BlueParrott Xplorer user guide

LG
LG TONE Free TONE-T90Q owner's manual

Point Source Audio
Point Source Audio CM-i3 Earphone replacement / installation

Plantronics
Plantronics MX150PC user guide

Philips
Philips SHM6100 - Headset - Behind-the-neck manual

Stealth Gaming
Stealth Gaming XP-Nighthawk Set-up and instructions for use