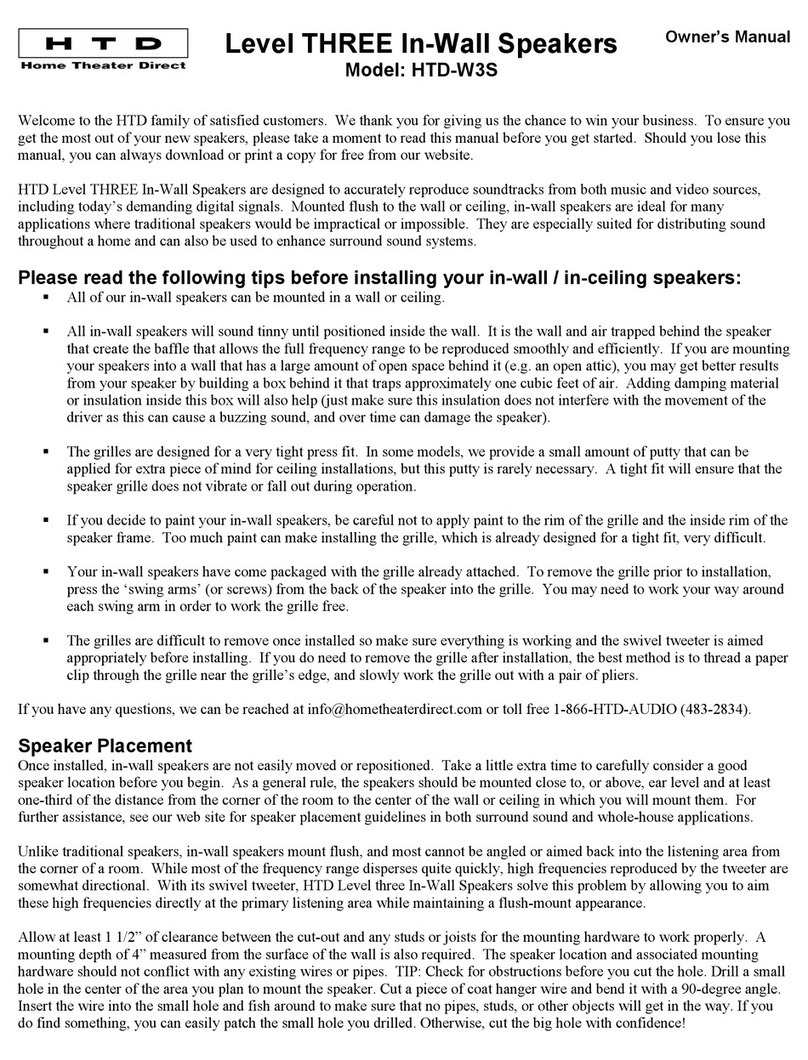
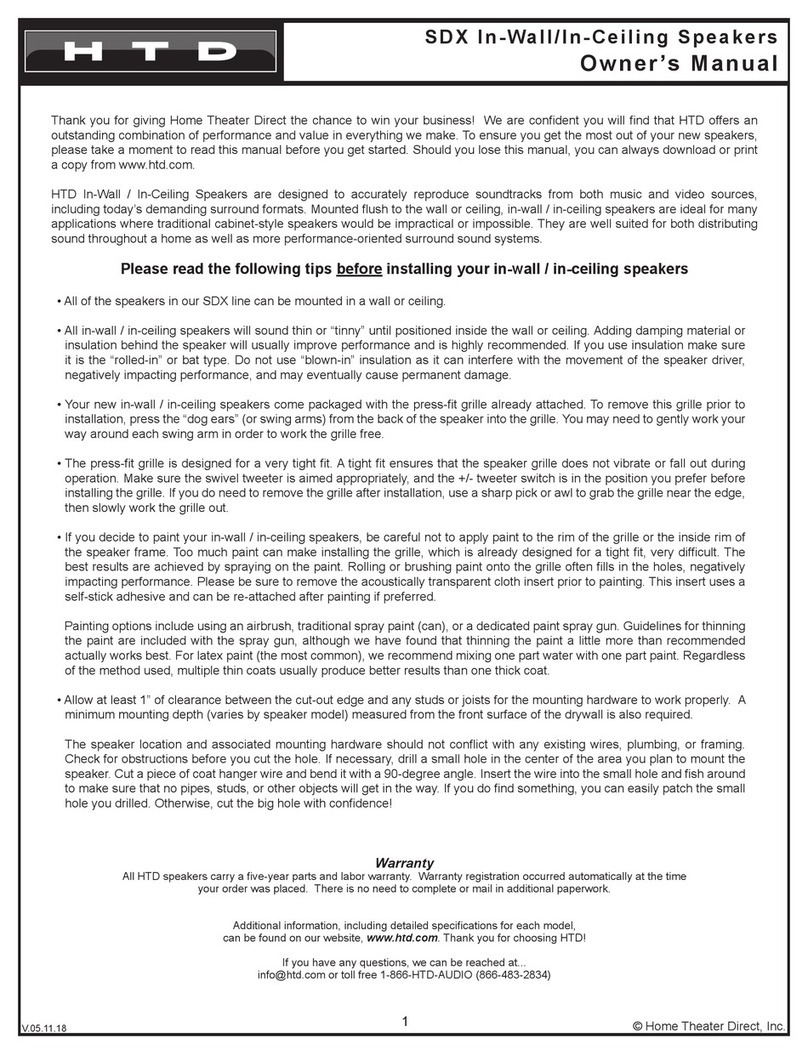
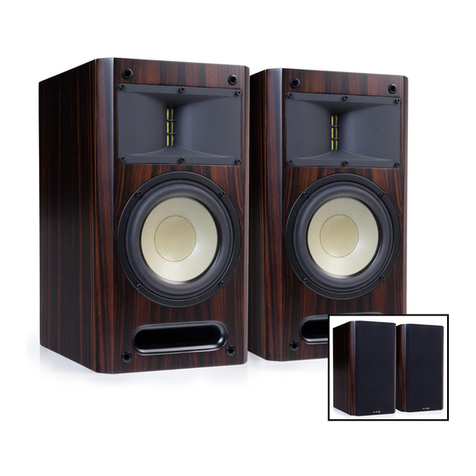
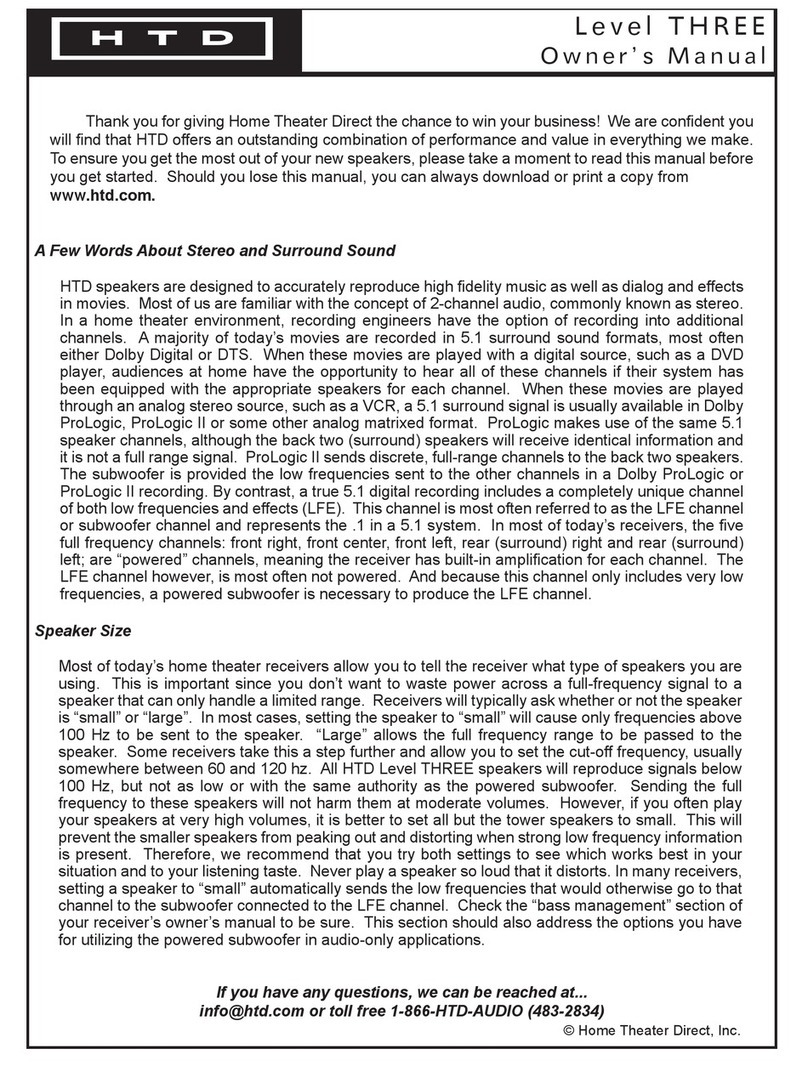
HTD Level TWO User manual

Thank you for giving Home Theater Direct the chance to win your business! We are confi dent you
will fi nd that HTD offers an outstanding combination of performance and value in everything we make. To
ensure you get the most out of your new speakers, please take a moment to read this manual before you
get started. Should you lose this manual, you can always download or print a copy from www.htd.com.
A Few Words About Stereo and Surround Sound
HTD speakers are designed to accurately reproduce high fi delity music as well as dialog and effects
in movies. Most of us are familiar with the concept of 2-channel audio, commonly known as stereo.
In a home theater environment, recording engineers have the option of recording into additional
channels. A majority of today’s movies are recorded in 5.1 surround sound formats, most often
either Dolby Digital or DTS. When these movies are played with a digital source, such as a DVD
player, audiences at home have the opportunity to hear all of these channels if their system has
been equipped with the appropriate speakers for each channel. When these movies are played
through an analog stereo source, such as a VCR, a 5.1 surround signal is usually available in Dolby
ProLogic, ProLogic II or some other analog matrixed format. ProLogic makes use of the same 5.1
speaker channels, although the back two (surround) speakers will receive identical information and
it is not a full range signal. ProLogic II sends discrete, full-range channels to the back two speakers.
The subwoofer is provided the low frequencies sent to the other channels in a Dolby ProLogic or
ProLogic II recording. By contrast, a true 5.1 digital recording includes a completely unique channel
of both low frequencies and effects (LFE). This channel is most often referred to as the LFE channel
or subwoofer channel and represents the .1 in a 5.1 system. In most of today’s receivers, the fi ve
full frequency channels: front right, front center, front left, rear (surround) right and rear (surround)
left; are “powered” channels, meaning the receiver has built-in amplifi cation for each channel. The
LFE channel however, is most often not powered. And because this channel only includes very low
frequencies, a powered subwoofer is necessary to produce the LFE channel.
Speaker Size
Most of today’s home theater receivers allow you to tell the receiver what type of speakers you are
using. This is important since you don’t want to waste power across a full-frequency signal to a
speaker that can only handle a limited range. Receivers will typically ask whether or not the speaker
is “small” or “large”. In most cases, setting the speaker to “small” will cause only frequencies above
100 Hz to be sent to the speaker. “Large” allows the full frequency range to be passed to the
speaker. Some receivers take this a step further and allow you to set the cut-off frequency, usually
somewhere between 60 and 120 hz. All HTD Level Two speakers will reproduce signals below
100 Hz, but not as low or with the same authority as the powered subwoofer. Sending the full
frequency to these speakers will not harm them at moderate volumes. However, if you often play
your speakers at very high volumes, it is better to set all but the tower speakers to small. This will
prevent the smaller speakers from peaking out and distorting when strong low frequency information
is present. Therefore, we recommend that you try both settings to see which works best in your
situation and to your listening taste. Never play a speaker so loud that it distorts. In many receivers,
setting a speaker to “small” automatically sends the low frequencies that would otherwise go to that
channel to the subwoofer connected to the LFE channel. Check the “bass management” section of
your receiver’s owner’s manual to be sure. This section should also address the options you have
for utilizing the powered subwoofer in audio-only applications.
If you have any questions, we can be reached at...
[email protected] or toll free 1-866-HTD-AUDIO (483-2834)
Level TWO Owner’s Manual
© 2005 Home Theater Direct, Inc.

Safety Instructions for the Powered Subwoofer
Warning - To reduce the risk of fire or shock, do not expose this appliance to rain or moisture.
Caution - To reduce the risk of fire or shock, do not remove the cover or back. No user serviceable parts inside.
Refer servicing to qualified service personnel.
Caution - To prevent electric shock, match wide blade of plug to wide slot, fully insert.
Please read the following warnings and tips before hooking up your HTD Powered Subwoofer:
- Never connect speaker wire or line level connections with the Subwoofer power button in the ON position.
Always make your connections with the amplifier OFF.
- Only use the power cord supplied with your HTD Powered Subwoofer.
- Never plug the HTD Powered Subwoofer into the back of another electrical component.
- We highly recommend plugging the HTD Powered Subwoofer into a power tree with surge protection.
CAUTION
RISK OF ELECTRIC SHOCK
DO NOT OPEN
!
!
The lightning flash with arrowhead symbol, within an equilateral triangle, is intended to alert the
user to the presence to un-insulated dangerous voltage within the product’s enclosure that may be of
sufficient magnitude to constitute a risk of electrical shock to persons.
The exclamation point within an equilateral triangle is intended to alert the user to the presence
of important operating and maintenance (servicing) instructions in the literature accompanying this
appliance.
Read Instructions
All the safety and operating instructions should be read before
the appliance is operated.
Retain Instructions
The safety and operating instructions should be adhered to.
Heed Warnings
All the warnings on the appliance and in the operating instruc-
tions should be adhered to.
Follow Instructions
All operating and use instructions should be followed.
Water and Moisture
The appliance should not be used near water. For example,
near a bathtub, washbowl, kitchen sink, laundry tub, in a wet
basement, or near a swimming pool, etc.
Ventilation
The appliance should be situated so that its location or position
does not interfere with its proper ventilation. For example, the
appliance should not be situated on a bed, sofa, rug, or similar
surface that may block the ventilation openings: or placed in
a built-in situation, such as a bookcase or cabinet that may
impede the flow of air through the ventilation openings.
Heat
The appliance should be situated away from heat sources
such as radiators, heat registers, stoves, or other appliances
(including amplifiers) that produce heat.
Power Sources
The appliance should be connected to a power supply only of
the type described in the operating instructions or as marked
on the appliance.
Grounding or Polarization
Precautions should be taken so that the grounding or polariza-
tion means of an appliance is not defeated.
Power Cord Protection
Power supply cords should be routed so that they are not likely
to be walked on or pinched by items placed on or against them,
paying particular attention to cords at plugs, convenience re-
ceptacles, and the point where they exit from the appliance.
Cleaning
The speaker should be cleaned only as recommended by the
manufacturer.
Power Lines
An outdoor antenna should be located away from power lines.
Non-Use Periods
The power cord of the appliance should be unplugged from the
outlet when left unused for long periods of time.
Object and Liquid Entry
Care should be taken so that objects do not fall and liquids are
not spilled into the enclosure through openings.
Damage Requiring Service
The appliance should be serviced by qualified personnel when:
a) the power supply cord or the plug has been damaged: b)
objects have fallen, or liquid spilled into the appliance: c) the
appliance has been exposed to rain: d) the appliance does
not appear to operate normally or exhibits a marked change
in performance or e) the appliance has been dropped, or the
enclosure damaged.
Servicing
The user should not attempt to service the appliance beyond
that described in the operating instructions. All other servicing
should be referred to qualified service personnel.
Product Servicing
If your system fails to operate properly, please contact HTD
directly for further assistance, at 1-866-483-2834.
2

3
Mounting Brackets and Stands
HTD offers optional wall-mount speaker brackets and stands that are ideal for use with our speakers. Level TWO
bookshelf and center channel speakers are equipped with hardware on the back that allow for easy attachment to
a wall-mount bracket. This hardware should be left in place even if you are not using the brackets. Removing this
hardware may cause “whistling” through the open holes. Do not over tighten as stripping of the threaded nut inside
the cabinet can occur. Should the nut become stripped, the speaker mounting has been jeopardized and the speaker
should NOT be hung. More detailed instructions are provided with both the brackets and stands.
Speaker Feet
Level TWO bookshelf speakers have three holes drilled into the bottom. You can insert the metal tiptoe feet into these
holes, or you can use the holes as a guide for applying the rubber half-dome feet. Feet allow the speaker cabinet
to be decoupled from adjacent objects. Without feet, a speaker’s vibrations can be transferred to its surroundings,
potentially affecting the speaker’s performance. We use three feet, rather than four, to prevent rattling that can result
from placement on uneven surfaces. Correct placement of the feet will yield an acoustically accurate and sturdy
speaker. Never place objects atop the speaker, as this may alter the overall balance. Use a rubber mallet to insert
the metal tiptoe feet into the holes. Only insert the feet about a quarter-inch into the pre-drilled holes. This will allow
you to more easily remove them later, should you choose to do so. Felt pads are also provided should you prefer to
place the speaker flat on a shelf or TV.
5.1 Speaker Placement
NEVER PLACE A SPEAKER WHERE IT, OR THE CABLE CONNECTED TO IT, ARE WITHIN EASY
REACH OF CHILDREN OR PETS. ALWAYS USE GOOD JUDGEMENT AND COMMON SENSE WHEN
PLACING A SPEAKER WHERE PEOPLE OR PETS WILL HAVE ACCESS TO IT AS SERIOUS INJURY
OR DEATH CAN OCCUR IF THE SPEAKER WERE TO FALL.
All three of the front speakers (left, center and right) are intended to be directional and should be placed at approximately
the same height and distance from the ideal listening spot. The center speaker should be placed as close to the
viewing screen as possible, so that the audio appears to come straight out of the picture. The front left and right
speakers should be placed far enough from the television to ensure that you can distinguish sounds coming from the
left and right. Typically, placing the front left and right speakers between seven and fifteen feet apart is appropriate.
Many audio enthusiasts recommend positioning the speakers such that drawing a line from the left speaker to the
listener and back to the right speaker creates a 45-degree angle. This setting generally mimics the condition set by
the recording engineer at the film studio.
Ideally, the surround speakers should be positioned about as far from the ideal listening spot as you placed the front
left and right speakers, and at about the same height or higher. This, of course, is only a guideline. The size and
shape of your room will almost certainly dictate a modification to the “ideal” set-up. Often, a home theater is set up
in a living room where the listener is sitting very close to the back wall. In this case, it is usually best to position the
surround speakers to the sides of the listener as opposed to on the back wall. Additional information and diagrams are
available online in our “Help Setting Up” section. Volume and distance adjustments within your home theater receiver
will help balance your system.
The powered subwoofer ideally should be placed near the front, center of the room. However, since the human ear
and brain has difficulty distinguishing the location or source of low frequencies, especially below 100 hz, for practical
purposes, the powered subwoofer can be positioned virtually anywhere in the room.
5.1, 6.1, 7.1 Surround Sound Defined
The digital audio multichannel format developed by the Moving Picture Experts. 5.1 refers to the five discrete, full
bandwidth (20-20kHz) channels - left, right, & center fronts, plus left & right surrounds - and the “.1” usually refers to
the limited bandwidth (20-120Hz) subwoofer channel. 6.1 is the same as 5.1 only there is an additional rear center
channel while 7.1 has no rear center channel but instead an additional pair of surround speakers.
Beyond 5.1...6.1, 7.1, 9.2, etc.
Surround formats continue to be introduced that provide a myriad of additional speaker placements for even more
control over home theater and hi-end audio. See your receiver’s owner’s manual for more details about these setup
options. You can also visit our online “Help Setting Up” section for more information and diagrams.

4
Key Features
Speaker Drivers
Speaker drivers are essentially the moving components that produce sound from a speaker. Level TWO bookshelf,
center channel, and tower speakers utilize a mid-range driver and high frequency driver. The mid-range driver consists
of an FCDTM Cone, a powerful magnet and 1” voice coil. FCDTM stands for Fabric Ceramic Doping. A lightweight fabric
is used to produce the shape of the cone. A ceramic coating is then hand applied to stiffen the cone, while at the same
time keeping it lightweight. Finally, a thin polymer coating (doping) is also applied by hand to help improve the lower
frequency response and add warmth to the overall tone. The result is a mid-range driver that is smooth, punchy, and
accurate without the “ringing” or “harshness” often associated with metal cones. The high frequency driver, called a
tweeter, is constructed of a silk dome with a strong magnet and 1” voice coil that is ferro-fluid cooled. The resulting
performance is silky smooth with a clarity and crispness that is never harsh or “in your face”. These drivers, combined
with the added bass assistance of a tuned internal transmission line and front-firing port, produce a dynamic yet
pleasant sound that is both musical and powerful.
Level TWO Bookshelf, Center Channel, and Tower Speakers include:
- a 5.25” midrange driver with an FCDTM cone and 1” voice coil
- a 1” silk dome tweeter, ferro-fluid cooled
- a 2nd order crossover on the tweeter and midrange driver
- gold-plated 5-way binding posts
- a knife-edge fit and finish cabinet made of CNC carved 5/8” MDF with internal bracing
- a removable shaped wood and cloth grille
- hardware to make mounting to an HTD wall-bracket easy (bookshelf and center speakers only)
- an internal tuned channel that ends in a front firing, elliptical port
- a magnetic shield for safe placement on or near a TV
- optional press-fit brass tip-toe feet
The Level TWO Powered Subwoofer includes:
- a magnetically shielded 10” reinforced long-throw driver with a doped pulp cone
- a high efficiency 150 watt RMS built-in amplifier
- variable crossover, level, and phase controls
- LFE input with option to bypass the variable crossover control
- stereo line level inputs and outputs
- speaker level inputs and outputs
- a three position auto-on, on, off switch
- a removable shaped wood and cloth grille
- a knife-edge fit and finish cabinet made of CNC carved 3/4” MDF with internal bracing
- an internal tuned channel that ends in a front firing, elliptical port

5
HTD Level TWO Speaker Features
Bookshelf Center
Tower
Subwoofer
Amplifier details on page 6
- +
Bare Wire
Gold-plated 5-way binding posts ensure a solid connection
-
+
Banana Plug
1” Silk Dome Tweeter
Dual 5.25” Mid-Range Woofers
with FCDTM cone
1” Silk Dome Tweeter
5.25” Mid-Range Woofer
with FCDTM cone
Tuned Port with internal transmission line
The Cabinet: a knife-edge fit and finish
cabinet made of CNC carved MDF with
internal bracing, covered in a mid-gloss
paint or real wood finish.
1” Silk Dome Tweeter
Dual 5.25” Mid-Range
Woofers with FCDTM cone
Tuned Port with internal
transmission line
Tuned Port with internal
transmission line
10” Reinforced Long-Throw
Subwoofer with doped pulp cone
Tuned Port with internal
transmission line
Connections
Open
Closed

6
Input Level
MIN MAX
40HZ 180HZ
FREQUENCY (XO)
Phase
0 180
Speaker
Level
Outputs
Speaker
Level
Inputs
+_+
_
LR
LFE-XO Bypassed
LFE-XO Active
Line In
Line Out
Left Right
40 Hz 80 Hz
ON AUTO
POWER
OFF
POWER
LIGHT
AC ~ 120V/60HZ
On
Off
Fuse T5AL/250V
POWER CONSUMPTION: 330W
MODEL : SA-150
Level TWO Powered Subwoofer
AVIS:RISQUE DE CHOC ELECTRIQUE NE PAS OUVRIR
CAUTION
Ri
RISK OF ELECRIC SHOCK
DO NOT OPEN
Variable Subwoofer Level Control
allows you to quickly balance the
subwoofer volume with the other
speakers. Once you set this, leave
it alone. Subwoofer level will rise
and fall with the system.
Crossover Frequency
Control determines the
upper Frequency Limit to
be played by the Powered
Subwoofer.
5-Way Binding Posts
for solid connections with
speaker cable when using
Speaker Level Inputs & Outputs.
Phase Control retains
phase coherency between
the Subwoofer and system
speakers.
A Pair of gold-plated
stereo outputs
are available to pass along
the signals received in
the two stereo inputs.
Low Frequency Effect
(LFE) Inputs: You can
choose to bypass the
Internal Crossover (XO)
or use the Active Input to
dial in your preferred
Crossover point.
IEC Socket
for connecting the
removable power cord.
An External Fuse
can be replaced in the
event of an unexpected
electrical shock to the
unit.
40 Hz or 80 Hz Hi-Pass Filter
for the Speaker -Level Outputs
ONLY - decide how much
Mid-Low Frequencies are sent
to your Front Left and Right
Speakers.
Power mode switch
determines if the Subwoofer
Amplifier is always on (ON),
turns on when an input
signal is sensed
(Auto-Power), or OFF.
Power Light
NO Light = OFF
RED Light = STANDBY
GREEN Light = ON
A pair of gold-plated
stereo inputs are available
for Line Level Signals.
!
Hooking Up Your Speakers
HTD speakers utilize quality gold-plated, five-way binding posts in conjunction with a complex high pass and low
pass crossover. The gold-plated binding posts ensure an efficient transfer of signal and power from any standard
type of cable or wire connector, including bare wire. For bare wire or pin-type connectors, simply thread the wire or
pin through the hole in the threaded post near the base of the binding post, then tighten the red or black collar down
against it. Spade connectors can be fitted around the threaded post near the base. Again, simply tighten the red or
black collar against it to maintain the connection. Individual or paired banana plugs can be inserted directly into the
holes at the mouth of the collar with the binding posts already tightened down.
When connecting the speakers, it is very important to retain the correct polarity. This means that the wire attached
to the +, red, or positive terminal on one component must be attached to the +, red, or positive terminal on the
corresponding component’s speaker output terminals. Similarly, the -, black, or negative terminals must connect to
the respective -, black, or negative terminals. We recommend using 14 gauge oxygen-free cable, although the binding
posts can accept up to 10 gauge.
Powered Subwoofer Panel Markings and Controls

Connecting the Powered Subwoofer to your Home Theater Receiver
If your receiver includes a dedicated RCA-type “LFE or Subwoofer output jack”... use a shielded subwoofer
interconnect cable, such as the HTD CBL-SW30, to connect this jack to one of the LFE input jacks on the Powered
Subwoofer. In this example, we’ve plugged into the “LFE XO-Active” input, which allows us to adjust the Frequency
Crossover (XO) control on our Powered Subwoofer to achieve the best blend with the other speakers. Alternatively,
you could plug into the “LFE - XO Bypassed” jack which would utilize your Home Theater Receiver’s crossover point
only. When the XO-Bypassed input is used, the Variable Frequency (XO) control is bypassed. Some hi-end receivers
offer a variable crossover point for each channel’s “Bass Management”. When using this feature in a receiver, it is
usually best to use the Subwoofer’s “XO-Bypassed” input to avoid any additional frequency filtering that could add
“noise” and possibly create a “gap” or “hole” in the frequency range.
Connect the speakers to the corresponding speaker jacks on your Home Theater receiver and follow the instructions
in the Receiver’s Owner’s Manual for setting up your speakers.
7
LFE-XO Bypassed
LFE-XO Active
0 180
40 Hz 80 Hz
ON AUTO
POWER
OFF
POWER
LIGHT
Right Left
Line In
Line Out
40Hz 180Hz
Phase
FREQUENCY (X0)
MIN MAX
Input Level Speaker
Level
Outputs
Speaker
Level
Inputs
+_+
_
LR
AC ~ 120V/60HZ
On
Off
Fuse T5AL/250V
POWER CONSUMPTION: 330W
MODEL: SA-150
AVIS:RISQUE DE CHOC ELECTRIQUE. NE PAS OUVRIR
Level TWO Powered Subwoofer
CAUTION
Ri
RISK OF ELECRIC SHOCK
DO NOT OPEN !
L Front Center R Front L Rear R Rear
LFE Output
or
Subwoofer
Out
SAT Optical or
Digital Coax VCR in
R L DVD Optical or
Digital Coax
Optical or
Digital Coax
RCA Output
Optical or
Digital Coax
DVD
VCR
Satellite
Receiver
Audio-Video Sources
Home Theater Receiver
Powered
Subwoofer
Center
Left Front
Left Rear
Right Front
Right Rear
L
R
Using a dedicated LFE Input
Setting the Level for your Subwoofer
While listening to music, set the Input Level on the Subwoofer such that the volume blends well with the other speakers.
Once this level is set, it does not need to be re-adjusted. The volume of the Powered Subwoofer will move up and
down along with the other speakers as you adjust the master volume level up and down on the Receiver.

Connecting the Powered Subwoofer to your Home Theater Receiver
If your receiver DOES NOT include a dedicated RCA-type “LFE or Subwoofer output jack”... connect the
SPEAKER cables from the Home Theater Receiver’s FRONT LEFT and FRONT RIGHT Speakers to the “Speaker
Level Input” jacks on the Powered Subwoofer. Next, use speaker cables to connect the “Speaker Level Output” jacks
on the Powered Subwoofer to your FRONT LEFT and FRONT RIGHT speakers. Use the “40 hz or 80 hz” switch
on the Subwoofer to choose how much Low/Mid frequencies are sent to your Front Speakers, i.e. “40hz” sends only
frequencies above 40hz to your FRONT LEFT and FRONT RIGHT speakers (best for large tower-type speakers);
“80hz” sends only frequencies above 80hz (best for bookshelf and in-wall speakers). Just experiment and choose
LFE-XO Bypassed
LFE-XO Active
0 180
40 Hz 80 Hz
ON AUTO
POWER
OFF
POWER
LIGHT
Right Left
Line In
Line Out
40Hz 180Hz
Phase
FREQUENCY (X0)
MIN MAX
Input Level Speaker
Level
Outputs
Speaker
Level
Inputs
+_+
_
LR
AC ~ 120V/60HZ
On
Off
Fuse T5AL/250V
POWER CONSUMPTION: 330W
MODEL: SA-150
AVIS:RISQUE DE CHOC ELECTRIQUE. NE PAS OUVRIR
Level TWO Powered Subwoofer
CAUTION
Ri
RISK OF ELECRIC SHOCK
DO NOT OPEN !
L Front Center R Front L Rear R Rear
SAT Optical or
Digital Coax VCR in
L R
DVD Optical or
Digital Coax
Optical or
Digital Coax
RCA Output
Optical or
Digital Coax
DVD
VCR
Satellite
Receiver
Audio-Video Sources
Home Theater Receiver
Powered
Subwoofer
Center
Left Front
Left Rear
Right Front
Right Rear
L
R
8
Using the Speaker Level Inputs and Outputs
Home Theater Direct
1825 E. Plano Parkway, Suite 280
Plano, Texas 75074
Toll free: 866-HTD-AUDIO (483-2834)
www.htd.com
HTD Warranty Information
All HTD speakers carry a FIVE YEAR WARRANTY on both parts and labor. All HTD
electronics, including the amplifi er built into the subwoofer, carry a TWO YEAR
WARRANTY on both parts and labor. Should your HTD speaker or component fail to
operate properly at any time during the warranty period, HTD will repair or replace
(at our option) the item barring any indication of misuse or abuse. Freight to an
HTD authorized facility is paid by the customer. Return freight is paid by HTD.
Warranty registration occurs automatically at the time your order is placed. There
is no need to complete or mail in additional paperwork.
Prior to returning any merchandise to HTD, please call toll free 866-483-2834 or send
us a note at [email protected] to obtain a return authorization number and complete
instructions.
Table of contents
Other HTD Speakers manuals

HTD
HTD Level ONE User manual

HTD
HTD Cabinet Speakers User manual

HTD
HTD Level TWO Series User manual

HTD
HTD Outdoor speakers User manual

HTD
HTD Level THREE User manual

HTD
HTD Level THREE HTD-R3S User manual

HTD
HTD level two User manual

HTD
HTD HDX Series User manual

HTD
HTD Panel/Middy Speaker User manual

HTD
HTD SDX User manual