HUALIAN FRM-980I User manual

Contents
I Use ………………………………………………………………1
II Safety Instructions …………………………………………1
III Specifications ………………………………………………1
IV Performance Features ……………………………………2
V Structure & Working Principle …………………………2
VI Operation Instruction ……………………………………5
VII Circuit Diagram …………………………………………12
VIII Breakdown Drawing of Machine Body ……………13
IX Breakdown Drawing of Conveyor ……………………17
X Breakdown Drawing of Aerating Assembly ………19
XI Troubleshooting ……………………………………………20
XII Spare Parts List ……………………………………………22

1
I USE
This sealer is suitable for sealing all kinds of plastic films, which is widely used in
fields of food, medicine, chemicals, daily use and vegetable seeds etc. It is the
best sealing equipment for packing batch products from factories and shops.
II. Safety Instructions
1. Make sure that the adopted power supply is correct (the machine adoptsAC
220V/50HZ. The wire whose color alternating between yellow and green is
leakage protection ground wire, which can not be removed. The power line
should be prevented from pressing, please tidy away when it is not in use.
2. After power being connected, do not touch any electric device.
3. When machine is operating, do not touch any transmission parts, which
may cause injury.
4. When machine is operating, do not touch both heating blocks and ink roller
heating block.
5. Do not operate the machine in corrosive environment.
6. Do not change any parts of the machine at discretion.
7. Keep the machine clean both inside and outside, and clear dirt from sealing
belt in time.
8. Fill and exchange oil in worm-gear box regularly. Meanwhile, remember to
oil the gear and sprocket (YP7408 semiliquid gear oil).
9. Cut off the power supply when the machine is not in use.
10. Keep this operation manual with care for easy reference.
III. Specifications
Model
Parameter
Item
FRM-980I
solid-
ink coding
continuous band
sealer
FRM-980II
solid-
ink coding
continuous band
sealer
FRM-980III
solid-ink
coding
continuous
band sealer
FRMQ-980C
solid-
ink coding
continuous
aerating band
sealer
FRQ-980C
continuous
aerating band
sealer
Voltage AC 220V/50 110V/60
Motor power 50(0-24m/min 100W(185W
Sealing power 300×2(W(220×2(W) 300×2(W)
Printing power 40×2(W(
Sealing speed 0~16(m/min(0~12(m/min(
Sealing width 8 、10(mm(

2
Temperature
control range
0~300(℃((Stepless adjustable(
Distance from
sealing center to
conveyor table
10~40(mm(200~320
(mm(10~40(mm(10~40(mm(10~40(mm(
Film thickness
(monolayer)
≤0.08 mm
Conveyor loading
for single package ≤1 Kg
Overall loading of
conveyor ≤3 Kg
Dimension
(LXWXH)
950×400×430
(
mm
)
950×400×640
(
mm
)
950×550×950
(
mm
)
950×550×950
(
mm
)
950×550×950
(
mm
)
Weight 45Kg 50Kg 52Kg 62Kg 58Kg
IV Performance Features
This sealer, adopting electronic thermostat control unit and stepless
speed-adjusting transmission mechanism, can seal various plastic film bags in
different materials and can also be equipped with varied packaging production lines.
The machine has no limitation on sealing length, characterized by high efficiency in
continuous sealing, reliable sealing quality, rational structure and convenient
operation etc.
Through adopting solid-ink roller printing mechanism, the machine can print desired
colored label on bag while sealing, with the characteristics of high definition, instant
print and instant dry, and strong adhesion. For types in R arrange, the machine can
print two lines in font size two (18PT) and three lines in font size five (10.5PT), and
20 types can be arranged in each line. Special order for T arrange or multi-line
types is available.
V Structure & Working Principle
This machine is made up of rack, speed-adjusting mechanism, sealing
temperature control system, transmission and conveying system and printing
device etc. (see diagram 1)

3
FRM-980 I
1. feed opening; 2. adjusting block for driven wheel; 3. driven wheel; 4. control
cabinet;
5. heating block; 6. sealing belt; 7. pressing wheel;8.cooling block; 9. driving
wheel;10.embossing wheel; 11. silicone wheel for embossing; 12.printing wheel;13.
solid ink roller;14. adjusting screw for ink roller swing pole; 15. heating block of ink
roller; 16.guiding wheel; 17.conveyor belt;18.conveyor table;19.fastening knob for
lifting conveyor table;20. tightening knob for horizontal conveyor-adjusting; 21.ledge;
22. silicone wheel; 23. sensor
FRM-980 II
1.under-chassis; 2. conveyor table; 3. driving roller; 4.conveyor belt; 5. fixed
bracket; 6.slip bracket; 7.safety cover; 8. adjusting knob for ink roller swing pole;
9.adjusting knob for embossing wheel; 10. housing case; 11. control cabinet; 12.
air-break switch;13. feed opening; 14. fastening knob; 15. fastening nut;
16.worktable; 17. driven roller; 18. adjusting knob for conveyor belt; 19. upper
holding plate; 20.heating block of ink roller; 21.guiding wheel shaft; 22. guiding

4
wheel; 23. guiding belt; 24. heating block; 25.lower holding plate;26.sealing
belt;27.vertical shaft; 28. gimbal assembly; 29.bevel gear assembly
Diagram 1
1.caster 2. aerating device 3. aerating pipe 4. fixed bracket 5. fastening knob 6. slip
bracket 7.fastening knob 8.conveyor table 9. driving roller 10. conveyor belt 11.guiding
wheel 12. guiding belt 13. embossing wheel 14 adjusting knob for embossing 15.
silicone wheel 16. driving wheel 17. cooling block 18. heating block 19. left guiding plate
20. splint 21. charging connector 22. guiding plate 23. sealing belt 24. driven wheel seat
25. driven wheel 26. feed opening 27. worktable 28. adjusting knob for conveyor belt 29.
driven roller 30. control cabinet 31. round nut 32. connecting shaft 33. driving shaft
After power supply being connected, electrothermal elements start to produce heat,
which leads to rapid temperature rise of both upper and lower heating blocks. Required
temperature and speed can be got through adjusting temperature controller and
speed-adjusting mechanism. The plastic packing bag will be transmitted by conveying
belt, and its sealing part will be conveyed into the clearance between two sealing belts,
then the sealing part will be clamped by two sealing belts and conveyed into the heating
area. Sealing part is pressed by two heating blocks and pressing wheels there, which
could make the plastic film fuse and stick together, After this, the sealing part will be
conveyed into the cooling area for cooling, and then to be pressed by embossing wheel
for making stripe or netted pattern, at last, colored label on the sealing part will be coded
by printing wheel.
The transmission of sealing and printing is started by motor, which drives sealing belts,
guiding belts and conveyor belt to work synchronously, as well as make printing
mechanism work intermittently.

5
VI Operation Instruction
1. Control panel (see Diagram 2)
Diagram 2
2. Prepare the machine for use
1), This machine is equipped with three crust grounded socket, please check if it
is well connected so as to ensure safe operation.
2), First-time use or too long intermission will make the electronic heating
elements moistened, so several minutes’ low-temperature preheating is
necessary before the normal operation.
3), Adjust the conveyor table’s height and horizontal location to get required
sealing position.
4), According to the external size from sealing line to bag opening, regulate the
position of feed opening.
5), According to the thickness of material that to be sealed, adjust the clearance
between heating blocks and cooling blocks.Adjust the clearance between two
sealing belts by adjusting the stopping flakes, specifically, turn the stopping
flake clockwise to raise block or counterclockwise to lower block. The clearance
between two sealing belts should be equal to the thickness of packing bag in
one layer approximately, which must guarantee the firmness of sealing and high
definition of embossing, and ensure suitable length extended from two ends of
sealing part. After making adjustment, fix the limiting screws. (see diagram 3)

6
1. screw 2. stopping flake 3. fastening screw 4.nut
Diagram 3
6), The transverse adjustment of conveyor table: loosen two nuts (1) on two sides.
There are three location holes on the foot rest (2). Just insert square head
bolts into them as needed, then fasten. After moving the conveyor table
outward, please install the connecting shaft (3) saved in the spare parts kit into
gimbal. (see diagram 4)
1. adjusting knob 2.foot rest 3. gimbal
Diagram 4

7
3. Starting procedure
1), Connect the power supply and start switch, indicating light will light, then adjust
the speed-adjusting knob and all transmission parts start to run synchronously.
2), Micro-adjust the knob of embossing wheel to make that wheel swivel, after
getting a proper pressure, fix limiting screw.
3), Once turn the heating switch on, the green light of the electronic temperature
controller will light. According to the material and thickness of the packing bag,
adjust the temperature controller to the temperature required, then set the
position of heating knob of ink roller. Once the heating blocks and ink roller
heating block begin to preheat, Once the heating blocks and ink roller heating
block begin to preheat, the machine needs to be started meanwhile and kept
running at low speed.
4), That whether it is necessary to turn on the fan for cooling depends on the
material and thickness of packing bag.
5), Flatten and align sealing opening, then deliver the bag by aligning the bag
opening with the feed opening, when the bag opening is gripped by the sealing
belts, which makes the bag move forward automatically, at that moment,
please do not push it in or pull it out by force, otherwise irregular sealing or
breakdown will happen.
4, If it is found that there is dirt attached to the sealing belt or the heating block, you
need to stop the sealer and clear it.
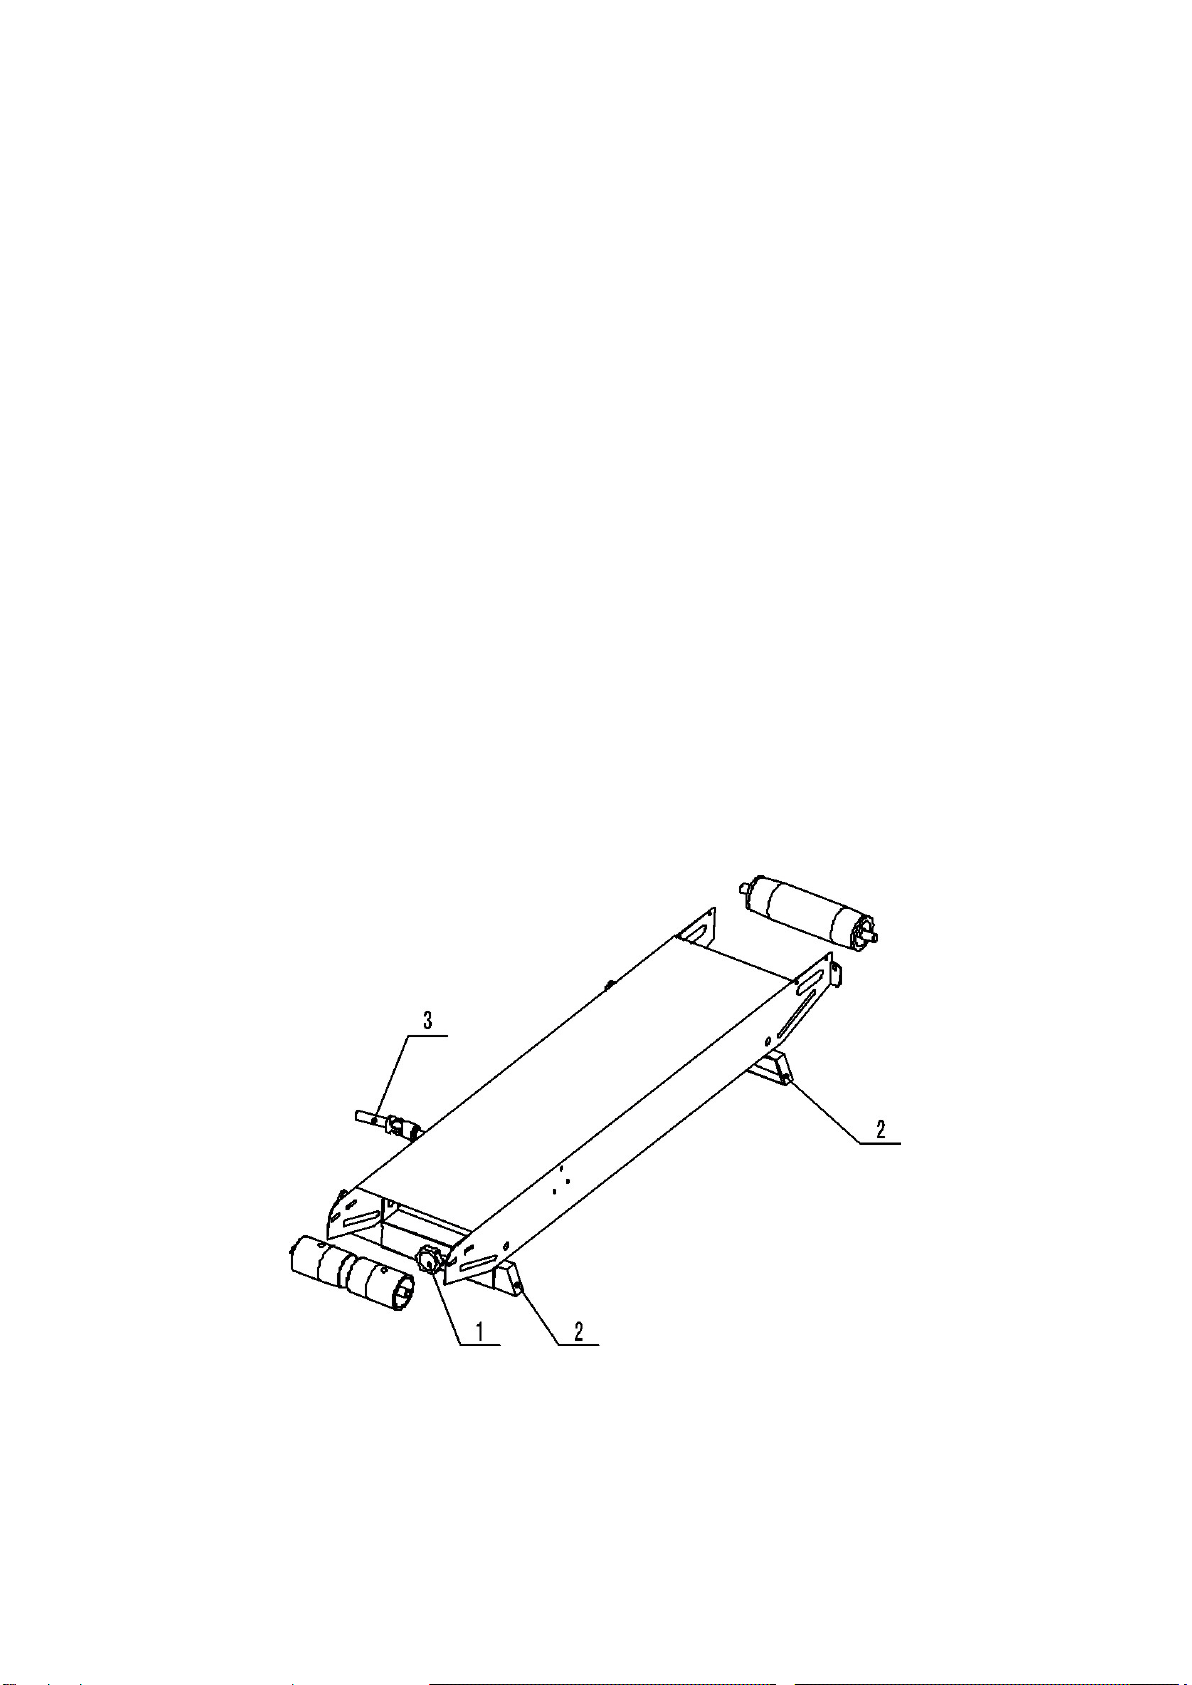
5, Ways of exchanging and adjusting the sealing belt
1),Remove the safety cover, turn stopping flakes on both upper heating block and
upper cooling block by 30° to lift these two blocks after the heating block being
cooled, then loosen the springs both on embossing wheel and pressing wheel,
then remove the guiding belt, so as to make it ready for removing sealing belts.
(see diagram 3)
2), Move the driven wheel seat (adjusting block) toward heating block, and remove
the sealing belt then.
3), Replace with a new sealing belt and install the guiding belt back.
4), Put the driven wheel, heating and cooling blocks, and pressing wheel etc to the
original position.
5), Connect the power supply and test the machine, if irregular sealing appears on
the belt, you can make adjustment through adjusting screws on driven wheel
seat (adjusting block).
6), Install the safety cover. Once the temperature reaches the set temperature, the

8
machine is ready for continuous working.
6,The selection of the type arranging way:
The types in longitude arrange belongs R arrange, while types in axial arrange
belong T arrange. (see diagram 5)
T arrange R arrange
Diagram 5
8, The adjustment of ink roller, printing wheel and silicone wheel
1), Exchanging words on printing wheel(see Diagram 6):
Rotate the holding latch on the printing wheel cover by an angle to take the
traverse pin out of the groove, the printing wheel cover will bounce by itself and
types can be exchanged after removing its cover, then press the silicone bar on it
and install printing wheel cover. At last, insert the traverse pin into the groove on
the end cover of printing wheel, and rotate by an angle for fastening.
1. holding latch 2. end cover of printing wheel shaft 3.tranverse pin 4. type 5. fixed pin
6. fastening screw for printing wheel 7. printing wheel
Diagram 6

9
2), The adjustment of the clearance between ink roller and types:
Adjust the adjusting screw (5) for the ink roller’s swing pole, rotate the printing
wheel, and make the types’ surface touch the ink roller’s (1 )surface slightly.
When you use your hand to touch printing wheel, if the ink roller can be easily be
driven, it should be ok. (see diagram 7)
1. ink roller 2. heating block of ink roller 3. swing pole 4.adjusting strut 5. adjusting
screw Diagram 7
3), Adjustment of the pressure between printing wheel and silicone wheel:
When printing work is not in process, the types on the printing wheel must not
touch the silicone wheel, and they only touch each other when printing work is
in process. Loosen the screw (4) in the front of the silicone wheel, then rotate
the eccentric sleeve (3), so as to make the types’ surface slightly touch the
silicone wheel’s (2) surface. If the machine is used to print relatively thicker
packing bag, the screw should be loosened accordingly as the pressure can’t be
too much, fasten the screw after making adjustment.(see Diagram 8)
1. printing wheel 2.silicone wheel 3. eccentric sleeve 4.screw
Diagram 8

10
4), Temperature adjustment for printing wheel and ink roller:
All the knobs of this machine are set to 0 position before leaving factory, users
need to make adjustment by themselves. For a new ink roller, during previous
time of use, the temperature should be relatively lower, after a period time of use,
the temperature can be raised to higher degree, which can make the
deep-seated ink ooze and prolong the ink roller’s life-span. When the ink roller
reaches the working temperature, you can use a piece of white paper to touch ink
surface, as long as it can stick a little ink, it should be ok. The temperature can’t
be too high or too low.
The ink roller that suits for this machine specified in following table, including
colors of white, yellow, red, blue, green, brown and black. If the packing bag
needs steam cooking after printing, you should choose the ink rollers of
moderate temperature or high temperature, in this situation, the temperature
must be set in higher degree accordingly while using.
Model
Outer dia.
(
mm
)
Height
(
mm
)
Low temperature series
120-150℃
(NO:935(
Φ36 16
Φ36 32
Φ36 40
Moderate temperature series
135-165℃
(NO:932(
Φ36 16
Φ36 32
Φ36 40
High temperature series
150-175℃
(NO:930(
Φ36 16
Φ36 32
Φ36 40
9, Adjustment of coding position
Considering length of bag opening, the user can locate the coding position by
adjusting coding position switch.
10, Adjustment of line number for printing label
Arrange types within range stipulated in IV Performance Features in this
manual, then use the provided silicone bar to fix the types in required axial
position.
11, Operation instruction for FRQ-980 aerating sealer:
(1) Insert the power line of the jet pump into the socket at the bottom of the

11
machine, then turn the aerating switch on.
(2) Aerating sealer is suitable for packing bulking food and other easy broken
goods, which adopts swirl jet pump to aerate filtrated air into packing bag, as
the sealing belt is clamped tightly by the aerating opening, you should stop
for a while when put the packing bag onto the aerating opening, once the
aerated air reaches the required degree, it can be conveyed into the heating
area to be sealed.
(3) The adjustment of aerated air volume:
Loosen the fastening screw (1) of the aerating opening center at the back of
the jet pump, rotate the air intake cover (2) by an angle to adjust the size of
the air intake opening, and tightly screw the tight bolt (see Diagram 9).
1.fastening screw 2. air intake cover
Diagram 9
(4) There is an air-filtering room at the lower side of the jet pump, where placed
a sponge for filtrating; you should clean or change the sponge if it becomes
dirty. Please note that the cover of the filter room should be tightly sealed.
12, The unloading method of the control panel:
(1) Remove the guard cover of the electric control box.
(2) Push the panel along the arrow A (the electric control box is not connected with
the control panel now.), then remove the panel along the arrow B.
13, Stop operation
In order to prolong the using life-span of the sealer, please remember, before

12
shutting down the machine, you should return the temperature regulating knob to
0 position first, then turn on the fan, at this time, the temperature on the indicator
begins to fall and the sealing belt should still be in state of running. About several
minutes’ later, when the temperature drops below 100℃, only can you turn off the
fan and main power supply.
VII Circuit Diagram

13
VIII Breakdown Drawing of Machine Body

14
Diagram 11
Item Part number Quantity Description Remark

15
1 105211 1 bottom board
2 101015 2 guiding wheel shaft
3 105023 2 guiding wheel
4 2 bearing
5 910801 2 guiding belt
6 2 bearing
7 101018 1 embossing wheel
8 101017.1 1 bearing seat
9 105022 1 driving wheel
10 101026 1 bearing seat of driving wheel
11 101027 1 driving wheel shaft
12 1 adjusting knob for embossing wheel
13 1 hood support
14 1 adjusting spring for embossing wheel
15 101036 1 silicone wheel assembly
16 105041 1 silicone wheel seat
17 201010 1 silicone wheel shaft
18 2 bearing
19 105030 3 connecting gear
20
21 105013 1 bearing seat for connecting shaft
22 105030 1 connecting gear
23 105011 1 medium gear
24 101027 1 driving wheel shaft
25 101017 1 bearing seat of driving wheel
26 105022 1 driving wheel
27 910903 2 sealing belt
28 2 bearing
29 101024 2 driven wheel
30 101023.4 1 adjusting seat for driven wheel
(upper & bottom)
31 101062 1 connection piece
32 2 spring of driven wheel seat
33 921003 1 motor(220V 50W(
34 A10503 1 sprocket
35 1 flange assembly
36 105050 1 output gear
37 921102-2 1 fan assembly (CY063)
38
39
40

16
Diagram 12

17
Item Part number Quantity Description Remark
1 105003 1 bottom board
2 101035 1 feed opening
3 921303 2 heating pipe (heat for sealing)
4 4 spring of copper block
5 4 guide sleeve of upper holding plate
6 105005 1 bottom holding plate
7 101050 4 heating block support
8 930301 1 upper heating block
9 930301 1 bottom heating block
10 930302 1 upper cooling block
11 930302 1 bottom cooling block
12 105008 1 bottom pinch roller shaft
13 105009 2 pinch roller
14 2 bearing 24×8
15 105007 1 upper pinch roller shaft
16 105017 1 slide carriage
17 105005 1 upper holding plate
18 1 support for photoelectric sensor
19 940705 1 photoelectric sensor
20 921301 1 heating pipe Φ10 110V 40W
21 201015 1 end cover of printing wheel shaft
22 201013 1 printing wheel seat assembly
23 201014 1 printing wheel cover
24 201016 1 holding latch for printing wheel
25 1 straining ring for ink roller sleeve
26 911005 1 ink roller(Φ35×32(
27 201008 1 ink roller sleeve
28 201002 1 heating block of ink roller
29 105036 1 ink roller shaft
30 201007 1 swing pole of ink roller
31 1 adjusting post for ink roller’s swing pole
32 1 adjusting knob for ink roller’s swing pole
33 105039 1 pulley of ink roller shaft
34 201006 1 seat for ink roller swing pole shaft
35 105035 1 middle pulley shaft
36 1 pull rod
37 105031 1 support for brush
38 1 small adhesive tape Φ30×60

18
39 105032 1 middle pulley
40 1 small adhesive tape Φ30×50
41 920423 1 carbon brush holder
IX Breakdown Drawing of Conveyor
Item Part number Quantity Description Remark
42 940702 1 groove sensor
43 A10501 1 electromagnetic clutch assembly
44 105021 1 driven sprocket
45 201004 1 slip-ring core
46 201003 2 copper slip ring
47 201024 1 anti-dazzling screen
48 20415-32 3 connecting terminal

19
Diagram 13
Code Part number Quantity Description Remark
1 910701 1 Conveying table (980)
2 GB12-1988 2 oval head square neck bolt M8x160
3 101007 2 FR-770 conveyor adjusting block
4 2 stud bolt M5x55
5 930113 2 Trandfer table adjusting knob M5
6 935602-01-1 2 Bearing 6002N Φ32xΦ12x10
7 101005 1 FR-770 rear roller
8 101008 1 FR-770 conveying table rear shaft
9 101049 2 Spacer FR-770
10 9301109-11 2 674 knob M8
Other manuals for FRM-980I
1
This manual suits for next models
4
Table of contents
Other HUALIAN Food Saver manuals