Important Safety Instructions
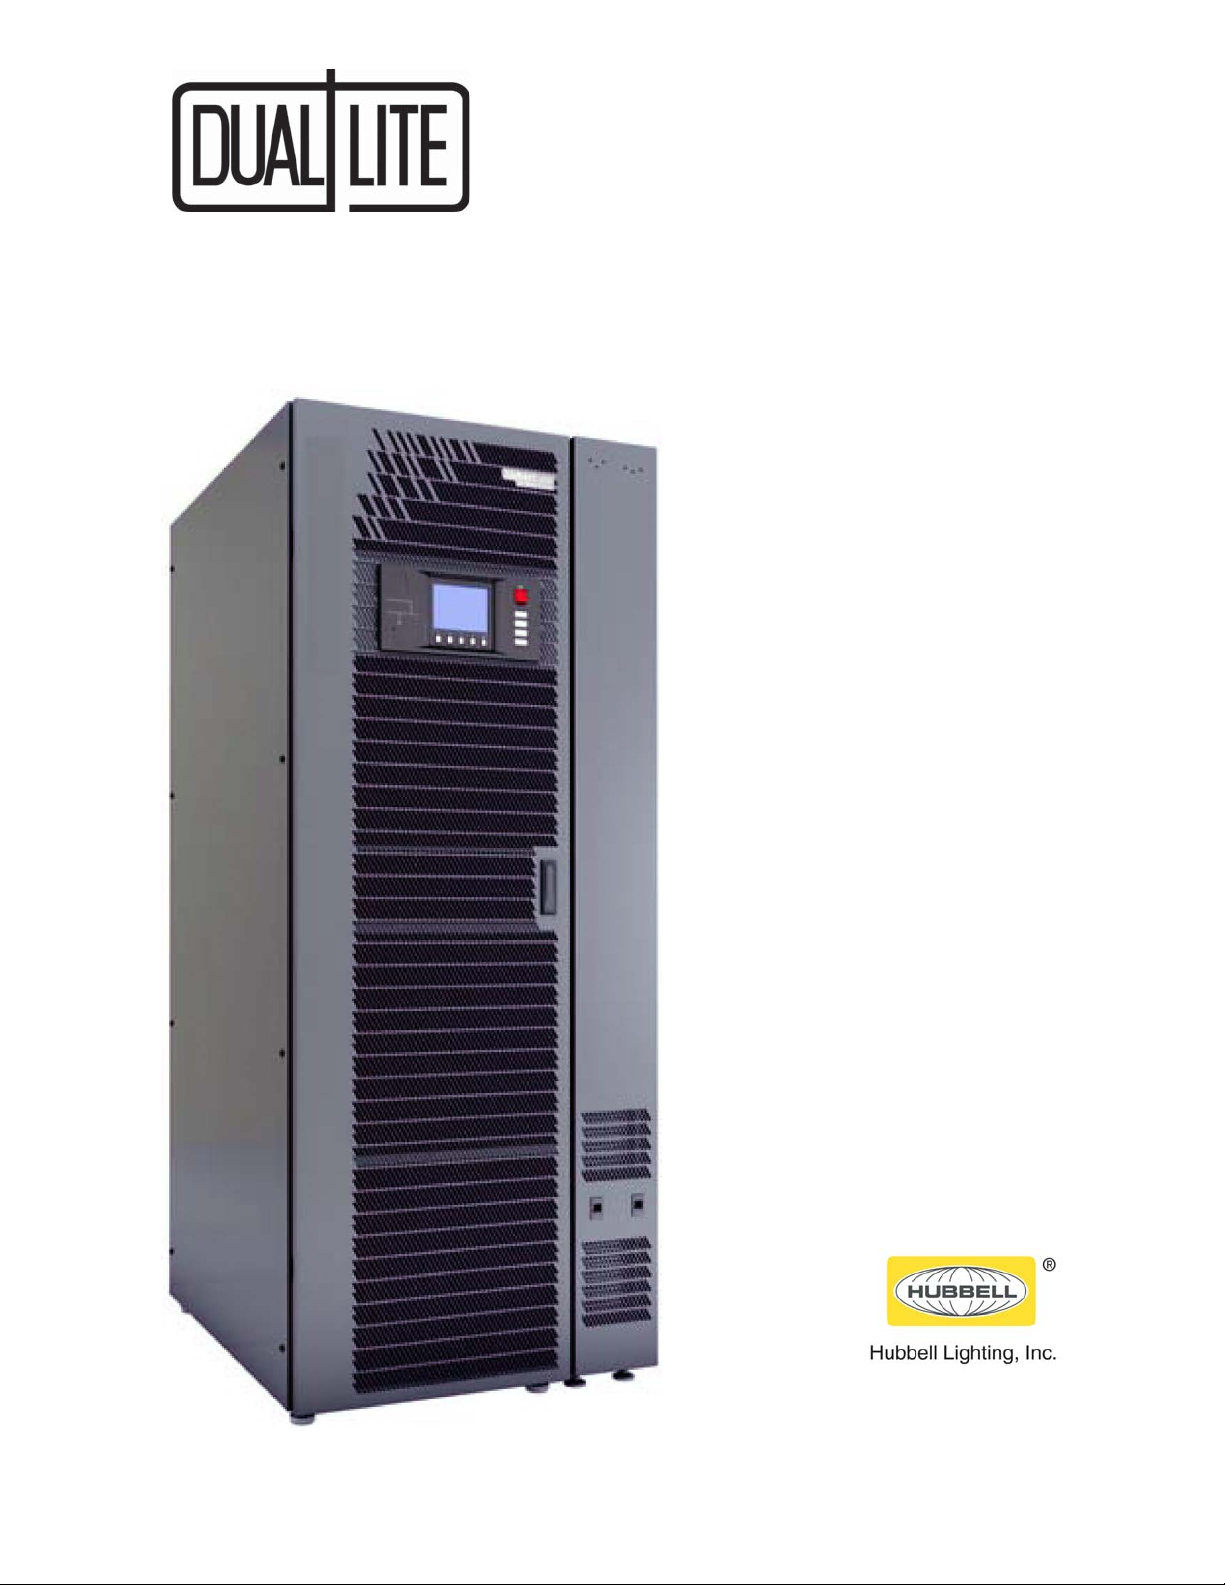
Dual-LIte®TRX™MBC™2
Read this manual thoroughly before working with the Maintenance Bypass Cabinet. Retain this
manual for use by installing personnel.
WARNING
Risk of arc flash and electric shock. Can cause equipment damage, injury and death.
Under typical operation and with all doors closed, only normal safety precautions are
necessary. The area around the system should be kept free of puddles of water, excess
moisture and debris.
Special safety precautions are required for procedures involving handling, installation and
maintenance of the Maintenance Bypass Cabinet. Observe all safety precautions in this
manual before handling or installing the Maintenance Bypass Cabinet. Observe all
precautions in the Operation and Maintenance Manual, before as well as during performance
of all maintenance procedures.
This equipment contains circuits that are energized with high voltage. Only test equipment
designed for troubleshooting should be used. This is particularly true for oscilloscopes. Always
check with an AC and DC voltmeter to ensure safety before making contact or using tools.
Even when the power is turned Off, dangerously high potential electric charges may exist.
All power and control wiring should be installed by a qualified electrician. All power and
control wiring must comply with the NEC and applicable local codes.
ONLY properly trained and qualified personnel should perform maintenance on the Maintenance
Bypass Cabinet. When performing maintenance with any part of the equipment under power,
service personnel and test equipment should be standing on rubber mats. The service personnel
should wear insulating shoes for isolation from direct contact with the floor ground.
One person should never work alone, even if all power is removed from the equipment. A
second person should be standing by to assist and summon help in case of an accident.
AVERTISSEMENT
Risque d’arc ou de décharge électrique pouvant entraîner des dommages matériels, des
blessures et même la mort.
Les précautions de sécurité habituelles suffisent lorsque le système est en mode de
fonctionnement normal et que toutes les portes sont fermées. La zone entourant le système
doit être exempte de flaques d’eau, d’humidité excessive et de débris.
Des précautions de sécurité spéciales sont requises pour les procédures associées à la
manutention, à l’installation et à l’entretien de l’armoire de dérivation d’entretien. Observez
toutes les précautions de sécurité décrites dans le présent manuel avant de manipuler ou
d’installer l’armoire de dérivation d’entretien. Observez également toutes les précautions
décrites dans le manuel d’utilisation et d’entretien, avant et pendant toutes les procédures
d’entretien.
Cet équipement comporte des circuits à haute tension. Seuls des équipements d’essai conçus
pour le dépannage doivent être utilisés. Cette mise en garde couvre notamment les
oscilloscopes. Utilisez toujours un voltmètre c.a. et c.c. pour vérifier les tensions avant
d’établir un contact ou d’utiliser des appareils. Des tensions dangereusement élevées peuvent
demeurer dans le système même une fois l’alimentation coupée.
Tous les câbles d’alimentation et de contrôle doivent être installés par un électricien qualifié.
Tous les câbles d’alimentation et de contrôle doivent être conformes au Code national de
l’électricité des États-Unis (NEC) et ainsi qu’aux codes locaux en vigueur.
L’entretien de l’armoire de dérivation d’entretien ne doit être confié qu’à des professionnels
qualifiés et dûment formés. Les responsables de l’entretien et l’équipement d’essai doivent
reposer sur des tapis de caoutchouc lors de toute intervention sur une pièce d’équipement sous
tension. Les responsables de l’entretien doivent porter des chaussures isolantes pour prévenir
tout contact direct avec le plancher.
Une personne ne devrait jamais travailler seule, même si toute l’alimentation de l’équipement
est coupée. Une deuxième personne devrait toujours être présente pour porter assistance ou
chercher de l’aide en cas d’accident.