manuals.online logo
Brands
  1. Home
  2. •
  3. Brands
  4. •
  5. Hubbell
  6. •
  7. Landscape Lighting
  8. •
  9. Hubbell Mini-Vault LTV761 User manual

Hubbell Mini-Vault LTV761 User manual

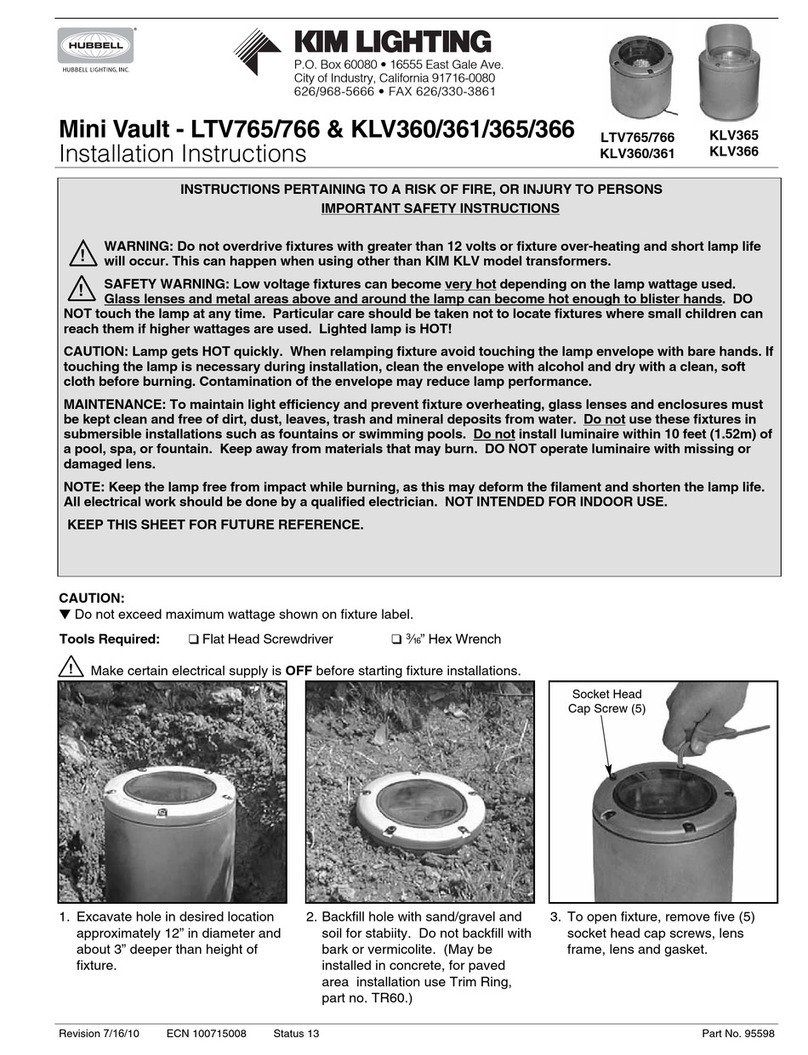
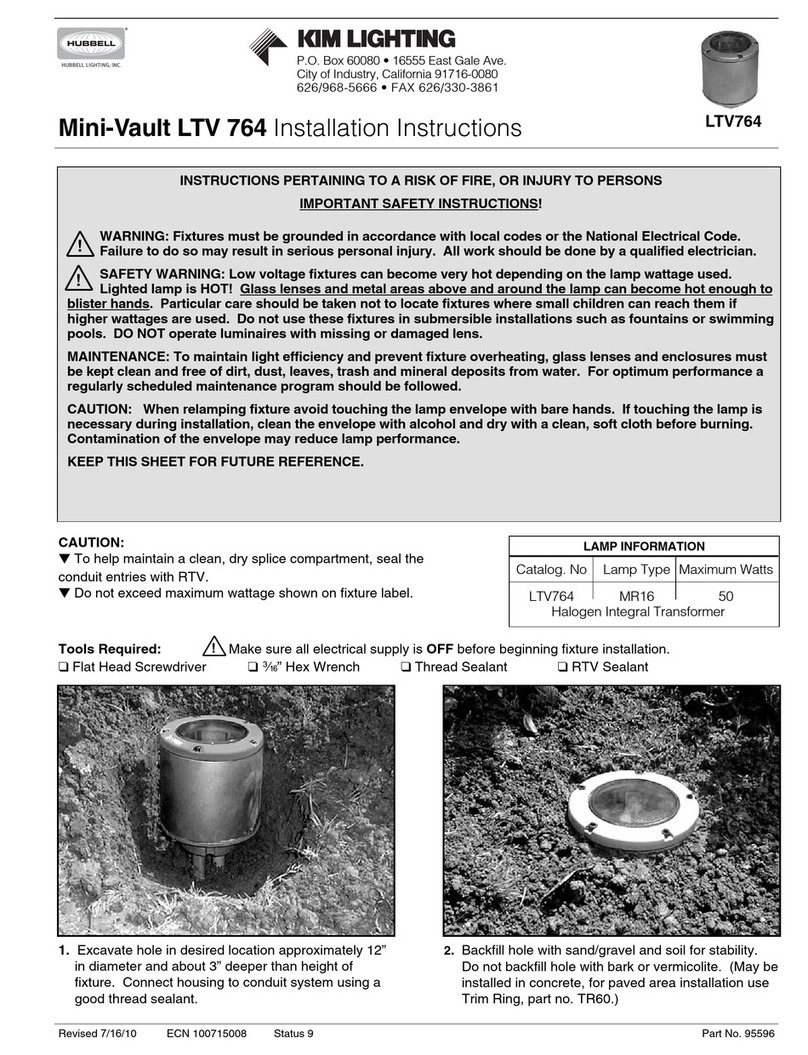
Mini-Vault LTV761 Installation Instructions
P.O. Box 60080 •16555 East GaleAve.
City of Industry, California 91716-0080
626/968-5666 • FAX 626/330-3861
Revised 7/16/10 ECN 100715008 Status 8 Part No. 95597
INSTRUCTIONS PERTAINING TO A RISK OF FIRE, OR INJURY TO PERSONS
IMPORTANT SAFETY INSTRUCTIONS!
WARNING: Fixtures must be grounded in accordance with local codes or the National Electrical Code.
Failure to do so may result in serious personal injury.
SAFETY WARNING: Do not install these fixtures in submersible installations such as fountains or
swimming pools. Extreme caution should be taken when fixtures are used in paved areas. High
temperature lenses can burn feet, hands or objects inadvertently placed on top of fixtures. If fixtures must be
used in paved areas, locate them away from normal pedestrian traffic, and use the lowest wattage available.
Lighted lamp is HOT! Do not touch hot lens, guard or enclosure.
MAINTENANCE: To maintain light efficiency and prevent fixture overheating, lenses must be kept clean and free
of dirt, dust, leaves, trash and mineral deposits from water. For optimum performance a regularly scheduled
maintenance program should be followed. DO NOT operate luminaire with missing or damaged lens.
NOTE: All wiring should be done by a qualified electrician.
KEEP THIS SHEET FOR FUTURE REFERENCE.
1. Excavate hole in desired location approximately
12” in diameter and about 3” deeper than the
height of fixture. Connect housing to conduit
system using a good thread sealant.
Make certain electrical supply is OFF before starting fixture installations.
LTV761
2. Backfill hole with sand/gravel and soil for stability.
Do not backfill hole with bark or vermicolite. (May
be installed in concrete, for paved area installation
use Trim Ring, part no. TR60.)
CAUTION:
To help maintain a clean, dry splice compartment, seal the conduit entries with RTV.
Do not exceed maximum wattage shown on fixture label.
Tool Required:Flat Head ScrewdriverF” Hex WrenchThread SealantRTV Sealant
!
!
!
Page 2 Kim Lighting • 16555 E. Gale Ave. • P.O. Box 60080 • City of Industry, CA 91716-0080 • 626/968-5666 • FAX 626/330-3861
Mini-Vault LTV761 Installation Instructions
9. Replace socket bracket assembly
and install lamp of type and watt-
age shown on fixture label. To
aim lamp, loosen vertical and
rotational locking screws. Aim
lamp bracket assembly to desired
orientation & tighten screws.
10. Make sure housing flange is
clean and free of all dirt and
debris. Replace lens, gasket
and lens ring. Secure with allen
head cap screws (5). Tighten
opposing screws progressively
and evenly to 20 inch/pounds,
(1.67 ft. lbs.).
Glass Lens
LAMP INFORMATION
Catalog Lamp Maximum
No. Type Watts
LTV761 PAR20 50
8. Make wire connections observing
polarity, i.e., green-to-ground,
white-to-common, and black-to-
voltage. Replace splice compart-
ment cover and tighten to 15
inch/pounds (1Jft. lbs.).
7. Pull field wires through conduit
system and into splice
compartment.
Vertical
Locking
Screw
Rotational
Locking
Screw 1
2
3
4
5
6. Remove two screws securing
splice compartment cover in
place and remove cover.
Allen Head
Screws (5)
3. To open fixture, remove five (5)
allen head cap screws, lens
frame, lens and gasket.
Locking Screw
4. Loosen vertical locking screw.
(Do Not Remove) 5. Gently compress legs of socket
bracket inward and remove
socket bracket assembly.
Page 3 Kim Lighting • 16555 E. Gale Ave. • P.O. Box 60080 • City of Industry, CA 91716-0080 • 626/968-5666 • FAX 626/330-3861
KIM LIGHTING LIMITED WARRANTY
When installed in accordance with Kim Installation Instructions and accepted trade practices, the following
shall apply:
General Product Limited Warranty Coverage
All material and component parts used in the manufacture of Kim Products, are warranted to be free from
defects of material and/or workmanship for a period of 1 year from date of sale, with the following
exceptions:
Auxiliary Equipment
All auxiliary equipment (such as lamps, ballasts, and transformers) provided by and/or included in Kim
Products shall carry the component manufacturer's warranty.
Copper and Bronze Landscape Components
Copper and Bronze Landscape fixture components shall be warranted against defects of material and/or
workmanship, and failure due to corrosion, for a period of 25 years from date of sale.
Kim Lighting's brass components are constructed from several brass parts that are manufactured by various
methods at various times. Since brass naturally deepens in color as it ages through the normal oxidation process,
these parts may exhibit subtle differences in coloration when the product is new. This is normal and expected.
These color differences will be eliminated shortly after installation through the normal brass oxidation process..
Composite In-Grade Components
Composite In-Grade fixture components installed below grade, shall be warranted against defects of
material and/or workmanship, and failure due to corrosion, for a period of 7 years from date of sale.
Aluminum Landscape Components
Aluminum Landscape fixture components not in direct contact with soil, shall be warranted against defects
of material and/or workmanship for a period of 3 years from date of sale. Aluminum fixture components in
direct contact with soil shall be warranted from defects of material and failure from corrosion for a period of 1
year from date of sale.
Stainless Steel Components
Stainless steel landscape components (Lens Rings) installed in the outdoor environment shall show signs of
oxidation after 5 to 6 years of install and is dependent on the application and its environment. A proper
maintenance and cleaning program will extend the beauty of the stainless steel.
Limit of Liability and General Conditions
Only products which are installed, used and maintained in accordance with applicable Kim instructions,
specifications and accepted trade practices, are covered by the Kim Warranty. During the warranty period,
with proof of purchase, Kim will repair or replace with the same or similar product, at Kim's option, without
charge. Labor costs are the owner's responsibility and are excluded from this warranty. This warranty is
void if the product is modified, tampered with, misapplied, poorly installed, improperly maintained, or
subjected to abnormal conditions.
Repair or replacement as provided under this warranty is the exclusive remedy of the purchaser. This
warranty is in lieu of all other warranties, expressed or implied, including any implied warranty of fitness for a
particular application. Kim Lighting shall not be liable to the purchaser for indirect or consequential
damages.
How may we serve you better?
Please let us know. Visit our website at:
www.kimlighting.com
Your concerns are important to us.
Mini Vault - LTV761 Installatlion Instructions

Other Hubbell Landscape Lighting manuals

Hubbell Kim Lighting C24 User manual

Hubbell

Hubbell Kim Lighting C24 User manual

Hubbell MINI BULLET User manual

Hubbell

Hubbell MINI BULLET User manual

Hubbell KIM LIGHTING Mini-Vault LTV 764 User manual

Hubbell

Hubbell KIM LIGHTING Mini-Vault LTV 764 User manual

Hubbell KIM LIGHTING KLV360 User manual

Hubbell

Hubbell KIM LIGHTING KLV360 User manual

Popular Landscape Lighting manuals by other brands

structura Duo Bollard installation instructions

structura

structura Duo Bollard installation instructions

LIGMAN NYB-80241 installation manual

LIGMAN

LIGMAN NYB-80241 installation manual

ABBA STB16 installation guide

ABBA

ABBA STB16 installation guide

AMP Lighting APL-301X-XX-4-B-BZ Series Installation & maintenance guide

AMP Lighting

AMP Lighting APL-301X-XX-4-B-BZ Series Installation & maintenance guide

LIGMAN AURORA installation manual

LIGMAN

LIGMAN AURORA installation manual

Volt VAL-9501-4036-BBZ installation instructions

Volt

Volt VAL-9501-4036-BBZ installation instructions

XanLite APFE40WNF manual

XanLite

XanLite APFE40WNF manual

HAMPTON BAY KZH1501HX-01 Use and care guide

HAMPTON BAY

HAMPTON BAY KZH1501HX-01 Use and care guide

HAMPTON BAY HD28784 Use and care guide

HAMPTON BAY

HAMPTON BAY HD28784 Use and care guide

superbrightleds PLDT-W2BK instruction sheet

superbrightleds

superbrightleds PLDT-W2BK instruction sheet

HAMPTON BAY LBW5401LX-02 Use and care guide

HAMPTON BAY

HAMPTON BAY LBW5401LX-02 Use and care guide

AMP MagnumPro ASM-2407 Installation & maintenance guide

AMP

AMP MagnumPro ASM-2407 Installation & maintenance guide

Intermatic IR6-600WH installation instructions

Intermatic

Intermatic IR6-600WH installation instructions

LUTEC 7297801012 owner's manual

LUTEC

LUTEC 7297801012 owner's manual

Heitronic 36937 Installation and operating instructions

Heitronic

Heitronic 36937 Installation and operating instructions

AMP Lighting PAR36 Well Light Installation & maintenance guide

AMP Lighting

AMP Lighting PAR36 Well Light Installation & maintenance guide

LIGMAN QUARTER 2 installation manual

LIGMAN

LIGMAN QUARTER 2 installation manual

Volt RGBW Max All-Star VAL-2045-ABK installation instructions

Volt

Volt RGBW Max All-Star VAL-2045-ABK installation instructions

manuals.online logo
manuals.online logoBrands
  • About & Mission
  • Contact us
  • Privacy Policy
  • Terms and Conditions

Copyright 2025 Manuals.Online. All Rights Reserved.