10
ZIP SYSTEM®SHEATHING AND TAPE
INSTALLATION MANUAL - ROOF
HUB 81824 REV 9/18
ZIP SYSTEM®SHEATHING
// GENERAL INFORMATION & COMPATIBILITY
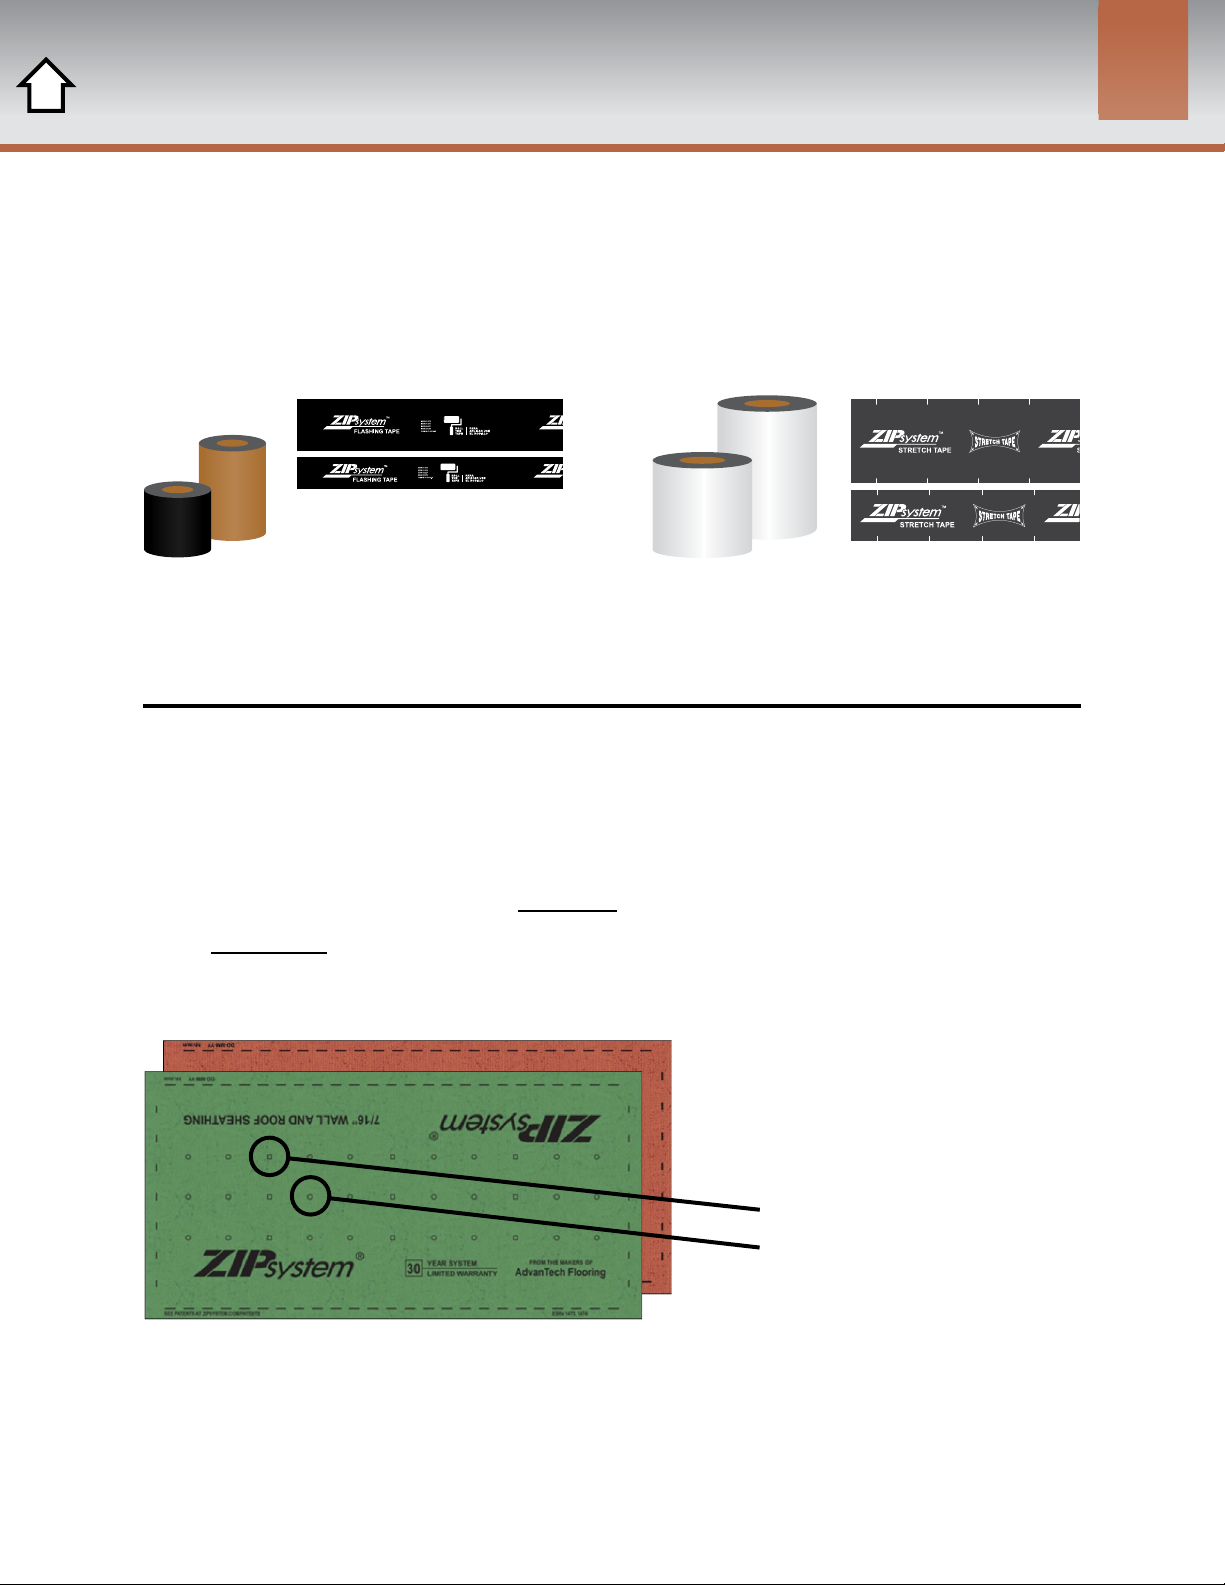
FLASHINGS - TAPES
ZIP System™tape must be used where two ZIP System®panels
come together to create a seam at valleys, hips and in the same
plane; however, other code approved flashing tapes that satisfy
AAMA-711 or AC-148 can be used to flash penetrations and
fenestrations.
FLASHINGS – FLUID APPLIED
ZIP System™liquid flash can be used in lieu of ZIP System™tape
where two ZIP System®panels come together to create a seam at
valley, hips and in the same plane. Other code approved liquid
applied flashing membranes that satisfy AAMA-714 can be used
to flash penetrations and fenestrations. When using Liquid Flash
or other fluid applied flashing products over ZIP System™tape,
use a primer such as 3M Hi-Strength 90 or rub the tape with an
acetone cleaner. ZIP System liquid flash can be used where ever
ZIP System seam tape is shown.
WRINKLES IN THE TAPE
Rolling the tape during installation will significantly reduce the
chance of tape wrinkling occurring. If wrinkles occur in the ZIP
System™ tape there are two options. First, try to roll the wrinkles
out with the ZIP System™ tape roller. This should help eliminate
any wrinkles or fish mouths (avenues for water to get to the seam).
Secondly, if rolling the tape does not remove the fish mouths that
section of tape can be removed and a new piece of tape must be
applied that overlaps the existing tape by three inches or place
anther piece of tape over the fish mouth and roll the tape.