manuals.online logo
Brands
  1. Home
  2. •
  3. Brands
  4. •
  5. Hudson & Canal
  6. •
  7. Indoor Furnishing
  8. •
  9. Hudson & Canal TV1755 User manual

Hudson & Canal TV1755 User manual

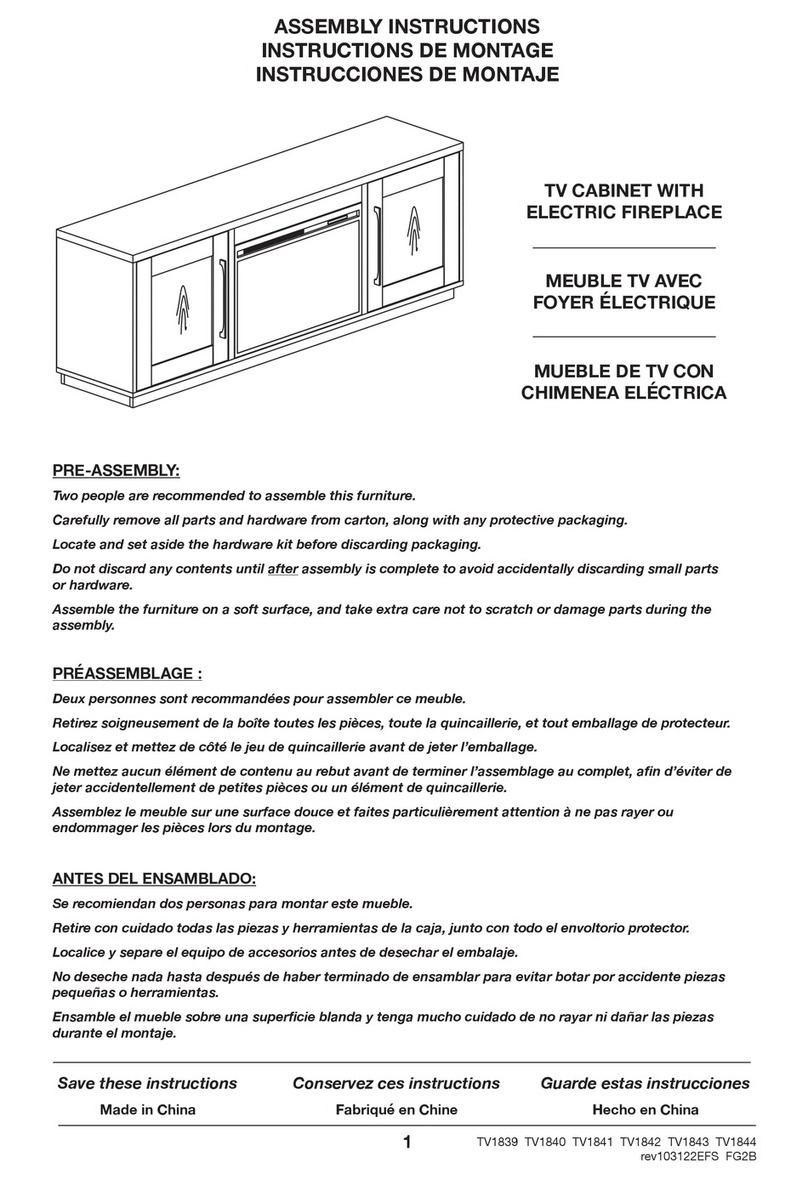
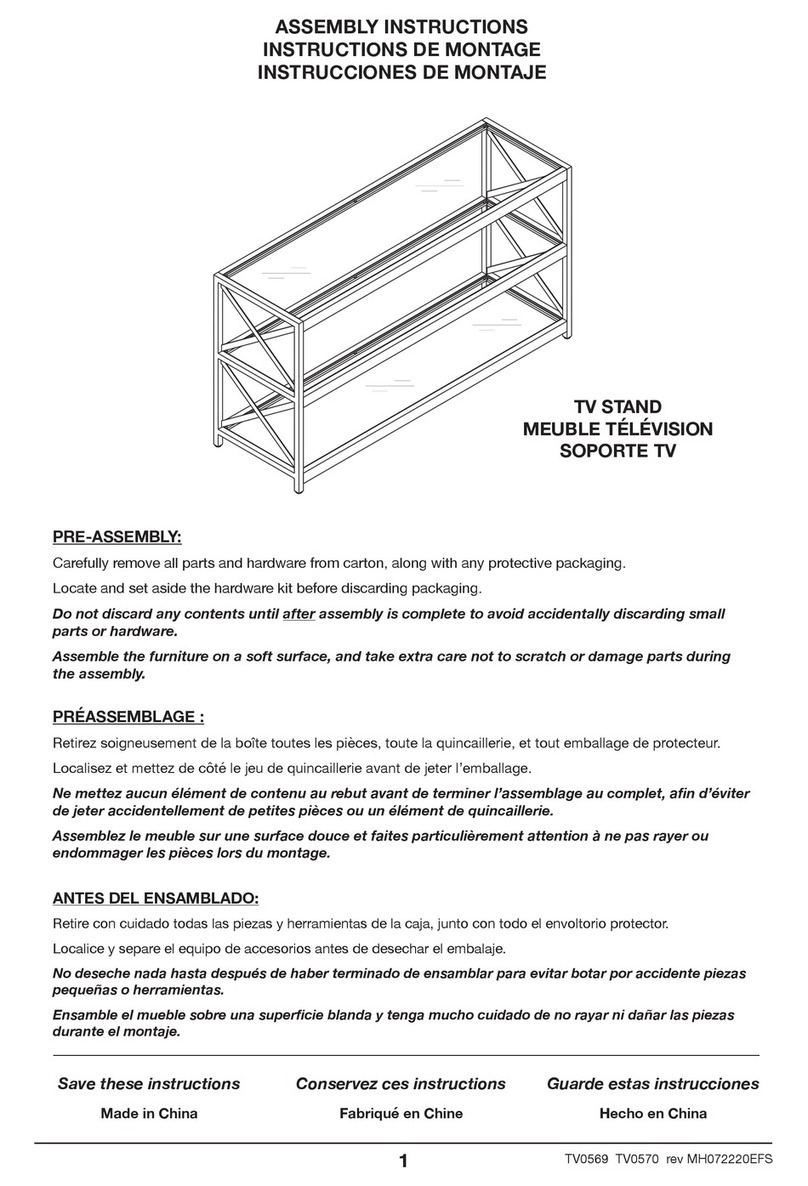
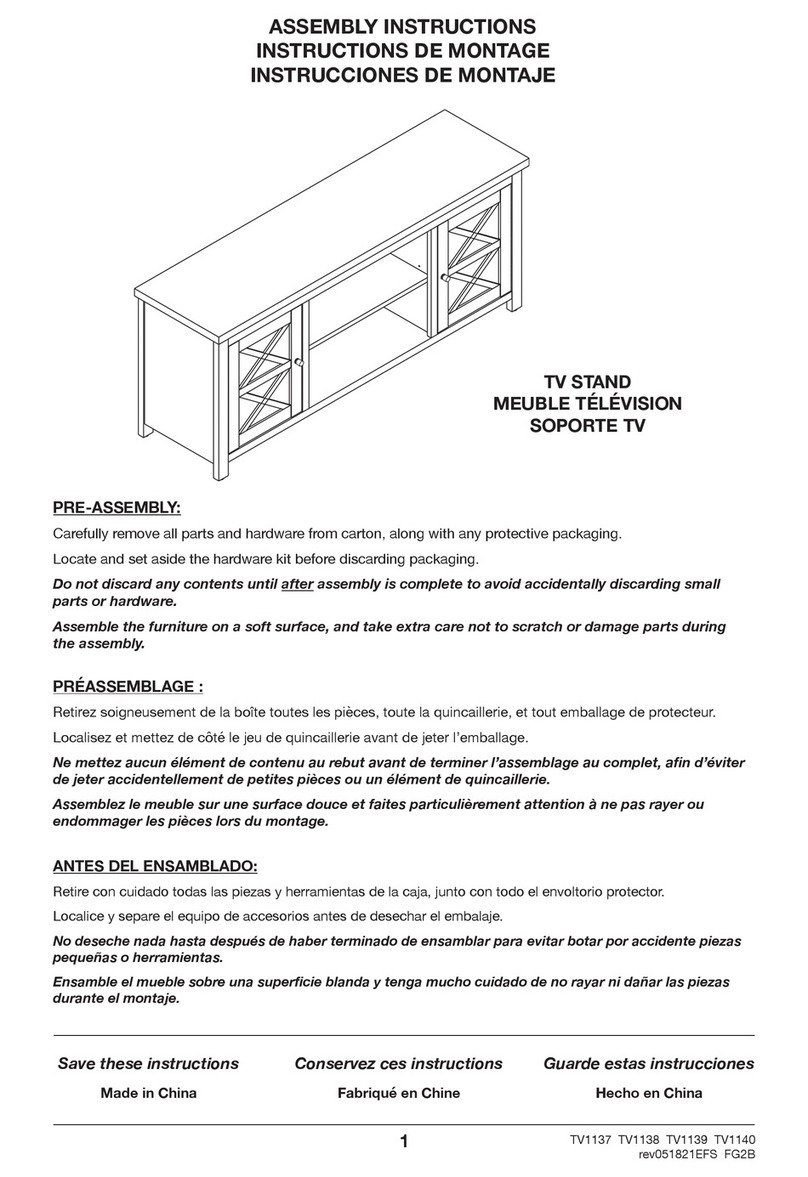
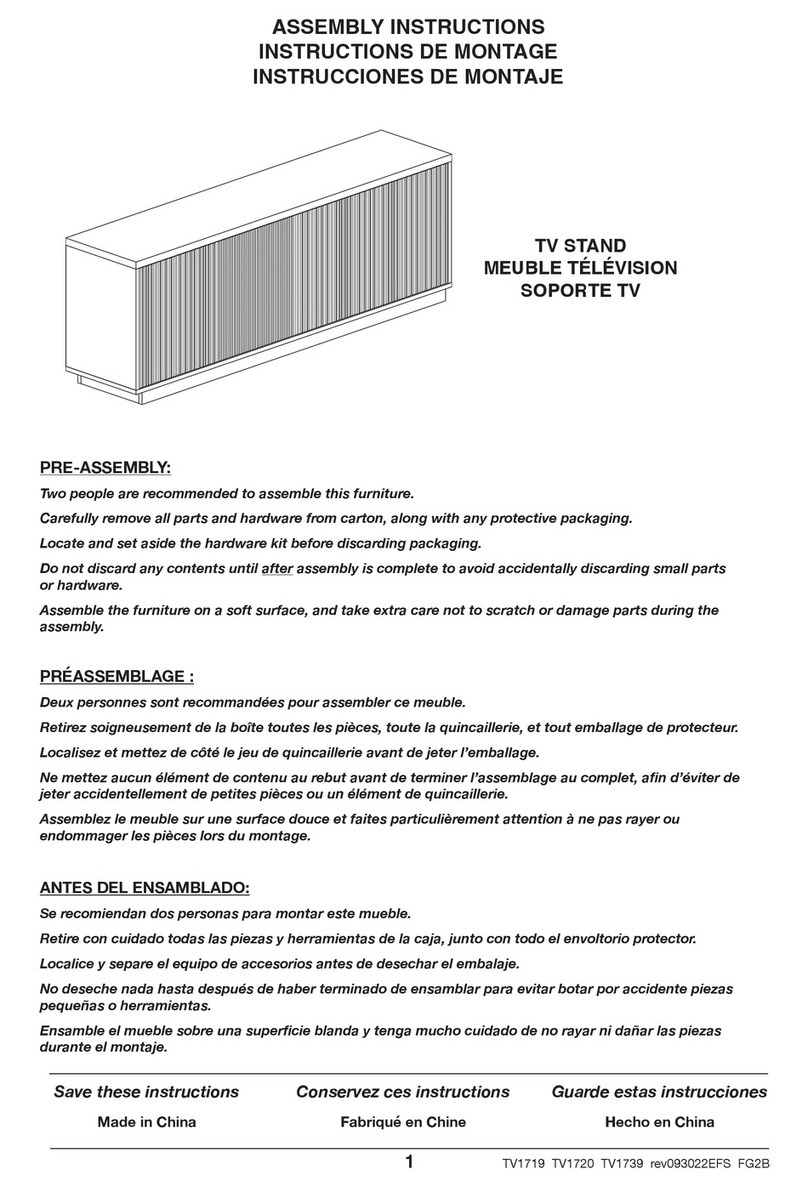
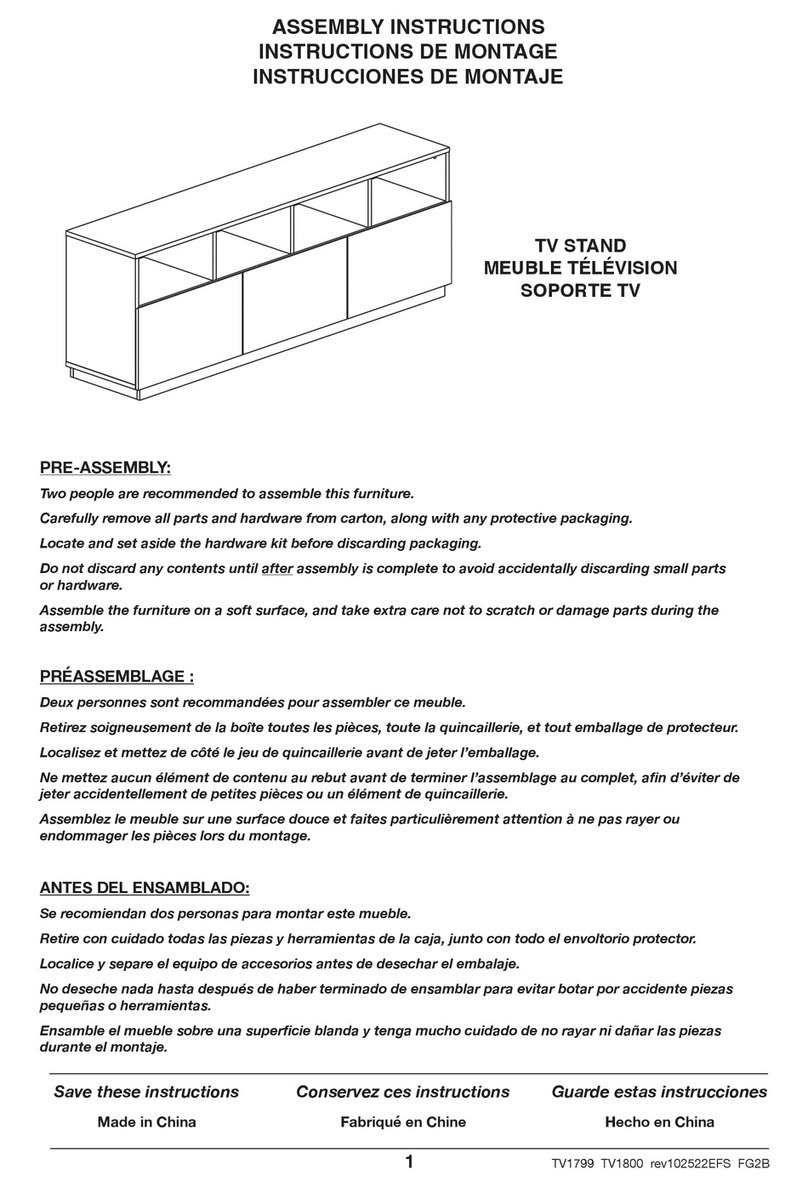
ASSEMBLY INSTRUCTIONS
INSTRUCTIONS DE MONTAGE
INSTRUCCIONES DE MONTAJE
1TV1755 TV1756 TV1757 rev120722EFS FG2B
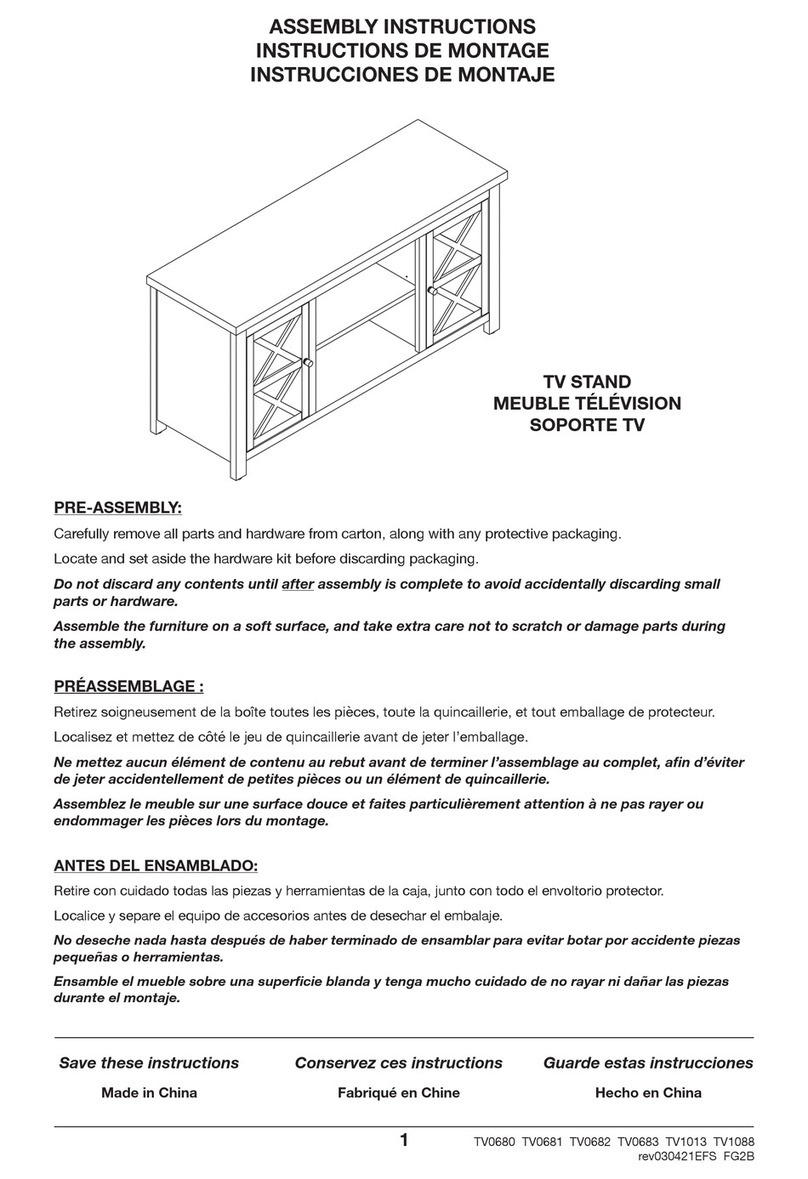
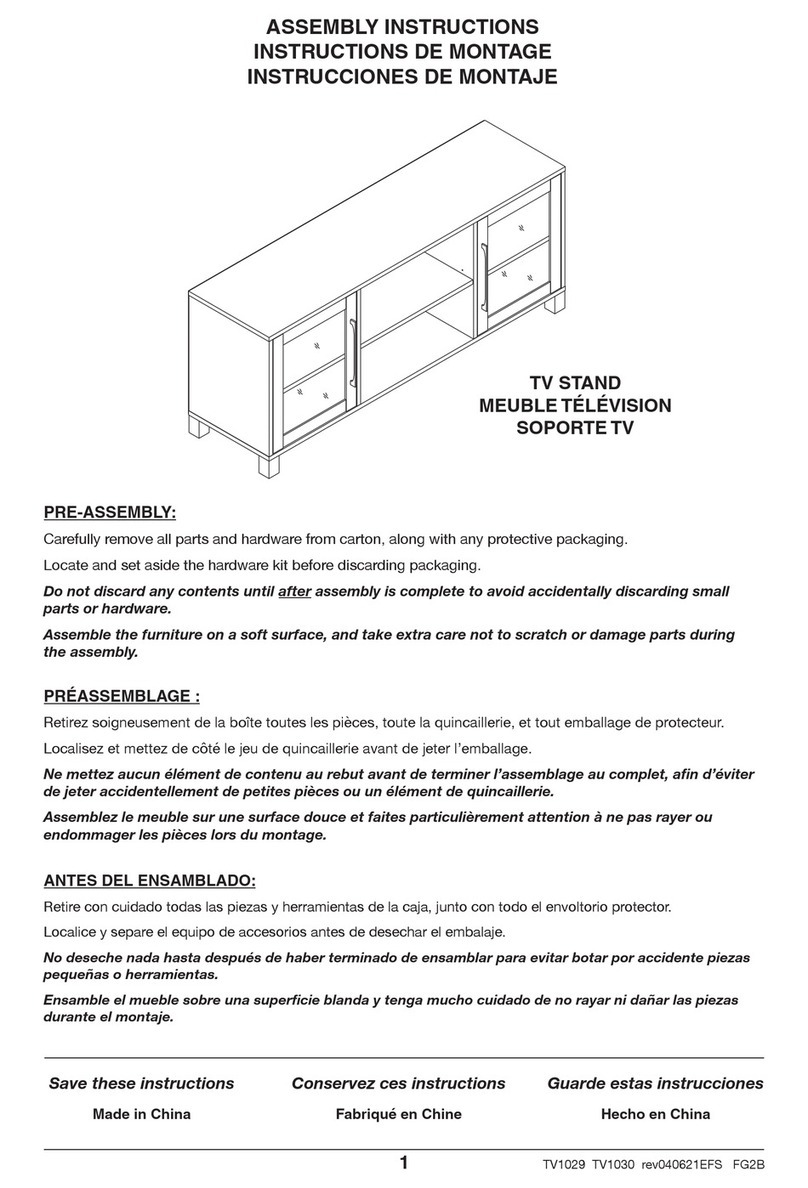
TV STAND
MEUBLE TÉLÉVISION
SOPORTE TV
Save these instructions
Made in China
Conservez ces instructions Guarde estas instrucciones
Fabriqué en Chine Hecho en China
PRE-ASSEMBLY:
Two people are recommended to assemble this furniture.
Carefully remove all parts and hardware from carton, along with any protective packaging.
Locate and set aside the hardware kit before discarding packaging.
Do not discard any contents until after assembly is complete to avoid accidentally discarding small parts
or hardware.
Assemble the furniture on a soft surface, and take extra care not to scratch or damage parts during the
assembly.
PRÉASSEMBLAGE :
Deux personnes sont recommandées pour assembler ce meuble.
Retirez soigneusement de la boîte toutes les pièces, toute la quincaillerie, et tout emballage de protecteur.
Localisez et mettez de côté le jeu de quincaillerie avant de jeter l’emballage.
Ne mettez aucun élément de contenu au rebut avant de terminer l’assemblage au complet, an d’éviter de
jeter accidentellement de petites pièces ou un élément de quincaillerie.
Assemblez le meuble sur une surface douce et faites particulièrement attention à ne pas rayer ou
endommager les pièces lors du montage.
ANTES DEL ENSAMBLADO:
Se recomiendan dos personas para montar este mueble.
Retire con cuidado todas las piezas y herramientas de la caja, junto con todo el envoltorio protector.
Localice y separe el equipo de accesorios antes de desechar el embalaje.
No deseche nada hasta después de haber terminado de ensamblar para evitar botar por accidente piezas
pequeñas o herramientas.
Ensamble el mueble sobre una supercie blanda y tenga mucho cuidado de no rayar ni dañar las piezas
durante el montaje.
2
PRECAUTIONS — READ ALL BEFORE BEGINNING ASSEMBLY
Do not place items on the shelves which exceed the maximum weight limits of:
Top Shelf: 75 lbs. (34.0 kg)
Middle Shelves: 30 lbs. (13.6 kg) each
Lower Shelves: 40 lbs. (18.1 kg) each
Usage with televisions or loads heavier than the maximum weights specied may result in
instability, causing tip-over and resulting in death or serious injury.
When in use, this furniture must be placed on a at, solid and level surface.
DO NOT CLIMB OR STEP ON THE SHELVES.
To prevent objects from tipping and falling, remove all items from cabinet before adjusting the leveling feet or moving
the furniture.
Do not use a drill or power tools to assemble this furniture, as it may weaken or damage parts.
When moving furniture or adjusting the leveling feet, never lift the cabinet by the top shelf.
Always lift the cabinet at the base.
PRÉCAUTIONS — LIRE TOUT AVANT DE COMMENCER L’ASSEMBLAGE
Ne pas poser sur le meuble des objets dépassant la limite de poids de :
Étagère supérieure : 34,0 kg
Étagères centrales : 13,6 kg chaque
Étagères inférieures : 18,1 kg chaque
L’utilisation avec des téléviseurs ou des charges dont le poids dépasse les valeurs spéciées peut entraîner l’instabilité,
et le basculement pouvant provoquer la mort ou des blessures graves.
Durant l’utilisation, le meuble doIt être posé sur une surface plate, solide et horizontale.
NE MARCHEZ PAS SUR LES ÉTAGÈRES ET NE MONTEZ PAS DESSUS.
Pour éviter que des objets ne basculent et ne tombent, retirez tous les éléments de l’armoire avant de régler
les pieds de nivellement ou de déplacer les meubles.
N’utilisez pas de perceuse ou d’outils électriques pour assembler ce meuble, car cela pourrait affaiblir ou
endommager des pièces.
Lorsque vous déplacez des meubles ou réglez les pieds de nivellement, ne soulevez jamais l’armoire par l’étagère
supérieure. Soulevez toujours l’armoire a la base.
PRECAUCIONES — LEA TODO ANTES DE COMENZAR EL MONTAJE
No coloque sobre los estantes artículos que excedan los límites máximos de peso:
Estante superior: 34.0 kg (75 lbs.)
Estantes centrales: 13.6 kg (30 lbs.) cada
Estantes inferiores: 18.1 kg (40 lbs.) cada
Colocar televisores o cargas mayores que los pesos máximos especicados puede generar inestabilidad y,
en consecuencia, desplomes que pueden causar la muerte o lesiones graves.
Cuando esté en uso, estos muebles deben colocarse sobre una supercie plana, sólida y nivelada.
NO SE SUBA A LOS ESTANTES NI LOS PISE.
Para evitar que los objetos se vuelquen y se caigan, retire todos los artículos del gabinete antes de ajustar
las patas niveladoras o mover los muebles.
No utilice un taladro o herramientas eléctricas para ensamblar este mueble, ya que puede debilitar o dañar
las piezas.
Cuando mueva muebles o ajuste las patas niveladoras, nunca levante el gabinete por el estante superior.
Levante siempre el armario por la base.
3
PARTS / PIÈCES / PIEZAS
NOTE: This illustration is for parts identication/orientation purposes only. For assembly, see following pages.
REMARQUE : Cette illustration est uniquement à des ns d’identication / d’orientation des pièces. Pour le montage, voir pages suivantes.
NOTA: Esta ilustración es solo para nes de identicación / orientación de piezas. Para el montaje, consulte las páginas siguientes.
4
Part
Pièce
Pieza
Description
Description
Descripción
Quantity
Quantité
Cantidad
Part
Pièce
Pieza
Description
Description
Descripción
Quantity
Quantité
Cantidad
G
H
I
J
K
L
2
2
2
2
1
1
PARTS / PIÈCES / PIEZAS
A
B
C
D
E
F
1
1
1
1
1
2
5
Part
Pièce
Pieza
Description
Description
Descripción
Quantity
Quantité
Cantidad
Part
Pièce
Pieza
Description
Description
Descripción
Quantity
Quantité
Cantidad
HARDWARE / QUINCAILLERIE / FERRETERÍA
1
2
3
4
5
6
18
18
20
5
2
20
7 8
8
9
4
4
10
11
12
13
14
15
4
4
8
1
1
48
16 4
17 1
1
INSTALLING THE CAM LOCKS
COMMENT INSTALLER LES SERRURES À CAME CÓMO INSTALAR LAS CERRADURAS DE LEVA
2
34
56
Screw the Cam Screw into the prethreaded hole.
Tighten with a screwdriver until snug.
Vissez la vis à came dans le trou pré-leté.
Serrez fermement avec un tournevis.
Atornille el tornillo de leva en el oricio roscado
previamente. Apriete rmemente con un destornillador.
The base of the Cam Screw should be ush with the panel.
La base de la vis à came doit aeurer le panneau.
La base del tornillo de leva debe estar al ras con el panel.
Connect the panels. Insert the Cam Screw into the small
hole in the adjoining panel.
Connectez les panneaux. Insérez la vis de came dans le
petit trou dansle panneau adjacent.
Conecte los paneles. Inserte el tornillo de leva en el
pequeño oricio del panel contiguo.
The head of the Cam Screw should be visible through the
large hole.
La tête de la vis de came doit être visible àtravers
le grand trou.
La cabeza del tornillo de leva debe servisible a través del
oricio grande.
Insert the Cam Lock into the large hole. Make sure the arrow
and the opening in the Cam Lock are facing the Cam Screw.
Insérez le verrou à came dans le grand trou. Assurez-vous
que la èche et l’ouverture dans le verrou à came font face à
la vis à came.
Inserte el Cam Lock en el oricio grande. Asegúrese de que
la echa y la abertura en la cerradura de leva miren hacia el
tornillo de leva.
Using a screwdriver, turn the Cam Lock at least 90° clock-
wise to lock the two panels rmly together.
À l’aide d’un tournevis, tournez le serrure à came d’au moins
90° dans le sens des aiguilles d’une montre pour verrouiller
les deux panneaux ensemble.
Con un destornillador, gire la cerradura de leva al menos
90 ° en el sentido de las agujas del reloj para cerrarlos dos
paneles juntos.
Do not overtighten!
Ne pas trop serrer!
¡No apriete demasiado!
Opening
Ouverture
Abertura
Arrow
Flèche
Flecha
Do not overtighten!
Ne pas trop serrer!
¡No apriete demasiado!
Arrow
Flèche
Flecha
6
7
X2 X2
3 5
1
13
NOTE: DO NOT OVERTIGHTEN SCREWS.
REMARQUE : NE PAS TROP SERRER LES VIS.
NOTA: NO APRIETE DEMASIADO LOS TORNILLOS.
MAKE SURE THE ASSEMBLY IS DONE ON A LEVEL AND SOFT SURFACE (SUCH AS BLANKETS)
TO PREVENT DAMAGING THE PARTS DURING ASSEMBLY.
ASSUREZ-VOUS QUE L’ASSEMBLAGE EST EFFECTUÉ SUR UNE SURFACE PLANE ET DOUCE
(COMME DES COUVERTURES) POUR ÉVITER D’ENDOMMAGER LES PIÈCES L’ASSEMBLAGE.
ASEGÚRESE DE QUE EL MONTAJE SE REALICE EN UNA SUPERFICIE NIVELADA Y SUAVE (COMO MANTAS)
PARA EVITAR DAÑAR LAS PIEZAS DURANTE EL MONTAJE.
8
2
X12 X4
1 4
9
3
X8 X8
2 3
10
4
X4 X4 X1 X1
2 3 4 14
5
11
NOTE: DO NOT OVERTIGHTEN SCREWS.
REMARQUE : NE PAS TROP SERRER LES VIS.
NOTA: NO APRIETE DEMASIADO LOS TORNILLOS.
X4 X4
11 12
12
6
NOTE: DO NOT OVERTIGHTEN SCREWS.
REMARQUE : NE PAS TROP SERRER LES VIS.
NOTA: NO APRIETE DEMASIADO LOS TORNILLOS.
X4
12
With the help of an assistant, turn TV stand upright.
Avec l’aide d’un assistant, tournez le meuble à la verticale.
Con la ayuda de un asistente, coloque el mueble en posición vertical.
13
7
X6 X6 X6
1 2 3
View from front of furniture.
Vue de devant du meuble.
Vista desde el frente del mueble.
X2
6
14
8
View from rear of furniture.
Vue depuis l’arrière du meuble.
Vista desde la parte trasera del mueble.
An assistant is recommended to HOLD the cabinet backing (K) in place while installing center screws (6) into the pilot holes.
DO NOT TO OVERTIGHTEN SCREWS. Align cabinet backing (K) with cabinet frame before continuing.
Un assistant est recommandé pour MAINTENIR le support de l’armoire (K) en place lors de l’installation des vis centrales (6) dans les
avant-trous. NE PAS TROP SERRER LES VIS. Alignez le support de l’armoire (K) avec le cadre de l’armoire avant de continuer.
Se recomienda que un ayudante SOSTENGA el respaldo del gabinete (K) en su lugar mientras instala los tornillos centrales (6) en los ori-
cios guía. NO APRIETE DEMASIADO LOS TORNILLOS. Alinee el respaldo del gabinete (K) con el marco del gabinete antes de continuar.
X18
6
15
9
View from rear of furniture.
Vue depuis l’arrière du meuble.
Vista desde la parte trasera del mueble.
An assistant is recommended to HOLD the cabinet backing (K) in place while installing screws (6).
DO NOT TO OVERTIGHTEN SCREWS.
Un assistant est recommandé pour MAINTENIR le support de l’armoire (K) en place lors de l’installation des vis (6).
NE PAS TROP SERRER LES VIS.
Se recomienda un asistente para SOSTENER el respaldo del gabinete (K) en su lugar mientras instala el tornillo central (6).
NO APRIETE DEMASIADO LOS TORNILLOS.
X8 X4 X1
7 16 17
16
10
View from front of furniture.
Vue de devant du meuble.
Vista desde el frente del mueble.
2X
2X
2X
2X
X4 X4 X4 X16
8 9 10 15
17
11
NOTE: DO NOT OVERTIGHTEN SCREWS.
REMARQUE : NE PAS TROP SERRER LES VIS.
NOTA: NO APRIETE DEMASIADO LOS TORNILLOS.
SEE PAGE 20 FOR DOOR ALIGNMENT INSTRUCTIONS.
VOIR PAGE 20 POUR LES INSTRUCTIONS SUR L’ALIGNEMENT DES PORTES.
CONSULTE LA PÁGINA 20 PARA OBTENER INSTRUCCIONES SOBRE CÓMO ALINEAR LAS PUERTAS.
18
12
NOTE: DO NOT OVERTIGHTEN SCREWS.
REMARQUE : NE PAS TROP SERRER LES VIS.
NOTA: NO APRIETE DEMASIADO LOS TORNILLOS.
X32
15
19
Finished
Fini
Terminado
CARE INSTRUCTIONS:
• Wipe clean with a soft, dry cloth or static duster.
• Always avoid the use of harsh chemicals or abrasive cleaners as they may cause damage to the table’s
nish.
• Hardware may loosen over time. Periodically check to make sure all connections are tight.
Re-tighten if necessary.
INSTRUCTIONS D’ENTRETIEN :
• Essuyez-leproprementàl’aided’unchiondouxetsecoud’unessuie-meublestatique.
• Éviteztoujoursd’utiliserdesproduitschimiquesfortsouagentsnettoyantsabrasifs,carilspourront
endommagerlanitiondelatablebasse.
• Lematérieldexationpeutsedesserreravecletemps.Vériezrégulièrementandevousassurerque
tous les raccords sont bien serrés. Resserrez-les au besoin.
INSTRUCCIONES DE CUIDADO:
• Limpie con un paño suave y seco o con un paño para estática.
• Evitesiempreelusodelimpiadoresquímicosásperosoabrasivos,yaquepuedendañarelacabadode
la mesa de café.
• Laspiezasdeferreteríapuedenaojarseconeltiempo.Controlarperiódicamentequeesténbien
ajustadas. Si es necesario, volver a ajustarlas.
NOTE: USE THE LEVELING FEET TO MAKE SURE FURNITURE IS LEVEL ON THE FLOOR BEFORE USING. LEVELING THE CABINET MAY
AFFECT THE LEVEL OF THE DOORS. SEE NEXT PAGE FOR DOOR ALIGNMENT INSTRUCTIONS. REMOVE ALL ITEMS FROM CABINET
BEFORE ADJUSTING THE LEVELING FEET.
REMARQUE: UTILISEZ LES PIEDS DE NIVELLEMENT POUR VOUS ASSURER QUE LES MEUBLES SONT À NIVEAU SUR LE SOL AVANT
DE LES UTILISER. LA MISE À NIVEAU DE L’ARMOIRE PEUT AFFECTER LE NIVEAU DES PORTES. VOIR LA PAGE SUIVANTE POUR LES
INSTRUCTIONS SUR L’ALIGNEMENT DES PORTES. RETIREZ TOUS LES ÉLÉMENTS DE L’ARMOIRE AVANT DE RÉGLER LES PIEDS DE
NIVELLEMENT.
NOTA: USE LOS PIES NIVELADORES PARA ASEGURARSE DE QUE EL MUEBLE ESTÉN NIVELADOS EN EL PISO ANTES DE USAR LA
MESA. NIVELAR EL GABINETE PUEDE AFECTAR EL NIVEL DE LAS PUERTAS. CONSULTE LA PÁGINA SIGUIENTE PARA OBTENER
INSTRUCCIONES SOBRE CÓMO ALINEAR LAS PUERTAS. RETIRE TODOS LOS ELEMENTOS DEL GABINETE ANTES DE AJUSTAR LAS
PATAS NIVELADORAS.
20
Adjusting the doors / Réglage des portes / Ajuste de las puertas
IMPORTANT — The furniture MUST be level on a at, solid oor surface for the doors to work
properly. Remove all items from furniture, then turn the leveling feet under the cabinet to make sure
the furniture is level. Once the furniture is level, align the doors as shown for proper operation.
IMPORTANT — Le meuble DOIT être de niveau sur une surface de sol plane et solide pour que les
portes fonctionnent correctement. Retirez tous les éléments des meubles, puis tournez les pieds
de nivellement sous l’armoire pour vous assurer que le meuble est de niveau. Une fois le meuble
de niveau, alignez les portes comme indiqué pour un bon fonctionnement.
IMPORTANTE — El mueble DEBE estar nivelado sobre una supercie plana y sólida para que las
puertas funcionen correctamente. Retire todos los artículos de los muebles, luego gire las patas
niveladoras debajo del gabinete para asegurarse de que esté nivelado. Una vez que el gabinete
esté nivelado, alinee las puertas como se muestra para una operación adecuada.
Door PortePuerta
Door PortePuerta
Door PortePuerta
UP AND DOWN
Use screws to adjust the gaps at
the top and bottom of door.
HAUT ET BAS
Utilisez des vis pour ajuster les
espaces en haut et en bas de la
porte.
ARRIBA Y ABAJO
Use tornillos para ajustar los
espacios en la parte superior e
inferior de la puerta.
LEFT AND RIGHT
Use screw to adjust the gaps at
left and right of the door.
GAUCHE ET DROITE
Utilisez la vis pour ajuster les
écarts à gauche et à droite de
la porte.
IZQUIERDA Y DERECHA
Use un tornillo para ajustar los
espacios a la izquierda y a la
derecha de la puerta.
IN AND OUT
Use screw to move the door
in or out.
DEDANS ET DEHORS
Utilisez la vis pour déplacer la porte
vers l’intérieur ou vers l’extérieur.
DENTRO Y FUERA
Use un tornillo para mover la puerta
hacia adentro o hacia afuera.

This manual suits for next models

2

Other Hudson & Canal Indoor Furnishing manuals

Hudson & Canal ST0133 User manual

Hudson & Canal

Hudson & Canal ST0133 User manual

Hudson & Canal CT0826 User manual

Hudson & Canal

Hudson & Canal CT0826 User manual

Hudson & Canal TV0684 User manual

Hudson & Canal

Hudson & Canal TV0684 User manual

Hudson & Canal ST0650 User manual

Hudson & Canal

Hudson & Canal ST0650 User manual

Hudson & Canal Donovan TV1835 User manual

Hudson & Canal

Hudson & Canal Donovan TV1835 User manual

Hudson & Canal TV0569 User manual

Hudson & Canal

Hudson & Canal TV0569 User manual

Hudson & Canal OF0643 User manual

Hudson & Canal

Hudson & Canal OF0643 User manual

Hudson & Canal TV1719 User manual

Hudson & Canal

Hudson & Canal TV1719 User manual

Hudson & Canal TV1137 User manual

Hudson & Canal

Hudson & Canal TV1137 User manual

Hudson & Canal ST0829 User manual

Hudson & Canal

Hudson & Canal ST0829 User manual

Hudson & Canal TV0672 User manual

Hudson & Canal

Hudson & Canal TV0672 User manual

Hudson & Canal ST0554 User manual

Hudson & Canal

Hudson & Canal ST0554 User manual

Hudson & Canal TV1839 User manual

Hudson & Canal

Hudson & Canal TV1839 User manual

Hudson & Canal TV1134 User manual

Hudson & Canal

Hudson & Canal TV1134 User manual

Hudson & Canal AT0415 User manual

Hudson & Canal

Hudson & Canal AT0415 User manual

Hudson & Canal TV0487 User manual

Hudson & Canal

Hudson & Canal TV0487 User manual

Hudson & Canal ST0361 User manual

Hudson & Canal

Hudson & Canal ST0361 User manual

Hudson & Canal ST0653 User manual

Hudson & Canal

Hudson & Canal ST0653 User manual

Hudson & Canal TV1724 User manual

Hudson & Canal

Hudson & Canal TV1724 User manual

Hudson & Canal ST0274 User manual

Hudson & Canal

Hudson & Canal ST0274 User manual
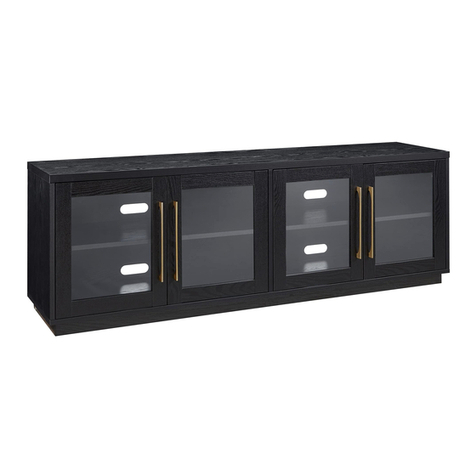
Hudson & Canal OF0839 User manual

Hudson & Canal

Hudson & Canal OF0839 User manual

Hudson & Canal TV1478 User manual

Hudson & Canal

Hudson & Canal TV1478 User manual

Hudson & Canal TV1029 User manual

Hudson & Canal

Hudson & Canal TV1029 User manual
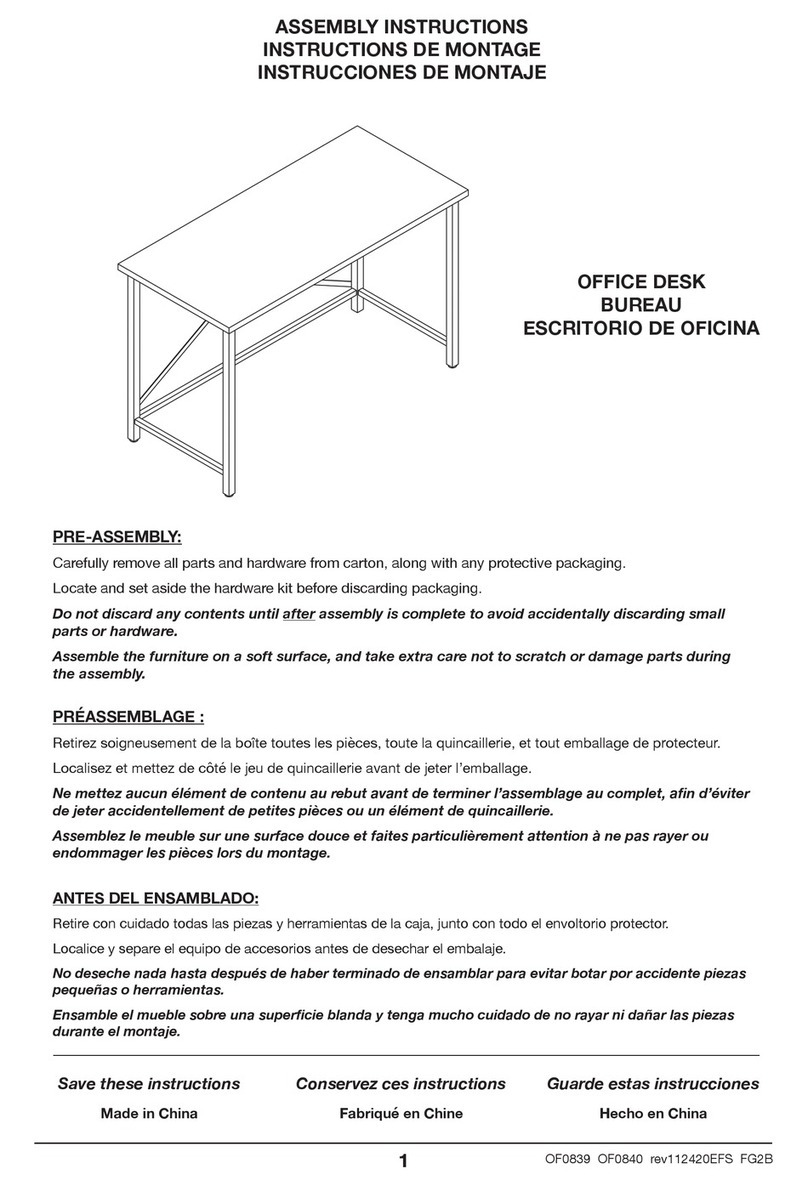
Hudson & Canal TV1817 User manual

Hudson & Canal

Hudson & Canal TV1817 User manual

Popular Indoor Furnishing manuals by other brands

sweeek. FLOKI IFKCHEST4D manual

sweeek.

sweeek. FLOKI IFKCHEST4D manual

Tchibo 354 232 Product information

Tchibo

Tchibo 354 232 Product information

Manhattan Comfort 1023800 Assembly instructions

Manhattan Comfort

Manhattan Comfort 1023800 Assembly instructions

Henn&Hart AT0093 Assembly instructions

Henn&Hart

Henn&Hart AT0093 Assembly instructions

Amart Furniture BOULDER KING BED 53564 Assembly instructions

Amart Furniture

Amart Furniture BOULDER KING BED 53564 Assembly instructions

modway EEI-3737 Assembly instructions

modway

modway EEI-3737 Assembly instructions

World Market Naisha 607438 Assembly instructions

World Market

World Market Naisha 607438 Assembly instructions

FURNITUREBOX SAMBA Assembly guide

FURNITUREBOX

FURNITUREBOX SAMBA Assembly guide

Furniture of America CM7677T Assembly instructions

Furniture of America

Furniture of America CM7677T Assembly instructions

mothercare KA475 user guide

mothercare

mothercare KA475 user guide

Essentials For Living NCARRERA NESTING COFFEE TABLE SMALL Assembly instructions

Essentials For Living

Essentials For Living NCARRERA NESTING COFFEE TABLE SMALL Assembly instructions

Eloquence ROUSSEAU BOOKCASE Assembly instructions and care manual

Eloquence

Eloquence ROUSSEAU BOOKCASE Assembly instructions and care manual

Furniture of America CM3431T Assembly instructions

Furniture of America

Furniture of America CM3431T Assembly instructions

YitaHome DGJH-V1 quick start guide

YitaHome

YitaHome DGJH-V1 quick start guide

Mainstays STACK MS16-D4-1007-02 Assembly instructions

Mainstays

Mainstays STACK MS16-D4-1007-02 Assembly instructions

Mocka Sadie Assembly instructions

Mocka

Mocka Sadie Assembly instructions

Hülsta now! 4650 Assembly instruction

Hülsta

Hülsta now! 4650 Assembly instruction

Live Fine Adjustable Queen Bed user guide

Live Fine

Live Fine Adjustable Queen Bed user guide

manuals.online logo
manuals.online logoBrands
  • About & Mission
  • Contact us
  • Privacy Policy
  • Terms and Conditions

Copyright 2025 Manuals.Online. All Rights Reserved.