manuals.online logo
Brands
  1. Home
  2. •
  3. Brands
  4. •
  5. Hussmann
  6. •
  7. Accessories
  8. •
  9. Hussmann IMPACT Excel C2-X User manual

Hussmann IMPACT Excel C2-X User manual

NOTE: Be sure Merchandisers have
been leveled according to the instal-
lation instructions. Be sure factory-
installed nut retainers and align-
ment pins are in place.
1Remove shelves (if installed),
display racks, pans, front shelf
supports and front air grilles
from the right end.
Remove the rear panels from
the right end:
A. Remove the lower back
panel first by lifting up from its
bottom edge and out. Do not
use sharp tools.
B. Lift the upper back panel
up and out.
2Apply Gasket – 1 in the
horizontal recess across the
bottom and up front to cover
slots, including glass front.
Apply Gasket – 2 to cover
foam-to-metal gap at rear and
across top as shown. Lap gas-
kets at lower corners. Check
that there are no gaps between
gasket and merchandiser.
• Do not stretch gasket,
especially around corners.
• Do not butt gaskets; always
overlap joints.
• Remove paper backing after
gasket is applied.
3Move second Merchandiser
against first, mating
alignment pins with
corresponding holes.
4Fasten fronts together using
Cap Screw – 3, Flat
Washers – 4, Lock
Washers – 5, and Nut – 6.
Tighten only until front panels
touch. Do not tighten fully.
5Use Cap Screws – 3 with Flat
Washers – 4 and Lock
Washers – 5 to draw
merchandisers together at rear.
Start at the bottom, below the
coil baffle, then middle, then
top; tighten until gaskets are
compressed.
6Draw canopies together using
Rod – 7 through top shoe, and
Washers – 8, and Nuts – 9 on
each end of rod. Stop when
canopies touch.
7Apply Butyl Tape – 10 across
bottom joint, extending up
at back and front. Use field-
supplied silicone in any gap
between front support brackets.
8Refer to I/O manual to install
splashguard brackets.
Install Splashguard Joint
Support – 11 using
Screws – 12. Install splash-
guards and lower front panels
according to I/O manual.
9Refer to Poster 389043 or
I/O manual or to remove and
install top rail and bumpers.
Install upper bumper starter and
bumper trim butted up to left end.
Push into place. Slide internal
bumper trim under right end of
upper bumper starter. Install full
length bumpers and trim flush
with starter and offset across
joints, making sure no gaps exist
between sections. Push into place.
Install lower bumper starter butted
up to left end. Push into place. Add
full length bumpers flush with
starter and offset across joints,
making sure no gaps exist between
sections. Push into place.
Install top rail starter butted up to
left end; push front down over
color panel until snap, then push
rear over light chanel until snap.
Add full length top rail flush with
starter and offset across joint.
REFRIGERATE CASE LINEUP AND LAST
SECTIONS FOR AT LEAST 6 HOURS.
Before installing last sections, tap
the right end of top rail and
bumpers to close any gaps.
Measure between right end and
installed rail or bumper. Use a
miter box and fine-toothed saw
to cut last bumpers to length.
Before installing last section of
upper bumper, install internal trim
flush to right end, then install cut
bumper.

Merchandisers
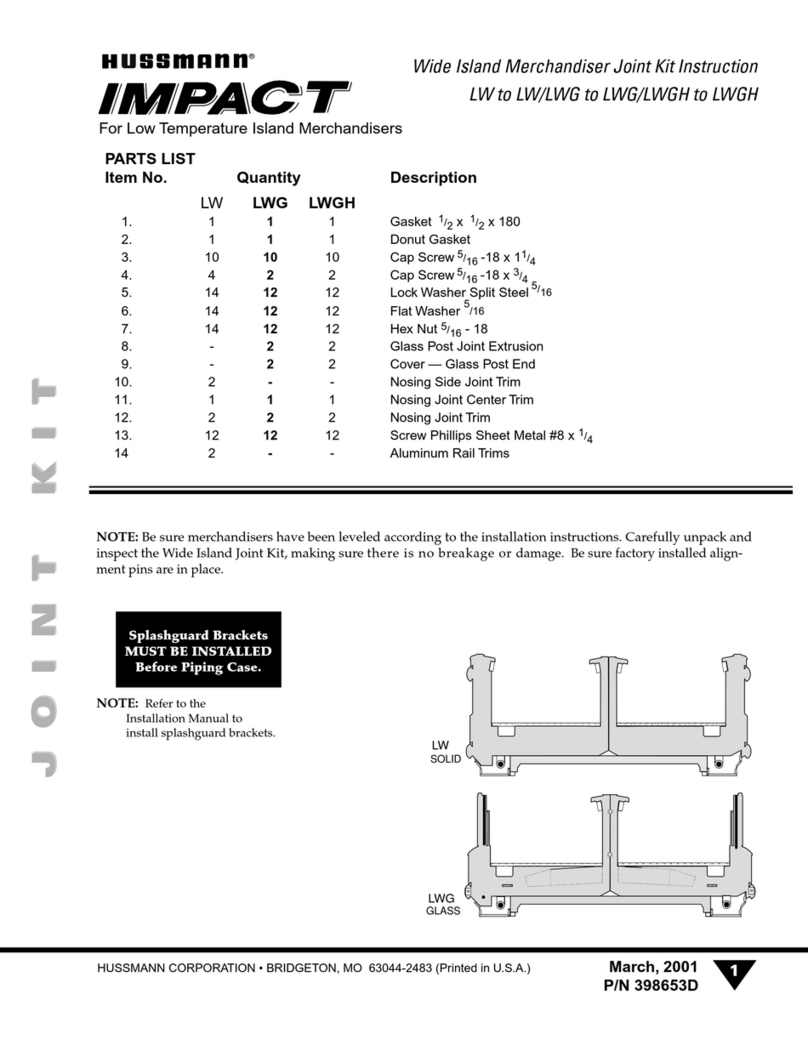
Multideck Merchandiser Joint Kit Instruction
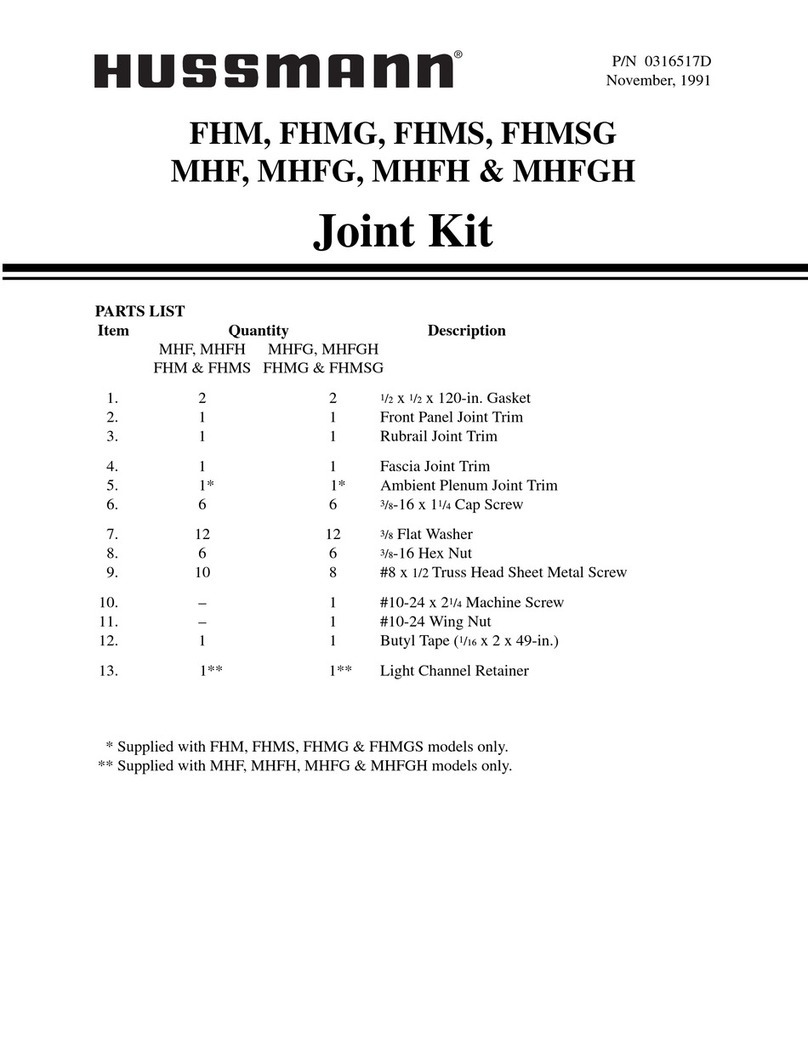
PARTS LIST
Item Quantity Description
18 in. Front 22 in. Front 26 in. Front
1. 111Gasket 1/2x 1/2x 60
2. 111Gasket 1/2x 15/8x 120
3. 455Cap Screw 5/16 -18 x 11/4
4. 455Flat Washer 5/16
5. 455Lock Washer 5/16
6. 122Hex Nut 5/16 -18
7. 111Threaded Rod 1/2 -16 x 12
8. 222Flat Washer 1/2
9. 222Hex Nut 1/2 -16
10. 111Butyl Tape
11. 111Splashguard Joint Support
12. 444Hex Head Sheetmetal Screw #8 x 1/2
Note: Nut retainers are factory installed in the left end, and alignment pins are factory installed in the right end of each merchandiser.
Removing Back Panels
®
HUSSMANN CORPORATION • BRIDGETON, MO 63044-2483 (Printed in U.S.A.)
7
8
9
9
8
Connecting Canopies
11
12
Installing
Splashguard Joint Support Installing Splashguard
Alignment
Bullets
1
High
Front
Detail
9
8
7
5
4
3
10
1 5/8in. Gasket
1/2in. Gasket
Butyl Tape
Silicone
(field supplied)
S
T
E
P
7
S
T
E
P
2
AB
C
D
E
2
2
2
1
6
5
4
3
1
Glass
Front
Detail
6
5
4
3
10
Butyl
Detail
September, 1995
P/N 0376449C
Splashguard
brackets
MUST BE
INSTALLED
BEFORE
PIPING CASE.

Other manuals for IMPACT Excel C2-X

2

This manual suits for next models

6

Other Hussmann Accessories manuals

Hussmann FHM User manual

Hussmann

Hussmann FHM User manual

Hussmann IMPACT LW User manual

Hussmann

Hussmann IMPACT LW User manual

Hussmann Krack MS Series User manual

Hussmann

Hussmann Krack MS Series User manual

Hussmann ARL User manual

Hussmann

Hussmann ARL User manual

Hussmann FM User manual

Hussmann

Hussmann FM User manual

Hussmann IMPACT Excel C2-X User manual

Hussmann

Hussmann IMPACT Excel C2-X User manual

Hussmann Impact Excel B3XC-LEP User manual

Hussmann

Hussmann Impact Excel B3XC-LEP User manual

Hussmann ARL User manual

Hussmann

Hussmann ARL User manual

Popular Accessories manuals by other brands

EVAPCO AT Series Operation and maintenance instructions

EVAPCO

EVAPCO AT Series Operation and maintenance instructions

Legacy Chef's Choice 250 manual

Legacy

Legacy Chef's Choice 250 manual

Panasonic DP-0 Series manual

Panasonic

Panasonic DP-0 Series manual

Lippert Solera Power manual

Lippert

Lippert Solera Power manual

TIGEX 80834153 manual

TIGEX

TIGEX 80834153 manual

Acson AAD13A Operation manual

Acson

Acson AAD13A Operation manual

Avery Weigh-Tronix ZM505 User instructions

Avery Weigh-Tronix

Avery Weigh-Tronix ZM505 User instructions

NEUTRIK opticalCON Breakoutbox Handling instruction

NEUTRIK

NEUTRIK opticalCON Breakoutbox Handling instruction

WONDERCISE TR-01 user manual

WONDERCISE

WONDERCISE TR-01 user manual

Jaycar MB-3615 quick start guide

Jaycar

Jaycar MB-3615 quick start guide

Balluff BKT 67M-003-U-S92 user manual

Balluff

Balluff BKT 67M-003-U-S92 user manual

dirna Bergstrom bycool COMPACT 3.0 Mounting instructions

dirna Bergstrom

dirna Bergstrom bycool COMPACT 3.0 Mounting instructions

Meister D-592P operating instructions

Meister

Meister D-592P operating instructions

Panasonic Light Emitting Diodes LNJ0F1C5FRA1 Specifications

Panasonic

Panasonic Light Emitting Diodes LNJ0F1C5FRA1 Specifications

Rittal CMC III Installation and Short User Guide

Rittal

Rittal CMC III Installation and Short User Guide

Rittal DK 7030.190 Installation guide and short user's guide

Rittal

Rittal DK 7030.190 Installation guide and short user's guide

Sears Craftsman  171.25450 owner's manual

Sears

Sears Craftsman 171.25450 owner's manual

Ekinex EK-DB2-TP Applications manual

Ekinex

Ekinex EK-DB2-TP Applications manual

manuals.online logo
manuals.online logoBrands
  • About & Mission
  • Contact us
  • Privacy Policy
  • Terms and Conditions

Copyright 2025 Manuals.Online. All Rights Reserved.