HUSSMANN CORPORATION • BRIDGETON, MO 63044-2483 (Print d in U.S.A.)
NOTE: Be sure merchandisers have been leveled according to the installation instructions. Carefully unpack and
inspect the Wide Island Joint Kit, making sure there is no
breakage or damage. Be sure factory installed align-
ment pins are in place.
®
Wide Island Merchandiser Joint Kit Instruction
LW to LW/LWG to LWG/LWGH to LWGH
For Low T mp ratur Island M rchandis rs
March, 2001
P/N 398653D
JOINT
JOINT KIT
KIT
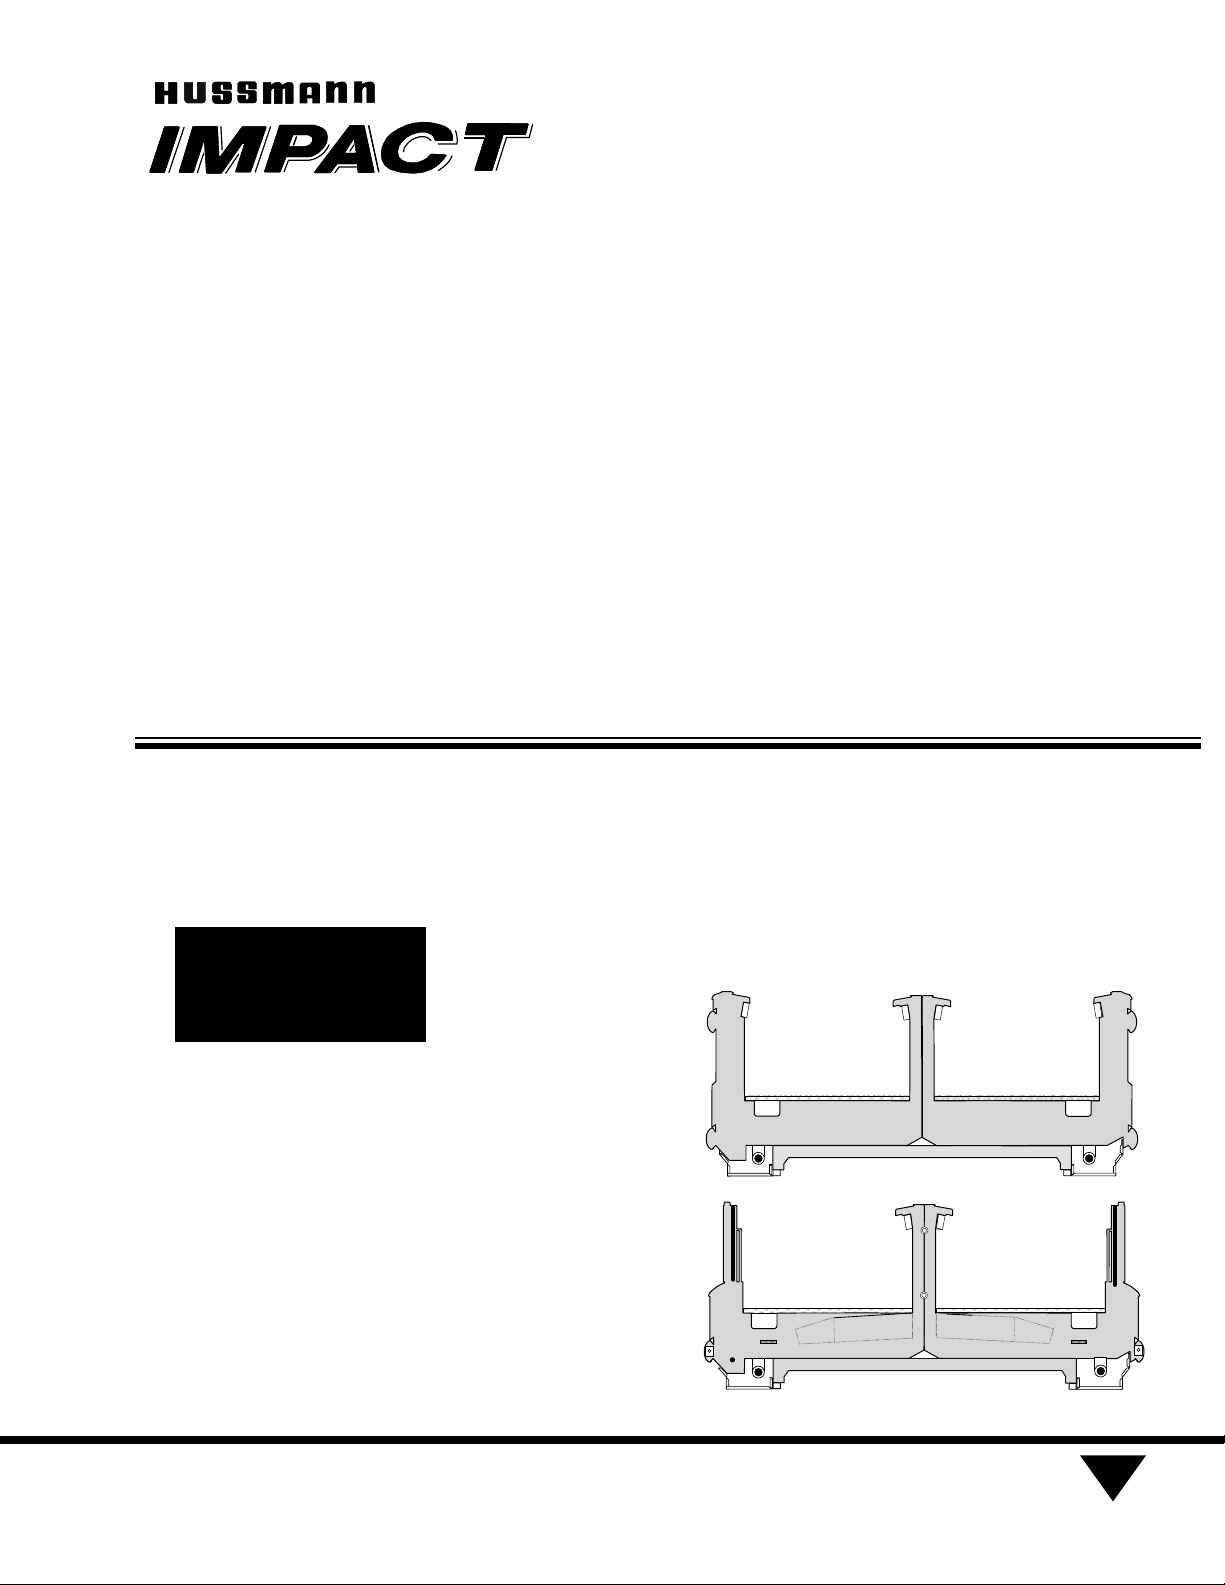
1
PARTS LIST
Item No. Q antity Description
LW LWG LWGH
1. 1 11Gaskt
1/2x 1/2x 180
2. 1 11 Donut Gask t
3. 10 10 10 Cap Scr w 5/16 -18 x 11/4
4. 4 22 Cap Scr w 5/16 -18 x 3/4
5. 14 12 12 Lock Wash r Split St l 5/16
6. 14 12 12 Flat Wash r 5/16
7. 14 12 12 H x Nut 5/16 - 18
8. - 22 Glass Post Joint Extrusion
9. - 22 Cov r — Glass Post End
10. 2 -- Nosing Sid Joint Trim
11. 1 11 Nosing Joint C nt r Trim
12. 2 22 Nosing Joint Trim
13. 12 12 12 Scr w Phillips Sh t M tal #8 x 1/4
14 2 -- Aluminum Rail Trims
Splashguard Brackets
MUST BE INSTALLED
Before Piping Case.
NOTE: Refer to the
Installation Manual to
install splashguard brackets. LW
SOLID
LWG
GLASS


