P/N 0515957_M 1-1
HUSSMANN CORPORATION • BRIDGETON, MO 63044-2483 U.S.A. DDSS Open Vertical Merchandisers
UL LISTING
These merchandisers are manufactured to meet
ANSI/ UL 471 standard requirements for safe-
ty. Proper installation is required to maintain
the listing.
FEDERAL / STATE REGULATION
These merchandisers at the time they are man-
ufactured, meet all federal and state/ provincial
regulations. Proper installation is required to
ensure these standards are maintained. Near
the serial plate, each merchandiser carries a
label identifying the environment for which the
merchandiser was designed for use. A Type II
fan speed control kit is required for each mer-
chandiser to operate at Type II conditions.
ANSI/NSF-7 Type I – Display Refrigerator /
Freezer
Intended for 75°F (24°C) / 55%RH Ambient Application
ANSI/NSF-7 Type II – Display Refrigerator / Freezer
Intended for 80°F / 55%RH Ambient Application
ANSI/NSF-7 – Display Refrigerator
Intended for Bulk Produce
HUSSMANN PRODUCT CONTROL
The serial number and shipping date of all
equipment is recorded in Hussmann’s files
for warranty and replacement part purposes.
All correspondence pertaining to warranty or
parts ordering must include the serial number
of each piece of equipment involved. This is to
ensure the customer is provided with the cor-
rect parts.
SHIPPING DAMAGE
All equipment should be thoroughly examined
for shipping damage before and during
unloading. This equipment has been carefully
inspected at our factory. Any claim for loss or
damage must be made to the carrier. The
carrier will provide any necessary inspection
reports and/or claim forms.
Apparent Loss or Damage
If there is an obvious loss or damage, it must
be noted on the freight bill or express receipt
and signed by the carrier’s agent; otherwise,
carrier may refuse claim.
Concealed Loss or Damage
When loss or damage is not apparent until
after equipment is uncrated, retain all packing
materials and submit a written response to the
carrier for inspection within 15 days.
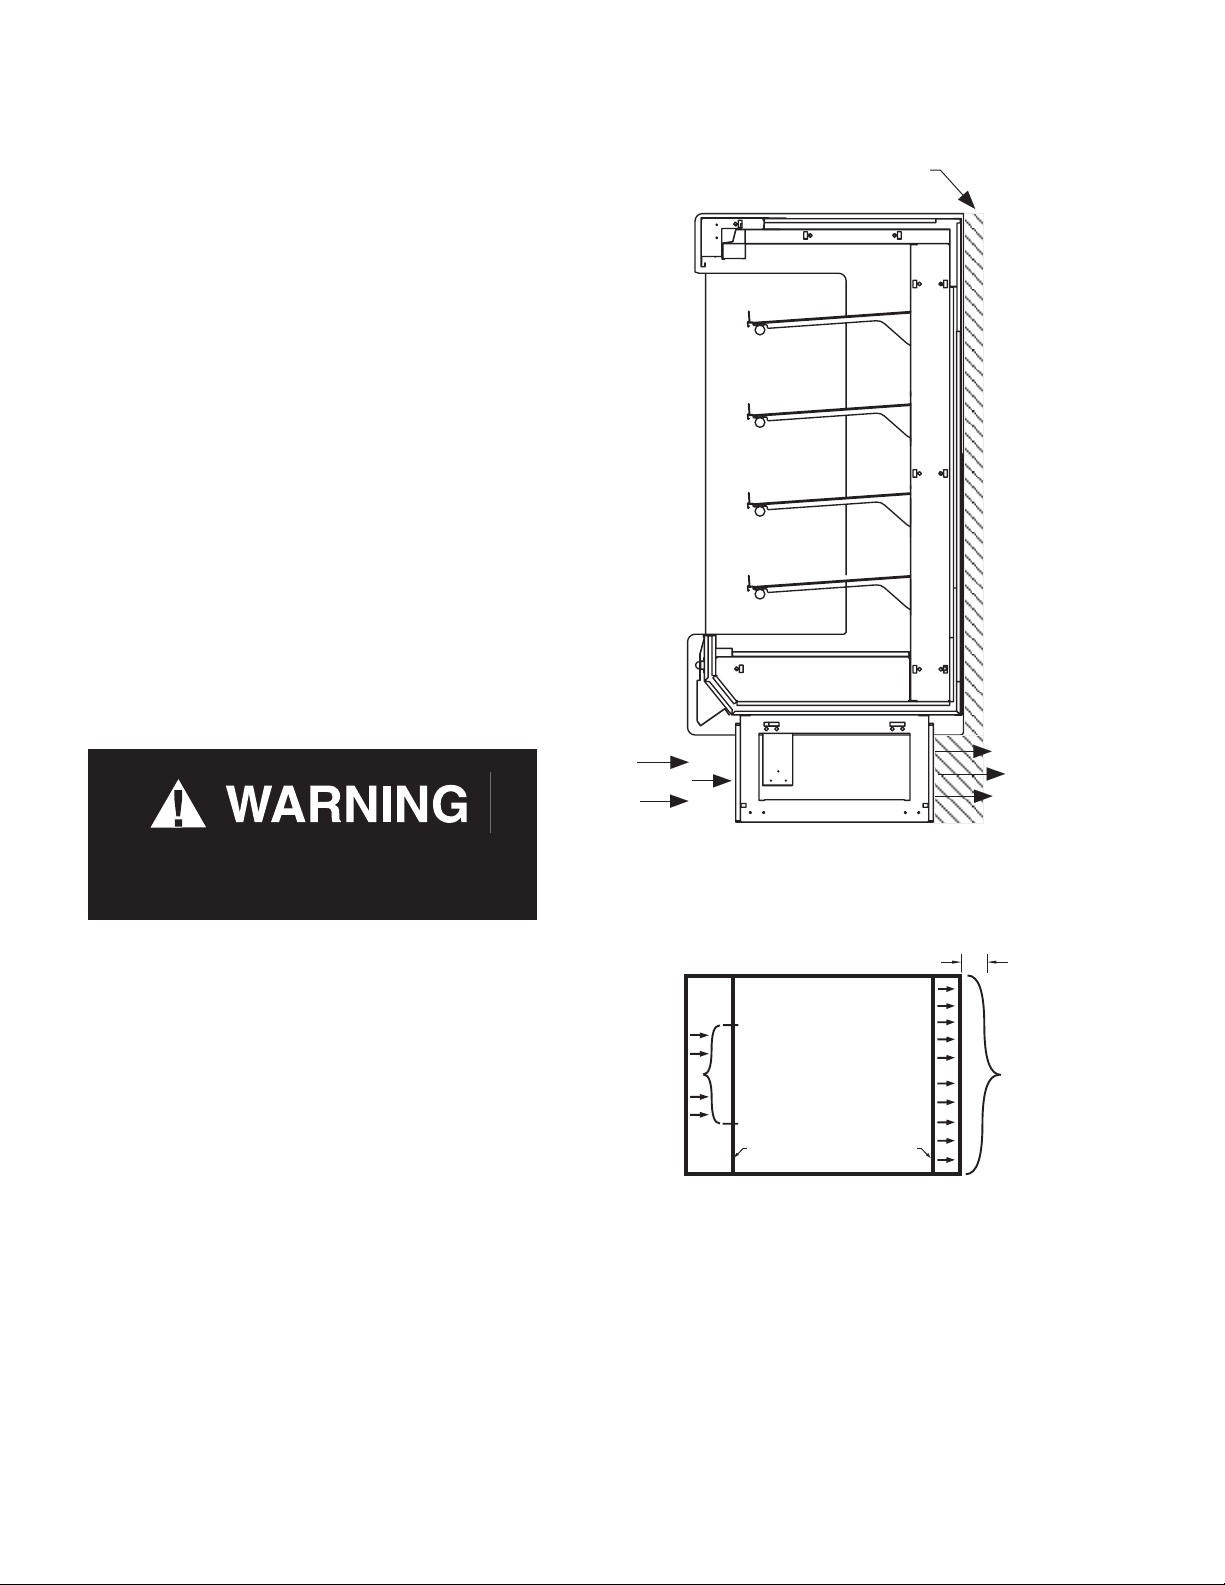
LOCATION
These merchandisers are designed for
displaying products in air conditioned stores
where temperature is maintained at or below
the ANSI / NSF-7 specified level and relative
humidity is maintained at or below 55%.
Placing refrigerated merchandisers in direct
sunlight, near hot tables or near other heat
sources could impair their efficiency. Like
other merchandisers, these merchandisers are
sensitive to air disturbances. Air currents
passing around merchandisers will seriously
impair their operation. Do NOT allow air
conditioning, electric fans, open doors or
windows, etc. to create air currents around the
merchandiser.
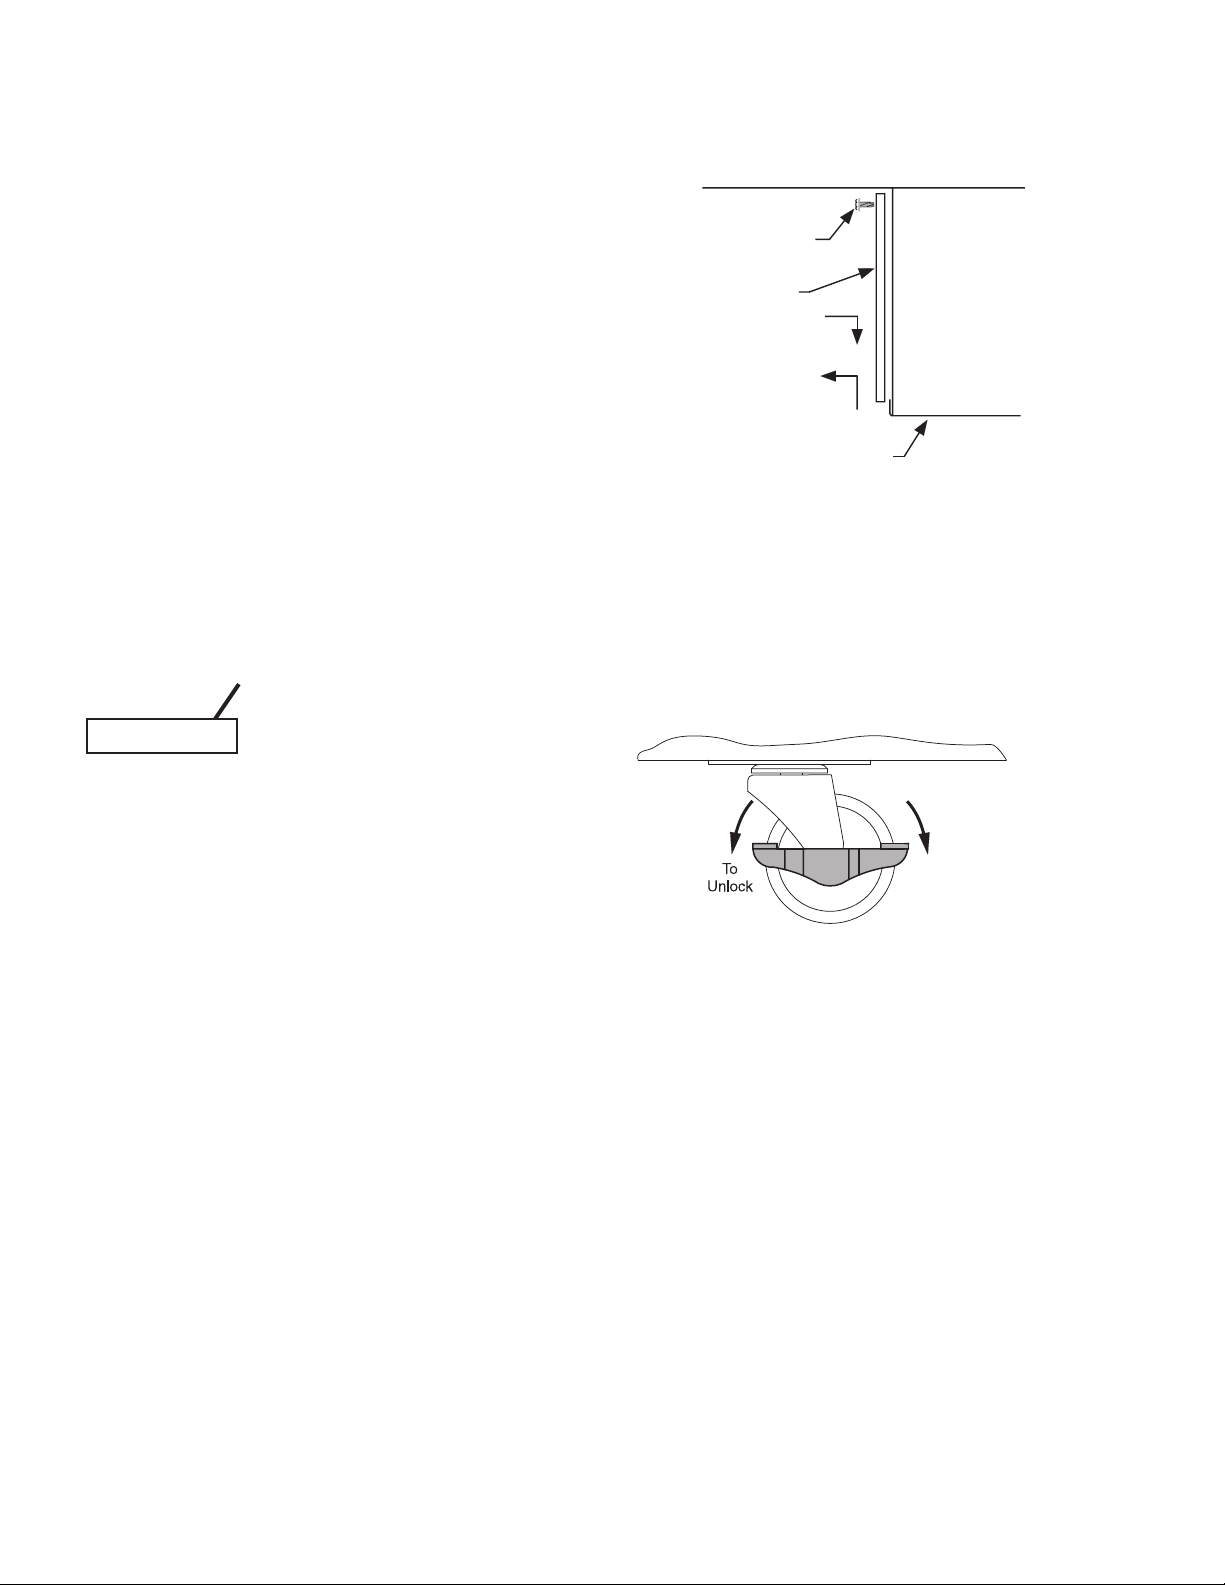
INSTALLATION
Recommended operating ambient
temperature is between
65°F (18°C) to 80°F (26.7°C).
Maximum relative humidity is 55%.