Warranty, Terms & Conditions
Hyco Manufacturing Pty. Ltd. guarantees your heater against faulty
manufacture or mechanical defect for the period as stipulated in the
table below. .
The above warranty is applicable to your water heater (hereinafter
called the unit) provided that:-
The unit is installed in accordance with the local water & electrical
supply authority regulations.
The unit is installed in accordance with the installation Instructions
accompanying each unit.
The unit is operated and maintained in line with 'Care and Cleaning'
instructions in the 'Owners Manual'.
Product / Series Warranty Period Country
Microboil Standard 1 yr Parts & Labour United
3 yr's on Tank parts only Kingdom
Microboil Premier 2 yr's Parts & Labour United
SB & SC Series 5 yr's on Tank - parts only Kingdom
1 yr Parts & Labour All Other
3 yr's on Tank, parts only Countries
1 yr's Parts & Labour All Other
SB & SC Series 3 yr's on Tank - parts only Countries
The warranty period commences from the date of purchase of the
Water Heater. Evidence of date of purchase may be requested.
Hyco Manufacturing Pty. Ltd. reserves the right to repair or replace
the unit . This warranty expressly excludes any form of consequential
damage or loss. .
1. Introduction
Thank you and congratulations on purchasing the Hyco Boiling
Water Dispenser one of the most advanced Boiling Water Dispensers
on the market today. .
,
This booklet contains useful information on the operation and care
of your Boiling Water Dispenser as well as important safety tips.
Please take a few moments to read this booklet so you can enjoy
many years of trouble free instant boiling water. .
At SupaKwik we are proud of our high standard of quality and
customer service. If you have any feedback or require further
information on our products or service please contact us using the
details on the back page of the manual. .
2. Installation & Service
2.1
The Boiling Water Dispenser must be installed by a suitably
qualified person.
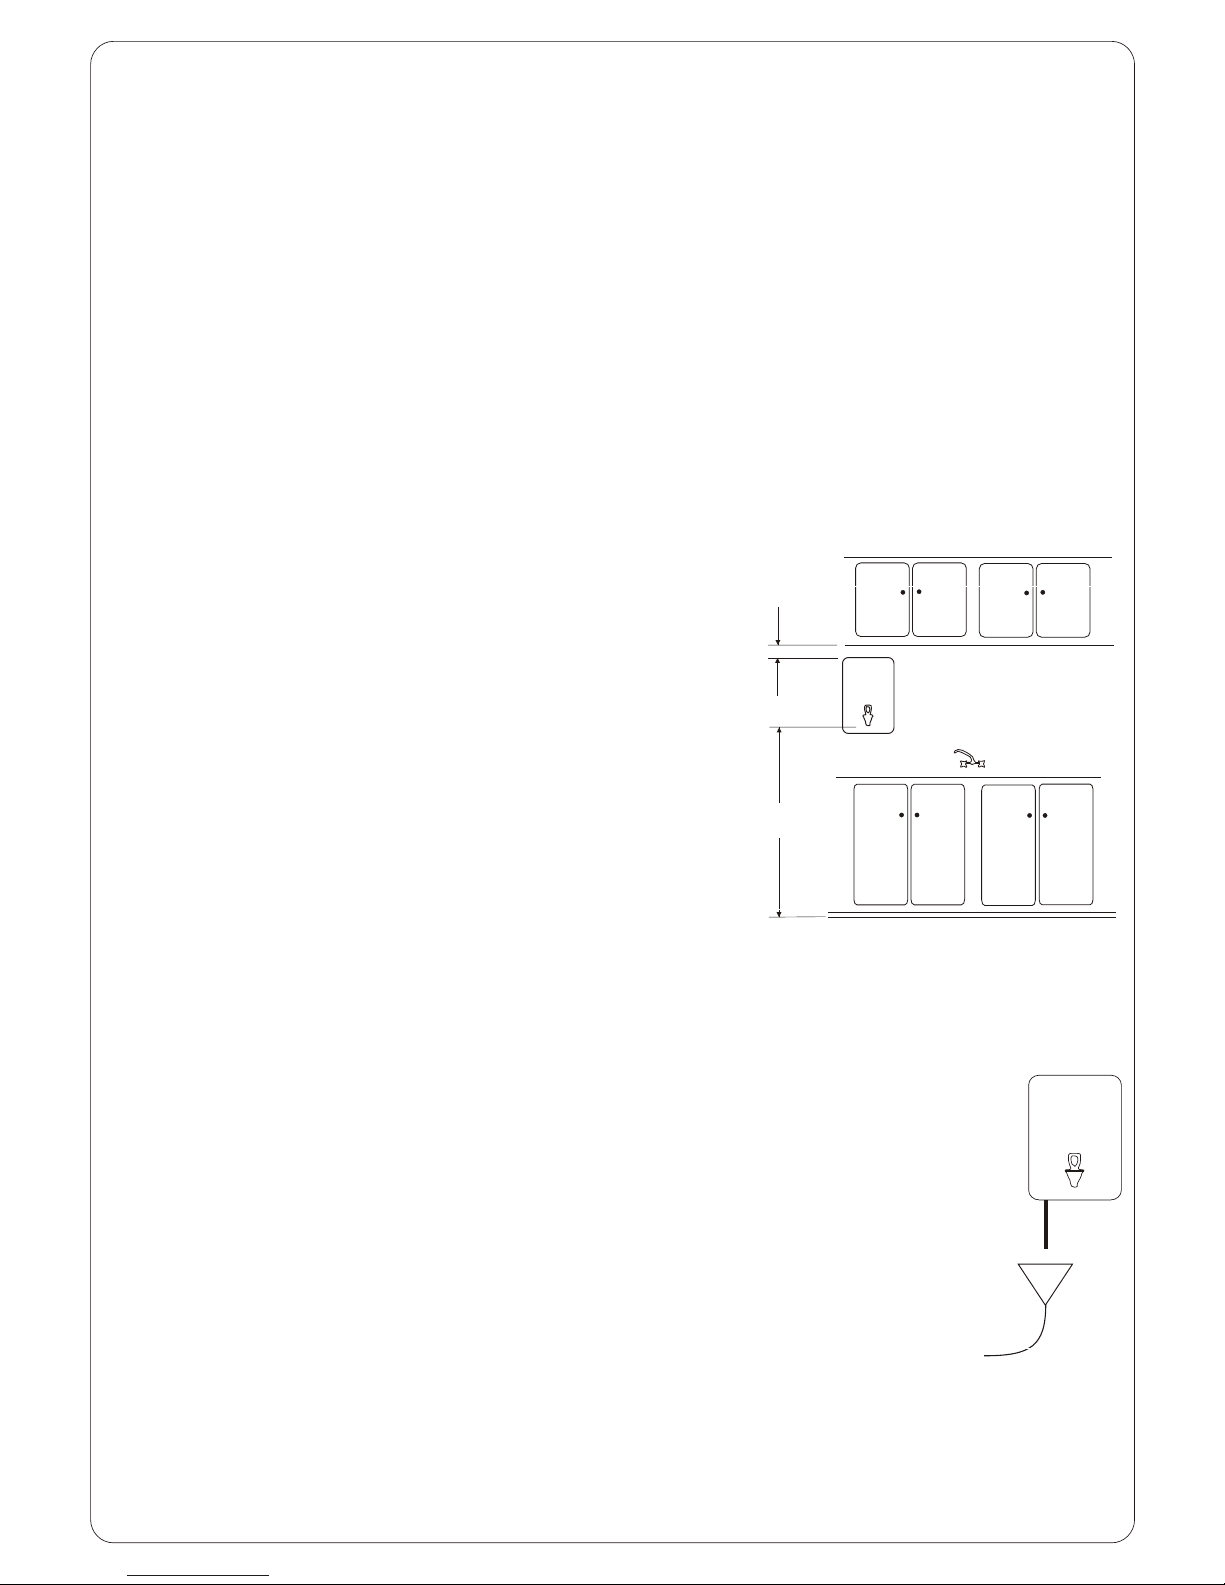
2.2
The Boiling Water Dispenser must be installed as per the
Installation Instructions supplied.
2.3
Installation and Service must comply with AS/NZS 3500.4.2:
or to Local Electrical and Plumbing Codes and Regulations
2.4
Warranty repairs can only be performed by approved
Service Agents - contact the manufacturer for your
nearest Service Agent (ref. Details on back). .
2.5
The Boiling Water Dispenser is not designed to operate
outdoors.
2.6
If a filter is installed a pressure limiting valve must be fitted to
protect the filter.
5.
·
·
·
SA Series
Kwikboil
SA Series
Supaboil