Hypercable Z24A30T37301 User manual

Manuel de montage des antennes Hautes performances Wi200-Wi700
HYPERCABLE sarl 74 Avenue Paul Sabatier ZA de la Coupe 11.100 Narbonne Tel : +33 (0) 4 68 70 91 75 - Fax : 04 68 70 91 76
Mail : info@hypercable.fr - N° SIRET : 384 007 894 00023 –Code TVA CEE: FR90384007894 - www.hypercable.fr
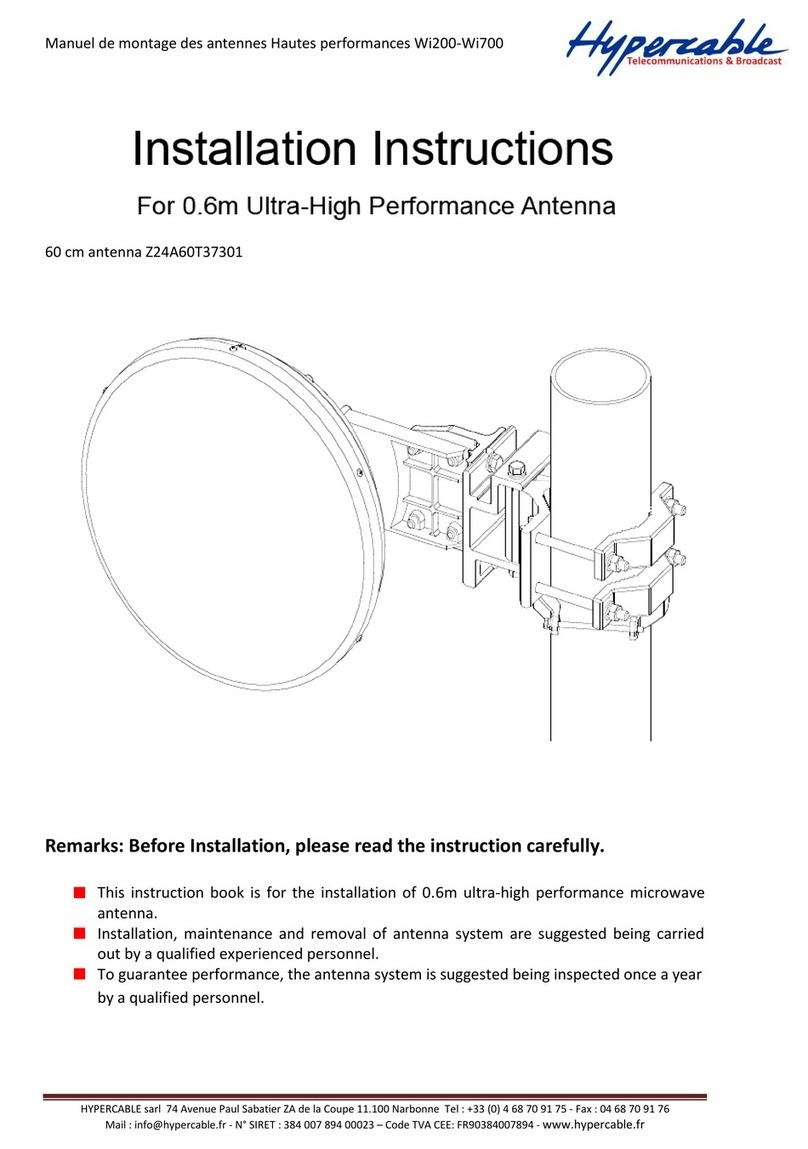
30 cm antenna Z24A30T37301
Remarks: Before Installation, please read the instruction carefully.
This instruction book is for the installation of 0.3m ultra-high performance microwave
antenna.
Installation, maintenance and removal of antenna system are suggested being carried
out by a qualified experienced personnel.
To guarantee performance, the antenna system is suggested being inspected once a year
by a qualified personnel.

Manuel de montage des antennes Hautes performances Wi200-Wi700
HYPERCABLE sarl 74 Avenue Paul Sabatier ZA de la Coupe 11.100 Narbonne Tel : +33 (0) 4 68 70 91 75 - Fax : 04 68 70 91 76
Mail : info@hypercable.fr - N° SIRET : 384 007 894 00023 –Code TVA CEE: FR90384007894 - www.hypercable.fr
1. Requirement of Installation
1.1 Mounting Pole
Microwave antenna can be fixed to the Mounting Pole (self-feed) of diameter from ø50 mm to
ø114 mm.
1.2 Tools Required for Installation
20×200 Adjustable Spanner (Used for bolt M10-M12)
17-19 Open-end Spanners (Used for bolt M10-M12)
3mm L-Spanner (Used for Screw M4)
Cross Screw-driver (Used for M3-M5)
Torque Spanner (Recommended)
1.3 Torque Parameters of Standard Parts
Customer can use these torque parameters as reference to assembly the antenna.

Manuel de montage des antennes Hautes performances Wi200-Wi700
HYPERCABLE sarl 74 Avenue Paul Sabatier ZA de la Coupe 11.100 Narbonne Tel : +33 (0) 4 68 70 91 75 - Fax : 04 68 70 91 76
Mail : info@hypercable.fr - N° SIRET : 384 007 894 00023 –Code TVA CEE: FR90384007894 - www.hypercable.fr
3. Connect Hanging Bracket and Assembly Reflector
3.1 Mount Hanging Bracket
Step1: Connect Y Type and E Type Extruded Profile with two M10×25 bolts, and then put two
M10×140 bolts in the mounting hole of Y Type Extruded Profile (show in Fig 3.1).
Step2: Put Azimuth Adjustor in another mounting hole of Y Type Extruded Profile, and then use
Bolt M10×35 to fix it to the E Type Extruded Profile (shown in Fig 3.2).
Step3: Connect the two clamps to the four pieces of M10X140 bolt as shown in Fig 3.3.
Screw the nuts on the bolts into a position around 20mm to stabilize the clamps.
Step4: Finishing the entire bracket assembly as shown in Fig 3.4.

Manuel de montage des antennes Hautes performances Wi200-Wi700
HYPERCABLE sarl 74 Avenue Paul Sabatier ZA de la Coupe 11.100 Narbonne Tel : +33 (0) 4 68 70 91 75 - Fax : 04 68 70 91 76
Mail : info@hypercable.fr - N° SIRET : 384 007 894 00023 –Code TVA CEE: FR90384007894 - www.hypercable.fr
3.2 Connect Hanging Bracket and Antenna
As shown in the diagrams below, connect the mounted Hanging Bracket of Fig 3.5 and Reflector
Assembly of 3.6 by bolts (shown in Fig 3.7).
Use bolt to connect Hanging Bracket and Reflector Assembly in the arrow’s direction
(shown in Fig 3.8 and Fig3.9).
4. Antenna Overall Assembly
4.1 Mount Anti-slide Bracket
Anti-slide Bracket could be mounted to the Mounting Pole(ø50~ ø114) in a way shown in Fig 4.1.
Make sure tighten the two M6x110 bolts after fixing the position.

Manuel de montage des antennes Hautes performances Wi200-Wi700
HYPERCABLE sarl 74 Avenue Paul Sabatier ZA de la Coupe 11.100 Narbonne Tel : +33 (0) 4 68 70 91 75 - Fax : 04 68 70 91 76
Mail : info@hypercable.fr - N° SIRET : 384 007 894 00023 –Code TVA CEE: FR90384007894 - www.hypercable.fr
4.2 Antenna installation
Following indications in Fig. 4.2 ~ 4.3, customer could install the antenna either on the left hand
or right hand sides of the pole. After installation, make sure open the bottom draining-hole.

Manuel de montage des antennes Hautes performances Wi200-Wi700
HYPERCABLE sarl 74 Avenue Paul Sabatier ZA de la Coupe 11.100 Narbonne Tel : +33 (0) 4 68 70 91 75 - Fax : 04 68 70 91 76
Mail : info@hypercable.fr - N° SIRET : 384 007 894 00023 –Code TVA CEE: FR90384007894 - www.hypercable.fr
Antenna gets attached to the pole by clamps after tighten all bolts, as shown in Fig 4.3 and Fig4.4.

Manuel de montage des antennes Hautes performances Wi200-Wi700
HYPERCABLE sarl 74 Avenue Paul Sabatier ZA de la Coupe 11.100 Narbonne Tel : +33 (0) 4 68 70 91 75 - Fax : 04 68 70 91 76
Mail : info@hypercable.fr - N° SIRET : 384 007 894 00023 –Code TVA CEE: FR90384007894 - www.hypercable.fr
4.3 ODU radio Outdoor units
Wi200 Hyperbridge ODU

Manuel de montage des antennes Hautes performances Wi200-Wi700
HYPERCABLE sarl 74 Avenue Paul Sabatier ZA de la Coupe 11.100 Narbonne Tel : +33 (0) 4 68 70 91 75 - Fax : 04 68 70 91 76
Mail : info@hypercable.fr - N° SIRET : 384 007 894 00023 –Code TVA CEE: FR90384007894 - www.hypercable.fr
Wi700 Hyperbridge ODU

Manuel de montage des antennes Hautes performances Wi200-Wi700
HYPERCABLE sarl 74 Avenue Paul Sabatier ZA de la Coupe 11.100 Narbonne Tel : +33 (0) 4 68 70 91 75 - Fax : 04 68 70 91 76
Mail : info@hypercable.fr - N° SIRET : 384 007 894 00023 –Code TVA CEE: FR90384007894 - www.hypercable.fr
5. Antenna Adjustment
5.1 Azimuth Adjustment
Make coarse azimuth adjustment in the following way (shown in Fig 5.1): loosen the 4
nuts (No.1) of the Clamp (No.2) properly, and then push the whole structure slowly to make a
rotation from 0° to 360° around the Mounting Pole. Use compass to determine the antenna’s
position if necessary, and then tighten the nuts (No.1).
Make fine azimuth adjustment in the following way: loosen bolts (No. 5 and 6), and then
adjust nuts (No.3) of Azimuth Adjustor back and forth slowly. Antenna can make fine azimuth
adjustment from -15° to +15°; tighten all the standard parts after the adjustment is done.
5.2 Elevation Adjustment
Make elevation adjustment (shown in Fig 5.2): loosen the nuts (No.1), and then rotate
Elevation Adjustor clockwise or counterclockwise. Antenna can make fine elevation adjustment
from -15° to +15°, tighten all the standard parts after the adjustment is done.

Manuel de montage des antennes Hautes performances Wi200-Wi700
HYPERCABLE sarl 74 Avenue Paul Sabatier ZA de la Coupe 11.100 Narbonne Tel : +33 (0) 4 68 70 91 75 - Fax : 04 68 70 91 76
Mail : info@hypercable.fr - N° SIRET : 384 007 894 00023 –Code TVA CEE: FR90384007894 - www.hypercable.fr
Make coarse elevation adjustment (shown in Fig 5.3): loosen the bolts (No.5). Use ① &
④ thread holes, antenna can make elevation adjustment from +5° to +25°. Use ② & ③ thread
holes, antenna can make elevation adjustment from -5° to -25°. Tighten all the standard parts
after the adjustment is done.
6. Antenna Assembly Finishing
6.1 Tighten all the standard parts after antenna assembly are done, regard it to torque of the
standard parts is referred to the chapter 1.3.
6.2 Keep the antenna’s bottom draining-hole open. Keep the top one sealed (shown in Fig.6.1
and Fig.6.1.1).

Manuel de montage des antennes Hautes performances Wi200-Wi700
HYPERCABLE sarl 74 Avenue Paul Sabatier ZA de la Coupe 11.100 Narbonne Tel : +33 (0) 4 68 70 91 75 - Fax : 04 68 70 91 76
Mail : info@hypercable.fr - N° SIRET : 384 007 894 00023 –Code TVA CEE: FR90384007894 - www.hypercable.fr
7. Appendix
1. Loosen M6X25 bolts (2PCS), and then put ODU into the Transition Section (shown in Fig 7.1).
2. Tighten all the standard parts (shown in Fig 7.2).
Table of contents
Other Hypercable Antenna manuals
Popular Antenna manuals by other brands

Laird
Laird VLQ69273B21J Assembly and installation instructions

Arrow Antenna
Arrow Antenna CR440 manual

Radio Shack
Radio Shack AM/FM Indoor Amplified Antenna owner's manual

Directive Systems & Engineering
Directive Systems & Engineering Yagi DSE3319LYCEL Assembly instructions

Televes
Televes Vzenit quick start guide

MFJ
MFJ MFJ-1838 instruction manual