Instruction Manual 76
Instruction Manual
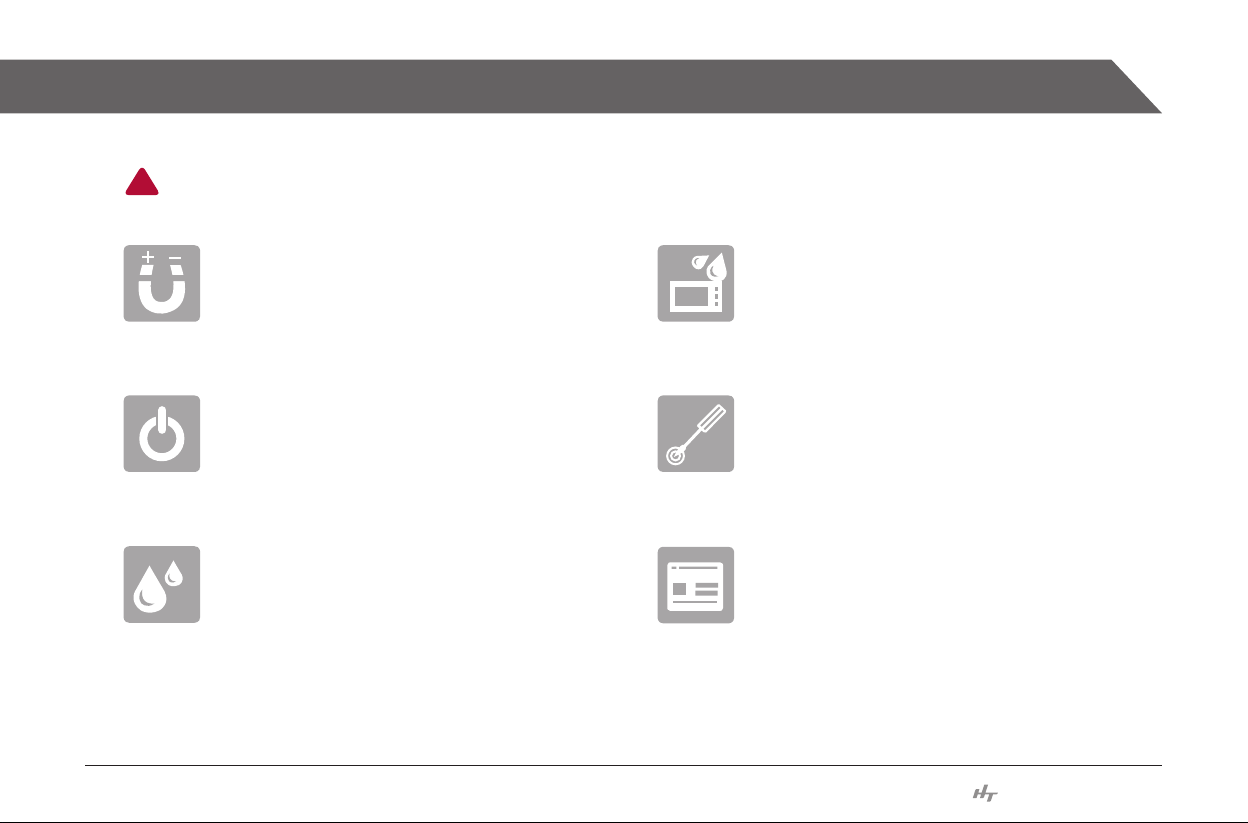
Precautions on use
This part contains matters that can result in a serious injury or even death. Please read and be fully aware of the
contents for the correct use of the equipment.
!
Any attempts of disassembly, repair,
remodeling are prohibited.
Do not have the product exposed to a
physical impact, smoke, oil, or water.
If there is any abnormal noise, smell, or
smoke coming out of the product, stop using
it immediately and call the Service Center.
Do not use water or chemicals, such as
alcohol, to wipe the outside of the product
with but use only a piece of dry cloth.
For the prevention of an injury, the product
has to be xed on the ground or wall safely
according to the installation manual.
Do not install the product in a place that is
either hot or humid due to a heating equipment
or such or is exposed to direct sunlight.