HYUNDAI
07 MIG-160/200
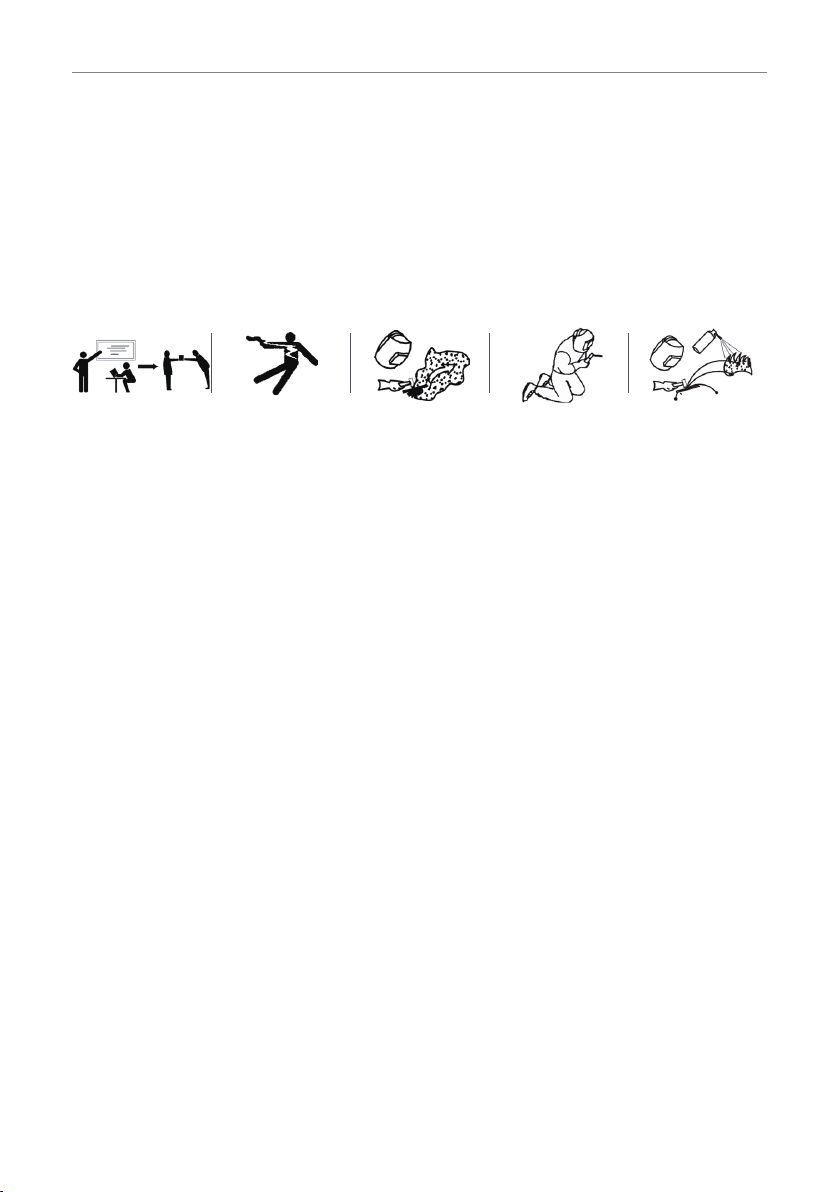
Warning
Please installthe machine strictly according to the following steps.
The protection class of this machine is IP21S,so avoid using it in rain.
Before using, please make sure the input voltage isin voltage range (200-240V). Otherwise, the machinewill
be damaged.
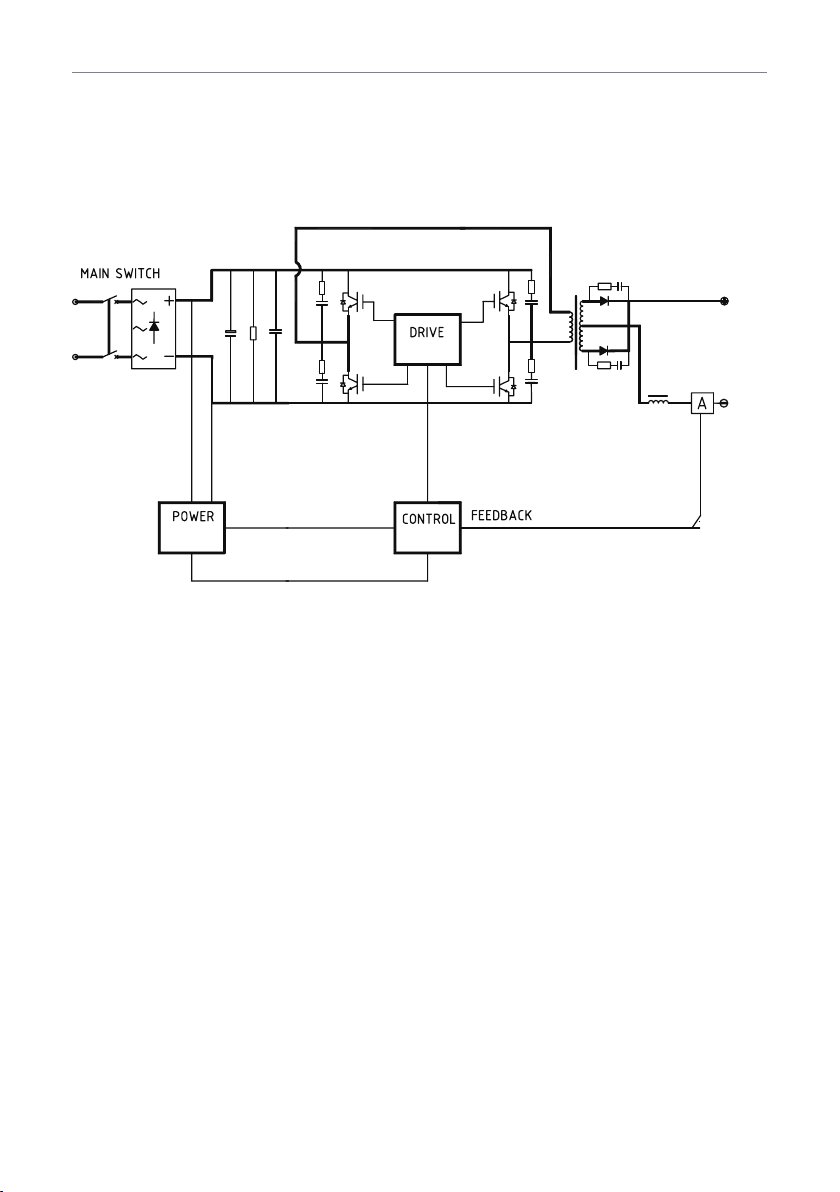
6.1 Connection ofinput cable
1) A primary power supply cable is available for this welding machine. Connect the power input cable to the
rated input power. (Ground connection is needed for safety purpose.)
2) The primary cable should be tightly connectedto the correct socket to avoid oxidization.
3) Check whether the voltage value varies in acceptable range witha multi-meter.
6.2 MMA installation
1) Two quick plugs are available for this machine. Insert the quick plugs into thequick socketson the front
panelof the machine, and tighten them to ensure good contact. Otherwise, the plugs and sockets will be
burnt if the working time is long and the working current is high.
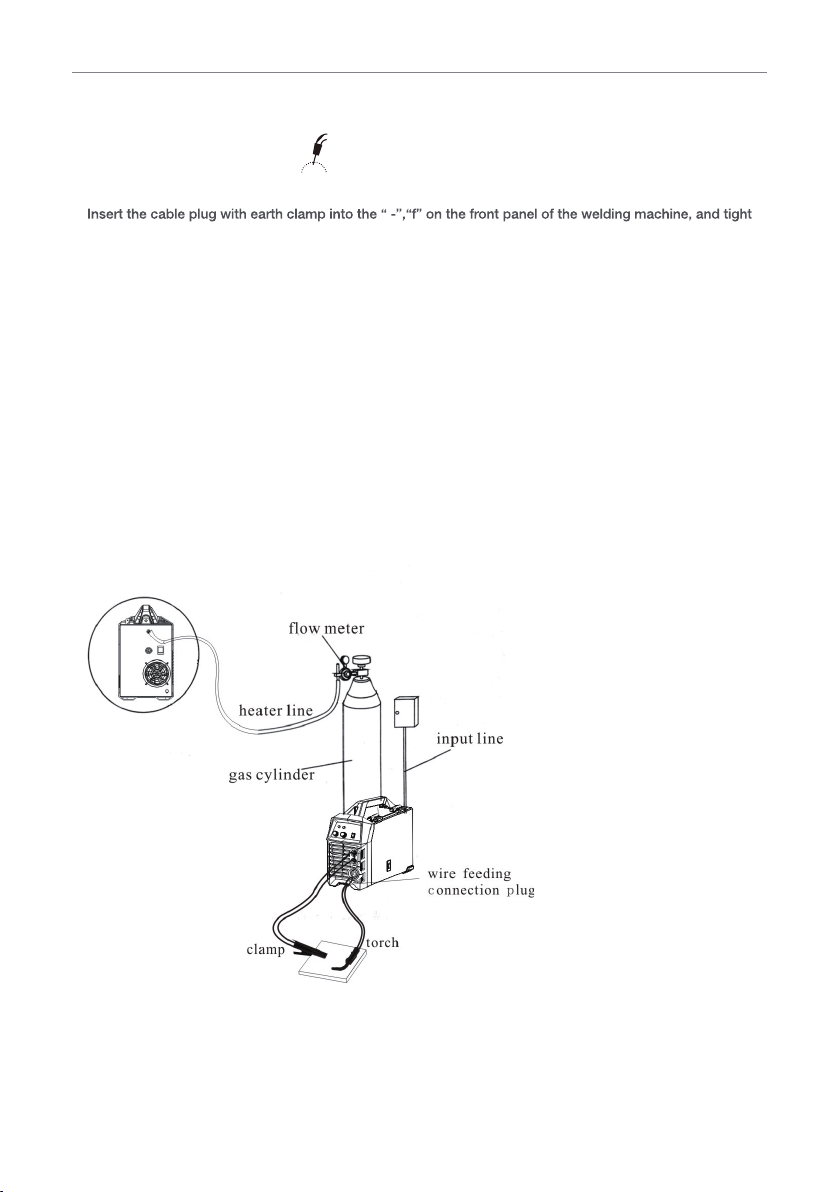
2) Insert the cable plug with electrodeholder into the “+” output terminal “g” on the frontpanel of the ma-
chine, and tighten it clockwise.Insert the cable plug with work clamp into the “-” output terminal“f” on the
front panelof the machine, and tighten it clockwise.
3) Generally, DCEP connection and DCEN connection are available in MMA.
DCEP: Connect theelectrode holder to “+” output terminal, and the work clamp to “-” output terminal.
DCEN: Connect theelectrode holder to “-” output terminal, and thework clamp to “+” output terminal.
Operatorsmay choose DCEP/DCEN according to workpiece and electrode application requirement. Phe-
nomena such asunstable arc, excessive spatter, and electrode sticking will occur when improper polarity is
selected.Change the connection by exchanging the quick plugs to solve the problem.
4) Select cable with larger cross-section to reduce the voltage drop if the secondary cables (welding cable
and earth cable) are long.
6.3. Operation method
1) After being installed according to the above method, and with the power switch on, the machine starts with
the power LED on and the fan working.
2) Turn on the MMA/MIG shift switch to MMA mode, and adjust the welding current with the current control
knob according to the electrode diameter and the thickness of workpiece.
3) Generally, welding current should be as below according to the electrode diameter.
Φ2.5: 70-100A; Φ3.2: 110-160A; Φ4.0: 170-200A; Φ5.0: 230-280A
6. Installation Debugging and Operation