Warranty Certificate –Customer Service –Warnings 7
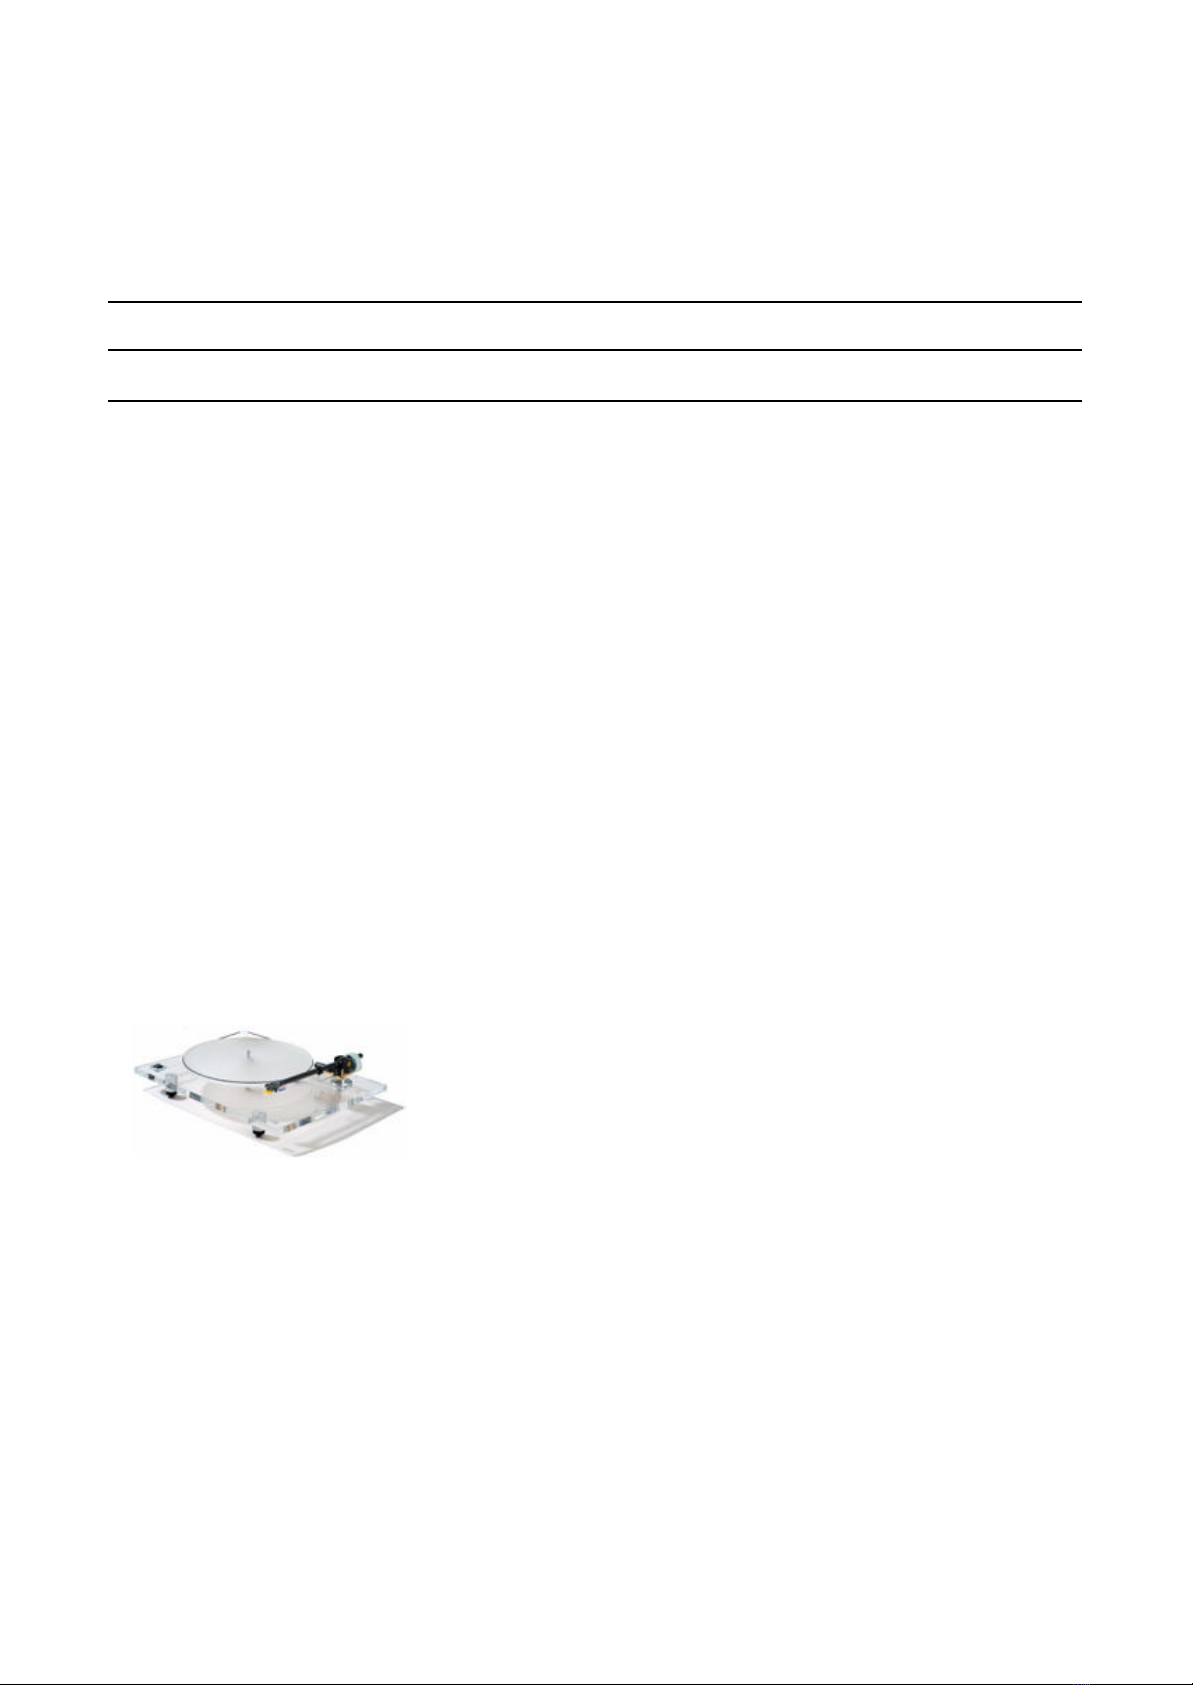
Piccolo Italian Prestige Rigid Turntable
Troubleshooting
SYNPTOM DESCRIPTION CAUSE REMEDY
BELT NOISE DURING
PLAY (GREEN BELT) The Green Belt makes a
noise during playing •Because its low elasticity and
the presence of ceramic particles the
characteristics of the green belt make it
noisier than usual rubber black belts; It
does not affect the sound
•If a quieter belt is requested
ask your local dealer for one of the
newest Bluenote Black Rubber Belts
BELT WOBBLING DURING
PLAY (GREEN BELT) The Green Belt wobbles
during playing •Because its low elasticity and
the presence of ceramic particles the
characteristics of the green belt make it
wobbles a little around the motor pulley;
It does not affect the sound
•If a not wobbling belt is
requested ask your local dealer of the
newest Bluenote Black Rubber Belts
MOTOR HEATING The Motor warms up too
much •AC synchronous motors as
the ones used by Bluenote normally
warms up to 50° Celsius without creating
any problem
MOTOR NOISE The Motor produces a low
scraping noise during
playing
•The pulley’s shaft slightly
touches the motor gold plated cover •Gently lift it up a bit
unscrewing the hex bolt of the pulley
The Motor produces a
scraping noise during
playing
•Your turntable has a serial
number before the 11650 •Ask your local dealer to
change the internal capacitor filters the
AC voltage and add the newer Teflon®
washer at the motor spindle bottom
The Motor produces a buzz
noise during playing •The 3 stainless steel screws of
the gold plated motor cover are too
tighten
•Unscrew them enough to let
the motor spins without making noise,
they need just to be very gently screwed
to the motor cover
OIL POORED FROM
BRONZE BEARING Oil drops come out the
bottom Platter Bearing
when the Platter Spindle is
inserted
•The super high pressure created
by the strict tolerance of the
Bearing/Spindle system can let some oil
drops come out from the bottom of the
Platter Bearing
•Clean it up, the oil will never
comes out again once the Platter
spindle is perfectly positioned into the
Platter Bearing
PLATTER BENT The Platter looks bent on
the Turntable board •Clamp the Spindle tip into the
above side of the platter screwing it
strongly using a metal pin to get into the
tip hole
•
•The Turntable Platter Bearing
Bolt is 10mm thick having a serial
number before the 11500
•Ask your dealer to have the
new thicker Turntable Platter Bearing
Bolt
PULLEY WOBBLING The DELRING Pulley
evidently wobbles during
turntable play mode
••adjust the pulley on the motor
spindle bending it gently with the
fingers until you find the perfect on
axis spinning –a PERFECT on axis
spinning must be found with a bit of
practice
PULLEY WOBBLING The Optional aluminium
adjustable Pulley evidently
wobbles during turntable
••With the Allen key supplied
adjust the 2 hex bolts fix the pulley on
the motor spindle until you find the