manuals.online logo
Brands
  1. Home
  2. •
  3. Brands
  4. •
  5. I.C.E
  6. •
  7. Multimeter
  8. •
  9. I.C.E Supertester 680 R User manual

I.C.E Supertester 680 R User manual

Popular Multimeter manuals by other brands

Fluke 106 user manual

Fluke

Fluke 106 user manual

VAR DV-71600 manual

VAR

VAR DV-71600 manual

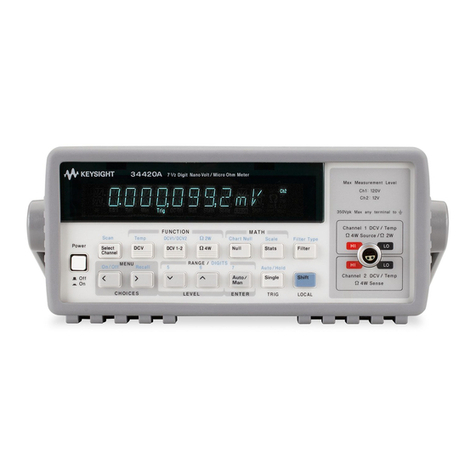
Agilent Technologies 34420A user guide

Agilent Technologies

Agilent Technologies 34420A user guide

Fluke 83 user manual

Fluke

Fluke 83 user manual

Hameg HM 8012 manual

Hameg

Hameg HM 8012 manual

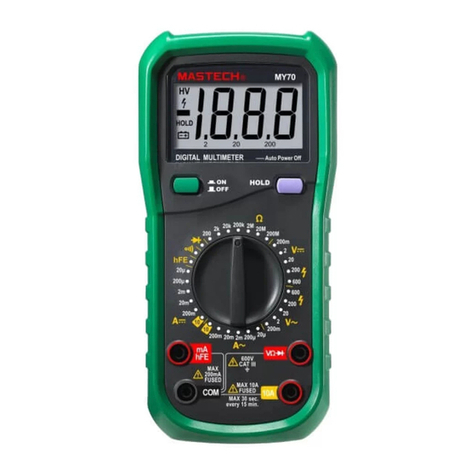
Mastech MY70 Operation manual

Mastech

Mastech MY70 Operation manual

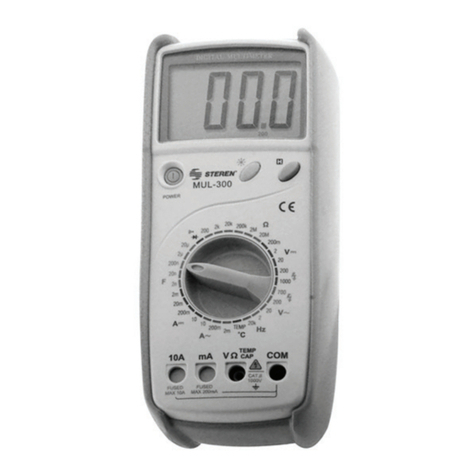
Steren MUL-300 user manual

Steren

Steren MUL-300 user manual

Somogyi Elektronic home SMA 92 instruction manual

Somogyi Elektronic

Somogyi Elektronic home SMA 92 instruction manual

Gossen MetraWatt METRAmax 6 operating instructions

Gossen MetraWatt

Gossen MetraWatt METRAmax 6 operating instructions

PeakTech 4000 Procedure of calibration

PeakTech

PeakTech 4000 Procedure of calibration

YOKOGAWA 90050B user manual

YOKOGAWA

YOKOGAWA 90050B user manual

Fluke 8846A Programmer's manual

Fluke

Fluke 8846A Programmer's manual

Tempo Communications MM200 instruction manual

Tempo Communications

Tempo Communications MM200 instruction manual

APPA 607 user manual

APPA

APPA 607 user manual

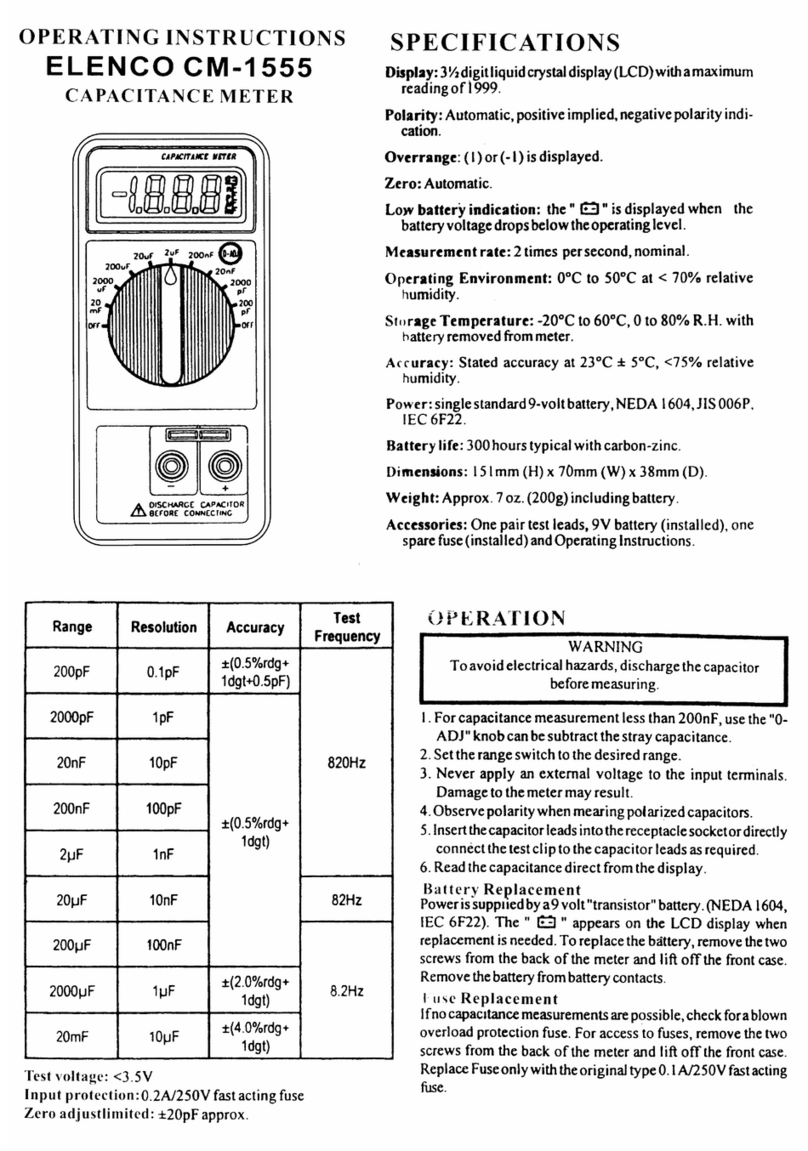
Elenco Electronics CM-1555 operating instructions

Elenco Electronics

Elenco Electronics CM-1555 operating instructions

Mastech MS8238C user manual

Mastech

Mastech MS8238C user manual

SDAR 830A, 830B, 830D, 830C user manual

SDAR

SDAR 830A, 830B, 830D, 830C user manual

RS PRO RS-9519BT instruction manual

RS PRO

RS PRO RS-9519BT instruction manual

manuals.online logo
manuals.online logoBrands
  • About & Mission
  • Contact us
  • Privacy Policy
  • Terms and Conditions

Copyright 2025 Manuals.Online. All Rights Reserved.

The l.(G.E. also
Ammeters
Clamp Volt-Ammeters
Milliammeters
Microammeters
Galvanometers
Voltmeters
Antishock instruments
Wattmeters
lnstantaneous termometers
Pyrometers
Pointer frequency . meters
Luxmeters
!nsulation meters
Hermetic seal instruments
Vibration frequency meters
GRATU'TOU$
Electronic Brokers Ltd
49/53 Pancras Road London NW1
Telegrams Selelectro London NWl
manufactures:
Power - factor meters
Exposure meters " lVlultilux r
Self - regulating instruments
Large. angle instruments (250')
Relais
lnstruments transformers
Shunts
Photoeletric swiches
Decade resistance boxes
Standard resistances
Wheatsto n e-b r idge s
Becording instruments from f to 6 curves
Tester-'100.0000xV
Fluxmeters
Standard instruments for laboratory
r,rs7lis oN REoaEsr
2QB Telephone 01-837 7781
,*i[
P
*ulnrrtcttcr oEC
3785000 OPEf,lATOR'S lUlAl\lI,-lAL AIt TI T'EFAtlr GUIDE
t!{DEX
Voltage measurement
Voltage measurement
lntensity measurement
(Volts) in D.C. .
(Volts) in A.C. .
fuA, mA. A.) in
0rnoral discription '
licasuremen,t to be carried out .
ltccision or class of instrument
lnttruction for use
Page
0utput measurement 31
Maintenance of the Supertester 680 R
4th Series . 36
chaRging the Battery . 38
Changing the Fuse . 39
How to repair the SuPertester 680 R
4th Serids. . 42
List of possible faults due to eventual
alterations in or intetruptions of the
variouscomponents. . . t . 51
Replacement. of the galvanometer . 56
Supplementary a,ccessories 57
Spare parts 64
Colour codes of resistors and capa-
citors 65
Technician's reference Pqints 66
AC Response . 68
Guarantee clauses 69
Comolete electrical circuit of the Su-
- pirrtester 680 R 4ih Series 72
71
Page
1
3
5
6
7
10
t4
D.C.
lntensity measurement (pA, mA' A.) in
A.C,
I$lstance measurement from 1 Ohm
to 10 megaohms . ; '
lulstance measurement from 1,/10
Ohm to 30 0hms
htlstance measurement in A.C. from
100 Kohms to 100 Megaohms .
hctance detector ,.
Olpacitance measurement
fuquency measurement , .
L7
20
?3
25
25
27
2S
Ary rrr0rlu{:lr0n 0r pl}11ial iniititi0n a}f thi$ manual i5 Frohibited.
THE ''SUPERTESTER 680 R''
Measurements : 728x 95 x 32 mm. - Weigltl ,l{lll st
4th SERIES WITH REMOVABLE CIRCUII
T0 lacilitate the checking and substitution 0t damrgnd conlporllitl.
1TI{ EBITION FArt ONC: INTR(}OUCTION AND DESCRIPTI()N
PATEI{TE0 l.C.E. SUPERTESTER M0DEL 680 R (SENSITIVITY 20,000 ohms/vclt)
For more than twenty five years technicians all over the world have been using l.C.E. Test
Meter analysers manufactured by the lndustria Costruzioni Elettrorneccaniche. Their confidence
in our products is due to the continuous effort. on our part t0 keep abreast of the new
technological requirements caused by the rapid progress made in the electrical and electronic
fi e lds.
This new "Supertester 680 R" offers many features which are the result 0f the most up t0
date techniques, backed by many years of experience and testing in 0ur laboratories.
It is very practical due to its quality, numerous features and its size (128 x 95 x 32 mm-).
Modern metallic layer resistors have been used, which, as well as giving a precision of 0.5%,
guarantee this precision with a stabillty in absolute time that is four times above the normal
"precision" resistors used in Test Meter analysers.
These alone put the "Supertester 680 R" above all other analysers manufactured up to now.
Furthermore a large mirror scale allo,ls rnore precise readings from the "Supertester 6E0 R"
by avoiding parallax errors.
A glass cartridge fuse, r6ted at 160 mA, forms part of the Resistance measuring circuit, since
experience has shown that 90% of resistor failures in multimeters are caused by the inadvertenl
failure to re-seiect the correct function and range, when changing fr0m a resistance to a voliage
measurement. Four spare fuse-links are provided, conveniently mounied within the instrument
on the meter back-piate.
With the Supertester 680 R it is possible to carry out all measurements, even those which
need mains connection, without having t0 extract the Test Meter from the Carrying case. The
new patented carrying case, as well as having an invisible double base t0 contain the probes
and other accessories, allows the analyser to be set at 45" in respect to the support, {acilitat-
ing the reading of the quadrant.
The use of the compensated magnetic nucleus indicating instrument fully shields the instru-
rnent against external magnetic fields, providing it with absolute stability in calibration, even
1
if placed in a magnetic field prcduced by magnets, transformers, impedences etc. The Test
Meter may therefore be used even 0n metal and steel surfaces urlthout the reading being
altered. No other meter provides this facility.
A special electrical circuit which, together with a static limitor, allows the Meier Movement
and associated rectifier to be able to withstand accidental or incorrect overloading up io
1000 times above the range setting.
Therefore the instrument does not need to be returned so frequently to specialised firms {0r
replacement of damaged rectifiers.
The other characteristics and technical qua!ities that put this instrument in advance of its
competitors are as follovrrs:
The upper panel is in unbreakable "CRYSTAL" u,hich all0w the maximurn use 0f the reading
face and completely eiiminates shadow.
Special electrical circuit t0 compensate for errors due to the fluctuation 0f temperature.
Aniishock instrument with sp!'ung suspensions. Container in new unbreakable material.
Resistance measurements up to 10 Megaohms direct with supply oniy from the internal 3 V
battery, and up to i00 megaohms with mains supply (125 to 250 Volis). Resistance measure-
ments even with very low values sirch as tenths of an 0hm, using an internal 3 V battery.
ln addition, measurements of very high resistance may be made (up to 1000 MOhms) with d.c.,
using the Resistance Measurement Multiplier Model 25 (see page 62).
D;rect reacting 0f frequency, capacity, output power and reactance detector.
Minimum weight: only 300 grams including the 3 Volt battery fitted inside the analyser
container.
Absence of rotating sv,ritches increasing reliability totally eliminating mechanical c0nlil't'.,
and reducing the danger 0f accidentally passing from one range to another. To changn tnlr','
it is only necessary to move one probe terminal, which, in many cases, is faster than rolaltr,,
a switch, and allowing the user to reflect on the type and the measurement rangp L, r,,,
selected. Unnecessary overloads and errors with damaging c0nsequences to tlto pll lr,, ,t
circuit are also eliminated.
0hms, pF and Hz adjustment rheostat, with the serrated edge 0f the knob 0[ tlto ltrrttt -,,,.
2
and theref0re clearly visible and easily adjustable even when the analyser is in its carry-
ing case. iltri{
The "Supertester 680 R" is a completely adaptable instrument for the discriminating radio
and electronic technician.
Because of iis advanced technical characteristics and design it has been covered by patents
throughout the world.
ln the 4Lh serles 0f this Silpertester 680 R, the prinied circuit can be contpletely extracted
if faulty. See instructions on pages 39 and 40.
ldeasurEments that ean be elfected directly without the aid of any oti'lei apparatus with the
patented supefiester LC.E. mod. 680 R:
1O FIE!"DS {)F MEASUREMENTS AHO 80 RANGTS!!!
u0tTS A.C. = 11 ranges: 2-10-50-250-1000-2500 Volts and 4-20-180-500 and 2000 Volts
y0LTS D.C. : 13 ranges: 100 mV - 2 V - 10-50"200-500-1000 volts
20BmV - 4y - 20"100-400 and 2000 V0lts
AMP. D.C. :12 ranges: 50pA - 5C0rr,A - 5mA - 50mA - 500mA - 5 Amp. and
l8o pA - 1 mA - 18 mA - 100 mA - 't Amp. and 10 Amp.
AirP. A.C. = lE ranges: 250 ir.A - 2,5 mA - 25 mA - 250 mA - 2,5 Arnp. and
500pA - smA - 50m4 - 500m4 - 5 Amp.
EHMS = 6 ranges: x1 - x10 - x100 - xi000 - x10000 and Low 0hms
AEACTANCE
DETECToR : 1 range: from 0 to 10 Megahoms
FREOUEI{CY : 2 rafiges: from 0 to 500 and from 0 to 5000 Hz.
Y. OUTPIJT
v0LTAGE : I rangesr 10-50-250-1000-2500 V and 20-100-500-2000 volts
DECIBELS : '!0 ranges; {rom -24 to * 70 db.
CAPACIIY : 6 rangesr from 0 to 50000 and from 0 to 500000 pF using tne mains and
from 0 t0 20, fr0m 0 to 200, from 0 to 2,000 and from 0 to
20,000 Microfarad using the incorporated 3 V0lts battery. 3
All the ranges in bold faced type are obtained by pressing the button AVx2 which switches
the sensitivity of the instruments without changing the value of the resistance shunted on
the circuit in consideration, with consequent higher accuracy in the reading.
Furtherm0re, the above ranges of the SUPERTESTER 680 R can be extended with the aid of
accessories are specifically designed f0r this purpose by l.C.E.
The principal accessories arer
Electronic range extender Mod. 30
Direct Voltage 5/25/100 mY - 2,5/10 V with 10 MOhm1V.
Direct Current 0,111,/10 $A.
Temperature indicator - 100/+ 100/250/1000'C.
Watt-meter Mod. 34 ranges 100/500 /25A0 W.
Electronic Volt. ohmeter Model 660 l.C.E.
Transistor and diode tester Transtest Mod. 662 l.C.E.
Signal Injector Model 63 - l.C.E.
Pincel ammeter Amperclamp for low and high ammetric measurements in alternaterJ current
without interrupting the circuits to be tested (from 250 mA to 500 Amperes).
Transformer for high ammetric measurements in alternated current Modet 616 l.C.E. (trom
25 to 100 Amperes).
Additional shunts Model 32 l.c.E. for high current measurements in direct current frunr
25-50 to 100 Amperes D.C.
High Voltage-pr0be M0d. 18 l.C.E. for high vottage tests (25,000 V - D.C.).
Temperatule probe for instantane0us temperature tests m0d.3E l.C.E., two scalcs from
- 50 to * 40.C and from f 30 to + 200.C.
light meter Model 24 l.C.E. two scales: from 2 lo 2OO Lux and from 2,000 io 20,000 Lux.
Sequencescope Model 28 l.C.E. as a phase cyclic indicator.
Resistance multiplier Mod. 25.
tluxmeter Model 27 l.C.E. for magnetic field measurement.
4
The characteristics of all the above mentioned accessories are briefly described from page 57
to 63. (Furiher details will be sent on request).
IMPSRTANT: To ensure the long life of the SUPERIESTER l.C.E. Model 680 R, carefully fottow
all the maintenance instructi0ns 0n Page 36.
ACSURACY OF THE READINE
The accuracy or better the class of our Supertester 680 R is 1% in D.C. and 2% in A.C.
According to the international rules in force the accuracy of an indicating instrument (the
to called "class of the instrument") is given as an abs0lute percentage and therefore the
maximums permissible reading error is always referred to the accuracy percentage guaranieed
by the Producer referred t0 the full scale value. For instance: let us examine an instrument
guaranteed by the producer as a "class 2 instrument" for the range 250 Volt full scale
value; in this case the maximum permissible error + Zok is to be referred to the full scale
value that, in the case of the range 250 V corresponds t0 an absolute value of 5 Volts.
According to the international rules and what previously said, the instrument can be
considered belonging to the class 2 instrument, only if the error is not higher than i- 5 volts
in any point of the scale.
That is, the instrument belongs to such an accuracy class (2%) if it for instance, indicates
255 or 245 instead of 250, 105 or 95 instead of 10C; 15 or 25 instead of 20. From this
it can be seen that the error, as a relative percentage is increasing m0re and more in the
initial part of the scale; as a consequence, in 0rder to have the most accurate readings it
is always advisable to choose, while us!ng a Tester, the most convenient range so that
the reading is carried out rnost preferentially in the end scale area.
According to the main international rules, the control 0f the accuracy is to be carried out
with the instrument lying orizontally, at a 20.C temperature and, in the case of measurement
in A.C., with sinusoidal current.
lf the above mentioned c0nditi0ns change, for the accurate c0ntrol 0f class accuracy, the
!nterferences due to such variations will have to be taken into account.
5
Second Part
INSTRUCTIONS T()R USE OF TI{E ANAI.YSER PAIENIED MODET I.C.E. 680 R
T0 use the I.C.E. Model 680 R Analyser correctly and thus avoid possible err0rs in operation,
it is essential t0 carefully follow the !nstructions given herewith.
For any measurement it is very important to plug the leads into the appropriate sockets
comp letely.
ln the SUPIRTESTER 680 R the five common sockets for the different measurement fields,
namely available for different ranges, have a double line f0r better indentificati0n and with
the exception of the commcn for the ohmmetric measurements, are located left 0f the
switch that doubles the ammetric and voltmetric ranges. Before effecting any measurement,
make sure that the instrument pointer is exactly on zer0 by rotatlng, with the aid 0f a
screwdriver, the small button with a slot situated on the casing of the instrunrent bel0v/
the instrument panel.
All measurements with direct current must be read on the biack scale and ihose with
alternating cirrrent on the red scale. The same applies to the whiie and red wording at
the side of the relative sockets.
ln the schematic circuit diagrams illustrated in the following the scale to be exaniined for
the correct reading is marked by a much heayiet line as compared with the others.
When a hi.gh precision reading is be made wiih the SUPERTESTER l.C.E. 680 R indicator I
instrument, the pointer must be read ihrough the mirror scale as follows: after cgnnecting
the plugs t0 the circuit undor test, the pointer nlust be given time to stop oscillating and
when motionless on the resulting indication, it should be looked at with 0ne eye, moving
the head until no reflection of the pointer in the underlying mirror is seen (that is, in a
position perfectiy perpendicular t0 the pointer). ln such a positi0n, always without further
moving the b0dy, the reading wi!l be without parallax errors, that is, without those eri.ors
due t0 an off-perpendicular p0siti0n of the operaior.
b
When effecting measurements, make absolutely certain that n0 part 0f the casing comes into
c0ntact with the circuits being tested, as contact with the current fl0wing there might
prove dangerous.
O.C. VOLTAGE MEASUREMEi.ITS
for D-C. voltage measurements introduce as ,ar as it will g0 the black lead (negative) into
the socket in the Iower part of the instrument marked w;th the black wording on a white
ground ":" and the other red lead (positive) in one of the side sockets als0 with black
wordings "100 rnV"; "2 V"; "10 V"; "50 V"; "200 V"; "500 V"; "1000 V" according to
the range required. When there is doubt about the magnitude of the voltage to be measured,
always plug into the highest range s0 as to arroid subjecting the resistance to overloads.
If necessary, after the first reading, the red Iead can be moved to the next lowest range
in order to achieve a more accurate reading.
Accurate scaie readings, with reference to the range and therefore to the selected socket
are obtained taking into account the data of the following table:
Selected
rang0 Sockets to
be used
Sensitivity
key
AVx2
Numbering
to be read
on the scale
Multiply
the read-
ing by
Divide
the read-
ing by
100 mV=
200 mV=
2V-
4V=
10 V=
2OY=
50 v-
100 V=
200 V=
400 V=
500 V=
1000 v-
2000 U=
(=) and 100 mV=
(-) and 2Y=
(-) and 10 V=
(-) and 50 V=
(-) and 200 V=
(=) and 500 V=
(-) and 1000 V-
RELEASE
DEPRESS
RELEASE
IIEPRESS
RELEASE
DEPNESS
RELEASE
DEPRESS
RELEASE
DEPRESS
RELEASE
DEPRESS
RELEASE
OEPRESS
from 0 to 10
from 0 to 200
from 0 to 200
from 0 to 200
from 0 to 10
from 0 to 200
from 0 to 50
from 0 to 10
from 0 to 200
from 0 to 200
from 0 to 50
from 0 to 10
from 0 to 200
x10
-
x10
x2
xl0
x 100
x10
:100
:50
:10 ? 100mV
' 2otmv lov 50v 200v 500v 1000v
z'ty '100y {00y 1000Y 2000 v
* For this last range, due to the high voltage which is very dangerous lor the operator, carry
out the measurement without touching directly either the plugs or the analyser, that is
switch 0n the yoltage only AFTER having connected the analyser with the circuit to be tested,
All possible danger of short circuit through the body will be s0 prevented!
The scale sector to be read for all D.C, measurements (:) is the first black scale located
be!ow the mirror.
I
Simplilied Yoltmetric DC Circuit.
I
Rl+ R2= 1600A
Diagram showing how t0 insert the Supertester 680 R i[ the DC Volts Circuit.
VOLTA&E MEASIJREMENIS ff(}LTS) IN AI.TERNATINO CURRENI (4O()O ohms/Volt)
To carry out alternating current v0ltage measurements introduce as far as it will go one
of the leads into the low socket marked in red "-" (A.C.) and the other lead into one of
the sockets also marked in red "10 V-"; "50 Y -"i "25A V-"; "1000 V-"; "2500 V-,,;
according to the most suitable range required,
When a high tension circuit has t0 be measured (range up to 2500 Volt) 0perate with great
care because there is the danger 0l an electrical discharge and make sure therefcre not to
touch or even get too close to the live circuit. Therefore only connect the Ieads to the
circuit to be measured when this is not live. Then, after having made sure that the Tester,
the ieads and plugs are in a stable position and correctiy set for the particular nleasurement,
that is on an insulated table, far fr0m any part 0f the body and any conductor of electricity,
the current may be switched on t0 the circuit and the reading taken without however
touching the plugs or the tester.
When there is any doubt ab0ut the voltage to be measured, alv,iays plug into the highest
range so as to avoid possible overl0ads to the resislance. lf necessary, after the first
reading, the terminal of the various ranges can be inserted int0 the next lowest range so
that a more accurate reading may be obtained.
To measure within the 2 V A.C. rating, the first Iead is introduced into the Iower socket
nF - 9tl
marked Ori loirio while the second socket to be used is the sarne used for the 5c pA {
and 100 mV ranges.
ln 0rder t0 get an accurate reading of the scale rvith referenc0 t0 the range and therefore
to the selecied socket, take into account the data of the table 0f the following page.
For the ranges 4-20-100-500 and 2000 Volts A.C. use the sockets of the ranges 2-10-50-250
and 1000 Volts respectively, pressing the sensitivity button (AVx2) which doubles the ranges
taken into considerati0n, to make this point cleare, we report in the following the table to
be taken into account for the c0rrect reading of the scale v'rith reference t0 the range and
therefore to the selected socket.
10
* For these two last ranges, due t0 the high voltage which is very dangerous for the cperator,
carry out the measurement without touching directly either the plugs or the analyser; therefore
switching ihe current on the circuit only after having connected the analyser with the circuit
to be tested! All possible danger of short circuit through the body will be consequently
p revented.
The sca!e sector t0 be read for a!l A.C. measurements (-) is the first red sector locaied
below the mirror. 11
Numbering
to be read
on the scale
from 0 to 10
from 0 to 200
from 0 to 200
from 0 to 20C
from 0 to 50
from 0 to 10
{i'om 0 to 250
from 0 to 50
{rom 0 to 10
from 0 to 200
from 0 to 250
Multiply
the read-
ing by
:
x 10
*lo
x 100
x 10
x10
: 100
:50
:10
Selected I Sockets to
range I be used
2
4
10
20
50
100
25A
500
-)and2v-l xEi[H[
(-) and 10 v- | iiii.niis
(-) and 50 v- | iiiFh?iss
(-) and 2s0 v- | iiipnils
(-) and 1000 v- I n'ri;?:s
(-) and 2s00 v- I iir'ihtbs
Ij5[0]l looov 25rrv
l-ilTi-l zot)ov sonv
Simplifierl Voltmetric AC Circuit.
0,064Q 0,5769A 5.76A s7 60 6rRc
50v 10r/
100y 20v
Rt+ R2= 1600rr
Simplilied 2 and 4 Yolts AG.
Diagram showlng
how to insert Su.
pertester 680 R t0
measurge [C vol-
tage.
Diagram showlng
how to insert Su-
pertester 680 R to
mea$lre 2 V AG.
13
As it may be seen Jrom the electrical diagram relating to alternating current voltage measure-
ments, our SUPERTESTER Model 680 R, as well as almost all the most populai Anrerican
analysers, has adopted.a rectifier circuit with only one half wave becausd ihis system, in
add.ition to measuring the normal alternating current, makes it possible to check the iymmetry
of the arerage value betYveen the two aliernations of tho alternating current being eiarnined.
ln fact in practice.it may happen that tw'o half waves of an alternating current may become
asymnletrical, i.e. that the two half waves have not the same outline anrl the same dmplitude.
An exairple would be the presence of a direct component.
Slrould -this asymmetry affect the average value, it may be revealed by the l.C.E. Tester
lJlod. 680 R by reversing the Ieads at the measuring p0ints. The cliffdrence betvreen the
two measurements makes it possible to calculate the average value, the percentage of
asymmetry present and therefore the v1-v2
% of asYmmetrY -
---
i00
V1
where V1 : maior dcviation
V2 = minor deviation.
CURRENT MEASUREMENT WIT}I O.C. (mA)
WARNINE: F0r current measurements, the instrument must always be connected in series
with the circuit (see figure page 17). Never cornect the instrument in parallel with the
circuit live like with the measurements of voltage (Volts), because the resistances and
shunts would get damaged, especially those wiih a loyr ohm value.
Make sure that with current measurements (mA D.c.) the black lead (negative) is inserted
as faI.as it.will g0 into thc lower ceniral socket marked with the black wordin! on a white
ground "=" (D.C.) and the other red one (positive) in one marked ,'50 uA - 500;A - 5 mA -
50 mA - 500 mA - 5 Amp" according to the range required.
It is most i.mportant to.bear in mind that, when there is doubt about the amplitude of the
current to be measured, the highest range (5 A.) should always be used s6 at to avoid
damaging the resistances and shunts in the circuit.
14
subsequenfly, if required, after the first reading, the red lead of the various ranges may be
insertrjd int'o' the n6xt lowest range so as t0 obtain a more accurate reading.
ioi tf,e ranges 100 pA, 1 mA, 10 mA, 100 mA, 1 A.and.10 A D-C., use the sockets.of the
,ine.i 5o "1, sOO uA, S, 50, 500 mA and 5 A, pressing the sensitivity buttcn wh.ictt. doubles
ttre"ianees-in consiheratl6n, To make anyway this point clearer, the.following table to be
taien in-to accgunt for a more accurate ieading of the scale, referring to the range and
theref0re to the selected sockets.
Sel ected
range Sockets to
be used
Se nsiiivity
key
AVx 2
N u mbering
to be read
on the scale
Multiply
the read-
ing by
Divide
the read-
ing by
50 pA-
100 pA=
500 pA:
1 mA=
50 mA=
10 mA=
50 mA=
100 mA=
500 mA=
1A:
5A=
10 A=
and 50 pA-
and 500 y,A=
and 5 mA:
and 50 mA:
and 500 mA=
and 5 A=
,-)
(:)
(=)
(=)
(:)
RELEASE
DEPRESS
RELEASE
DEPRESS
RT.LEASE
DEPRESS
RTLEASE
DEPRESS
RII-EASE
DEPRESS
RELEASE
I}TPRESS
from 0 to 50
from 0 to 10
from 0 to 50
from 0 to 10
from 0 to 50
from 0 to 10
from 0 to 50
from 0 to 10
from 0 to 50
from 0 to 10
frcm 0 to 50
frnm 0 to 10
x10
1l'
,10
t'
:10
,I
10
10
15