4 5
Hauptteil
Gehäusematerial Metall
Größe ca. 200 x 134 x 7,8 mm
Gewicht ca. 300 g
Konguration
Betriebssystem Android 4.2
CPU TP7,85-1200QC: MTK8123 Quad Core, 1,2 GHz
TP7,85-1200QC-3G: MTK8389 Quad Core, 1,2 GHz
Flashspeicher TP7,85-1200QC: 8 GB NAND Flash
TP7,85-1200QC-3G: 16 GB NAND Flash
RAM 1 GB DDR3
Erweiterungs-Steckplatz Micro SD/SDHC (TF) Kartenslot, bis zu 32 GB
Display Bildschirm 7,85“ IPS G+G kapazitiver 5-point Touchscreen
Auösung 1024 x 768 Pixel
Verbindung Netzwerkzugang Wi-Fi 802.11 b/g/n
Sound Eingebauter Lautsprecher 2x 8 Ohm/1 W
Anschlüsse
USB-Anschluss Micro USB 2.0
Kopfhörer 3,5 mm
Kamera Front: 2 Megapixel, Back: 5 Megapixel
Batterie Batterie Li-Polymer auadbarer Akku 4000 mAh
Betriebszu-
stand
Spannung DC 5 V/2 A
Unterhaltung
Musikformate MP3, AMR, APE, FLAC, AAC, WAV
Videoformate AVI, MKV, MP4, FLV, RMVB, MPG, WMV, RM
Bildformate BMP, PNG, JPG, GIF
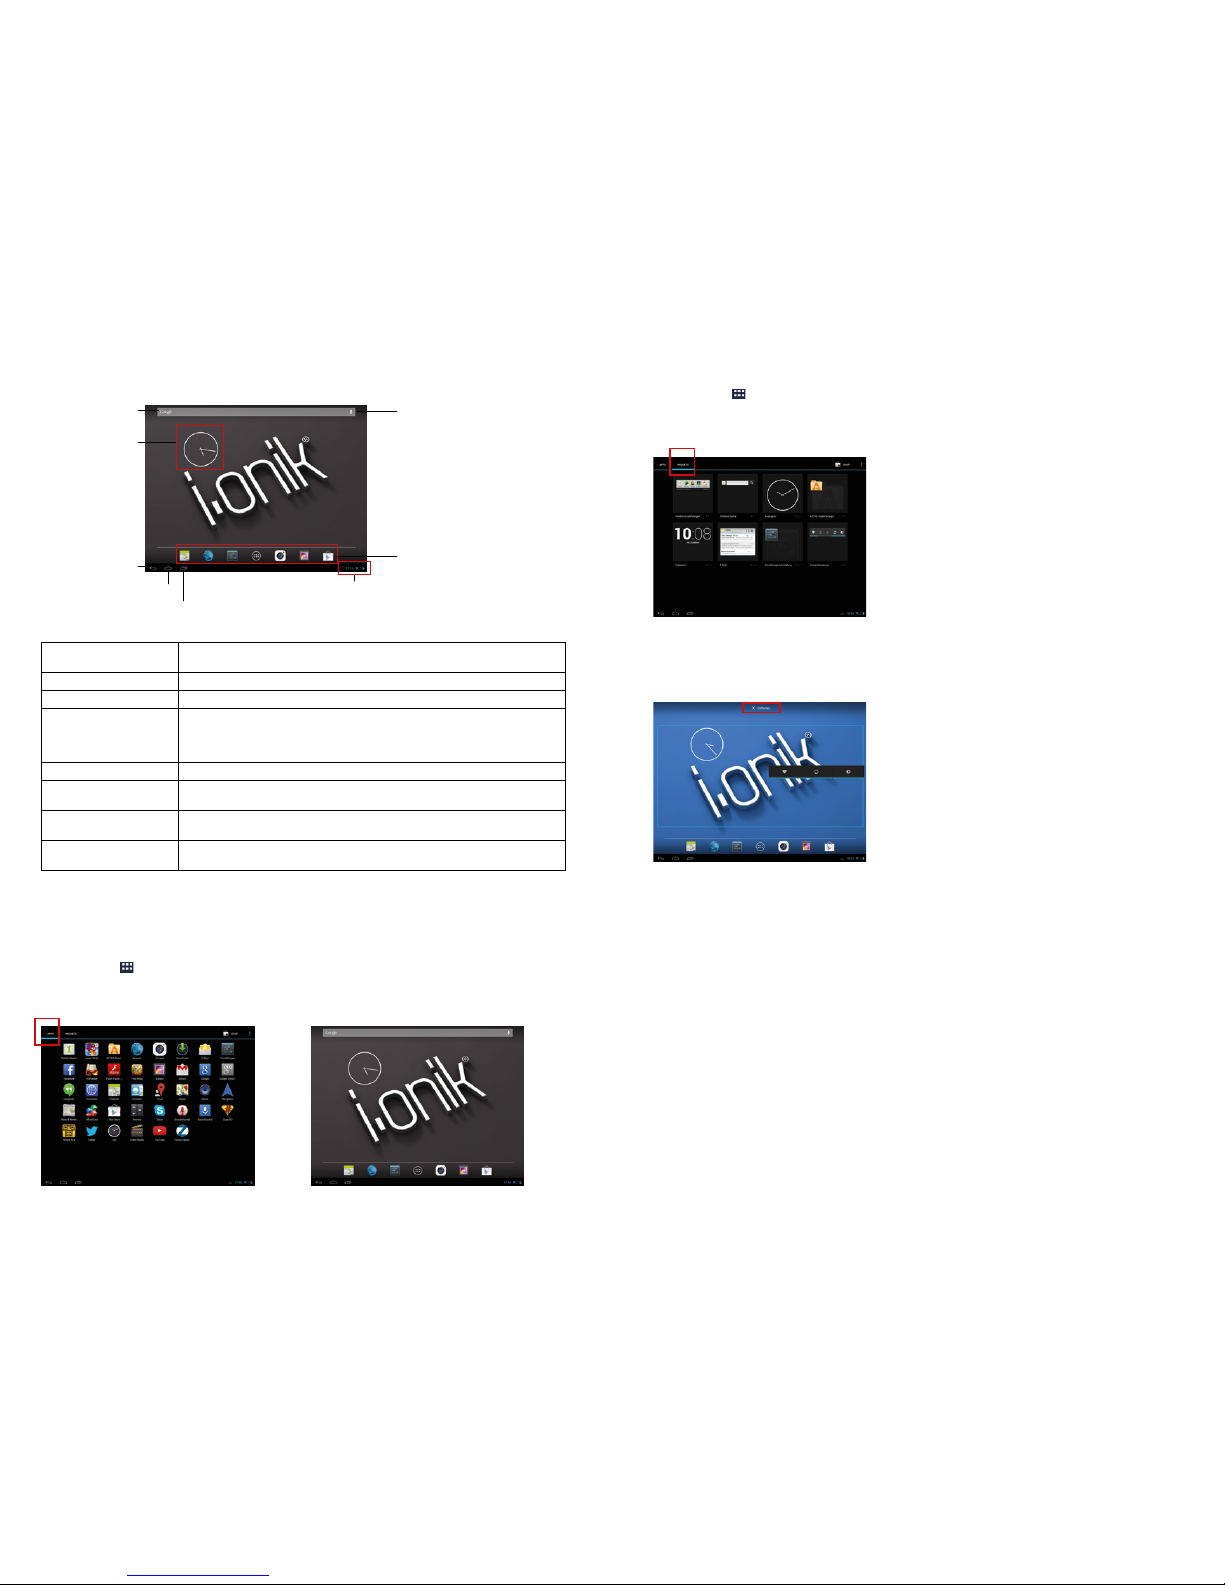
Tablet Übersicht
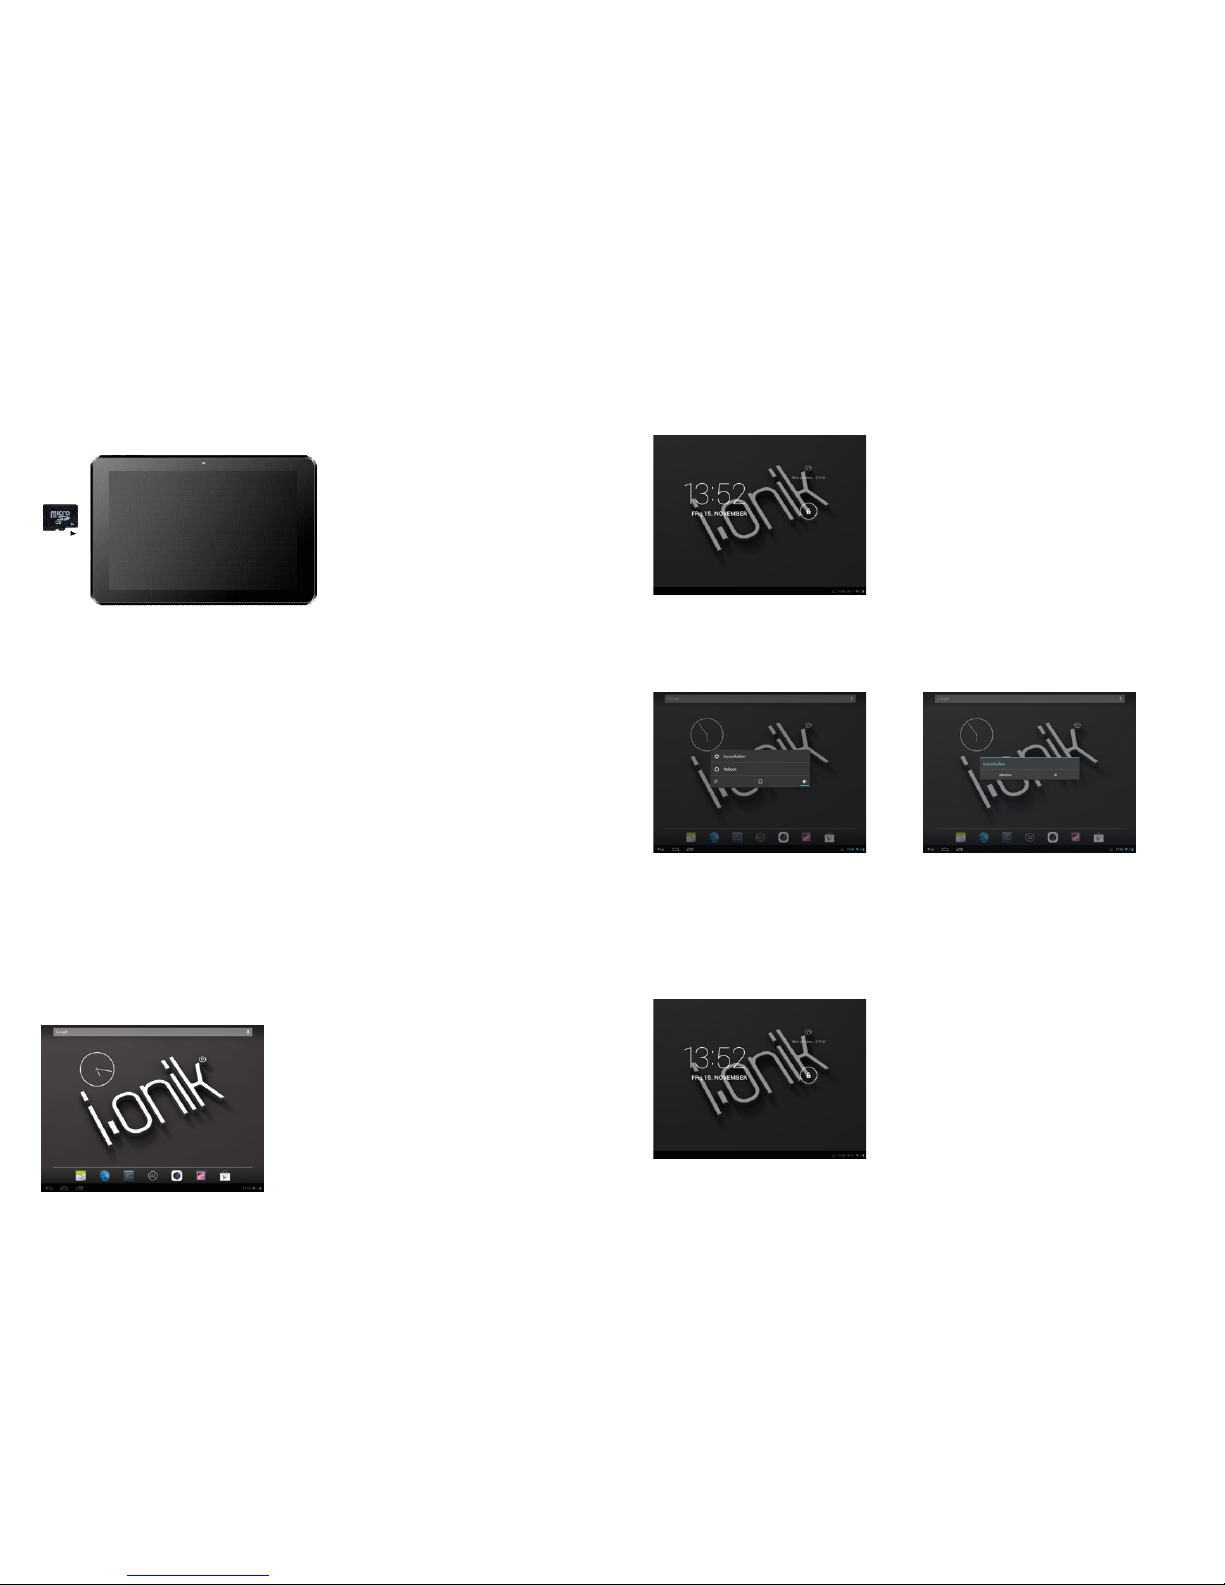
1. Tablet Einleitung
Dieses Kapitel beschreibt das Aussehen des Tablets, einschließlich der Knöpfe und Zugänge, und hilft
Ihnen, die Funktionen und das Zubehör zu verstehen.
TP7,85-1200QC-3G:
Der SIM-Karten-Slot und der TF-Kartenslot benden sich unter der Abdeckung.
Bemerkungen:
1) Klicken und ziehen nden auf dem LCD Touchscreen statt. Bitte verwenden Sie keine Kugelschrei-
ber, Bleistifte oder andere scharfe Gegenstände, um auf den Bildschirm zu drücken. So vermeiden
Sie ein Zerkratzen.
2) Bitte sorgen Sie dafür, dass die Lautsprecher sauber sind. Wenn sie mit Schmutz verstopft sind,
beinusst es die Tonqualität.
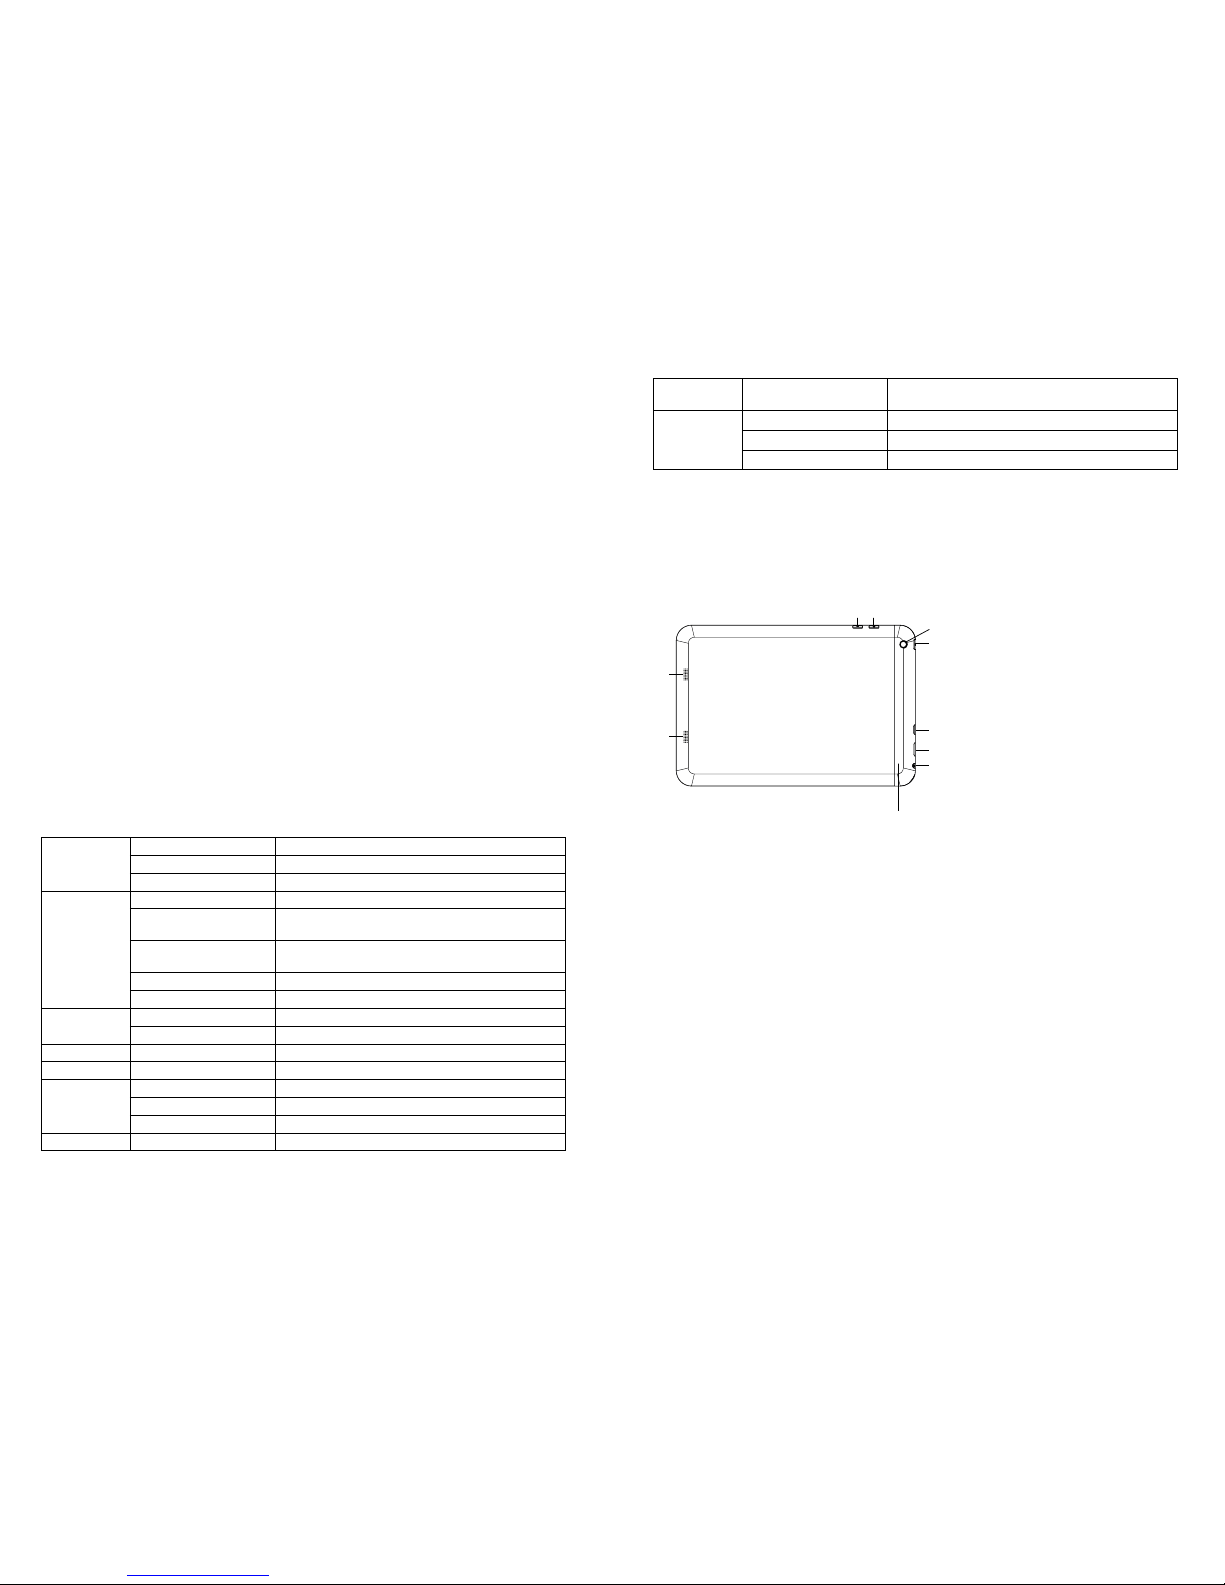
3) Die Antenne und das Typenschild benden sich an der Rückseite des Tablet. Bitte decken Sie die
Rückseite nicht mit Metallgegenständen ab. So vermeiden Sie eine verminderte Signalstärke.
(1) Kopfhöreranschluss
(2) HDMI-Anschluss
(3) Micro-USB-Anschluss
(4) An-/Aus-Schalter
(5) Backkamera
(6) Lautstärke +
(7) Lautstärke -
(8) Lautsprecher
(9) Lautsprecher
Vorsichtsmaßnahmen
• Bauen Sie das Gerät nicht auseinander; reinigen Sie die Oberäche nicht mit Alkohol, Lösungsmittel
oder Benzol: Kontaktieren Sie uns bitte, wenn Sie Probleme haben.
• Dieses Gerät sollte bei den ersten drei Ladevorgängen mindestens 12 Stunden lang aufgeladen
werden.
• Bitte bewahren Sie das Produkt nicht an feuchten oder staubigen Orten auf. Achten Sie bitte auch
darauf, das Produkt nicht im Sommer bei geschlossenen Fenstern im Auto aufzubewahren. Vermei-
den Sie direkte Sonneneinstrahlung.
• Vermeiden Sie schwere Schläge gegen das Produkt und lassen Sie es nicht fallen. Außerdem sollten
Sie das Gerät nicht schütteln, da Sie so den Touchscreen oder das Display beschädigen könnten.
• Bitte wählen Sie eine geeignete Lautstärke. Wenn Sie Kopfhörer verwenden, sollten Sie darauf ach-
ten, dass die Lautstärke nicht zu laut ist. Wenn die Lautstärke Ihr Gehör beeinträchtigt, sollten Sie
die Lautstärke verringern oder das Gerät ausschalten.
• Bitte laden Sie das Gerät wenn:
a. Der Batteriestatus niedrig ist.
b. Das System automtisch herunter gefahren wird. (Bei niedriger Batterieleistung schaltet sich das
System automatisch aus.)
c. Das Gerät beim Anklicken der Tasten nicht reagiert.
Bitte beachten Sie: Bitte verwenden Sie ausschließlich das mitgelieferte Ladegerät, um das Tablet
aufzuladen. Es können keine anderen Ladegeräte verwendet werden − Brandgefahr!
• Bitte unterbrechen Sie die Verbindung zum Gerät nicht, wenn Sie gerade formatieren oder Daten
übertragen, da ansonsten ein Programmfehler auftreten kann.
• Wenn das Gerät nicht richtig abgeschaltet wurde, scannt und repariert das Gerät den Datenspeicher
beim Neustart. Dieser Prozess kann einige Minuten dauern.
• Die Firma ist nicht für einen Speicherverlust durch Beschädigungen oder Reparaturen des Produkts
verantwortlich. Bitte befolgen Sie die Anweisungen in dieser Gebrauchsanweisung, wenn Sie das
Tablet verwenden.
• Verwenden Sie das Gerät nicht an Orten, wo der Gebrauch von Elektrogeräten verboten ist, z. B. in
Flugzeugen.
• Bitte verwenden Sie das Gerät nicht, wenn Sie Auto fahren oder zu Fuß unterwegs sind. Dies
könnte einen Unfall verursachen.
• Das Gerät ist nicht wasserfest.
Technische Spezikationen
(1)
(2)
(3)
(4)
(8)
(9)
(6)(7)
(5)