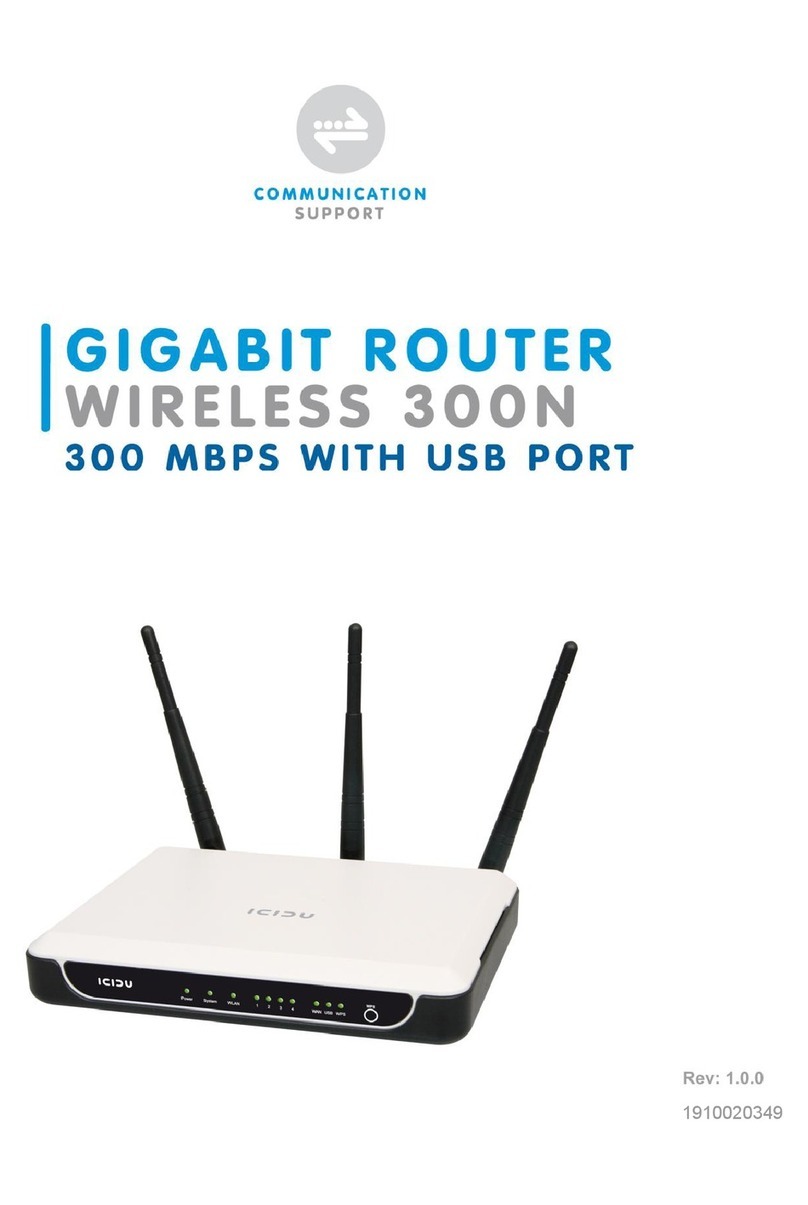
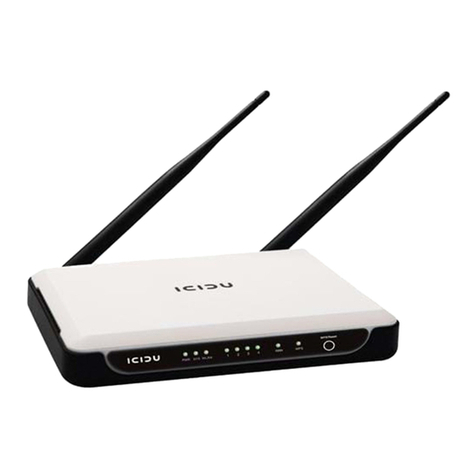
manuals.online logo
Brands
  1. Home
  2. •
  3. Brands
  4. •
  5. Icidu
  6. •
  7. Wireless Router
  8. •
  9. Icidu NI-707502 User manual

Icidu NI-707502 User manual

1





MANUAL
NI-707502
2
CONTENTS OF THE PACKAGE 4
TECHNICAL SPECIFICATIONS 4
RANGE OF APPLICATIONS 4
HARDWARE INSTALLATION 5
ROUTER CONFIGURATION 6
3
Thank you for buying this XR technology router. The
eXtended Range technology extends your wireless
coverage to up to three times more than that of a
standard 54 Mbps product.
If you want to interconnect several PCs for shared
Internet access, you will need an additional component
to connect the PCs. This router allows you to set up a
wireless network, quickly and efficiently.



4
CONTENTS OF THE PACKAGE
Before starting the installation first check that all necessary parts are present. The
box should contain:
- 4 Port wireless router
- Power adapter 9V~ 800mA / 7.2VA
- CD with full manual
- User manual
TECHNICAL SPECIFICATIONS
- 802.11g wireless protocol
- Supports: IEEE 803.3, IEEE 803.3u, IEEE 802.11b, and IEEE 802.11g
- Supports: WEP/WPA/WPA2/802.1X data encryption
- Supports: 64/128/152 bit WEP encryption security
- Maximum wireless data transfer speed: 54 Mbps
- eXtended Range Technology
- Web Based Management
- Supports: Dynamic IP, Static IP, PPPoE
- 1 x WAN, 4 x LAN RJ-45 UTP ports
- Built-in NAT and DHCP server
- Supports: VPN pass through
- Independent of operating system
RANGE OF APPLICATIONS
This router allows you to set up a wireless broadband Internet connection on
multiple computers. Op top of a shared Internet connection, you can also set up
a network between several PCs. Connect the ADSL modem to the WAN port of the
5
router and after a few seconds the WAN LED will light up. You can now connect the
PCs. Once the PCs have been started up, the relevant LED will light up.
HARDWARE INSTALLATION
As soon as you have connected the router to the power adapter, the power LED
(Green) will light up and the link/act LEDs will flash once. The other LEDs (Green)
will light up as soon as one of the UTP ports are connected to the computer. When
data is transferred from one computer to another the LEDs will start to flash.
LED INDICATORS
Name LED Action Description
PWR OFF No Power
ON Power ON
SYS
ON Router is starting up
Flashing Router is ready to use
OFF Hardware Error (reset the router)
WLAN OFF Wireless connection is disabled
Flashing Wireless connection is enabled
WAN, 1-4 OFF There is no network connection between computer
and router
ON There is a network connection between computer and
router
Flashing There is data activity on the network
6
OVERVIEW OF CONNECTIONS AT THE BACK OF THE ROUTER
ROUTER CONFIGURATION
After you have correctly connected the router, you can start to configure it. For
some providers you will need addition information, such as your username and a
password.
Start up the Internet browser and enter the following address in the address bar
http://192.168.1.1 and press “Enter”
The following screen is displayed. To access the router enter “admin” for username
and “password” for password and then click “OK”
7
After clicking “OK” the router setup screen is displayed.
8
Click on “Quick Setup” and then click on “Next”. Select your Internet connection,
and after your provider has given you a username and password, which is needed
for cable connections, select the PPPoE option.
If you already have an ADSL connection with an ADSL modem then select ‘Dynamic
IP”. The IP address is automatically allocated by your provider which the router will
then use.
If you have Dynamic IP click on “Next” to go directly to the
“Quick Setup – Wireless” screen
9
If you have a PPPoE connection, enter your username in the “Account name” field
and the password you were given by your provider in the “Password” field. Then
click on “Next”.
After clicking on “Next” the “Quick Setup - Wireless” screen is displayed.
If there is nothing you want to change, click on “Next”.
1 0
After you have clicked on “Finish” you will return to the “Router status” screen.
Now that the router has been set up it is important that the wireless function of the
router is protected. If you do not protect the router then the people around you will
be able to use your Internet connection.
In the main screen of the router, click the “Wireless” “Wireless Settings” option
and the following screen is displayed. Enable the “Enable Wireless Security”
function.
1 1
Select WPA-PSK/WPA2-PSK for security type.
For the “PSK Passphrase” function enter your own network key and make a note of
the key as you will need it to make a wireless client connection
with the router.
After you have entered all the details, click on “Save”.
The following message appears: “Selecting the incorrect country may cause inter-
ference with other devices and violate the applicable law” Click “OK”.
Click ‘OK’ again to restart the router.
Use this space to write down your router’s settings.
WIRELESS SETTINGS
SSID: ………………………......................…..
PSK Passphrase: ……………………………..
NB
To get the most out of your router, please see the complete manual on the CD-ROM.
1 2
I CI DU.CO M
WARRANTY
Unless specified otherwise, all items sold under the ICIDU name are covered by
a two-year warranty. No warranty or support is provided for the software and
rechargeable batteries that are provided. Claims under warranty can be made only
via the dealer from whom the item was purchased.
Specifications can be changed without notice.
All ICIDU products comply with current European safety and environmental stand-
ards and legislation. For further details, visit our website www.icidu.com
ICIDU is a registered trademark. All other brand names and rights in connection
with them are and remain the property of the rightful owner.
© Copyright 2007 ICIDU
All rights expressly reserved

Other manuals for NI-707502

1

Other Icidu Wireless Router manuals

Icidu NI-707539 User manual

Icidu

Icidu NI-707539 User manual

Icidu NI-707517 User manual

Icidu

Icidu NI-707517 User manual

Icidu NI-707534 Installation instructions

Icidu

Icidu NI-707534 Installation instructions

Icidu NI-707513 Assembly instructions

Icidu

Icidu NI-707513 Assembly instructions

Icidu NI-707549 User manual

Icidu

Icidu NI-707549 User manual

Icidu NI-707521 User manual

Icidu

Icidu NI-707521 User manual

Icidu NI-707534 User manual

Icidu

Icidu NI-707534 User manual

Icidu Wireless 150N User manual

Icidu

Icidu Wireless 150N User manual

Icidu NI-707517 User manual

Icidu

Icidu NI-707517 User manual

Icidu Wireless 150N User manual

Icidu

Icidu Wireless 150N User manual

Icidu NI-707517 User manual

Icidu

Icidu NI-707517 User manual

Icidu NI-707537 User manual

Icidu

Icidu NI-707537 User manual

Icidu NI-707533 User manual

Icidu

Icidu NI-707533 User manual

Icidu N I - 7 0 7 5 3 9 User manual

Icidu

Icidu N I - 7 0 7 5 3 9 User manual

Icidu NI-707502 User manual

Icidu

Icidu NI-707502 User manual

Icidu NI-707540 User manual

Icidu

Icidu NI-707540 User manual

Popular Wireless Router manuals by other brands

TP-Link TL-WPS510U Hardware installation

TP-Link

TP-Link TL-WPS510U Hardware installation

TP-Link M5360 Quick installation guide

TP-Link

TP-Link M5360 Quick installation guide

Tattoo SuperStick user guide

Tattoo

Tattoo SuperStick user guide

Sprint Wi-Fi Connect Technical guide

Sprint

Sprint Wi-Fi Connect Technical guide

ZyXEL Communications NBG6604 quick start guide

ZyXEL Communications

ZyXEL Communications NBG6604 quick start guide

Novatel Jetpack MiFi 8800L quick start guide

Novatel

Novatel Jetpack MiFi 8800L quick start guide

NETGEAR Orbi RBR750 user manual

NETGEAR

NETGEAR Orbi RBR750 user manual

Linksys MAX-STREAM EA7500 installation guide

Linksys

Linksys MAX-STREAM EA7500 installation guide

Billion 64 series Configuration guide

Billion

Billion 64 series Configuration guide

NETGEAR Nighthawk X6 Reviewer's guide

NETGEAR

NETGEAR Nighthawk X6 Reviewer's guide

BEC 6800RUL quick start guide

BEC

BEC 6800RUL quick start guide

NetComm NB16WV Setup guide

NetComm

NetComm NB16WV Setup guide

D-Link DIR-320 Quick installation guide

D-Link

D-Link DIR-320 Quick installation guide

D-Link DIR-815 Quick installation guide

D-Link

D-Link DIR-815 Quick installation guide

ZyXEL Communications NBG318S Series quick start guide

ZyXEL Communications

ZyXEL Communications NBG318S Series quick start guide

TP-Link TD-W8980 user guide

TP-Link

TP-Link TD-W8980 user guide

Nortel Contivity 221 Configuration guide

Nortel

Nortel Contivity 221 Configuration guide

Oracle Talari D6000 Hardware guide

Oracle

Oracle Talari D6000 Hardware guide

manuals.online logo
manuals.online logoBrands
  • About & Mission
  • Contact us
  • Privacy Policy
  • Terms and Conditions

Copyright 2025 Manuals.Online. All Rights Reserved.