Installtion guide A
A-4
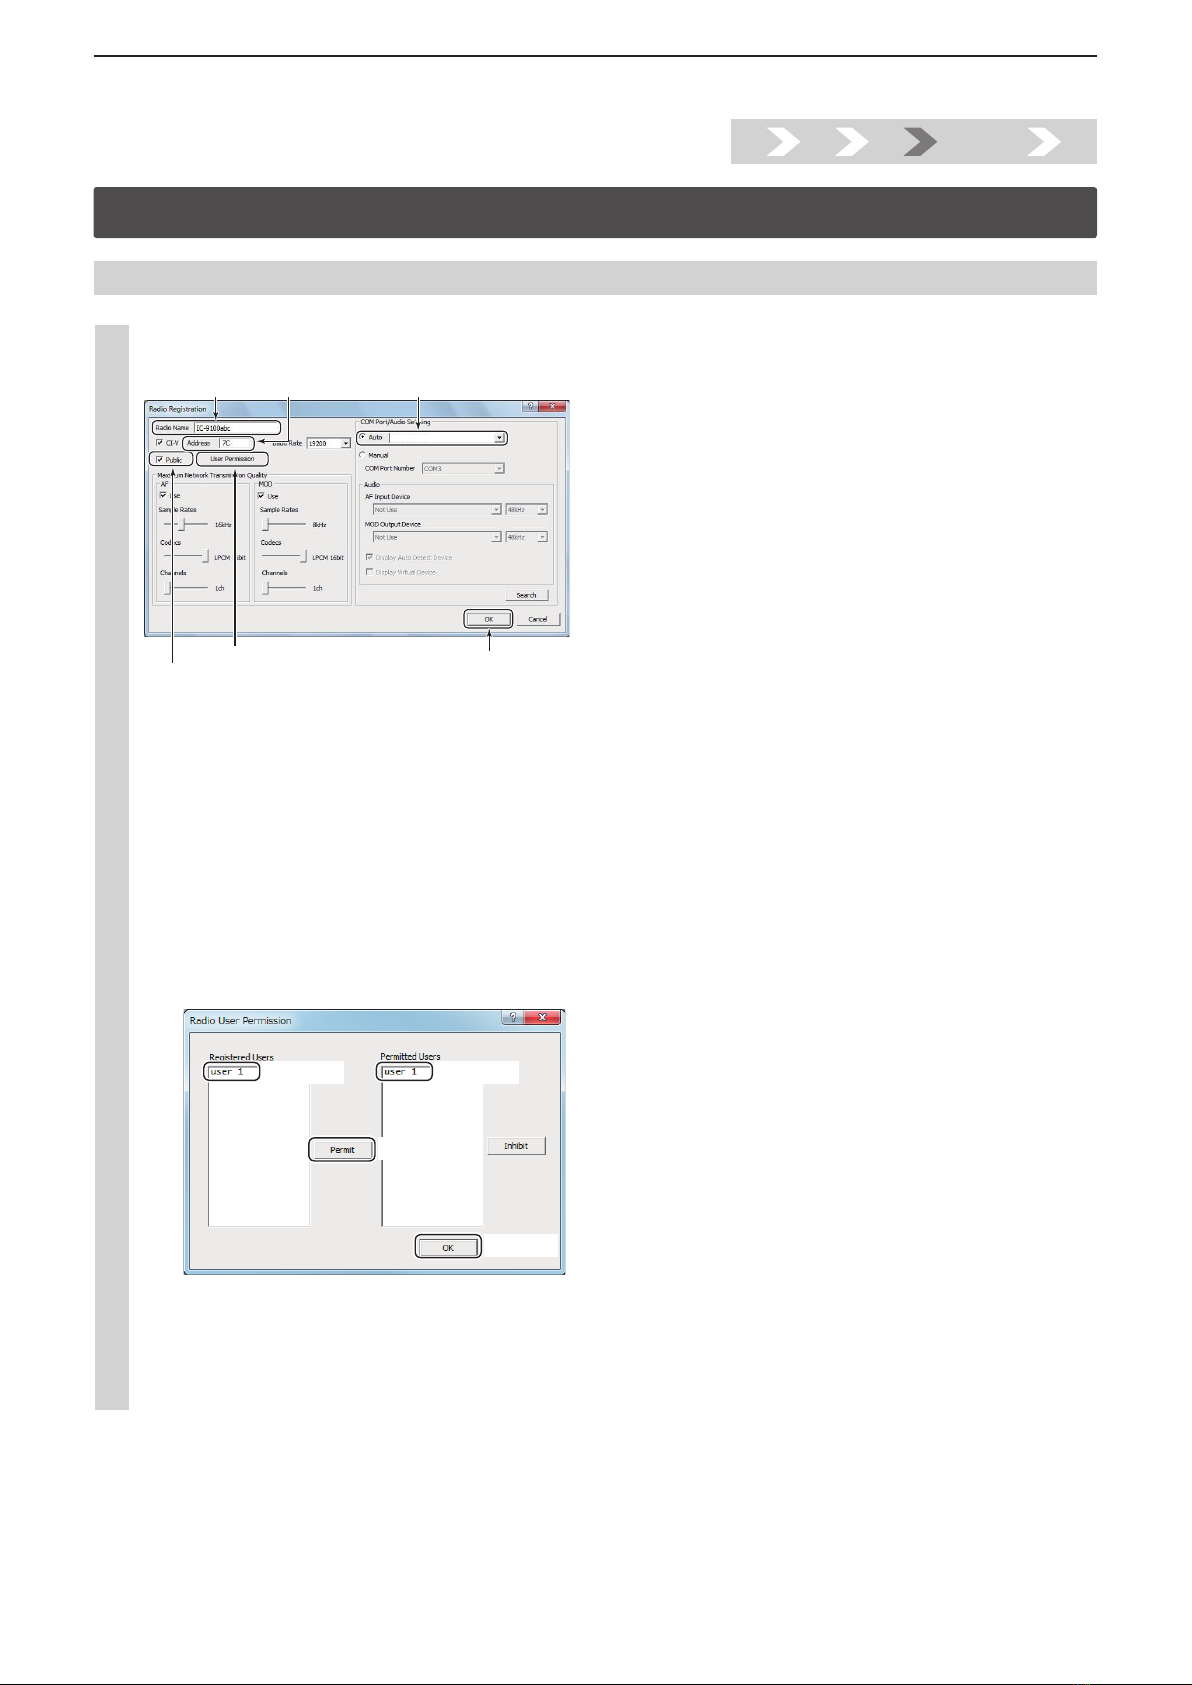
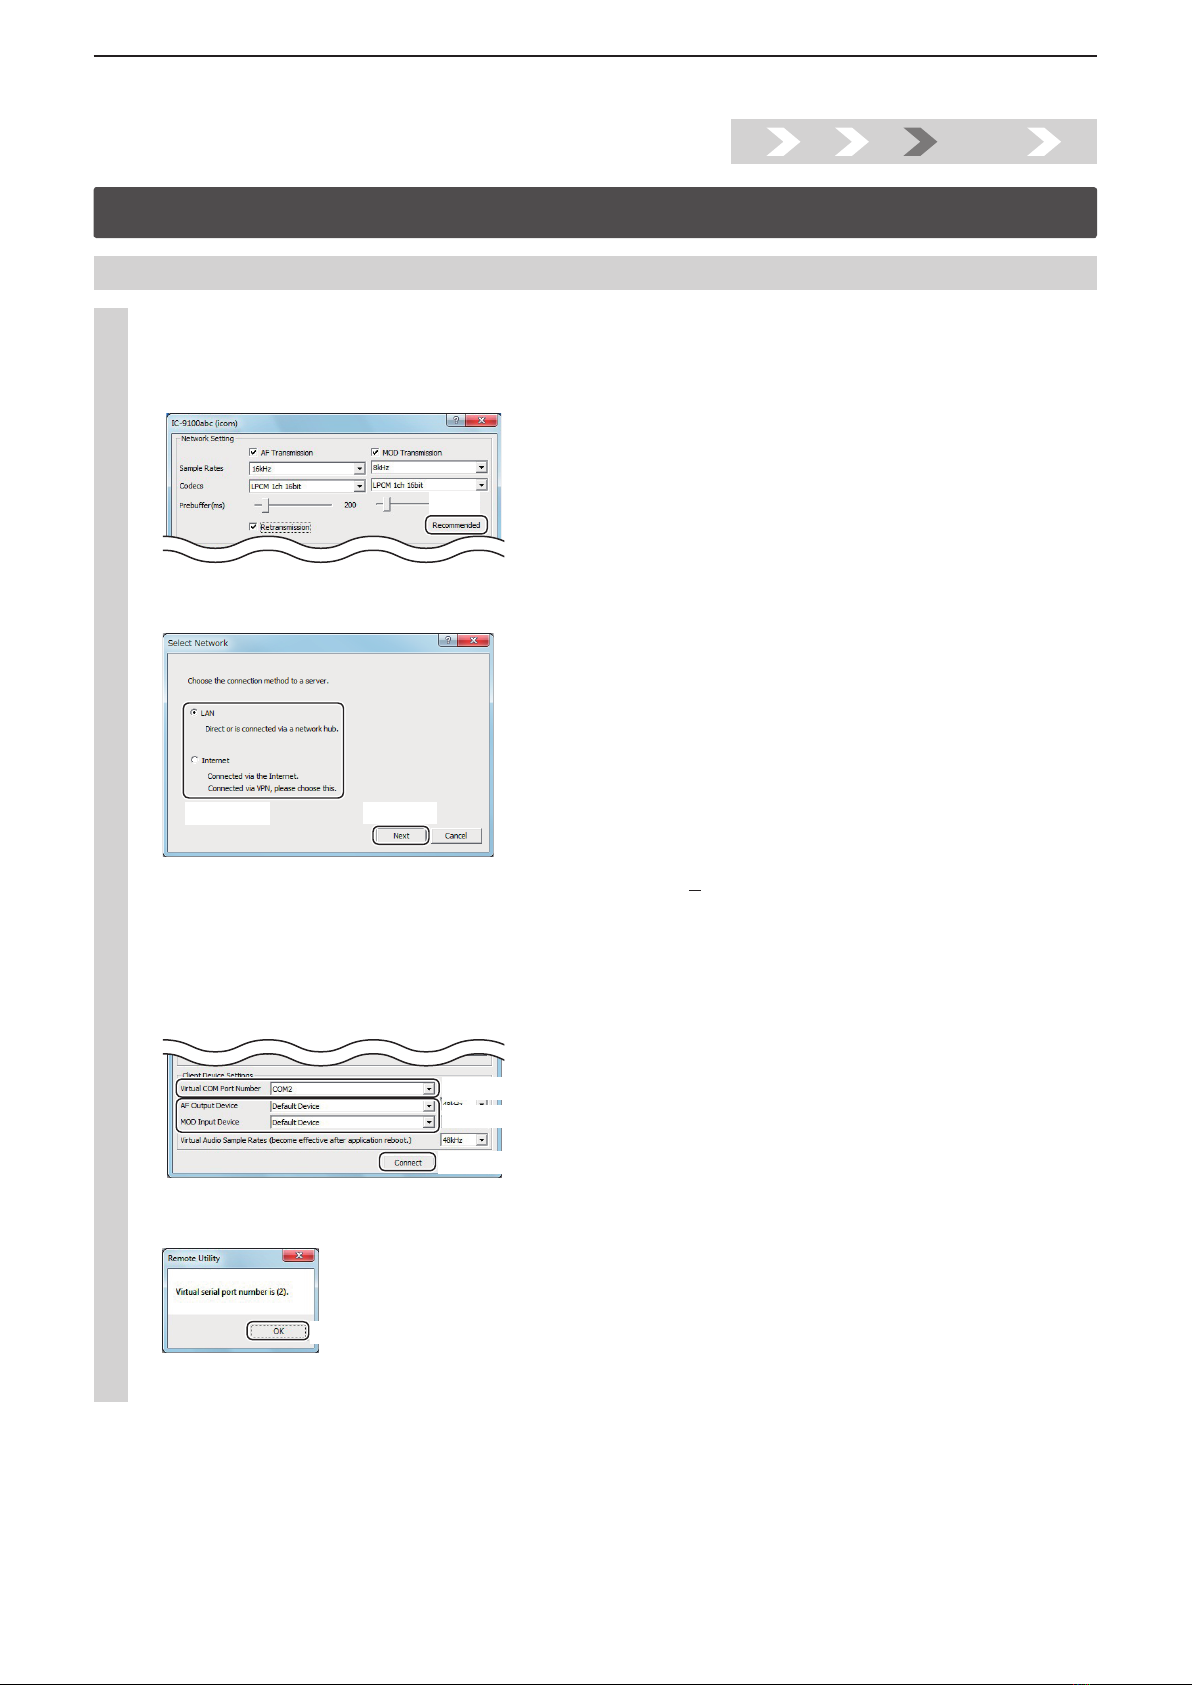
Step2. Radio’s presettings
The RS-BA1 remotely controls Icom radios using CI-V (Icom Communication Interface) commands. See the CI-V command table in the radio’s
instruction manual for details of the functions that can be controlled.
1. The following manual settings are required when operating the RS-BA1
Properly preset the items in below table for functions that cannot be controlled by CI-V commands or the item may cause unwanted actions.
See the radio’s instruction manual for details of the settings or operation.
NOTE:
• Remove the transverter from the radio, if it is connected.
• To prevent an accidental transmission, we recommend you remove any keyer, keypad or other external equipment connected to the radio.
• Set the radio to a normal operating mode. The radio cannot receive CI-V commands while in special modes, such as the firmware update
mode or cloning mode.
• If the radio has a Time-Out Timer function, we recommend you enable it to prevent the radio from continuously transmitting.
Genre Item Model Setting
Function RIT function All Set to OFF.
∂TX function All Set to OFF.
Simple band scope IC-746PRO*/IC-7000*/IC-7100/IC-7400*/IC-9100 Set to OFF.
SWR Measurement function IC-746PRO*/IC-7000*/IC-7100/IC-7400*/IC-9100 Set to OFF.
Timer/Sleep Timer function Radios with the timer function Set the timer to OFF or to your schedule.
Weather Alert function IC-7100 Set to OFF.
Display RTTY decode screen IC-746PRO*/IC-756PROIII*/IC-7400* Exit the screen.
Volume Volume for the RX audio All Set the volume to a suitable level.
CI-V CI-V address All Set an appropriate CI-V address.
CI-V baud rate All Set to 19200 bps (or Auto).
CI-V USB Port IC-7300/IC-7850 (Firmware version 1.10 or later)/
IC-7851 (Firmware version 1.10 or later)
To use the Scope function when connecting to
the USB port, set to Unlink from [REMOTE].
CI-V USB Baud Rate IC-7300/IC-7850 (Firmware version 1.10 or later)/
IC-7851 (Firmware version 1.10 or later)
To use the Scope function when connecting
to the USB port, set to 115200 (or Auto).
Set mode USB Serial Function Radios with a USB (B type) port
Set to “CI-V” for the selected connection type.
RS-232C Function Radios with an RS-232C port
Set to “CI-V” for the selected connection type.
*
Operation on models without a USB connection cannot be guaranteed.
If you are using the IC-PW1 with the transceiver, be sure to set the CI-V baud rate to 19200 bps. After changing the transceiver’s CI-V settings,
be sure to reset the CPU of the IC-PW1 and set the transceiver’s CI-V settings on the IC-PW1. See the IC-PW1 instruction manual for details.
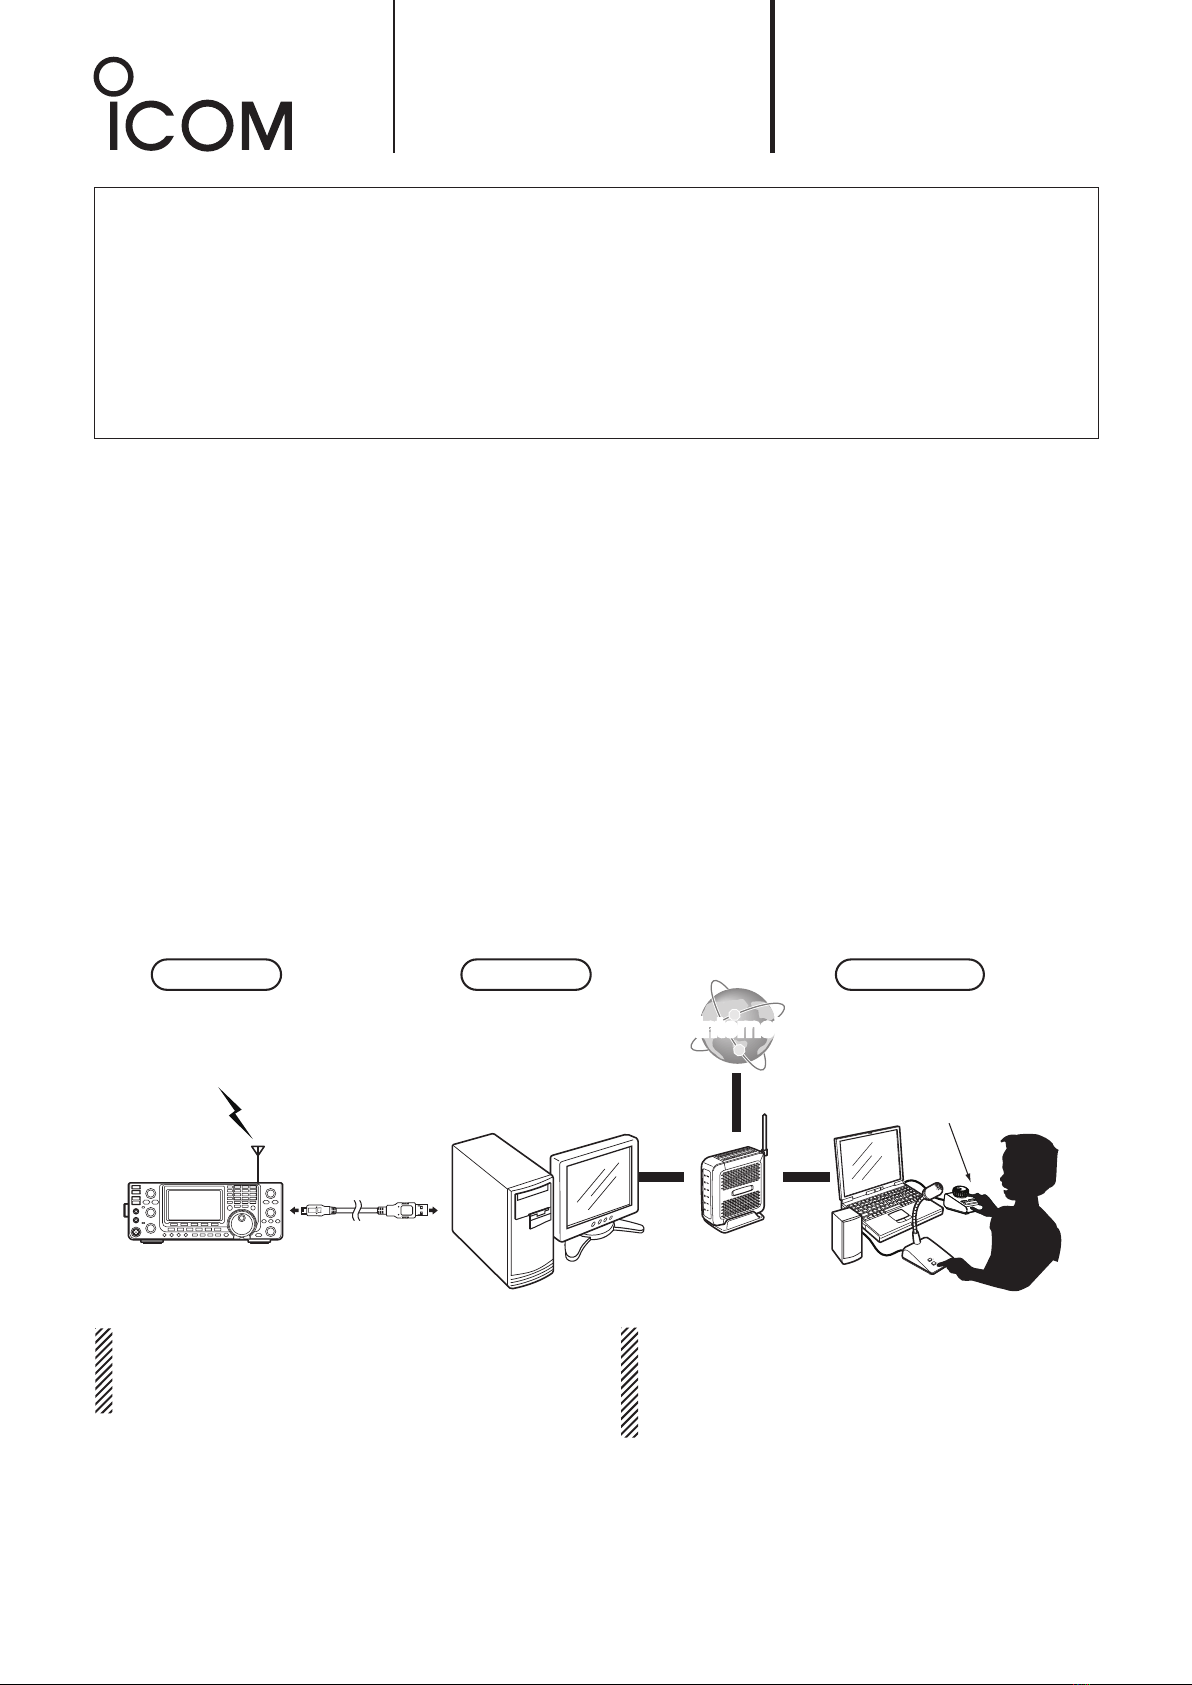
1. Step2. 3. 4. 5.