ICON 59103 Assembly instructions

Visit our website at: http://www.harborfreight.com
Owner’s Manual & Safety Instructions
Save This Manual Keep this manual for the safety warnings and precautions, assembly,
operating, inspection, maintenance and cleaning procedures. Write the product’s serial number in the
back of the manual near the assembly diagram (or month and year of purchase if product has no number).
Keep this manual and the receipt in a safe and dry place for future reference. 21g
When unpacking, make sure that the product is intact
and undamaged. If any parts are missing or broken,
please call 1-888-866-5797 as soon as possible.
Copyright©2021 by Harbor Freight Tools®. All rights reserved.
No portion of this manual or any artwork contained herein may be reproduced in
any shape or form without the express written consent of Harbor Freight Tools.
Diagrams within this manual may not be drawn proportionally. Due to continuing
improvements, actual product may differ slightly from the product described herein.
Tools required for assembly and service may not be included.
Read this material before using this product.
Failure to do so can result in serious injury.
SAVE THIS MANUAL.

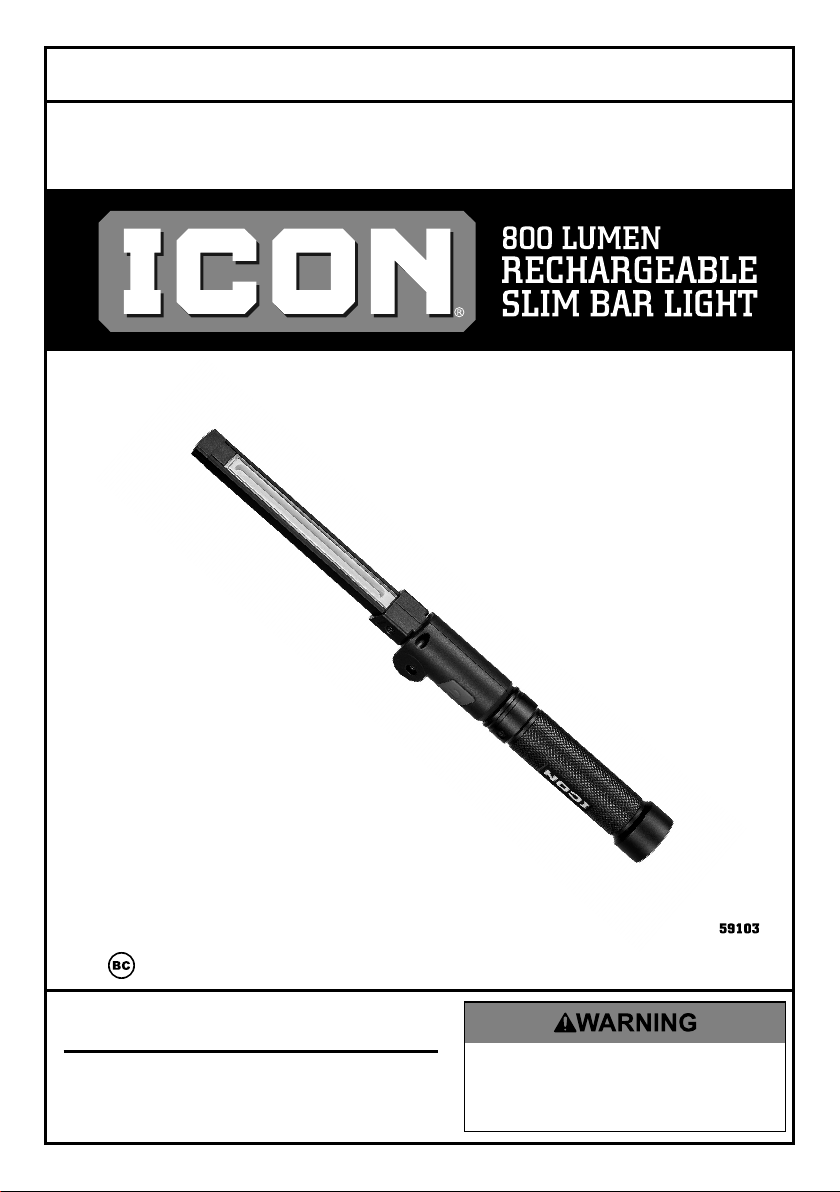
Page 2 For technical questions, please call 1-888-866-5797. Item 59103
Specifications
Input Rating 5VDC / 1000mA
Battery 18650 Li-ion
Battery Rating 3.7V / 2600mAh
Charge Time 4 hours
IMPORTANT SAFETY INFORMATION
To prevent serious injury, FIRE, and EXPLOSION:
1. Keep dry.
2. Only use included charging adaptors. Other
adaptors may damage tool or cause fire.
3. Do not submerge Light.
4. Do not operate in explosive atmospheres, such as in
the presence of flammable liquids, gases, or dust.
5. People with pacemakers should consult their
physician(s) before use. Electromagnetic fields in
close proximity to heart pacemaker could cause
pacemaker interference or pacemaker failure.
6. Not a toy. Keep out of reach of children.
7. Contains Li-Ion battery. Battery must be
recycled or disposed of properly. Do not open,
crush, heat above 140° F or incinerate.
Charging Instructions
Read the ENTIRE IMPORTANT SAFETY INFORMATION section at the beginning of this document
including all text under subheadings therein before set up or use of this product.
NOTE: Before using Light for the first
time, fully charge the Battery.
1. Plug Adaptor into Charging Jack.
Charging
Jack
2. Plug Adaptor into a grounded 120VAC outlet.
3. The Charge Indicator on Adaptor will turn Red
during charging. When charging is done,
it will turn Green. Unplug the Adaptor.
NOTICE: Do not leave the Battery in a discharged
state. Charge the Battery every 3 months if the
Work Light is not in use. This will keep the Battery
from wearing down and add to its life. Do not
charge the Light at temperatures below 40° F.
Record Product’s Serial Number Here:
Note: If product has no serial number, record month and year of purchase instead.
Note: Replacement parts are not available for this item.

Page 3For technical questions, please call 1-888-866-5797.Item 59103
Operation Instructions
Read the ENTIRE IMPORTANT SAFETY INFORMATION section at the beginning of this document
including all text under subheadings therein before set up or use of this product.
NOTE: Before using Light for the first
time, fully charge the Battery.
NOTE: Light is equipped with smart memory function.
If Light stays on a mode more than five seconds,
that mode will be memorized. Light will directly turn
off when Light is pressed. Light will turn on to the
memorized mode when Power Button is pressed next.
1. Press Power Button.
a. One time to turn on the top light.
b. Two times to switch to front flood light Eco mode.
c. Three times to switch to front
flood light full power mode.
d. Four times to switch to rear flood light Eco mode.
e. Five times to switch to rear flood
light full power mode.
f. Six times to turn light off.
2. When finished using Light, store
indoors away from children.
Battery Removal and Replacement
NOTE: Contains Li-Ion battery. Battery must be
recycled or disposed of properly. Do not open,
crush, heat above 140° F or incinerate.
1. Unplug Adaptor from Light.
2. Remove Screw from Screw Cap.
Screw
3. Pull Screw Cap out of opposite side.
Screw Cap
4. Remove three more Screws.
Screw
Screw
(Other screw
on opposite
side)
Note: Keep track of Screw location.
5. Gently pull top from bottom to seperate.
6. Separate top half exposing Circuit Board.
Connection
Battery
Circuit
Board
7. Disconnect Battery wires from Circuit Board.
8. Remove or Replace Battery

26541 Agoura Road • Calabasas, CA 91302 • 1-888-866-5797
Limited 90 Day Warranty
Harbor Freight Tools Co. makes every effort to assure that its products meet high quality and durability
standards, and warrants to the original purchaser that this product is free from defects in materials
and workmanship for the period of 90 days from the date of purchase. This warranty does not apply to
damage due directly or indirectly, to misuse, abuse, negligence or accidents, repairs or alterations outside
our facilities, criminal activity, improper installation, normal wear and tear, or to lack of maintenance.
We shall in no event be liable for death, injuries to persons or property, or for incidental, contingent,
special or consequential damages arising from the use of our product. Some states do not allow the
exclusion or limitation of incidental or consequential damages, so the above limitation of exclusion
may not apply to you. THIS WARRANTY IS EXPRESSLY IN LIEU OF ALL OTHER WARRANTIES,
EXPRESS OR IMPLIED, INCLUDING THE WARRANTIES OF MERCHANTABILITY AND FITNESS.
To take advantage of this warranty, the product or part must be returned to us with transportation charges
prepaid. Proof of purchase date and an explanation of the complaint must accompany the merchandise.
If our inspection verifies the defect, we will either repair or replace the product at our election or we may
elect to refund the purchase price if we cannot readily and quickly provide you with a replacement. We will
return repaired products at our expense, but if we determine there is no defect, or that the defect resulted
from causes not within the scope of our warranty, then you must bear the cost of returning the product.
This warranty gives you specific legal rights and you may also have other rights which vary from state to state.
Popular Lighting Equipment manuals by other brands

Hubbell
Hubbell Laredo LMC installation instructions

Spitzer LIGHTING
Spitzer LIGHTING HIGH BAY Series installation manual

ACME
ACME VOGUE user manual

Lightolier
Lightolier ProSpec 37B10E specification

Equinox Systems
Equinox Systems PREDATOR user manual

Ecco
Ecco 3800 Series Installation and operation instructions