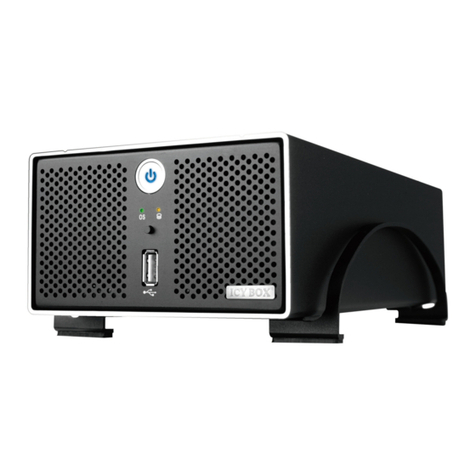
Icy Box IB-NAS5520 User manual

3. Front View
4. Rear View
Quick Start Guide
2x 3.5" RAID HDD Network Storage
IB-NAS5520
1. Package Contents
Power Adapter Quick Start Guide Srew set
USB cable LAN cable
2. Installation
5. Frontansicht 6. Rückansicht 5) Finden Sie Ihre persönliche "Cloud"
"MAC address" (e.g. 0001D2120538)
6) Gehen Sie zu Einstellungen (Settings)
7) Geben Sie den Benutzernamen ein
admin
8) Geben Sie das Passwort ein
admin
9) Gehen Sie zu Systemeinstellungen
(System Settings)
Maintain
10) Gehen Sie zu Festplatte (Disk)
Format
Hinweis: Entfernen Sie das Netzwerkkabel und
starten Sie das System neu um die USB 3.0
Verbindung zu verwenden.
Starttaste
Blau = Gerät ist im Betrieb
RESET Während des Startvorganges Taste drü-
cken und gedrückt halten um ein Reset
der Geräteeinstellungen durchzuführen.
FW Die LED leuchtet, Taste drücken um
Firmwareupdate durchzuführen.
CONFIRM 3 Sekunden gedrückt halten um den
gewählten RAID Modus zu bestätigen.
Grün = System läuft und ist
betriebsbereit
Grün blinkend = System fährt hoch
oder runter
Rot blinkend = System kann keine
IP Adresse beziehen, fährt hoch oder
runter.
7. Anwendung
1) Schalten Sie das Gerät ein
2) Wählen Sie einen RAID Modus
LARGE/RAID 0/RAID 1
3) Bestätigen Sie den RAID Modus
CONFIRM (3 sec.)
4) Öffnen Sie Safari/Firefox/Chrome/IE
http://myakitio.com
Grün = OK
Grün blinkend = Datenzugriff
Speicherplatzausnutzung
in Prozent (50% und 100%)
I/O:LAN+USB3.0
MAC Address:0001D2120538
S/N:MC1121127E0001 Made in China
5. Front view 6. Rear View 5) Find your personal "Cloud"
"MAC address" (e.g. 0001D2120538)
6) Got to Settings
7) Enter user name
admin
8) Enter password
admin
9) Go to System Settings
Maintain
10) Go to Disk
Format
Note: In order to use the USB 3.0 connection,
unplug the Ethernet cable and restart the system.
Power button
Blue = Power on
RESET Press and hold the button during
startup to reset the settings.
FW When the LED is lit, press the button to
update the rmware.
CONFIRM Press the button for 3 second to set the
RAID mode.
Green = System ready
Flashing green = System is starting
up or shutting down
Flashing red = System cannot obtain
IP address or system is currently
starting up or shutting down.
7. Application
1) Turn on Power
2) Select RAID mode
LARGE/RAID 0/RAID 1
3) Set RAID mode
CONFIRM (3 sec.)
4) Open Safari/Firefox/Chrome/IE
http://myakitio.com
Green = OK
Flashing green = Data access
Used storage space
I/O:LAN+USB3.0
MAC Address:0001D2120538
S/N:MC1121127E0001 Made in China
5. Vue façade 6. Vue arrière 5) Trouvez votre « nuage » ("Cloud") personnel
"MAC address" (e.g. 0001D2120538)
6) Allez sur Paramètres (Settings)
7) Saisissez votre nom d'utilisateur
admin
8) Saisissez votre mot de passe
admin
9) Allez sur Paramètres du système
(System Settings)
Maintain
10) Allez sur Disque (Disk)
Format
Remarque: Pour utiliser la connexion USB 3.0,
débranchez le câble Ethernet et rallumez le système.
Bouton Marche
Bleu = Sous tension
RESET Appuyez sans arrêter sur le bouton
pendant le démarrage pour réinitialiser
les réglages.
FW Lorsque le DEL est allumé, appuyez sur
le bouton pour mettre à jour le rmware.
CONFIRM Appuyez sur le bouton pendant
3 secondes pour régler le mode RAID.
Vert = Système prêt
Vert clignotant = Système en train
de s’allumer ou de s’éteindre
Rouge clignotant = Le système
n’arrive pas à obtenir I’ adresse IP ou
le système est en train de s’allumer ou
de s’éteindre.
7. Application
1) Allumez l'appareil
2) Sélectionnez le mode RAID
LARGE/RAID 0/RAID 1
3) Congurez le mode RAID
CONFIRM (3 sec.)
4) Ouvrez Safari/Firefox/Chrome/IE
http://myakitio.com
Vert = OK
Vert clignotant = Accès aux données
Espace de stockage utilisé
I/O:LAN+USB3.0
MAC Address:0001D2120538
S/N:MC1121127E0001 Made in China
5. Vista frontale 6. Vista posteriore 5) Trovare la "Cloud" personale
"MAC address" (e.g. 0001D2120538)
6) Andare a Impostazioni (Settings)
7) Immettere il nome utente
admin
8) Immettere la password
admin
9) Andare a Impostazioni di sistema
(System Settings)
Maintain
10) Andare a Disco (Disk)
Format
Nota: Per utilizzare la connessione USB 3.0, slare il
cavo Ethernet e riavviare il sistema.
Pulsante ON/OFF
Blu = acceso (ON)
RESET Per resettare le impostazioni, premere a
lungo questo pulsante durante l'avvio.
FW Per aggiornare il rmware, premere a
lungo questo pulsante quando il LED è
acceso.
CONFIRM Per impostare la modalità RAID,
premere questo pulsante per 3 secondi.
Verde = Sistema pronto
Verde lampeggiante = Sistema in
fase di avvio o di spegnimento
Rosso lampeggiante = Mancato ot-
tenimento dell'indirizzo IP da parte del
sistema oppure sistema in fase di avvio
o spegnimento
7. Applicazione
1) Inserire la corrente
2) Selezionare la modalità RAID
LARGE/RAID 0/RAID 1
3) Impostare su RAID
CONFIRM (3 sec.)
4) Aprire Safari/Firefox/Chrome/IE
http://myakitio.com
Verde = OK
Verde lampeggiante = accesso ai dati
Quantità di storage utilizzata
I/O:LAN+USB3.0
MAC Address:0001D2120538
S/N:MC1121127E0001 Made in China
FW LED
FW
RAID mode
selector
Ethernet port
CONFIRM
USB 3.0 port
DC 12 V
Reset
Kensington
lock hole
40x40 mm FAN
Enclosure
Power button
LED operating system
LED HDD 1
LED HDD 2
LED used
storage space

© Copyright 2012 by RaidSonic Technology GmbH. All Rights Reserved
The information contained in this manual is believed to be accurate and reliable. RaidSonic Technology GmbH assumes no responsibility for any errors con-
tained in this manual. RaidSonic Technology GmbH reserves the right to make changes in the specications and/or design of the above mentioned product
without prior notice. The diagrams contained in this manual may also not fully represent the product that you are using and are there for illustration purposes
only. RaidSonic Technology GmbH assumes no responsibility for any differences between the product mentioned in this manual and the product you may have.
For more detailed instructions, please visit our website at www.raidsonic.de and download full manual (English/German).
5. Vista frontal 6. Vista posterior 5) Busque su "nube" ("Cloud") personal
"MAC address" (e.g. 0001D2120538)
6) Acceda a Settings
7) Introduzca su nombre de usuario
admin
8) Introduzca la contraseña
admin
9) Acceda a System Settings
Maintain
10) Acceda a Disk
Format
Nota: Para utilizar la conexión USB 3.0, desenchufe el
cable Ethernet y reinicie el sistema.
Botón de alimentación
Azul = Encendido
RESET Presione sin soltar el botón durante el
encendido para restablecer la
conguración.
FW Cuando el LED esté iluminado, presione
el botón para actualizar el rmware.
CONFIRM Pulse el botón durante 3 segundos para
congurar el modo RAID.
Verde = Sistema preparado
Verde intermitente = El sistema se
está inciando o apagando.
Rojo intermitente = El sistema no
puede obtener la direcciión IP o se
está iniciando o apagando en este
momento.
7. Aplicación
1) Conecte la alimentación
2) Seleccione el modo RAID
LARGE/RAID 0/RAID 1
3) Congure el modo RAID
CONFIRM (3 sec.)
4) Abra el explorador Safari/Firefox/Chrome/IE
http://myakitio.com
Verde = OK
Verde intermitente = Acceso a datos
Espacio de
alamacenamiento utilizado
I/O:LAN+USB3.0
MAC Address:0001D2120538
S/N:MC1121127E0001 Made in China
5. Widok z przodu 6. Widok z tyłu 5) Znaleźć osobistą "chmurę" ("Cloud").
"MAC address" (e.g. 0001D2120538)
6) Przejść do menu Ustawienia (Settings)
7) Wprowadzić nazwę użytkownika.
admin
8) Wprowadzić hasło.
admin
9) Przejść do menu Ustawienia systemowe
(System Settings)
Maintain
10) Przejść do menu Dysk (Disk)
Format
Uwaga! Aby użyć złącza USB 3.0, należy odłączyć
kabel Ethernet i ponownie uruchomić system.
Przycisk Power (zasilanie)
Niebieski = zasilanie włączone
RESET
Wcisnąć przycisk i trzymać wciśnięty podczas
uruchamiania w celu zresetowania ustawień.
FW Gdy dioda LED zacznie świecić, nacisnąć
przycisk w celu aktualizacji oprogramo-
wania rmware.
CONFIRM Wcisnąć przycisk na 3 sekundy, aby
ustawić tryb RAID.
Zielony = System gotowy
Miga na zielono = Trwa uruchamianie
lub zamykanie systemu
Miga na czerwono = System nie
może uzyskać adresu IP lub trwa
uruchamianie albo zamykanie systemu 7. Aplikacje
1) Włączyć zasilanie.
2) Wybrać tryb RAID.
LARGE/RAID 0/RAID 1
3) Ustawić tryb RAID.
CONFIRM (3 sec.)
4) Otworzyć przeglądarkę Safari/Firefox/Chrome/IE
http://myakitio.com
Zielony = OK
Miga na zielono = korzystanie z danych
Wykorzystane miejsce w pamięci
I/O:LAN+USB3.0
MAC Address:0001D2120538
S/N:MC1121127E0001 Made in China
5. Vista da frente 6. Vista de trás 5) Encontre a sua "Cloud" pessoal
"MAC address" (e.g. 0001D2120538)
6) Vá a Denições (Settings)
7) Introduza o nome de utilizador
admin
8) Introduza a palavra-passe
admin
9) Vá a Denições do sistema
(System Settings)
Maintain
10) ) Vá a Disco (Disk)
Format
Nota: Para usar a ligação USB 3.0, remova o cabo
Ethernet e reinicie o sistema.
Botão de alimentação
Azul = Alimentação ligada
RESET Prima o botão durante a inicialização
e mantenha-o premido para repor as
denições.
FW Depois de o LED acender, prima o botão
para atualizar o rmware.
CONFIRM Prima o botão durante 3 segundos para
congurar o modo RAID.
Verde = Sistema operacional
Luz pisca a verde = O sistema está
a inicializar ou a desligar-se.
Luz pisca a vermelho = O sistema
não consegue obter o endereço IP
ou o sistema está a inicializar ou a
desligar-se.
7. Emprego
1) Ligue a alimentação
2) Selecione o modo RAID
LARGE/RAID 0/RAID 1
3) Congure o modo RAID
CONFIRM (3 sec.)
4) Abra o Safari/Firefox/Chrome/IE
http://myakitio.com
Verde = OK
Luz pisca a verde = Acesso aos dados
Capacidade de
armazenamento utilizada
I/O:LAN+USB3.0
MAC Address:0001D2120538
S/N:MC1121127E0001 Made in China
5. Вид спереди 6. Вид сзади 5) Найти своё «облако» ("Cloud")
"MAC address" (e.g. 0001D2120538)
6) Перейти в раздел Настройки (Settings)
7) Ввести имя пользователя
admin
8) Ввести пароль
admin
9) Перейти в раздел Настройки системы
(System Settings)
Maintain
10) Перейти в раздел Диск (Disk)
Format
Примечание: Чтобы активировать соединение USB
3.0, следует отключить сетевой кабель Ethernet и
перезагрузить систему.
Кнопка «Питание»=
Синий – питание включено
RESET Во время запуска нажать и удерживать
кнопку, чтобы сбросить настройки.
FW Когда горит индикатор, нажать кнопку,
чтобы обновить встроенное ПО.
CONFIRM Нажать и удерживать кнопку
на протяжении 3 секунд, чтобы
установить режим RAID.
Зелёный = система готова
Мигающий зелёный = начало или
завершение работы системы
Мигающий красный = система
не может получить IP-адрес либо
в данный момент начинает или
завершает работу.
7. Применение
1) Включить питание
2) Выбрать режим RAID
LARGE/RAID 0/RAID 1
3) Установить режим RAID
CONFIRM (3 sec.)
4) Открыть Safari/Firefox/Chrome/IE
http://myakitio.com
Зелёный = OK
Мигающий зелёный =
Accès aux données
Занятое место в накопителе
I/O:LAN+USB3.0
MAC Address:0001D2120538
S/N:MC1121127E0001 Made in China
5. Čelní pohled 6. Pohled zezadu 5) Najděte si osobní "Cloud"
"MAC address" (e.g. 0001D2120538)
6) Přejděte na část Nastavení (Settings)
7) Zadejte uživatelské jméno
admin
8) Zadejte heslo
admin
9) Přejděte na část Nastavení systému
(System Settings)
Maintain
10) Přejděte na Disk
Format
Poznámka: Chcete-li používat připojení USB 3.0,
odpojte kabel sítě Ethernet a restartujte systém.
Tlačítko napájení
Modrá = zapnuto
RESET Chcete-li resetovat nastavení, stiskněte
a podržte tlačítko v průběhu spouštění.
FW Jestliže svítí kontrolka LED, stisknutím
tlačítka spustíte aktualizaci rmwaru.
CONFIRM Chcete-li nastavit režim RAID, stiskněte
tlačítko na 3 sekundy.
Zelená = Systém připraven
Blikající zelená = Systém se spouští
nebo vypíná
Blikající červená = Systém nemůže
získat IP adresu nebo systém se právě
spouští nebo vypíná 7. Aplikace
1) Zapněte elektrické napájení
2) Vyberte režim RAID
LARGE/RAID 0/RAID 1
3) Nastavte režim RAID
CONFIRM (3 sec.)
4) Otevřete prohlížeč Safari/Firefox/Chrome/IE
http://myakitio.com
Zelená = OK
Blikající zelená = Přístup k datům
Využitý paměťový prostor
I/O:LAN+USB3.0
MAC Address:0001D2120538
S/N:MC1121127E0001 Made in China
5. Μπροστινή όψη 6. Οπίσθια όψη 5) Βρείτε το προσωπικό σας «νέφος» ("Cloud")
"MAC address" (e.g. 0001D2120538)
6) Μεταβείτε στις Ρυθμίσεις (Settings)
7) Εισαγάγετε το όνομα χρήστη.
admin
8) Εισαγάγετε τον κωδικό πρόσβασης.
admin
9) Μεταβείτε στις Ρυθμίσεις συστήματος
(System Settings)
Maintain
10) Μεταβείτε στο στοιχείο Δίσκος (Disk)
Format
Σημείωση: Για να χρησιμοποιήσετε τη σύνδεση
USB 3.0, αποσυνδέστε το καλώδιο Ethernet και
επανεκκινήστε το σύστημα.
Κουμπί τροφοδοσίας
Μπλε = Ενεργοποίηση τροφοδοσίας
RESET Κρατήστε πατημένο το κουμπί κατά την
εκκίνηση για την επαναφορά των ρυθμίσεων.
FW Όταν η λυχνία LED είναι αναμμένη,
πατήστε το κουμπί για την ενημέρωση
του υλικολογισμικού.
CONFIRM Πατήστε το κουμπί για 3 δευτερόλεπτα
για τη ρύθμιση της λειτουργίας RAID.
Πράσινο = Το σύστημα είναι έτοιμο
Πράσινο που αναβοσβήνει =
Το σύστημα εκκινείται ή τερματίζεται
Κόκκινο που αναβοσβήνει =
Το σύστημα δεν μπορεί να λάβει τη
διεύθυνση IP ή το σύστημα εκκινείται ή
τερματίζεται αυτήν τη στιγμή
7. Εφαρμογή
1) Ενεργοποιήστε τη μονάδα.
2) Επιλέξτε τη λειτουργία RAID.
LARGE/RAID 0/RAID 1
3) Ρυθμίστε τη λειτουργία RAID.
CONFIRM (3 sec.)
4) Ανοίξτε το Safari/Firefox/Chrome/IE.
http://myakitio.com
Πράσινο = OK
Πράσινο που αναβοσβήνει =
Πρόσβαση σε δεδομένα
Χώρος αποθήκευσης που
χρησιμοποιείται
I/O:LAN+USB3.0
MAC Address:0001D2120538
S/N:MC1121127E0001 Made in China
Table of contents
Other Icy Box Network Hardware manuals
Popular Network Hardware manuals by other brands
Metrodata
Metrodata ATM CBR DSU user manual

Cisco
Cisco Catalyst 8300 Series Hardware installation guide

Ubiquiti
Ubiquiti UBB quick start guide
ADC
ADC H2TU-C-231 List 2F Quick installation
CopperOptics
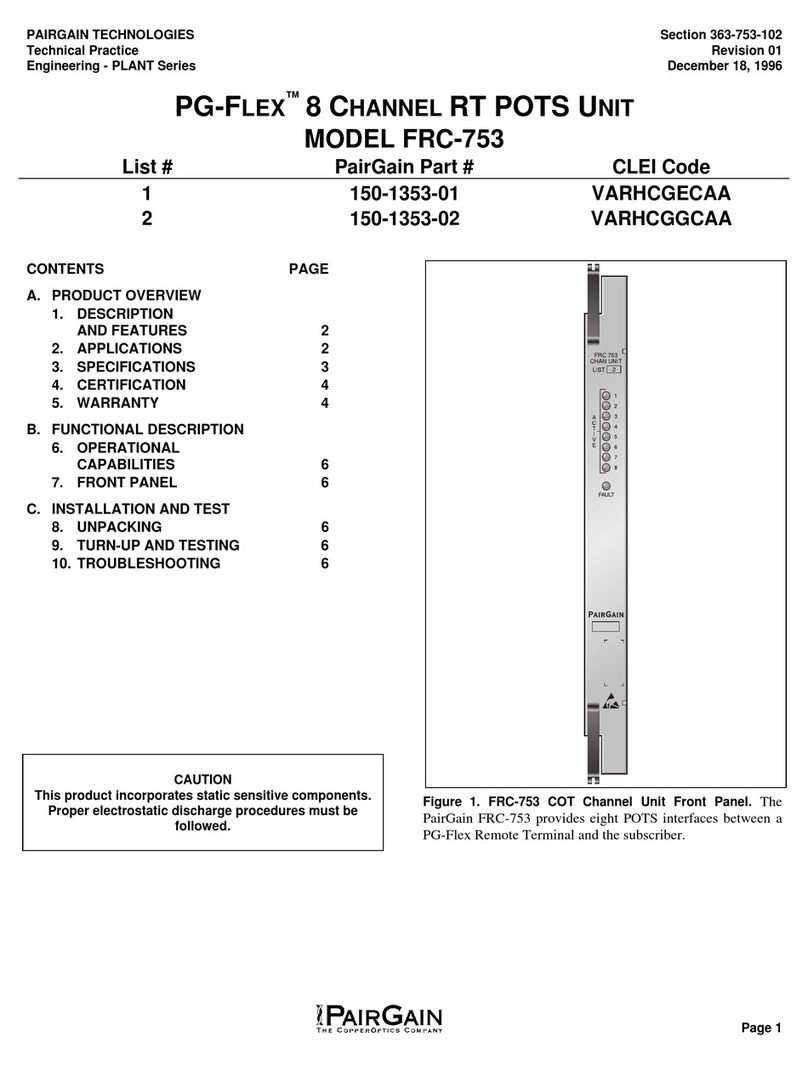
CopperOptics PairGain PG-Flex FRC-753 manual
Allen-Bradley
Allen-Bradley Rockwell Automation 1784-PKT Series user manual
Nortel
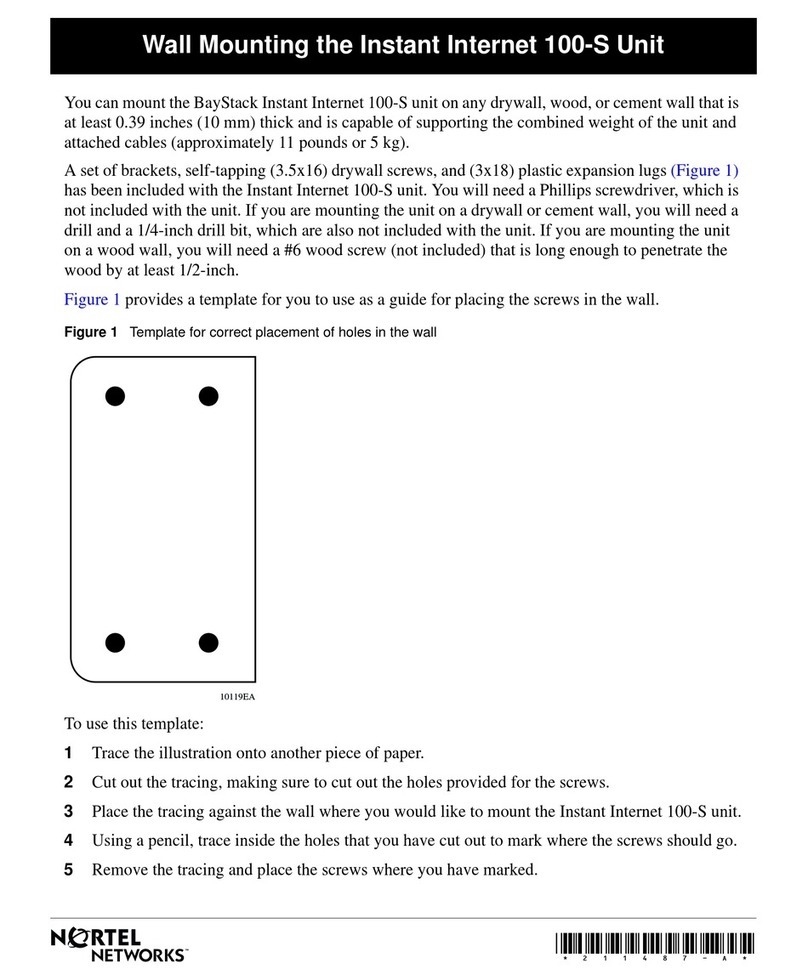
Nortel BayStack 100-S install guide
Cisco
Cisco Network Adapter VIP-FE-TX/4E Installation and configuration guide
Ariesys
Ariesys AMK Series User's reference manual
ATTO Technology
ATTO Technology FibreBridge 2390 Product features

Cyan
Cyan Z22 Engineering and Planning Guide

AsGa
AsGa LightDrive Series user guide

