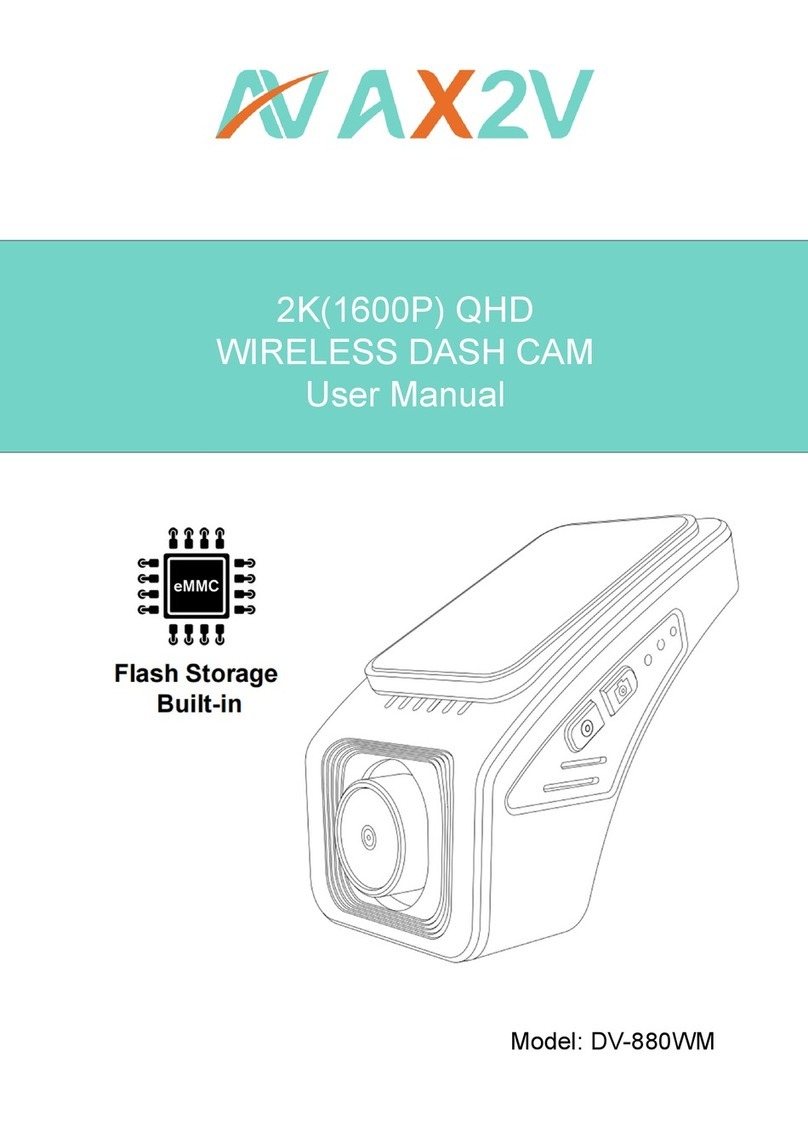
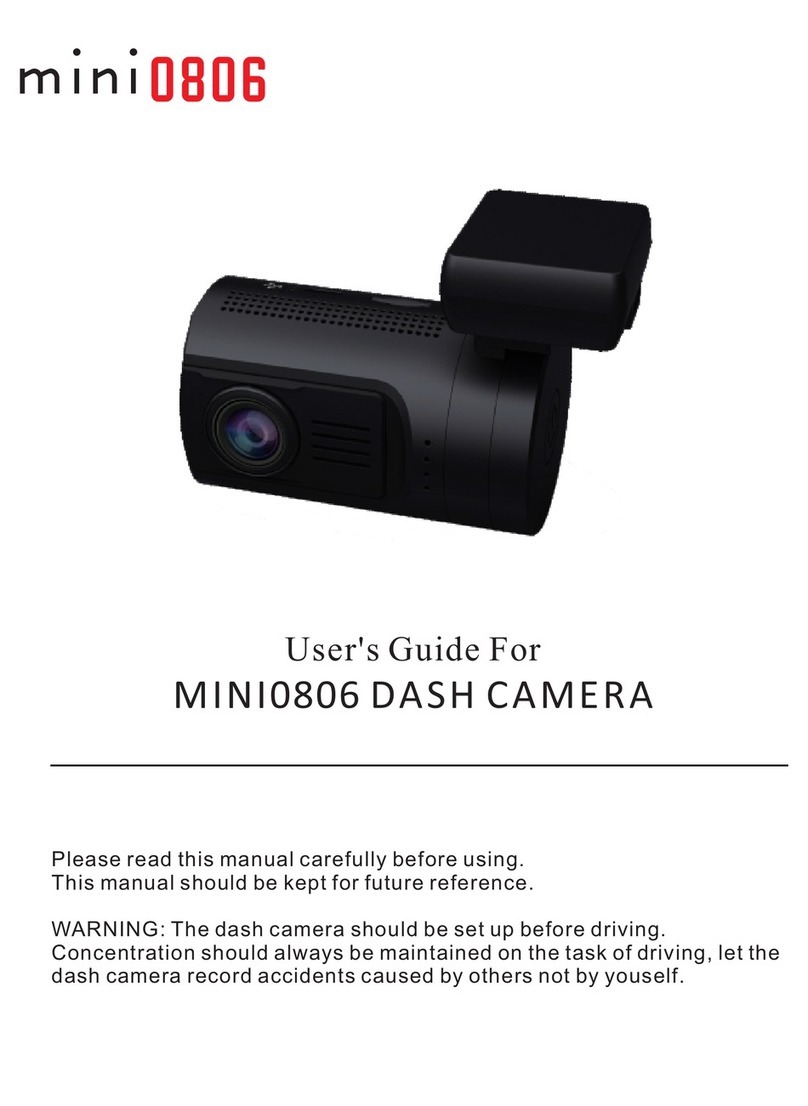
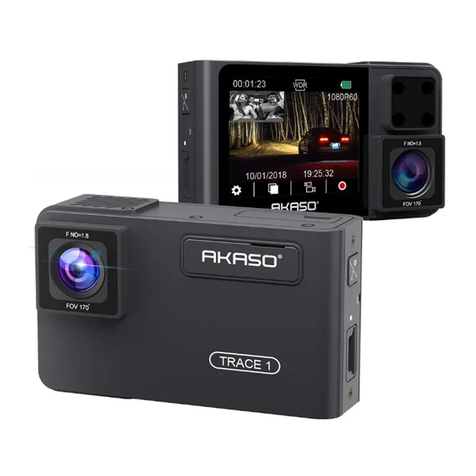
iFUTURE M350 User manual

Mirror Dash Cam M350
USER MANUAL

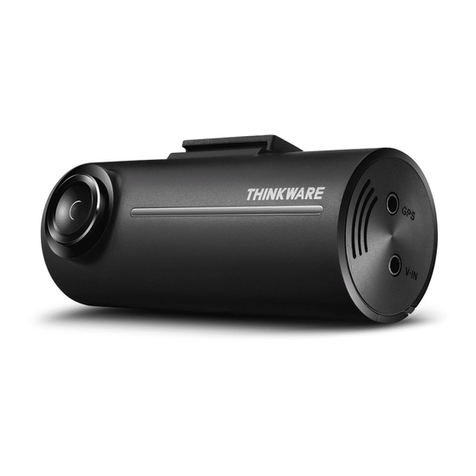
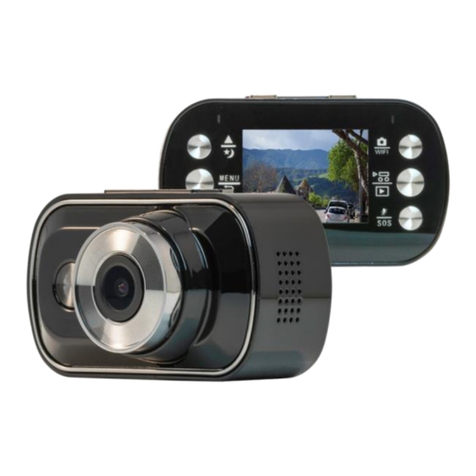
Layout
Mic Rest
Speaker
OK Button
Down Button
Up Button
LED Light
145° Wide Angle Lens
4.3” LCD Screen
Power Button
Menu Button
Mode Button
Mini USB Port TF Card Slot
Back Clip Fixation Hook
1

Car Charger
User ManualRubber Straps x 2
Mirror Dash Cam
Adhesive Wire Clips x 5
Packing List
2

Vehicle Installation
1. Attach the fixed mounts to the back clip fixation hook, then hang the mirror dash cam
M350 on the rear view mirror.
2. Connect the car charger to the car power, hiding the power cable by placing it in the
space between the windshield and headliner. Recommended locations for the adhesive
wire clips to arrange the power cable.
350° Swivel Camera
3

Basic Operation
★We recommend to use up to 32GB Class 10 or UHS-1 Micro SD Card. (Sold Separately)
★Please format the Micro SD Card in the camera before first use.
★To keep your Micro SD card in good condition, please reformat it regularly. As
reformatting erases all of your content, be sure to back up your photos and videos first.
1. Insert TF Card
When the power supply is plugged in, the charge icon will be displayed on the upper right
side of the screen, indicating that the charge icon will always flash when the battery is
charged and the dash camera is working.
There are three kinds of methods can be used to charge the battery.
① Use the power adapter to charge
② Use PC-USB charging
③ Use car charger to charge
2. Charging the Battery
★Auto Power On/Off with Ignition - When powered by the car charger, the dash camera
will automatically turn on when you start your car engine. When turning off your car, the
camera will automatically turn off after approximately 10 seconds.
★Manual Power On/Off - To manually turn the device on/off, press and hold the power
button for at least 3 seconds.
3. Power On/Off
4

★When the dash cam is Powered ON, it’ll automatically start recording.
★ Press OK Button to stop recording.
★ Repeatedly press Mode Button “ ” to switch to switch mode, there will be modes:
Video, Photo, Playback.
4. Mode Switching
5. Button Usage and Operation
★Video Mode
Button Function
· Press this button for 3s to power on and off
· In standby status, video and photo mode, this button is used for night
vision light switch
Shortly press this button to enter into menu settings
In video mode, press the mode button only once to enter the photo mode
In the video state, press this button to turn on/off the microphone
When recording: Manually Lock File
· Start / Stop Video Recording
· Long press this button to turn on/off the LCD display
5

★Photo Mode
Button Function
· Press this button for 3s to power on and off
· In standby status, video and photo mode, this button is used for night
vision light switch
Shortly press this button to enter into menu settings
In photo mode, press the mode button only once to enter playback mode
· Take a Photo
· Long press this button to turn on/off the LCD display
6

Button Function
★Playback Mode
Press this button for 3s to power on and off
In standby status, video and photo mode, this button is used for night vision
light switch
Whether delete this file or not
In playback mode, simply press the mode button once to enter the
video mode
In playback mode, press this button to select the last video or picture
In playback mode, press this button to select the next video or picture
Play/Pause Video File
7

Brief Instruction of Functions
★When the dash cam is Powered ON, it’ll automatically start recording.
★Press OK Button to stop recording.
★Short press Menu Button “ ” to enter into the menu setting interface.
★Press the Up Button “ ” or Down Button “ ” to choose the specific parameter, at
last, press the OK Button “ ” to confirm the operation.
★Press the Menu Button “ ” to exit the setting interface after finishing all functions
setting.
6. Menu Switching
Insert the TF card into the camera and connect to the external power, the dash camera will
automatically turn on and start recording, press OK Button to stop recording.
1. Video
In standby state, press the Mode Button to enter into the photo mode. At this time, the
upper left corner of the display screen icon has been converted from video to camera, and
the photo can be taken by pressing the OK button. If you need to switch back to video
mode, just press the mode button twice to return.
2. Photo
8

For example, in the state of video recording, it is necessary to press OK button to stop
video recording, then press mode button twice to switch to video playback interface, press
up/down button to select playback video, press OK button to play and pause, and press
mode button to exit playback mode in playback state.
3. Video/Picture Playback
This machine has a key lock function, which can lock the image that needs to be retained
without being covered by circulation. In the state of video recording, press the key short,
the recorder will lock the image and not be covered by the cycle.
4. One Key Lock Function
In the case of recording and saving at interval of 1 / 2 / 3 / 5 minutes, the dash cam will
automatically overwrite oldest file in the memory card once the memory is full.
(Note: any locked video files on the memory card will remain protected, and will not be
automatically deleted during Loop Recording.)
5. Loop Recording
When the camera is turned ON and the motion detection is ON, the dash camera will
automatically activate and record any movement that is detected in front of the camera,
and it stops recording when no dynamic motion appears.
6. Motion Detection
9

In standby state, press the menu button to enter into the system settings menu, and press
the [Up]/[Down] to select the setting date option. Just press OK to enter the menu settings.
Note: In order to effectively record the date and time of obtaining evidence of traffic safety
accidents, please set the correct time before using this machine.
7. Date/Time Settings
If the device is abnormal or dead during operation, the reset operation of the device can be
carried out by touching the RESET key through the reset hole of the housing with a small
needle.
Note: When this product is used due to improper operation, it can be restored to normal by
pressing the reset key and then booting.
8. Reset Key
10

Specifications
Screen
One Lens
Video Resolution
Photo Resolutions
Loop Recording
Motion Detection
Screen Saver
Auto Power Off
Video Format
Video Compression
Photo Format
Record Audio
Speaker
Date Stamp
Power Input
Micro SD Card
Battery
Built-in 4.3” TFT Display
145° Wide Angle Lens
FHD 1080P · HD 720P
12M · 10M · 8M · 5M · 3M · 2M · 1.3M · 1M
Off / 1min / 2min / 3min / 5min
Support
Off / 3min / 5min / 10min
Off / 3min / 5min / 10min
AVI
MJPG
JPEG
Built-in Mic
Support
Support
Mini USB, DC-5V
Support up to 32G
Built-in 150mAh Lithium Polymer Battery
11
Table of contents
