IGM FD3170 User manual

FD3170 FD3190 FD6170 FD6190 IGM Optional Template Manual-TXT EN v5.07.1 A5br
Operationg instructions EN
OPTIONAL TEMPLATE
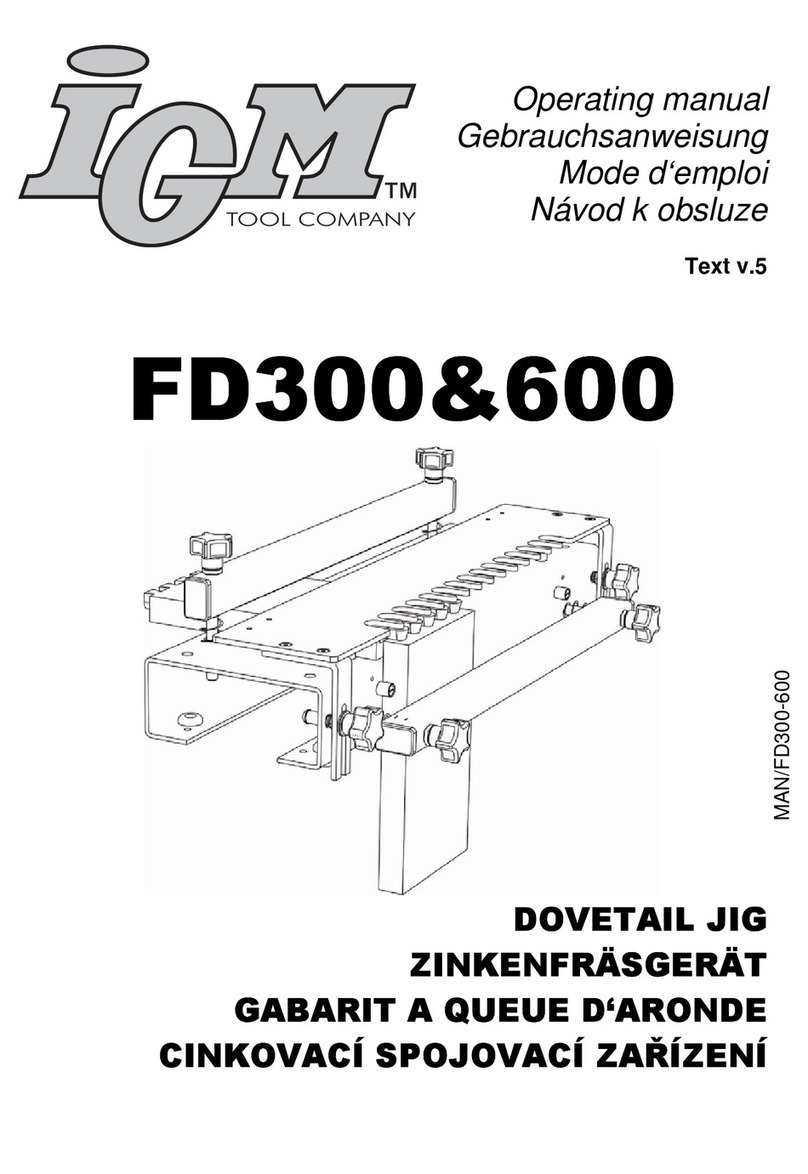
for dovetail jig FD300-600
12,7 mm(1/2”) THROUGH DOVETAIL FD3170&6170
19 mm(3/4”) THROUGH DOVETAIL FD3190&6190
FD3170-3190
FD6170-6190
www.igmtools.info
PDF ONLINE

-2-
igmtools.com
Operating manual
OPTIONAL TEMPLATES
for DOVETAIL JIG FD300 & 600
12,7 mm (1/2“) THROUGH DOVETAIL
FD3170 & 6170
19 mm (3/4“) THROUGH DOVETAIL
FD3190 & 6190
TEXT PART - V5
12,7 mm (1/2”) & 19 mm (3/4“) THROUGH DOVETAIL TEMPLATE Illustration I
Each part is routed separately, secured under the front clamp.
Joint Description
Edge Guide Information Ø Guide
Dim. Ø Dovetail bit Ø Guide
Dimension
Ø Straight
bit
Diameter Colour Position
12,7 mm (1/2“)
Through
Dovetail FD3170
Ø 21,9 x 6 mm
Ø 7/8“ x 6 mm Yellow* F2 15,8 mm
5/8”
Ø 12,7 x 20 mm
Ø 1/2“ x 1“
8deg.
11,1 mm
7/16”
Ø 8 x 25 mm
Ø 5/16“ x 1“
12,7 mm (1/2“)
Through
Dovetail FD6170
Ø 10 mm
From FD600 SIlver F2 15,8 mm
5/8”
Ø 12,7 x 20 mm
Ø 1/2“ x 1“
8deg.
11,1 mm
7/16”
Ø 8 x 25 mm
Ø 5/16“ x 1“
19 mm (3/4“)
Through
Dovetail FD3190
Ø 16,4 x 6 mm
Orange*
F2 22 mm
Ø 19 x 22 mm
Ø 3/4“ x 22 mm
7deg.
15,8 mm
5/8”
Ø12,7 x 25 mm
Ø 1/2“ x 1“
19 mm (3/4“)
Through
Dovetail FD6190
Ø 10 mm
From FD600 SIlver F2 22 mm
Ø 19 x 22 mm
Ø 3/4“ x 22 mm
7deg.
15,8 mm
5/8”
Ø12,7 x 25 mm
Ø 1/2“ x 1“
* ATTENTION PLEASE
We‘re changing the colour of stops since October 2017. The violet one is now orange and the brown one is
now yellow.
Stock preparation
- Cut all pieces for box to the exact dimensions. Make sure ends are perfectly square and exact width. For
optimum width see table.
- Label the pieces as shown in illustration I1 & I2. Mark faces as inside and out.
- X parts will be clamped under front clamp bar and routed first with dovetail bit.
- Y parts will be clamped under front clamp bar and routed with straight bit.
- Ensure all pieces are clamped with the inside faces towards you. (Away the jig )
- Before joining the actual workpiece make a trial cut in waste scrap pieces.
- Prepare through dovetail scrap piece. Scrap piece must be ¼”thicker than the workpiece. The waste piece
reduces likelihood of breakout. Ilustration I3

-3-
igmtools.com
Workpiece width
12,7 mm (1/2“) Through Dovetail
This 12,7 mm (½”) through dovetail template can be used with stock from 31,6 mm (1-1/4”) to 305 mm (12”)
wide with FD300 jig or to 610 mm (24“) wide with FD600 jig. For symmetrical pin placement, use this table as a guide:
#of Whole Tails: 1234567
Ideal
stock tails
mm 31,6 57 82,4 107,8 133,2 158,6 184
inch 1-1/4“ 2-1/4“ 3-1/4“ 4-1/4“ 5-1/4“ 6-1/4“ 7-1/4“
19 mm (3/4“) Through Dovetail
This 19 mm (3/4”) through dovetail template can be used with stock from 50,6 mm (2”) to 305 mm (12”) wide
with FD300 jig or to 610 mm (24“) wide with FD600 jig. For symmetrical pin placement, use this table as a guide:
#of Whole Tails: 1234567
Ideal
stock tails
mm 50,6 88,6 124,6 164,6 202,6 240,6 278,6
inch 2“ 3-1/2“ 4-7/8“ 6-31/64“ 7-31/32“ 9-30/64“ 10-31/32“
Set up
- Attach edge guides to the jig in the position indicated in the table above.
- Place X workpiece under front clamp bar, push tight against the edge guide and tighten the clamping knobs.
- Place a scrap piece under top clamp bar and butt against workpiece already installed. Scrap piece must be
6mm (¼”) thicker than workpiece. Be sure the top of front workpiece is flush with the scrap piece as shown in
illustration I5 .
- Tighten top clamp bar knobs.
- With the tapered slots of the template facing toward you, adjust template adjustment nut so that the sight
mark on the template aligns with the back of the workpiece, as shown in Illustration I6. Be sure template is
parallel to the workpiece.
- Loosen the screws that hold the template plate to the template brackets. Remove the plate but leave the
brackets attached to jig.
- Flip the template plate over so the parallel slots are towards are toward the front of the jig, then reattach the
plate to the template brackets.
Routing X workpiece – Tails
- Attach the 15,8 mm (5/8”) template guide to the router.
- Install the dovetail bit in the router.
- Adjust the cutting depth of the dovetail bit so that it equals the thickness of the Y workpiece
- Place the router on the template ensuring that the router bit does not touch the workpiece.
- Rout carefully from left to right following the fingers of the template with the template guide.
- Switch off the router and carefully remove from jig.
- Check that all slots are routed clean. If not, rout again.
- Remove X workpiece from jig.
Scrap stock must be 6 mm (¼”) thicker than workpieces. Without this extra thickness severe damage may
occur to your jig and router bit.
Only for FD600
- slide edge guide to line up sight mark on template to back of workpiece. Tighten edge guide locking
knob. Repeat for other side. Ensure template is parallel to workpiece.

-4-
igmtools.com
Routing Y workpiece – Pins
- Keep the scrap stock in place, it must be 6mm ( ¼”) thicker than your stock.
- Loosen the screws that hold the template plate to the template bracket. Remove the plate but leave the
brackets attached to jig.
- Flip the template plate over so the tapered slots towards are toward the front of the jig, then reattach the plate
to the template brackets.
- Place Y workpiece under front clamp bar and push tight against edge guides . Tighten clamp bar knobs
- Install 7/16” template guide in router.
- Install straight bit in router.
- Adjust the cutting depth of the bit to equal the thickness of the X workpiece.
- Place the router on the template ensuring that the router bit does not touch the workpiece.
- Switch on.
- Rout carefully from right to left as shown in illustration I12.
- Switch off the router and carefully remove from jig.
- Check that all slots are routed clean. If not, rout again
- Remove Y workpiece from jig.
- Test fit joint.
If joint is not perfect :
Joint too tight = move template for pins towards the jig body.
Joint too loose = move template for pins away from the jig body.
Adjust the template assembly according to this table and rout new joint again.
SAFETY
• Before changing router bit or making any kind of adjustment, always turn off and unplug your router.
• Use protective glasses during routing.
• Use hearing protectors.
• Always use a dust-protection mask or respirator.
• Use dust collection.
• Do not wear loose clothes. Make sure that your sleeves are either rolled up or fastened and that you are not
wearing a tie.
• Before starting your router remove all tools, nuts and other loose object from the work area.
• Avoid an inadvertent start of your router. Before you plug it in, verify the switch is in“off“ position.
• Before you make any adjustments, wait till your router cutter completely stops.

-5-
igmtools.com
FD3190 & 6190 SPARE PARTS LIST v.5
Pos. # Description quantity code
10 Screw M4 x 16 2 FS200126
13 Template brackets FD300 – not included , from FD300 2 FD6001-22
Template brackets FD600 – not included , from FD600 2 FD6001-21
14 Screw M4 x 8 4 FS200128
22 Screw M5 x 8 2 FS200143
23 Hex key 2,5 1 F9900620
32 Template comb 19mm ( ¾“) Through FD300 1 FD3190-01
Template comb 19mm ( ¾“) Through FD600 1 FD6190-01
35 Guide bush D15,8mm x 4 – not included, from FD300 & 600 1 FGB158-04
36 Guide bush D22mm x 4 2 FGB220-00
46
Edge guide D16,4mm x 6mm orange FD3190 2 FD3190-02
Edge guide D10mm x 10mm silver FD6190 – not included from
FD600 2 FD3001-03
FD3170 & 6170 SPARE PARTS LIST v.5
Pos. # Description quantity code
10 Screw M4 x 16 2 FS200126
13 Template brackets FD300 – not included , from FD300 2 FD6001-22
Template brackets FD600 – not included , from FD600 2 FD6001-21
14 Screw M4 x 8 4 FS200128
22 Screw M5 x 8 2 FS200143
23 Hex key 2,5 1 F9900620
31 Template comb 12,7mm ( ½“) Through FD300 1 FD3170-01
Template comb 12,7mm ( ½“) Through FD600 1 FD6170-01
34 Guide bush D11,1mm x 4mm 1 FGB111-03
35 Guide bush D15,8mm x 4 – not included, from FD300 & 600 1 FGB158-04
45
Edge guide D21,9mm x 6mm yellow FD3170 2 FD3130-03
Edge guide D10mm x 10mm silver FD6170 – not included from
FD600
2FD3001-03

IGM nástroje a stroje s.r.o., Ke Kopanině 560,
Tuchoměřice, 252 67, Czech Republic, EU
+420 220 950 910, www.igmtools.com
© 2023 IGM nástroje a stroje s.r.o.
This manual suits for next models
3
Other IGM Tools manuals
