Table of contents
Introduction . . . . . . . . . . . . . . . . . . . . . . . . . . . . . . . . . . . . . . . . . .1
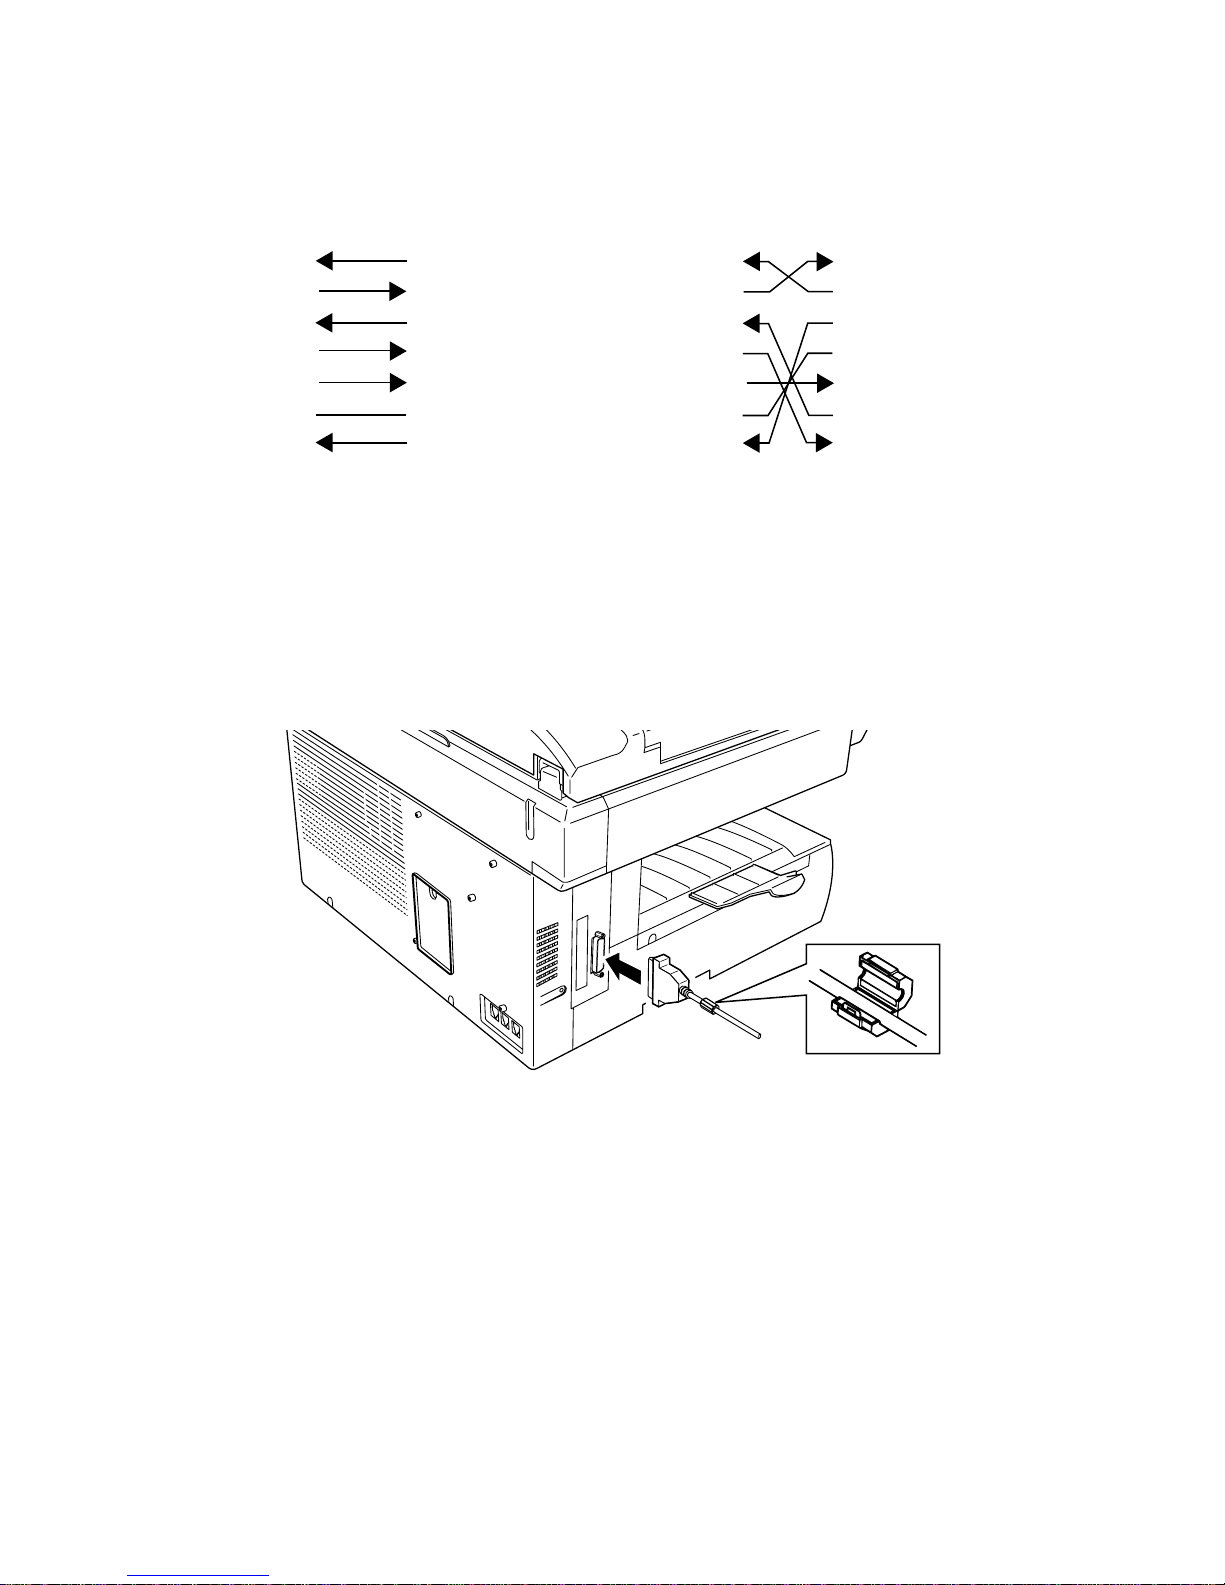
RS-232C interface and cable . . . . . . . . . . . . . . . . . . . . . . . . . . .1
Setting up . . . . . . . . . . . . . . . . . . . . . . . . . . . . . . . . . . . . . . . . . 2
Operation . . . . . . . . . . . . . . . . . . . . . . . . . . . . . . . . . . . . . . . . . . . .4
Setting your fax machine . . . . . . . . . . . . . . . . . . . . . . . . . . . . .4
Requirements for your computer . . . . . . . . . . . . . . . . . . . . . .4
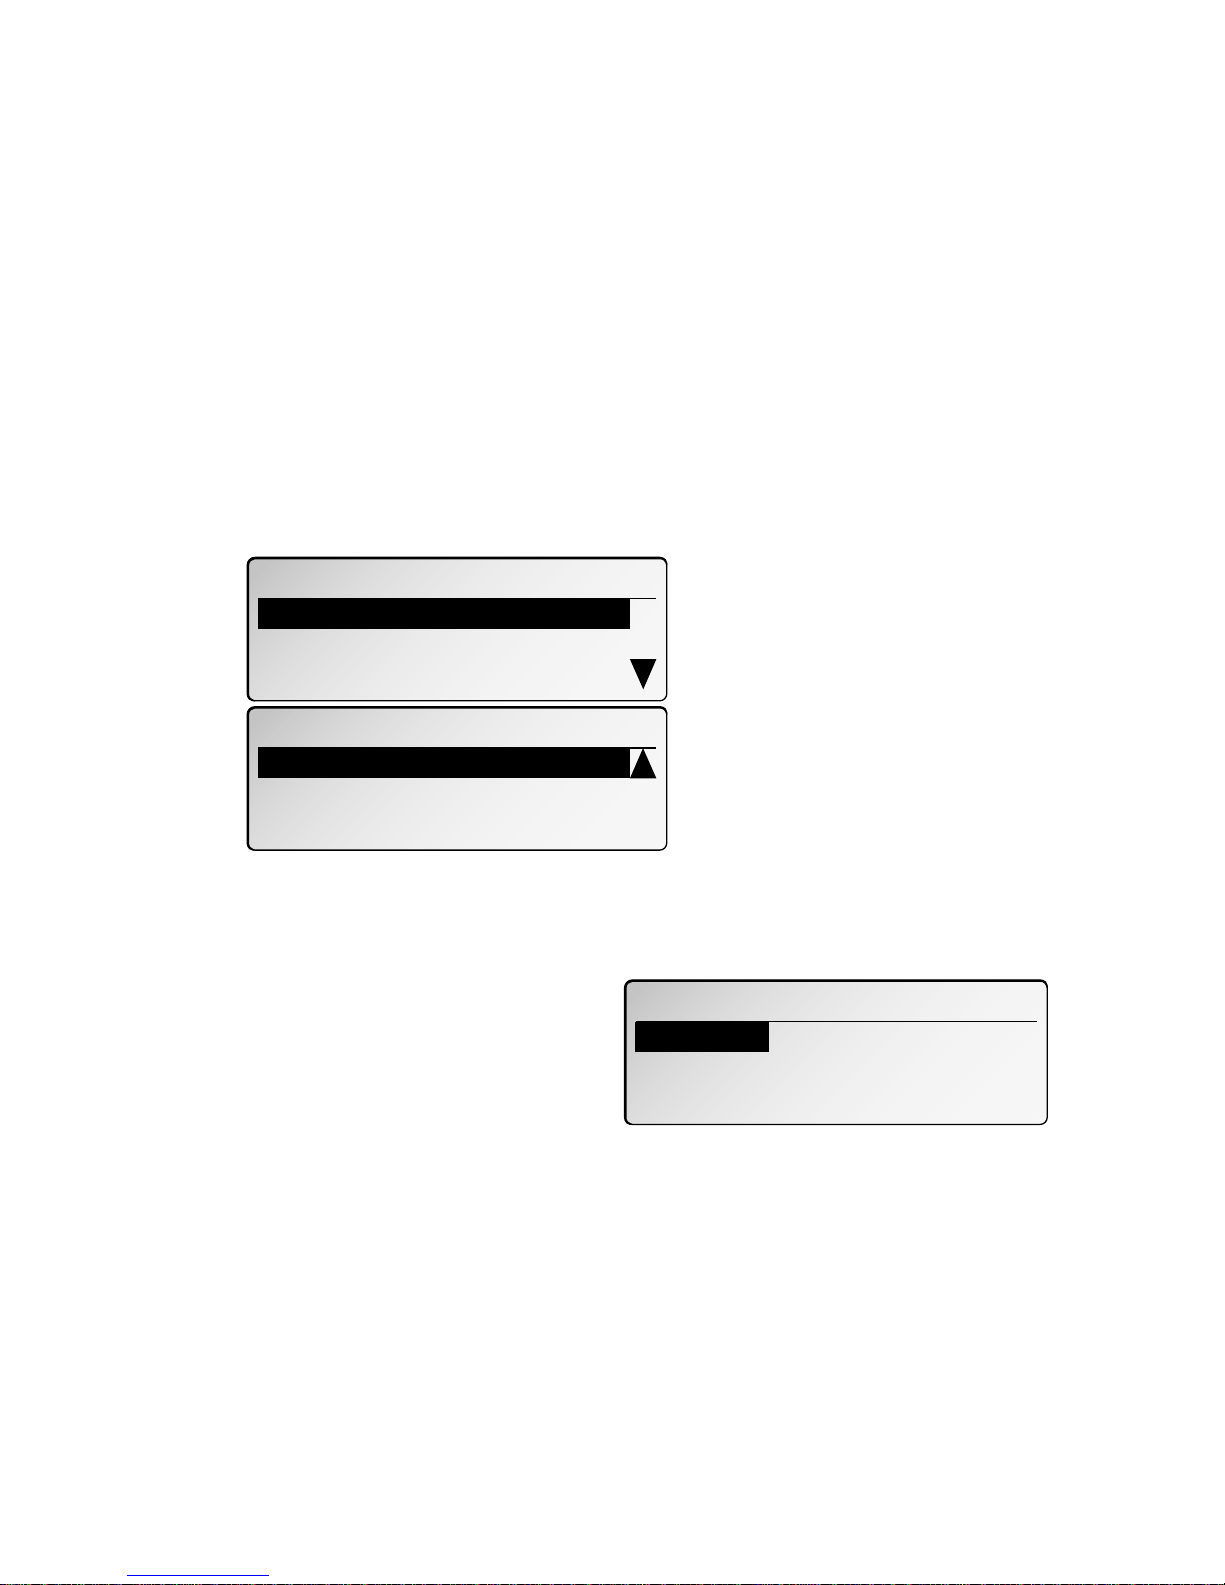
Making the RS-232C settings
for DL170, 3500 and ix3010 . . . . . . . . . . . . . . . . . . . . . . . . . .5
Initializing your machine . . . . . . . . . . . . . . . . . . . . . . . . . . .6
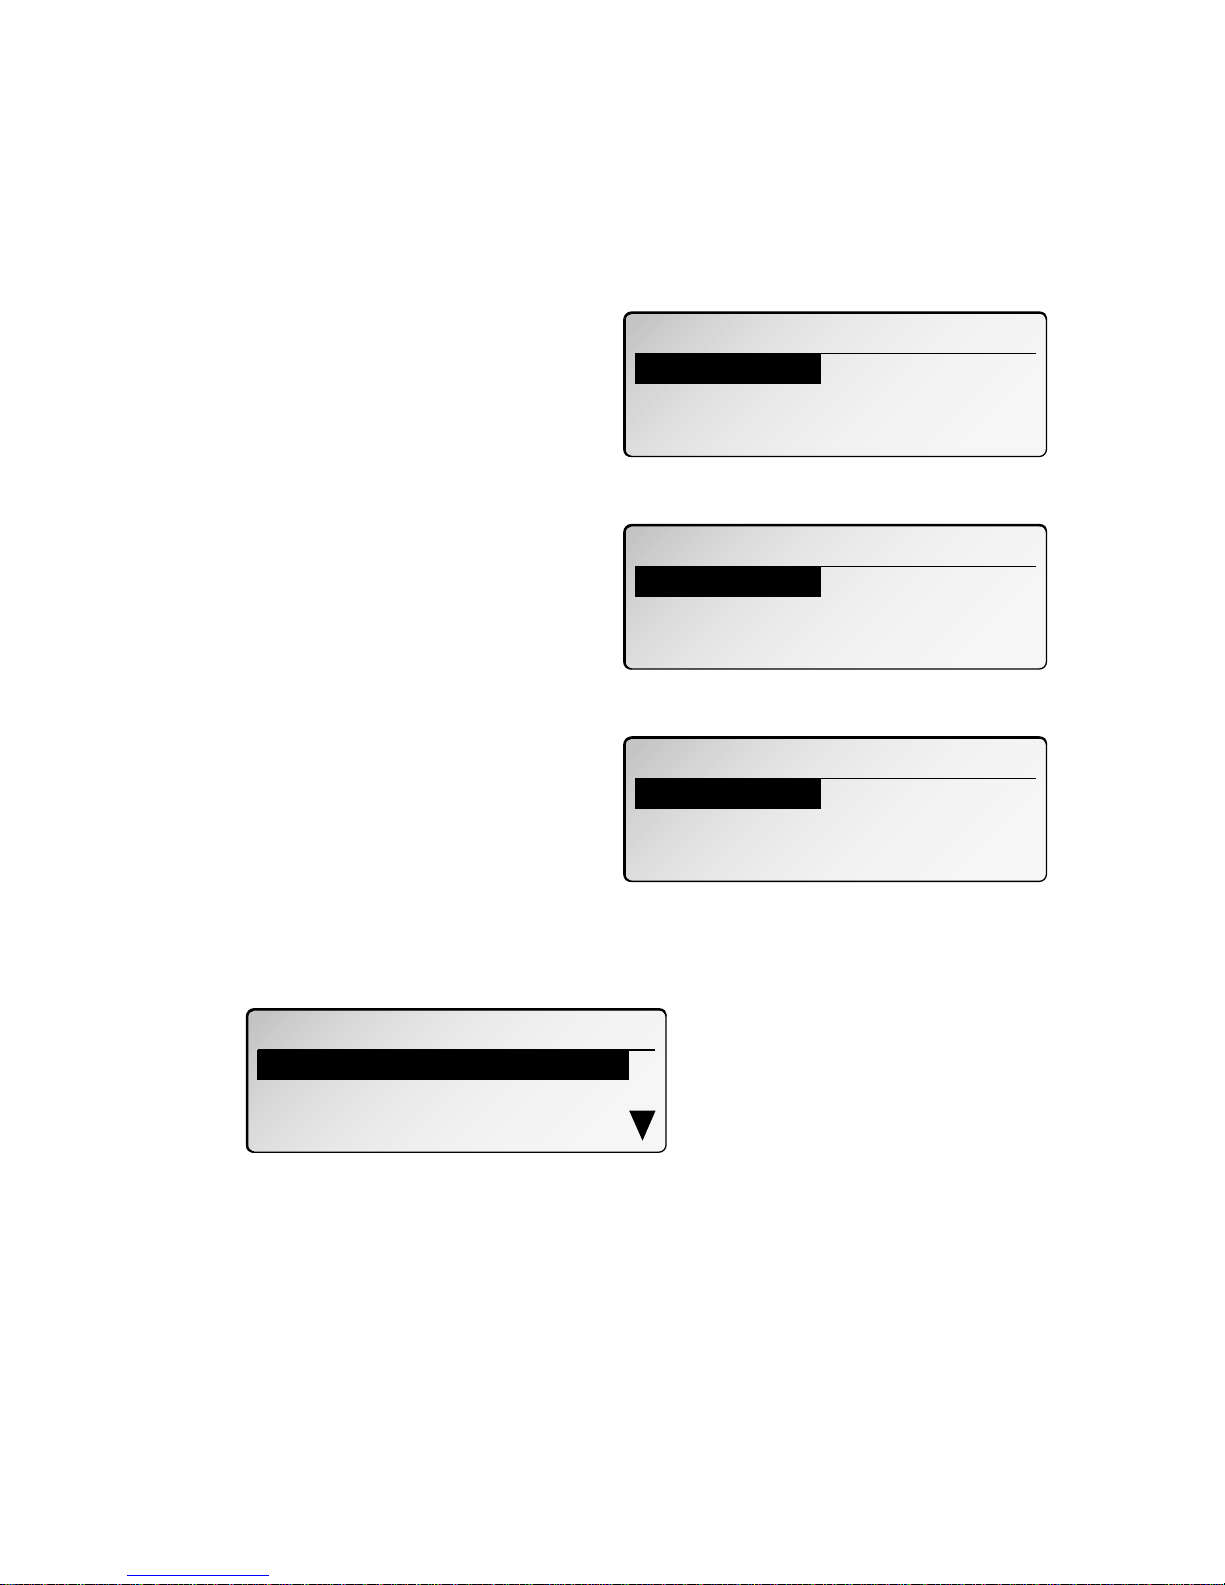
Making the RS-232C settings
On the model 5000 . . . . . . . . . . . . . . . . . . . . . . . . . . . . . . . . .7
Initializing your machine . . . . . . . . . . . . . . . . . . . . . . . . . . .9
Using your fax’s new PC connection . . . . . . . . . . . . . . . . . . . .10
Scanning from your fax to your computer . . . . . . . . . . . . . .10
Printing from your computer to your fax . . . . . . . . . . . . . . .11
Sending/receiving faxes with your computer . . . . . . . . . . . .11
Reference . . . . . . . . . . . . . . . . . . . . . . . . . . . . . . . . . . . . . . . . . . .12
“AT” commands . . . . . . . . . . . . . . . . . . . . . . . . . . . . . . . . . .12
Copyright © 2002, Imagistics International Inc.; all rights reserved.
Bitware is a trademark of Cheyenne Software, Inc., a division of Computer Associates
International, Inc. WinFax is a trademark of Symantec Corporation. Windows and Windows 95 are
registered trademarks of Microsoft Corporation. HydraFax is a trademark of Wordcraft
International Ltd.