IMASS M1 Series User manual
C LE A N
IMASS Robot Vacuum Cleaner
Instruction Manual
- M1 Series -
Thank you for choosing our product
Please read this instruction carefully before use
CLEAN SO EXCELLENT
Zhuhai Kaihao Electronics Co., Ltd
Address: 3 Pinggongyi Rd., Nanping, Zhuhai, Guangdong, China
Service Phone No.: +86 756 8923903
Website: www.imass-home.com

01 02
(For the models with
Charging dock only )
CL E A N
CL E A N
007
009
011
012
013 APP instruction

C L E A N
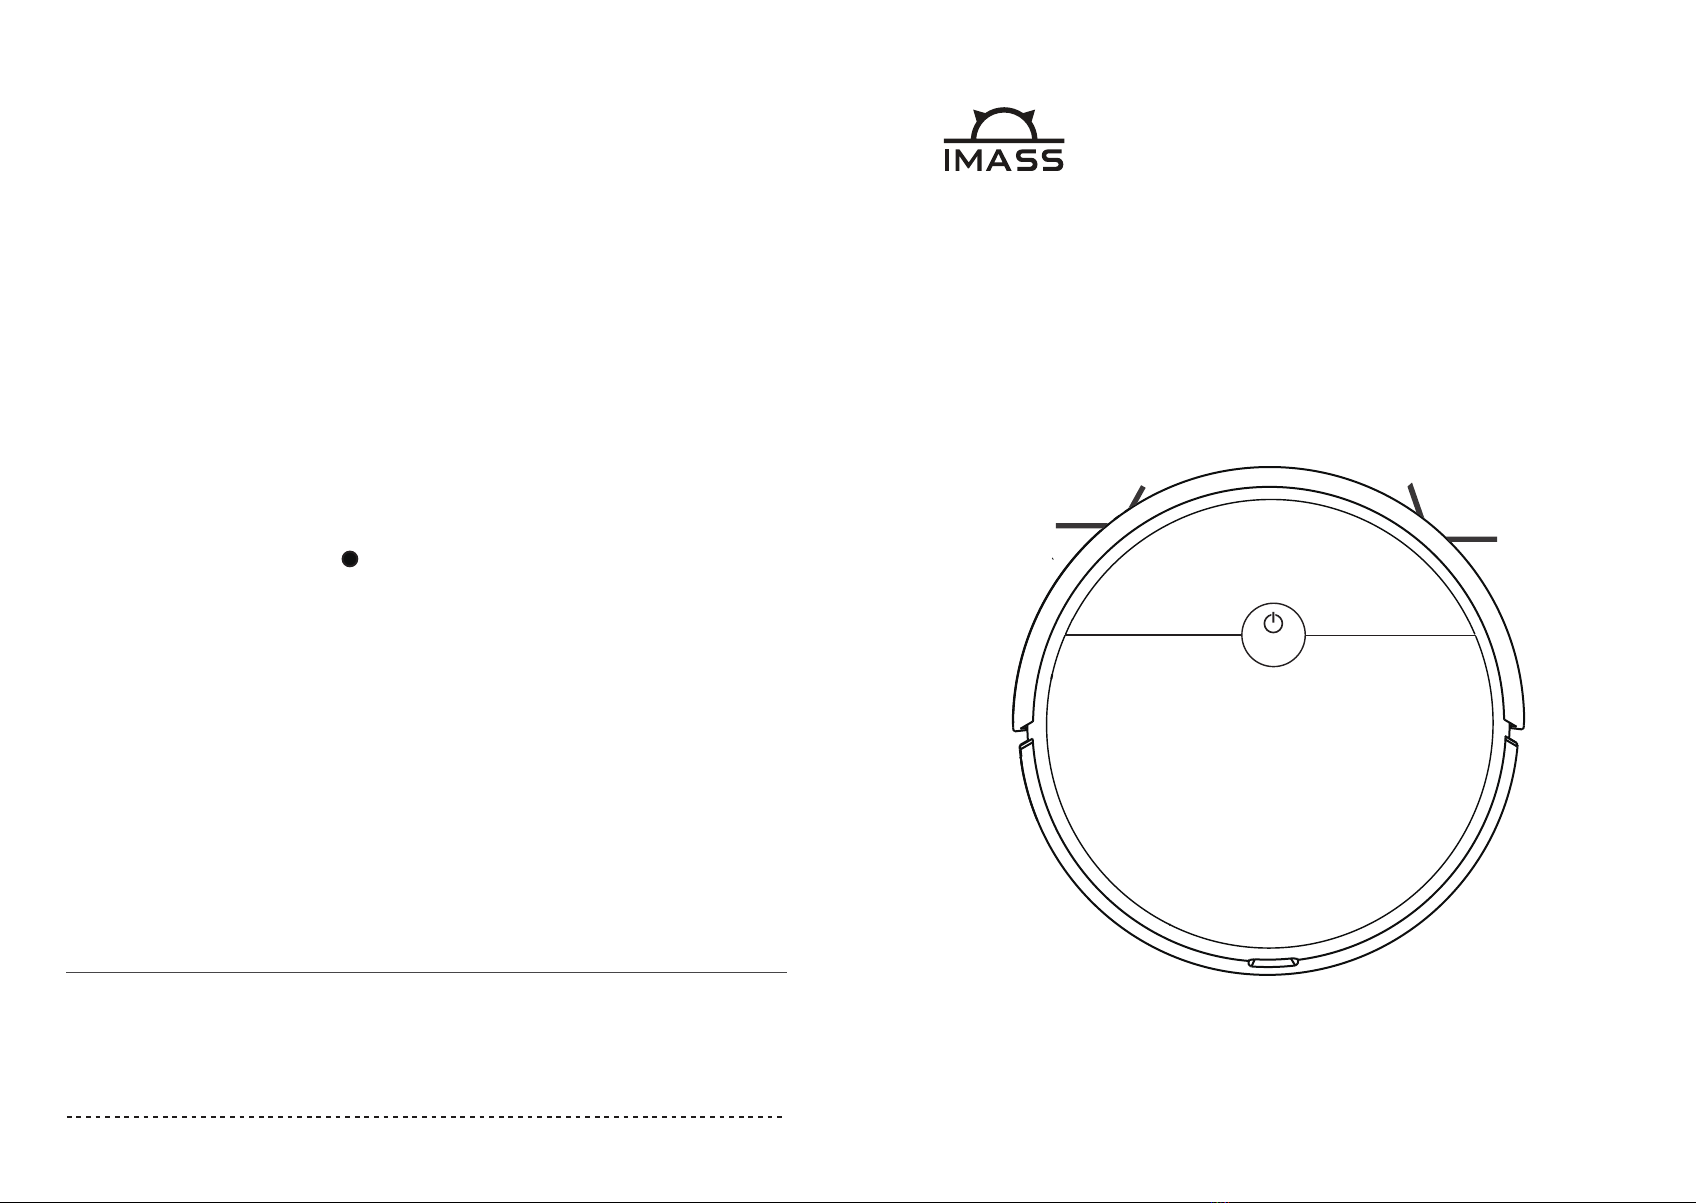
Shock
absorber
Start /
Pause
Lid
Dustbin &
water tank
On / Off
Charing
contact pin Wheel
steering
lateral brush
(Right side)lateral brush
(Left side)Battery cover
Left wheel Right wheel
Dust intake
Base
housing Mop wipes
set (Optional)
65 mm
74 mm
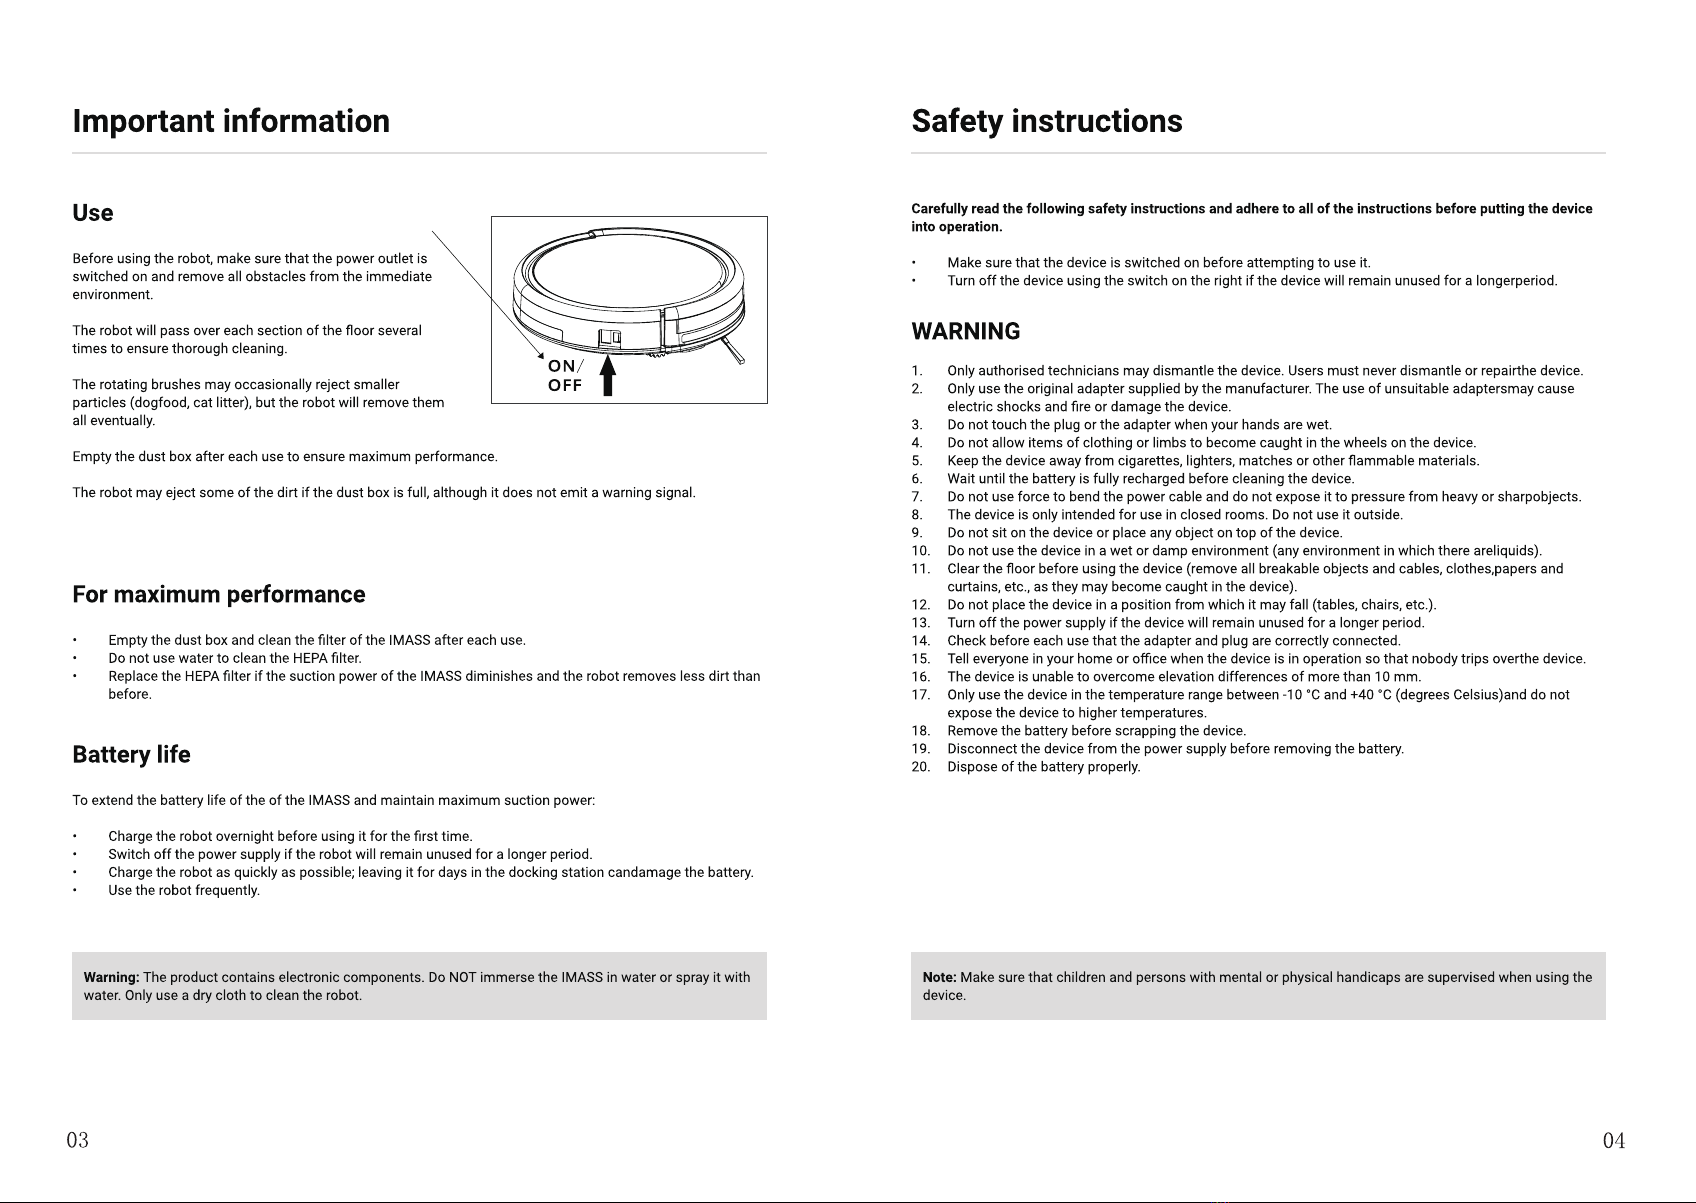
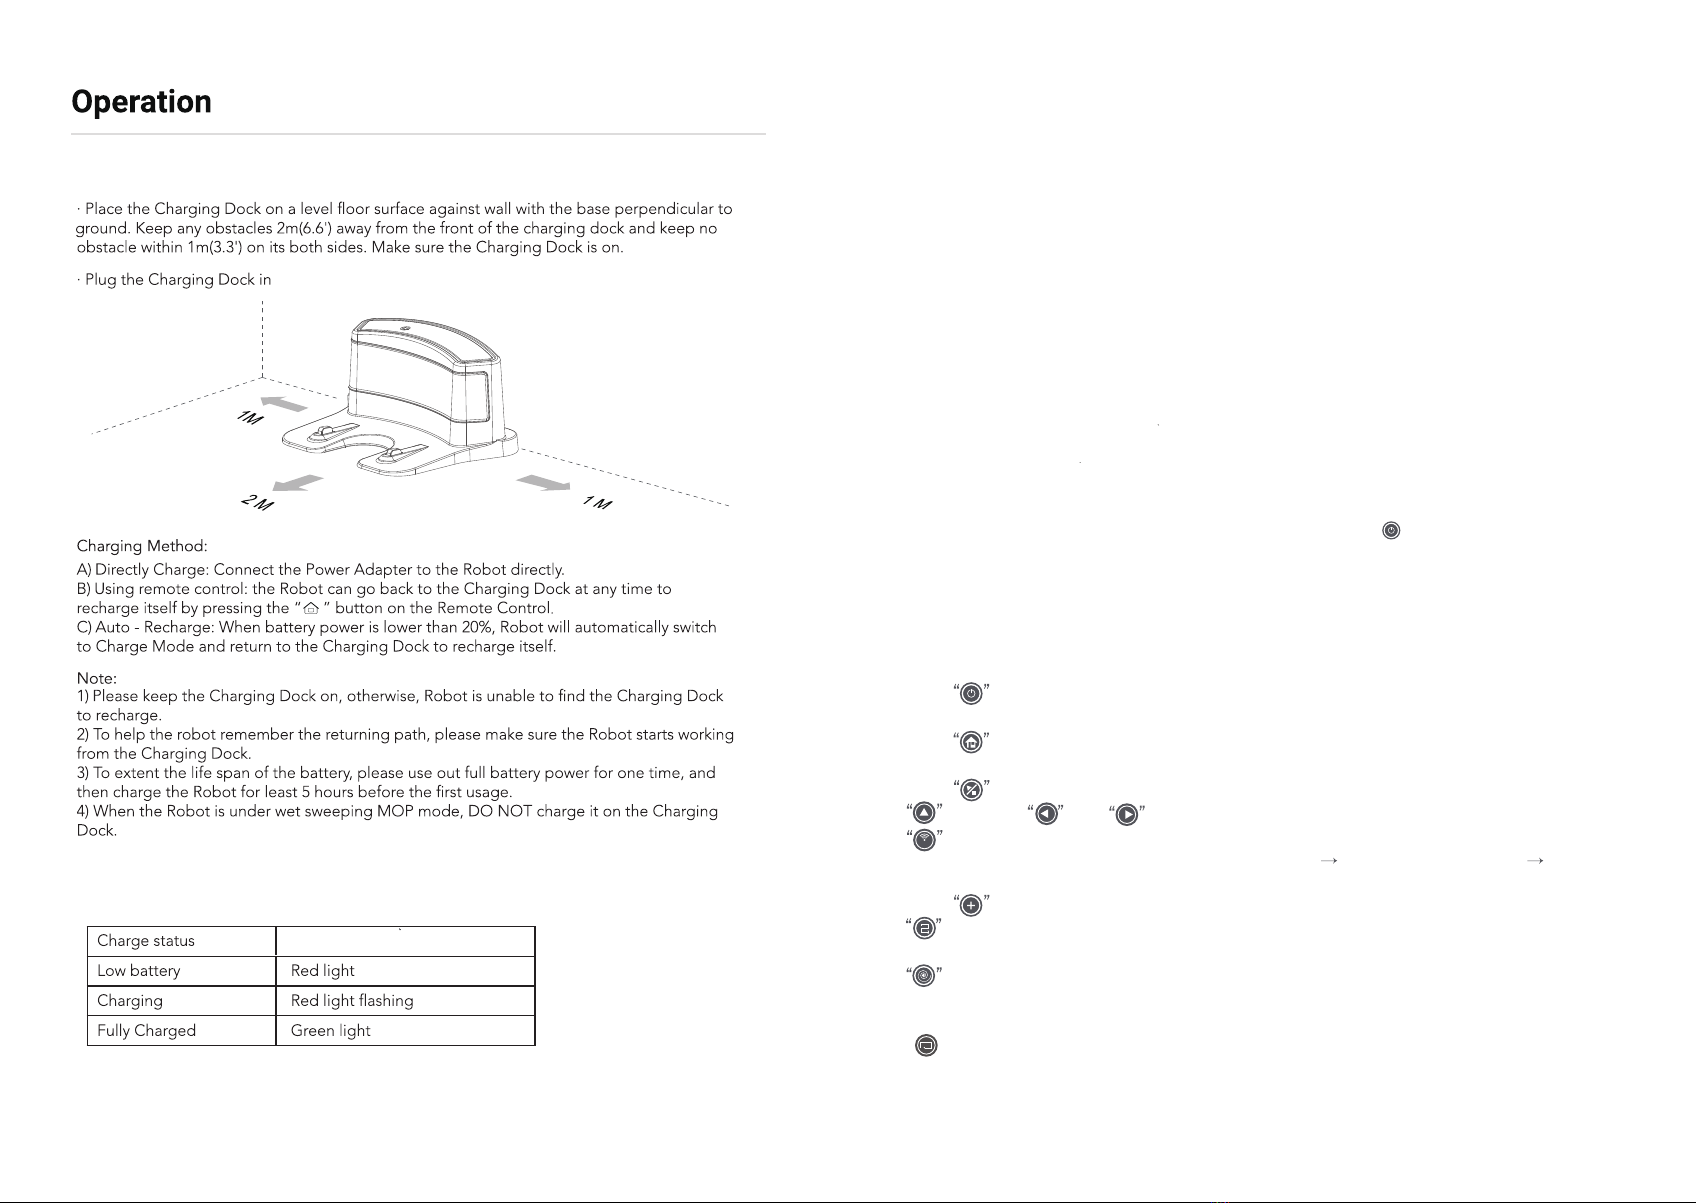
Power switch
Charging contact pins
Power
indicator
light
Charging Dock
(Optional) Remote
Controller
On/Off
Forward
Left
Wi-Fi
(Optional)
Max Power
Wall follow
(Edge) Mode
Recharge
(Optional)
Start /
Pause
Right
Mini Room
Mode
Spot
Cleaning
Mode
Lid
Dustbin &
Water tank
Direct Charge
plug in
Power
Switch
Dustbin & Water Tank ( All-in-1)
Water
Inlet
Air Filter
HEPA
Filter
07 08
[ ON / PAUSE / OFF ]
[ SLEEP MODE ]
[ Remote control operation ]
1) Turn the robot’s Side Power Switch to the ON position, Robot will standby
2) Press the Clean Button on Robot or the START/STOP Button on the Remote Control. Robot
starts to work immediately in AUTO Cleaning Mode.( Z-type cleaning as default)
3) Pause the Robot by press the Clean Button on Robot or the START/STOP Button on the
Remote Control. (Robot will standby and save battery power)
4) If Robot not in use & not on the Charging Dock / not In Charging, it will goes to sleep mode,
and it will have voice alert when battery power lower than 20%, to avoid any disturbing casued
by that, please trun off the Robot when it is not in use for a long time.
Sleep Mode means Robot under sleep, the Clean Button on the robot does not flash and buttons
on the Remote Control are disabled.
A) If Robot is Paused for more than 60 seconds it goes to sleep to save battery power
B) press the Power Button on the Remote Control twice, Robot goes to sleep.
Note: Before cleaning, please make sure the Robot is awake, and the Clean Button is in Green
light. If Robot is not waken up, press Clean Buttuon on the Robot or “ ” Power Button on the
remote control to wake it up.
Please use 2 pcs AAA R03 batteries in the romote control, and turn the robot’s Power Switch to the
ON position.
1) Press Power Button, Robot is waken up and standby, press the Power Button again, Robot
under sleep mode.
2) Press Recharge Button, Robot return to the Charging Dock & recharge itself automatic,
“Clean” Button on the Robot keep flashing. ( For the modeles with charging dock only)
3) Press Start/Pause Button to start cleaning, press again, Robot Stopped/Paused.
4) Forward, Left, Right, move the Robot to the setting direction.
5) Wi-Fi Button: ( For the Wi-Fi models only) after turn on the Robot, press this button over
3 seconds after “DingDingDong” bell: Initialization module Smart phone WIFI setting Search
Robot WIFI : IMA - xxxx, linked, control the Robot via smart phone APP anywhere at anytime.
6) Press Max power Button, Robot will trun to max suction power mode.
7) Mini Room cleaning : This mode is applicable for a small area of concentrated dirt
or dust. Robot run with 1 meter width zigzag smart move.
8) Spot cleaning: This mode is applicable for an area of highly concentrated dirt or dust.
Robot run in a smaller Z-type cleaning mode. stops or resumes auto cleaning when it completes
spot cleaning.
9) “ ” Edge cleaning: This mode is good for cleaning the edges and corners of a room. In Edge
Cleaning Mode, Robot cleans along a border (e.g. wall).
5) Please DO NOT put anything between the charge dock and floor6) Use the original adapter only, do not use others. ,nottub ” naelC/ tratS “ eht ot rewsna ylno lliw toboR eht ,gniegrahc rednu toboR eht nehW :etoN (any other button will no reaction.) Indicator of “ Clean” button during Charging:
Indicator of “ Clean” button
[ Charing Dock installation] ( For the models with charging dock only)

09 10
Mini room cleaning mode
( These functions control by remote controller) Maintenance
Lid
Dustbin
Open the lid and
take the dustbin out
[ Cleaning the dustbin and the filter]
A) Open the lid and take the dustbin out
B) Take out the filters from dustbin --- Empty the
dustbin --- Wash the dustbin by water --- Dry
the dustbin
C) Rinse the air filter and dry it up
D) Patting / blowing the HEPA to clean it, or use
a brush to clean
Remark:
1) Switch off the robot before cleaning the robot
2) Check if there are objects in the suction intake,
clean the objects if there are any
3) The filters lasts for 24 months, please clean the filters once or twice per month
4) Make sure that the dustbin and filters are completely dry before replacing them
( Note: Do not expose the filters to direct sunlight for extended their working-life)
[ Cleaning the lateral brushes]
A) Use a soft wipes to clean the lateral brushes
B) If the brushes hair come out of shape or loose, please take the lateral brushes out
and put the brushes hair into boiled water to refresh it
C) Replace the lateral brushes if they are damaged and out of function
Note: Before replacing the lateral brushes, check the L&R markings on the two lateral
brushes, make sure they mtch the corresponding markings on the base housing
Charging contacts
Cliff sensors
Charing
contact
pin
Charing
contact
pin
[ Cleaning the cliff sensors and charging contacts]
Use a soft dry cloth to gently clean the sensors’ window and the charging contacts.
Note: Do not use water or liquid to clean the sensors or charging contacts.
11 12
Specificatinos
Trouble shooting Specifications and packing list
11.1 V
15 W
Li-ion 2000 mAh
15 V
0.8 A
Remote controller
1 pcs ( For auto recharge function models only)
04
05
06
07
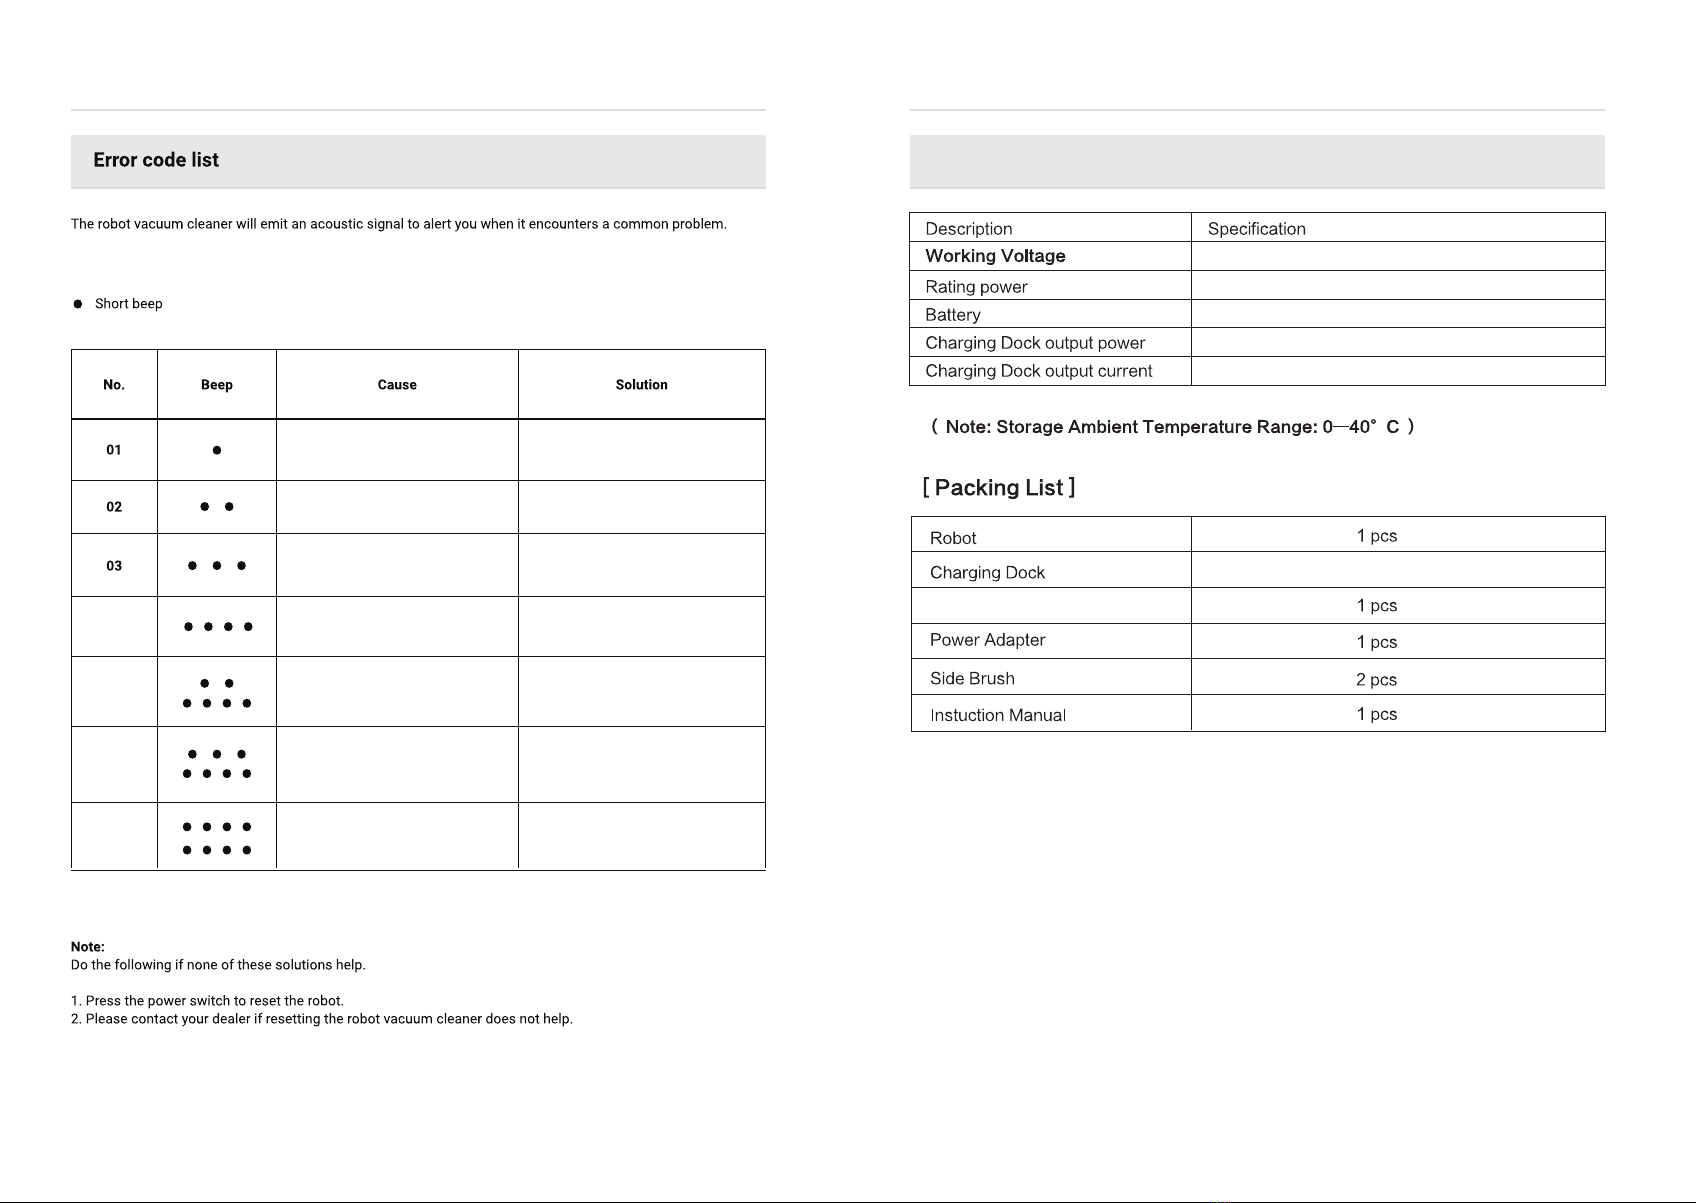
Shock absorber sensors erro
(Red light on)
Check the shock absorber
to see whether an object has
become trapped and clean it
Cliff sensors erro
( Red light flashing) Clean the cliff sensors
Left wheel erro
(Red light flashing)
Check the left wheel to see
whether any objects blocked
the wheel, clear it if so
Check the roght wheel to see
whether any objects blocked
the wheel, clear it if so
Right wheel erro
(Red light flashing)
Side brushes erro
(Red light flashing)
Fan motor erro
(Red light flashing)
Power supply erro
(Red light flashing)
Check the side brushes to see
whether any hair or objects
blocked the bursh, clear it if so
Check the fan motor to see
whether any objects bolcked
the suction whole, clear it if so
Check the battery

13 14
APP Connection Instruction
Note: For the models with Wi-Fi function only
Note:
1) The APP only apply to the models with Wi-Fi function.
2) The APP only support on 2.4 GHz Wi-Fi network
2) Register & Log
in the APP
3) Click “ Add Device”
then select “ All Device”
at top-right side of the
APP window
Or Search “ Smart Life”
in Google play or Apple
store / APP store to
download the APP
Note: Please keep your
mobile phone connect
with Wi-Fi
1) Please scan the above
QR code to download
the APP
4) Find “ Robot Vacuum”
in the list and select it
5) Turn on your robot,
press the “Wi-Fi” button
on remote controller
about 5 seconds, until
beep sound show up
6) The indicator light will
keep blinking when enter
Wi-Fi setting. Click
“ Confirm Indicator raidly
blink”
7) Fill in your home Wi-Fi
name and password
(Make sure that is correct
Wi-Fi name and password)
8) Click “ Complete”
after robot is added
successfully
Table of contents
Other IMASS Vacuum Cleaner manuals


