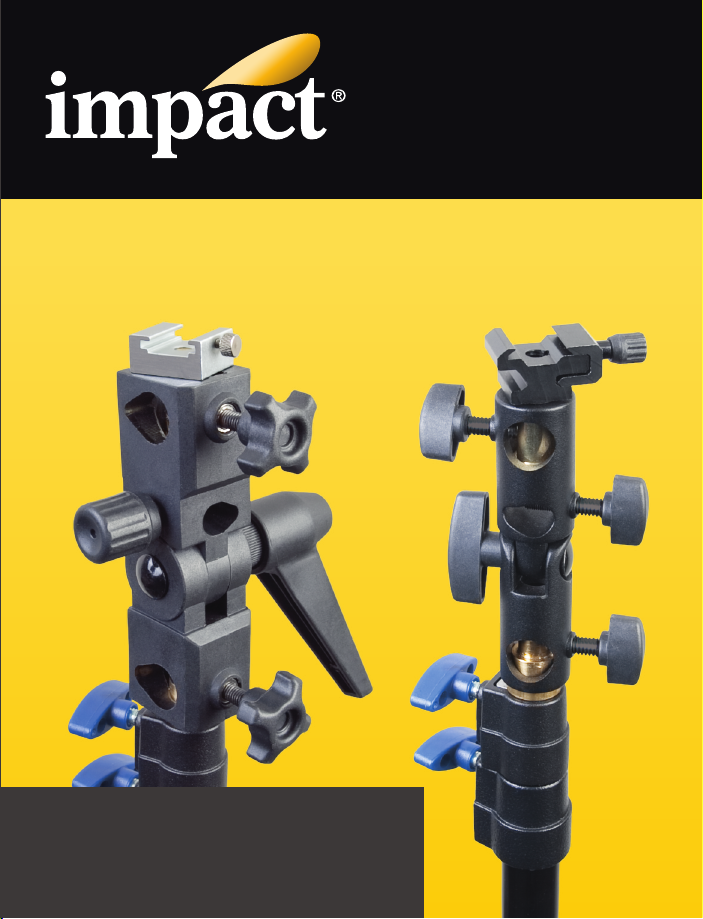
Thank you for purchasing the Impact Standard or Deluxe Umbrella-Mount
Bracket. These versatile brackets allow you to mount an umbrella and/or a
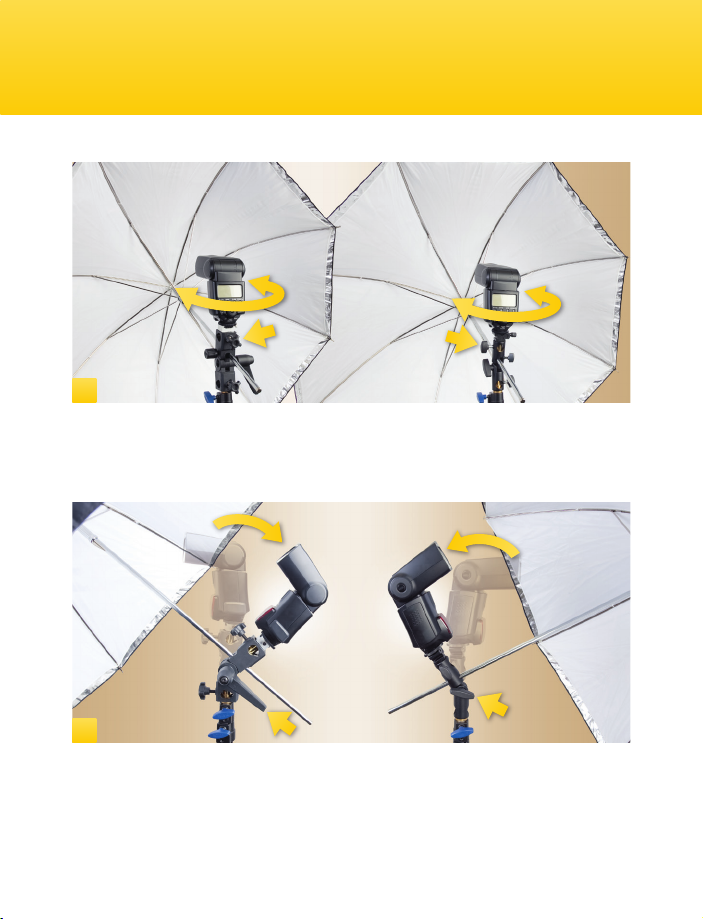
portable ash on almost any light stand, tripod, or boom. The bracket can tilt
180,° allowing you to aim your light in any direction. Tricky or tight positions
are not a problem as you can mount your ash anywhere from vertical to
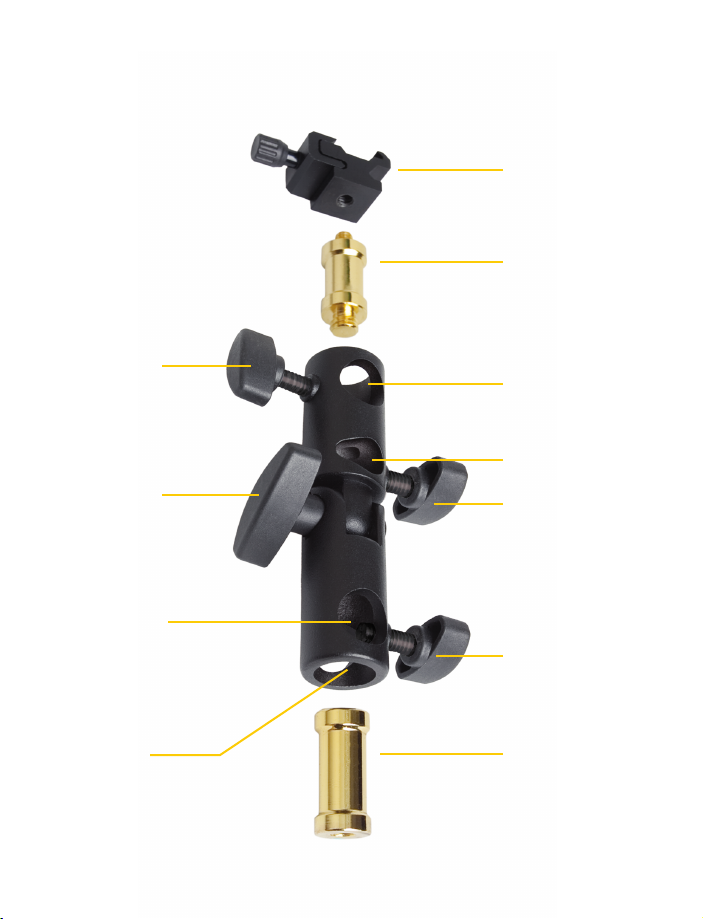
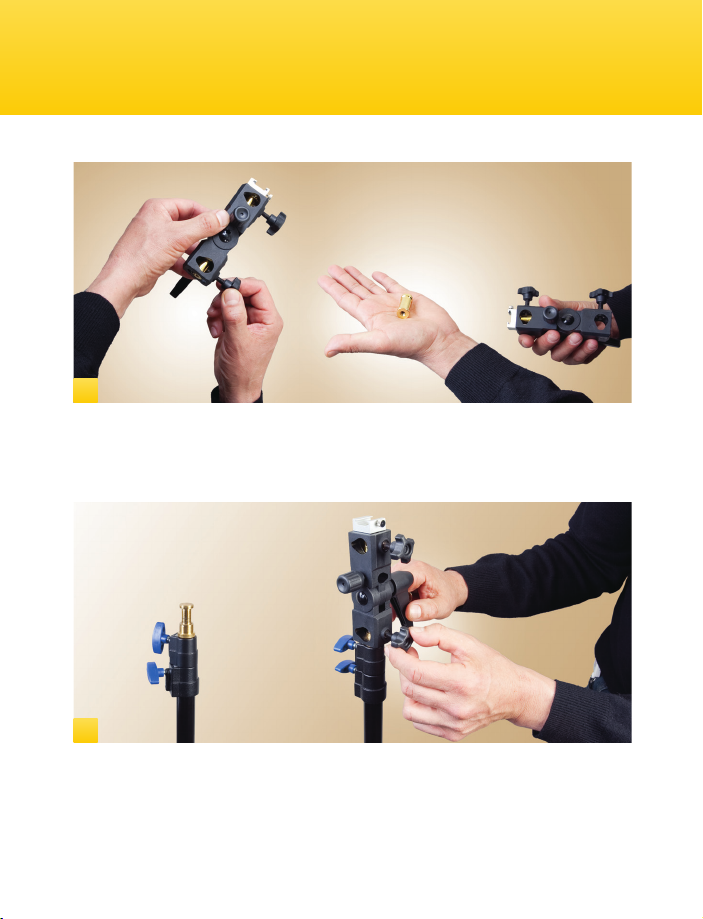
horizontal orientations. Both models include two removable, reversible
brass stud adapters which will allow you to mount the bracket
not only to stands with the standard 5/8˝ stud, but also to stands or tripods
with a 3/8˝ or 1/4˝ screw tting.
The Standard model features a oating lever for easy adjustments. It locks
securely with a non-slip geared tooth mechanism. The Deluxe model is a
sturdy metal bracket and features an adjustable shoe that accepts almost
every standard shoe-mount ash.
We trust that our umbrella-mount brackets will serve your creative
inspirations reliably for years to come. Please read these instructions
carefully on how to set up and use your Impact Umbrella-Mount Bracket.
Caution
For safety, and to protect your equipment, use weighted sand bags to
stabilize your light stand.
Page 2 Page 11
Accessories
All images in this manual are for illustrative purposes only. Your umbrella-mount bracket may differ slightly
from the one pictured. Light stands, oodlights, umbrellas, and portable ash units are not included
with this bracket unless it was purchased as part of a kit.
Impact Super Clamp (CC-106R)
This is a great complement to the Impact
Umbrella-Mount Bracket. Used together,
the combination allows you to mount a
portable ash to tubes 1/2˝ to 2-1/8˝ in
diameter or practically any rigid surface.
The Super Clamp is a versatile tool for
which you’ll discover dozens of uses.
Impact Sand Bags & Shot Bags (Full)
Impact Sand Bags and Shot Bags come in
a variety of shapes and weights, and are
either black or orange. They are used for
anchoring the bases of light stands and
set walls. The saddle-style bags have two
wings so they can be draped over light
stand legs. Each side of the bag has a
hand strap for easy handling and hanging
on hooks. The outer shell is water
resistant, heavy-duty cordura nylon.
Impact Sand Bags (Empty)
Impact Sand Bags also come in an empty
version with a double-zippered closure.
They can be lled with sand, small rocks,
or anything heavy, and emptied at the
end of the shoot. They come in a variety
of sizes and capacities.
www.impactstudiolighting.com
To see these accessories and all of our lighting equipment,
please visit our Web site.
10M 25M 50M 75M 100M 10Y 25Y 50Y 75Y 100Y
DO NOT EDIT OR REVISE ARTWORK
We will not approve any artwork which has been altered by the vendor
FORWARDYOUR PROOFS
to mabel.li@asia.bhphotovideo.com
FOR APPROVAL BEFORE FINAL PRODUCTION
DO NOT BEGIN PRODUCTION WITHOUT PRIOR APPROVAL OF PROOFS