Inalsa Fiesta lx User manual

Instruction Manual
FOOD
PROCESSOR


Part No. Part Name Part No. Part Name
1. B. L. lid 14. Chopper blade
2. B. L. jar 15. Plastic blade
3. Release button 16. D. G. socket
4. Food pusher 17. D. G. jar
5. Bowl cover 18. D. G. lid
6. Bowl 19. Switch knob
7. Centrifugal juicer assembly 20. Switch housing
8. Egg whisker 21. Main body
9. Stem rod 22. Top socket
10. French fries cutter 23. B. L. socket
11. Coarse shredder 24. B. L. blade
12. Cutter disc holder 25. Spatula
13. Fine slicer
1
2
3
4
5
6
7
8
9
10
1112131415
17
18
19
20
21
22
16
23
24
25

Centrifugal juicer
Fine slicer
Egg whisker blade
Blender jar
French fries cutter
Coarse shredder
Atta kneading blade
Chopper blade
Dry grinder jar
Fiesta Lx
ImportantInstructions
Do's
1. Before connecting the appliance check the mains voltage comply with the voltage
specified.
2. Placeyourfoodprocessorataconvenientheightsothatyoucanoperateiteasily.You
should be able to look down into the attachments to check the circulation of the
ingredients.
3. Clear out some space around the machine and keep food processor away from direct
heatandsun.
4. Takecareasthecuttingedgesofthebladecuttersareverysharp.
5. Ensurethatthebowlassemblyisperfectlylockedwiththebasicunit.
6. For unlocking the bowl cover turn the bowl cover clockwise by pressing the release
switchontheupperbase.
7. While using different jars, fix the bowl and bowl cover as themachine will not work
tillthebowlcoverisinplace.
8. While using centrifugal juicer place the juicer body with filter on to the drive shaft
androtatethefiltertillitislockedwiththebody
9. Alwaysuseaspatuladuringprocessingofthefood.

10. Keepthefoodprocessorawayfromthereachofthechildren.
Don'ts
1. Donotapplyunduepressurewhileusingthecoconutshreddingdisc.
2. Do not operate the centrifugal juicer unless juicer cover, filter is properly clamped
withthejuicerbody.
3. Donotleavethefoodprocessorinrunningconditionunattended.
4. Do not touch the moving parts during operation as they revolve at extremely high
speedsandmaycauseinjury.
5. neverallowtheshredded,slicedorchippedfoodtotouchthediscsduringoperation.
Itcould force the disc upwardsand cause damage.If bowl begins tofill, empty itout
inbetween.
6. Do not use fruits such as bananas & peaches which produce a thick paste that can
clogthejuicerfilter.
7. Do not feed larger sized fruits into the feeder tube by force. This can overload the
motorandjuicerfiltermaygetunbalanced.
8. Never lay a thin plastic sheet or cloth under the basic unit. It may get sucked up and
blocktheventilationholesinthebase.
9. For juicing do not allow the cord to hang over the edges of the table, or touch hot
surface.
10. Do not push food into the feeder table by fingers while it is in operation. if fruit
becomecloggedinthefeedertube,usepusherto pushitdown.Ifitdoesn'tworktune
off the motor. unplug the unit, then disassemble the food processor to remove
remainingfood.
11. Donotimmersetheapplianceinwater.
12. Do not attempt to repair the food processor at home or allow any unauthorized
person to do it either, in the event of any service problem please call your nearest
servicecenter.
BeforeFirstUse
1. After unpacking the unit and before any use, make sure the mechanical parts of the
unitandallitsattachmentsarenotdamaged.
2. Wash the parts of the processor, especially those will come into contact with the
fruits.
3. Carefullygothroughtheinstructionmanualbeforestartingtheoperation.
ImportantInstructions:
• Some parts of the food processorare oiled and greased for smooth operating of
the machine, before first use, wash the parts of the processor thoroughly with
soapywater.
• While grinding in dry grinding and chutney jar, customers are advised to keep
onehandonthejarlidtoavoidlidflying.

Howtouse
Thebowl
Withtheswitchsideoffoodprocessorfacingyou,holdtheall
purpose bowl by the handle and lower it onto the power drive
shaft of the motor base, ensuring that the serrations given at
the bottom of the bowl coincides with the arrow provides on
thebasicunit.
Turn the bowl anti-clockwise to lock the lugs on the basic
unit, ensure that lugs are properly fitted in the slots provided
onthebowl.
Blades
Lower the blade with centre knob onto the power drive shaft
androtatetillitrestsdown.
The stainless steel blade and plastic blade settles low down
inside,whilethediscremainjustabovetherimofthebowl.
Thebowlcover
Holdthebowlcovebythefeedertubeandplaceitonthebowl
pressing a little towards left of the bowl's handle, such that
serrations given on the bowl cover coincide with the arrow
givenatthetopofthebowl.
Slide the bowl cover anti-clockwise until it gets locked in
position. For unlocking the bowl cover, turn the bowl cover
clockwisebypressingthereleasebuttononthetopsocket.
Note: As long as the bowl cover is locked into position, the
unitwillnotswitch'ON'
Connect the food processor to the wall AC outlet. The
machine can be switched 'OFF' or 'ON' by shifting the rotary
switchtodifferentposition.
Now,thefoodprocessorisreadyfortheaction.
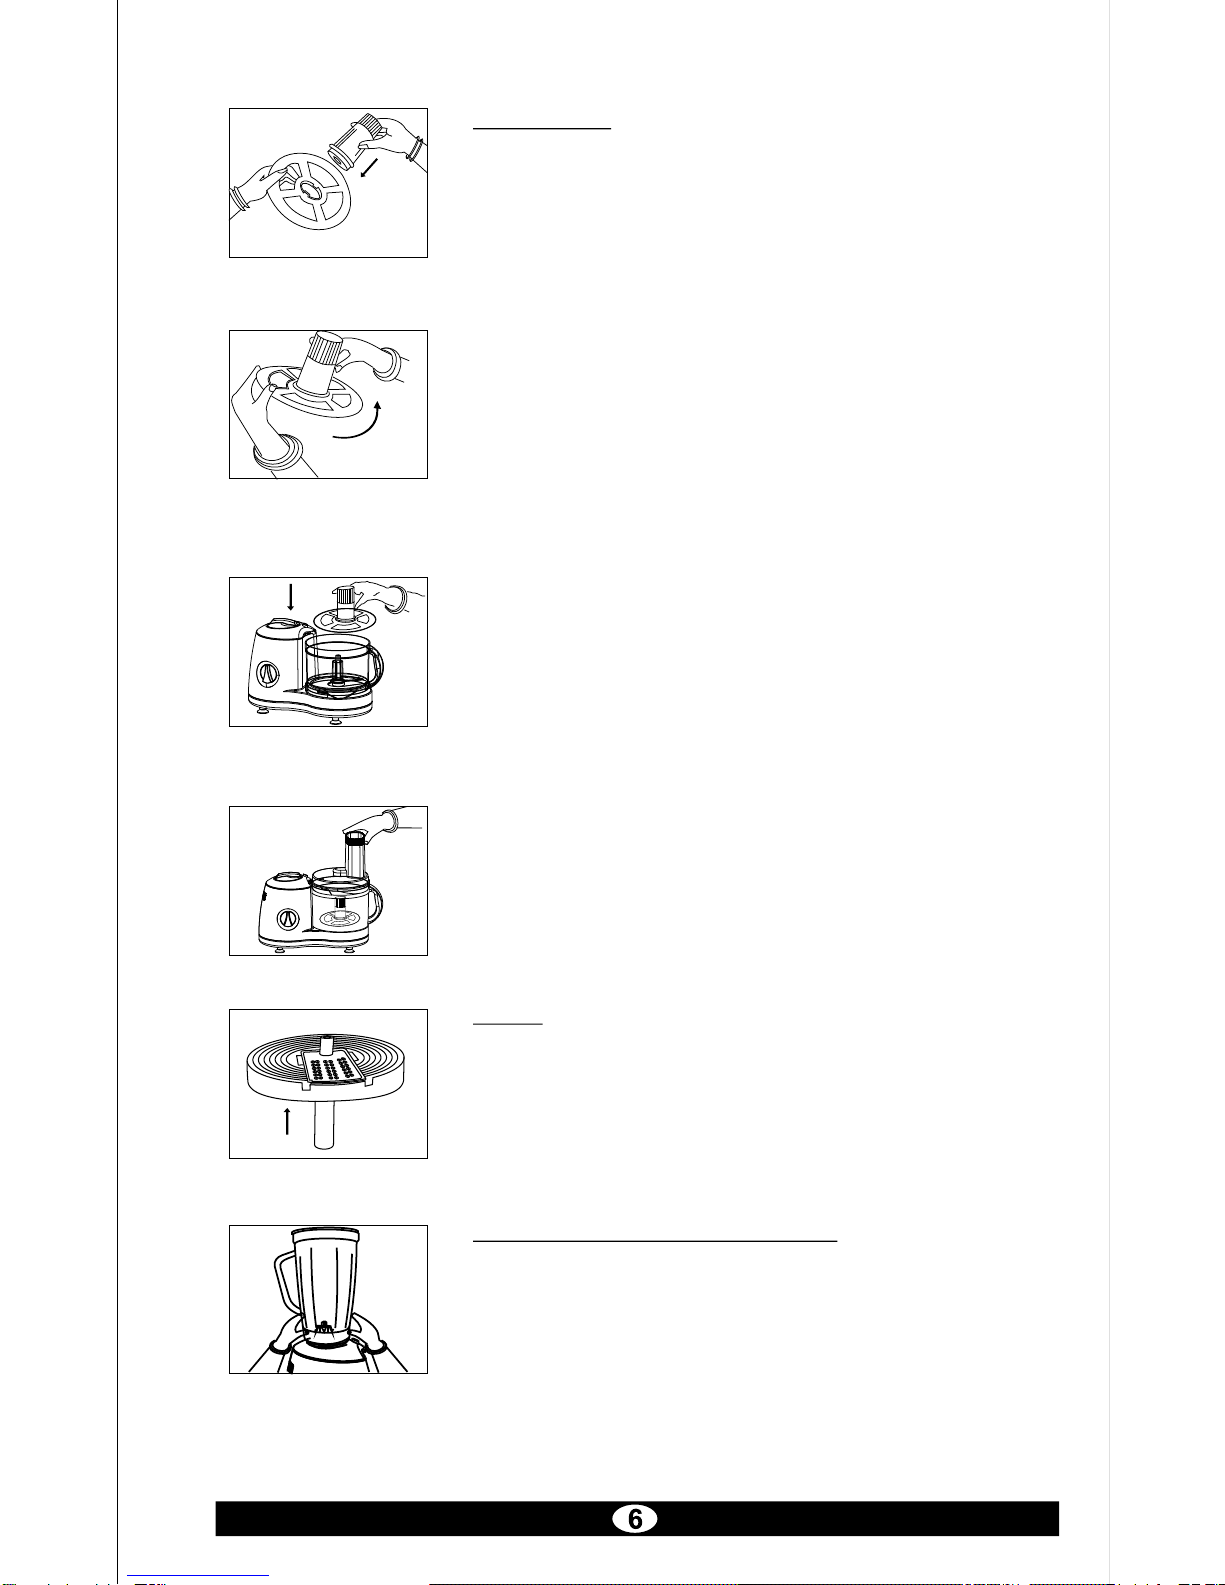
WhiskerDisc
Hold the egg whisker disc with embossed written matter on
topsideandinserttheholderintothedisc.
Tolocktheholderturnanti-clockwise.
Fix the bowl over the basic unit and insert the whisker,
assemblyintodriveshafttillitrestsdown.
Add the food material into the bowl. Lock the bowl cover on
mainbowlandstarttheunit.
Cutter
Insert cutter to be used in cutter disc and then fit stem rod in
theslot.Fittheassemblyintodriveshafttillitrestsdown.
Lockthebowl coveron mainbowlandstarttheunit.Push the
vegetabletobeprocessedintothebowl.
LiquidizerJarandDryGrinderJar
Fit the liquidizer jar or dry grinder jar on the left hand side of
basicunit,byopeningthetoplid,thenalignthelockswiththe
lockingslotsand turn anti-clockwise so that the jar locks into
the position. Put the ingredients inside the liquidizer jar or
drygrinderjarandclosethelid.
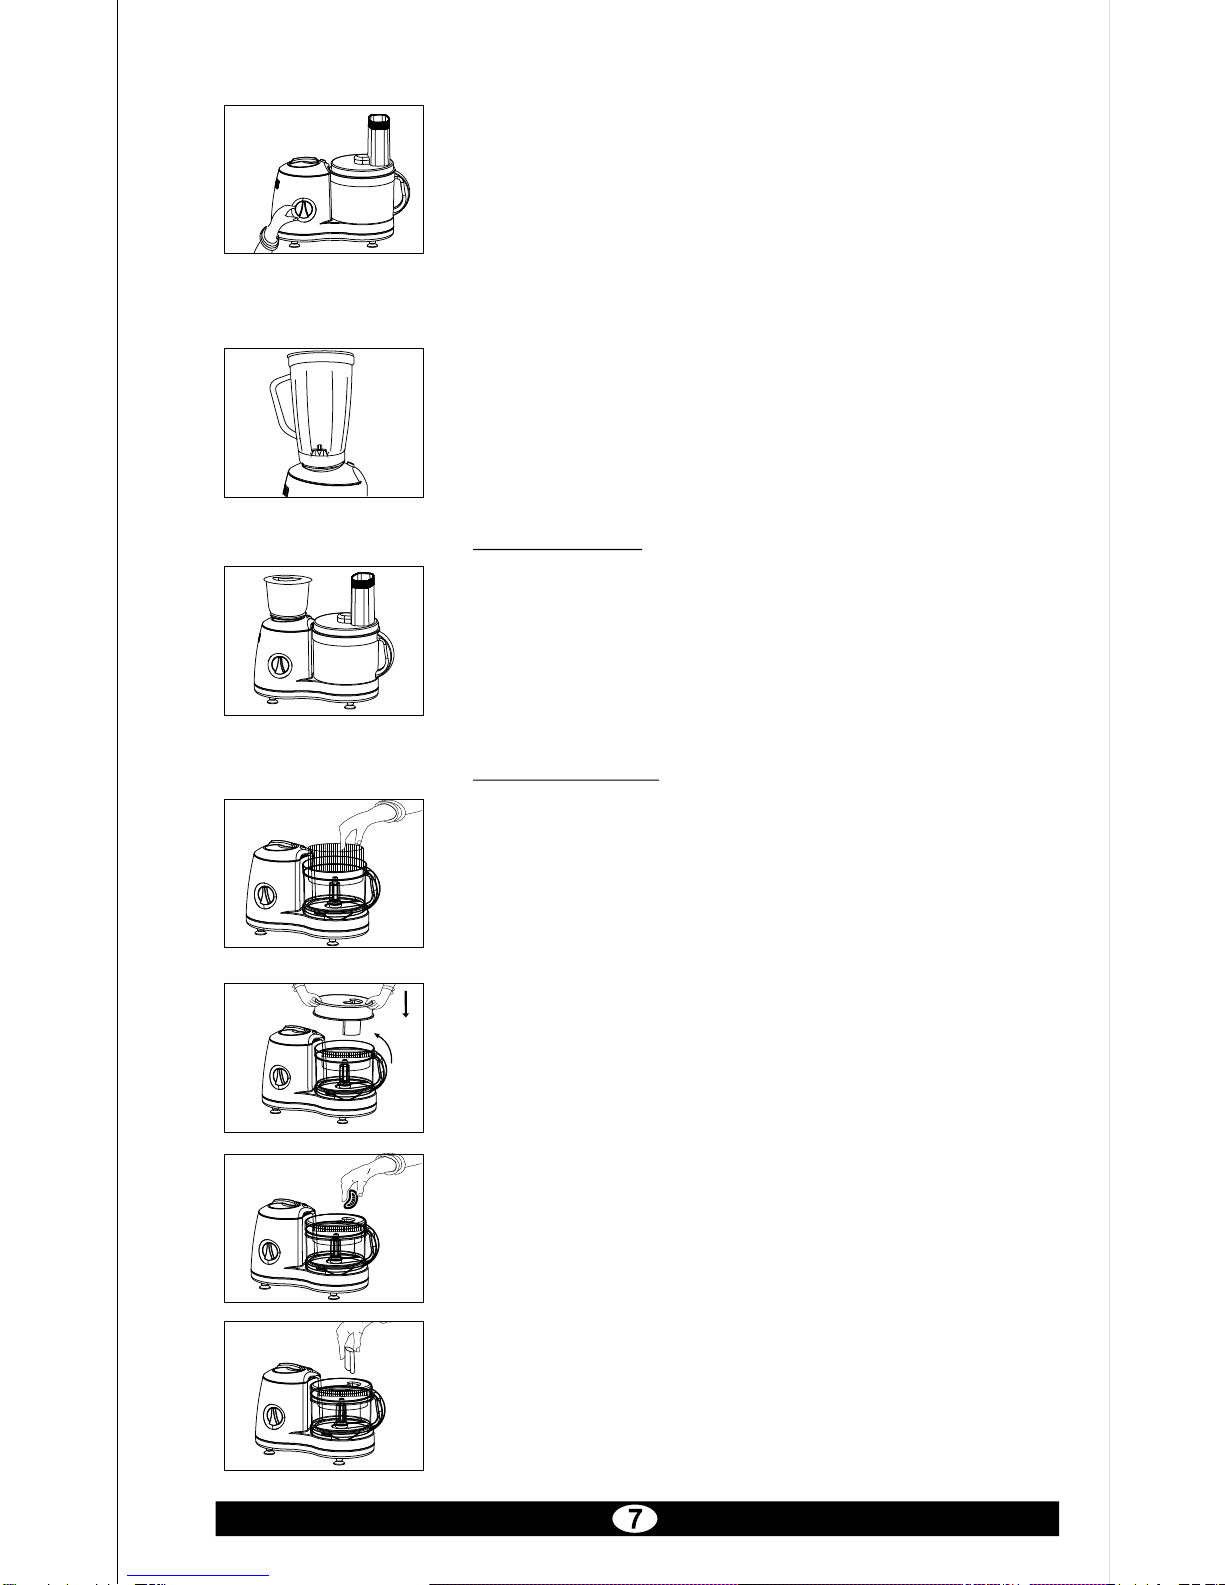
Switch 'ON' the machine. Turn the knob clockwise to the
position1,2&3asperrequirement.
Position 1 Low speed
Position 2 Medium speed
Position 3 High speed
To use as an incher turn the knob anticlockwise to the
position'0'
Fill the liquidizer jar upto 3/4 of its capacity and switch 'ON'
the unit. When the operation is over, switch 'OFF' the
machine and remove the liquidizer jar or dry grinder by
turningitclockwise.
DryGrinderJar
Oncethe drygrinderjar properly fitsonthe basic unit,putthe
ingredients, (minimum upto 3/4th) & close the lid. To start
use pulse and then switch on to the higher speed for fine
grinding.Givebreakofminimum1min.after3min.running.
DonotruntheDGjarwithoutlid.
Centrifugaljuicer
FixtheFPbowlontothebase.
Place the juicer body with filter on to the drive shaft & rotate
thefiltertillitislockedinpositionwiththebody.
Align the markings provided on the juice cover and the F. P.
bowl, lower the juicer cover on to the bowl and rotate
anticlockwisetolockitinposition.
Switchontheunit&dropfruitsinthefeedertube.
Pushdowningredientswiththehelpoffoodpusher.Thejuice
will collect in the bowl where-as the pulp accumulates in the
juicer body along with walls of the filter. For best results
prepare small quantities at a time and clean the filter
frequently. For cleaning, unlock and remove the filter, and
washitunderrunningwater.

Table of contents
Other Inalsa Food Processor manuals


